Page 9 of 344

23
Your vehicle at a glance
INSTRUMENT PANEL OVERVIEW
1. Driver’s airbag ................................3-87
2. Light control / Turn signals ...........3-127
3. Instrument cluster.........................3-107
4. Wiper/Washer ...............................3-130
5. Auto cruise control* ........................4-11
6. Audio controls* .............................3-179
7. Steering wheel .............................3-100
8. Ignition switch ...................................4-3
9. Digital clock ..................................3-178
10. Climate control system* .............3-136
11. Hazard warning flasher switch ...3-135
12. Seat warmer* ...............................3-44
13. Shift lever .......................................4-5
14. Cigar lighter* ..............................3-173
15. Power outlet................................3-177
16. Ashtray* ......................................3-173
17. Passenger’s airbag .......................3-88
18. Storage compartment.................3-169
19. Vent controls ...............................3-140
20. Glove box ...................................3-171
21. Sunglass holder .........................3-172
22. Sunvisor .....................................3-176
23. Power sliding door and power tailgate controls* ...........................3-17
24. Sunroof* .......................................3-33
25. Conversation mirror ....................3-106
26. Trip computer* ............................3-111
27. Day/night rearview mirror ...........3-105
* : if equipped
OVQ026002N
Page 10 of 344
3
Keys / 3-3
Remote keyless entry / 3-4
Theft-alarm system / 3-7
Immobilizer system / 3-9
Door locks / 3-11
Power sliding door and power tailgate / 3-17
Window / 3-26
Hood / 3-29
Fuel filler lid / 3-30
Sunroof / 3-33
Seat / 3-37
Driver position memory system / 3-57
Power adjustable pedals / 3-58
Safety belts / 3-59
Child restraint system / 3-71
Air bags-advanced restraint system / 3-78
Steering wheel / 3-101
Mirrors / 3-103
Instrument cluster / 3-108
Gauges / 3-109
Trip computer / 3-112
Features of your vehicle
Page 11 of 344
Warnings and indicators / 3-118Interior lights / 3-123Lighting / 3-127
Wipers and washers / 3-130 Horn / 3-133
Defroster / 3-134
Hazard warning flasher / 3-135
Manual climate control system / 3-136
Automatic climate control system / 3-147
Windshield defrosting and defogging / 3-160 Luggage net holder / 3-163Roof rack / 3-164
Homelink® wireless control system / 3-165 Storage compartment / 3-169Interior features / 3-173 Antenna / 3-179
Audio remote control / 3-179 Audio system / 3-180
Rear seat entertainment system / 3-210
Features of your vehicle
3
Page 42 of 344

333
Features of your vehicle
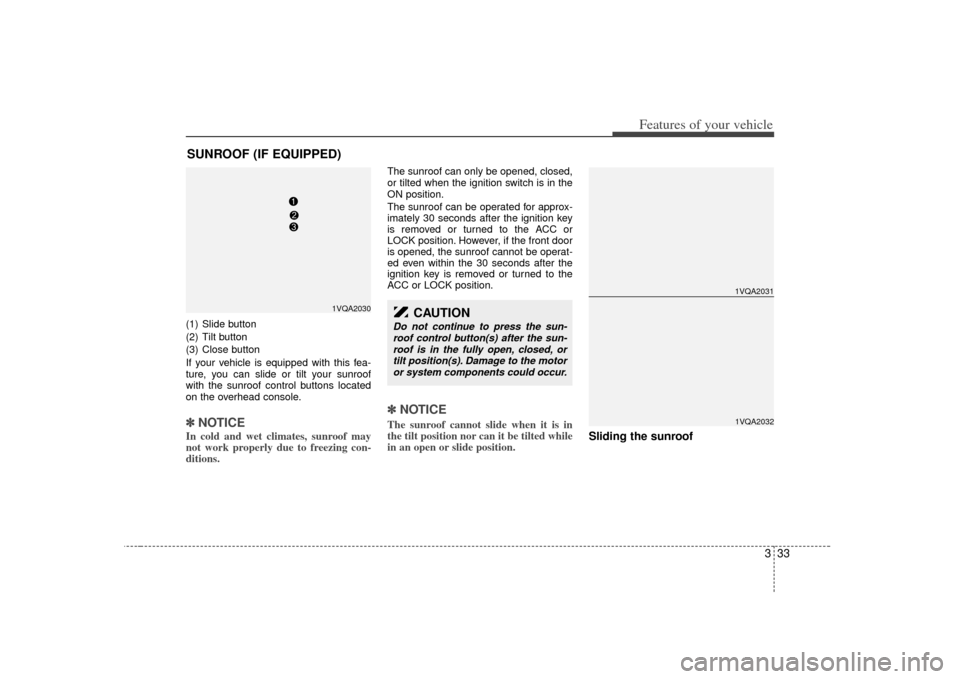
(1) Slide button
(2) Tilt button
(3) Close button
If your vehicle is equipped with this fea-
ture, you can slide or tilt your sunroof
with the sunroof control buttons located
on the overhead console.✽ ✽NOTICEIn cold and wet climates, sunroof may
not work properly due to freezing con-
ditions.
The sunroof can only be opened, closed,
or tilted when the ignition switch is in the
ON position.
The sunroof can be operated for approx-
imately 30 seconds after the ignition key
is removed or turned to the ACC or
LOCK position. However, if the front door
is opened, the sunroof cannot be operat-
ed even within the 30 seconds after the
ignition key is removed or turned to the
ACC or LOCK position.✽ ✽NOTICEThe sunroof cannot slide when it is in
the tilt position nor can it be tilted while
in an open or slide position.
Sliding the sunroof
SUNROOF (IF EQUIPPED)
1VQA20311VQA2032
CAUTION
Do not continue to press the sun-
roof control button(s) after the sun-roof is in the fully open, closed, ortilt position(s). Damage to the motoror system components could occur.
1VQA2030
Page 43 of 344

Features of your vehicle34
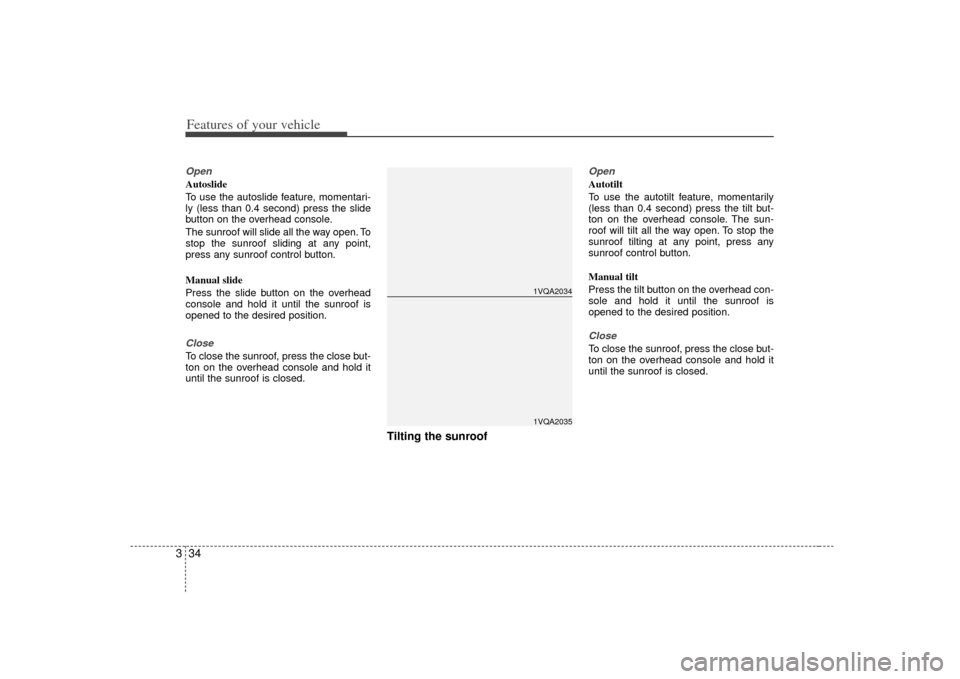
3OpenAutoslide
To use the autoslide feature, momentari-
ly (less than 0.4 second) press the slide
button on the overhead console.
The sunroof will slide all the way open. To
stop the sunroof sliding at any point,
press any sunroof control button.
Manual slide
Press the slide button on the overhead
console and hold it until the sunroof is
opened to the desired position.CloseTo close the sunroof, press the close but-
ton on the overhead console and hold it
until the sunroof is closed.
Tilting the sunroof
OpenAutotilt
To use the autotilt feature, momentarily
(less than 0.4 second) press the tilt but-
ton on the overhead console. The sun-
roof will tilt all the way open. To stop the
sunroof tilting at any point, press any
sunroof control button.
Manual tilt
Press the tilt button on the overhead con-
sole and hold it until the sunroof is
opened to the desired position.CloseTo close the sunroof, press the close but-
ton on the overhead console and hold it
until the sunroof is closed.
1VQA20341VQA2035
Page 44 of 344
335
Features of your vehicle
Sunshade The sunshade will be opened with the
glass panel automatically when the glass
panel is slid. You will have to close it man-
ually if you want it closed.
In case of an emergency If the sunroof does not open electrically:
1. Open the conversation mirror cover.
1VQA2039
WARNING -
Sunroof
Do not extend face, neck, arms orbody outside through the sunroof
opening while driving.
Make sure hand and face are safely out of the way before clos-
ing a sunroof.
1VQA2036
CAUTION
Do not press any sunroof control button longer than necessary.Damage to the motor or systemcomponents could occur.
Periodically remove any dirt that may accumulate on the guide rail.
If you try to open the sunroof when the temperature is belowfreezing or when the sunroof iscovered with snow or ice, the glass or the motor could be dam-aged.
The sunroof is made to slide together with sunshade. Do notleave the sunshade closed whilethe sunroof is open.
Page 45 of 344

Features of your vehicle36
32. Remove the two (2) screws, and then
remove the overhead console.
3. Insert the emergency handle (provided with the vehicle) and turn the handle
clockwise to open or counterclockwise
to close.
Resetting the sunroofWhenever the vehicle battery is discon-
nected or discharged, or you use the
emergency handle to operate the sun-
roof, you have to reset your sunroof sys-
tem as follows:
1. Turn the ignition key to the ON posi- tion.
2. According to the position of the sun- roof, do as follows.
1) in case that the sunroof has closedcompletely or been tilted :
Press the tilt button until the sun-
roof has tilted upward completely.
2) in case that the sunroof has slide- opened:
Press and hold the close button
(for more than 5 seconds) until the
sunroof has closed completely.
Press the tilt button until the sun-
roof has tilted upward completely.
3. Release the tilt button. 4. Press and hold the tilt button (for
more than 10 seconds) until the sun-
roof has returned to the original posi-
tion of tilt after it is raised a little high-
er than the maximum tilt position.
Then, release the button.
5. Press and hold the tilt button (for more than 5 seconds) until the sun-
roof is operated as follows;
TILT DOWN → SLIDE OPEN →
SLIDE CLOSE
Then, release the button.
When this is complete, the sunroof sys-
tem is reset.
1VQA20371VQA2038
Page 99 of 344

Features of your vehicle90
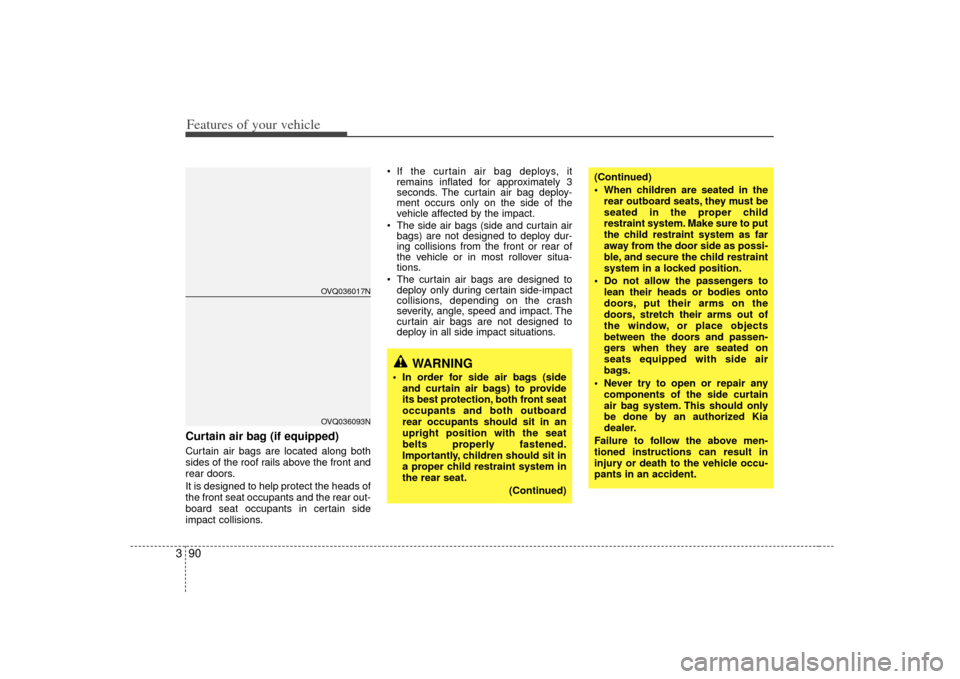
3Curtain air bag (if equipped)Curtain air bags are located along both
sides of the roof rails above the front and
rear doors.
It is designed to help protect the heads of
the front seat occupants and the rear out-
board seat occupants in certain side
impact collisions. If the curtain air bag deploys, it
remains inflated for approximately 3
seconds. The curtain air bag deploy-
ment occurs only on the side of the
vehicle affected by the impact.
The side air bags (side and curtain air bags) are not designed to deploy dur-
ing collisions from the front or rear of
the vehicle or in most rollover situa-
tions.
The curtain air bags are designed to deploy only during certain side-impact
collisions, depending on the crash
severity, angle, speed and impact. The
curtain air bags are not designed to
deploy in all side impact situations.
WARNING
In order for side air bags (side
and curtain air bags) to provide
its best protection, both front seat
occupants and both outboard
rear occupants should sit in an
upright position with the seat
belts properly fastened.
Importantly, children should sit in
a proper child restraint system in
the rear seat.
(Continued)
(Continued)
When children are seated in therear outboard seats, they must be
seated in the proper child
restraint system. Make sure to put
the child restraint system as far
away from the door side as possi-
ble, and secure the child restraint
system in a locked position.
Do not allow the passengers to lean their heads or bodies onto
doors, put their arms on the
doors, stretch their arms out of
the window, or place objects
between the doors and passen-
gers when they are seated on
seats equipped with side air
bags.
Never try to open or repair any components of the side curtain
air bag system. This should only
be done by an authorized Kia
dealer.
Failure to follow the above men-
tioned instructions can result in
injury or death to the vehicle occu-
pants in an accident.
OVQ036017NOVQ036093N