2007 KIA Sedona window
[x] Cancel search: windowPage 32 of 344

323
Features of your vehicle
If the window on the power sliding dooris open (more than 80 mm/3 in.), the
power sliding door will not power open
fully but will open to the 3/4 position
and the chime will sound 3 times. To
close the door, use the transmitter or
main control button with the power
ON/OFF button in OFF position (not
depressed), or sub control button or
door handle with the power ON/OFF
button in ON position (depressed). The left power sliding door cannot be
opened while the fuel filler lid is open
fully. If the main or sub control button is
pushed, the chime sounds once. Also,
if the fuel filler lid open button is
pushed while the left power sliding
door is opening, the chime sounds
once.
✽ ✽ NOTICEIf the fuel filler lid is opened when the
left sliding door is not closed completely,
the door may be opened. Close the left
sliding door before refueling to prevent
possible damage to the door or the fuel
filler lid. If the power sliding door is not closed
and latched completely after power
closing operation, the chime sounds 3
times. Open and close the door again.
If the power sliding door is operated while the door is in partially opened
position (less than 300 mm/12 in.), the
door is automatically opened fully.
If the power sliding door is operated while the door is in half-opened posi-
tion (more than 300 mm/12 in.), the
door is automatically closed complete-
ly. If the power sliding door is operated
again while the door is closing, the
door is automatically opened fully.
If the power sliding door is operated again while the door is opening, the
door is automatically closed complete-
ly. However, If the power sliding door is
operated again when the door is in par-
tially opened position (less than 300
mm/12 in.), the door is opened contin-
uously.
The half-opened power sliding door is automatically opened or closed fully by
pushing the door forward or backward
without pulling the door handle while
the power ON/OFF button is in ON
(depressed). However, when the door
is in partially opened position (less
than 300 mm/12 in.), the door is not
closed automatically.
WARNING
Do not leave the power sliding door
in a partially opened position. Close
the window and then open the door
fully. A partially opened door is held
and then released after 10 minutes.
The chime sounds 3 times to indi-
cate the door is released. If the
vehicle is stopped on a downward
slope, it may move and cause an
injury.
Page 35 of 344

Features of your vehicle26
3
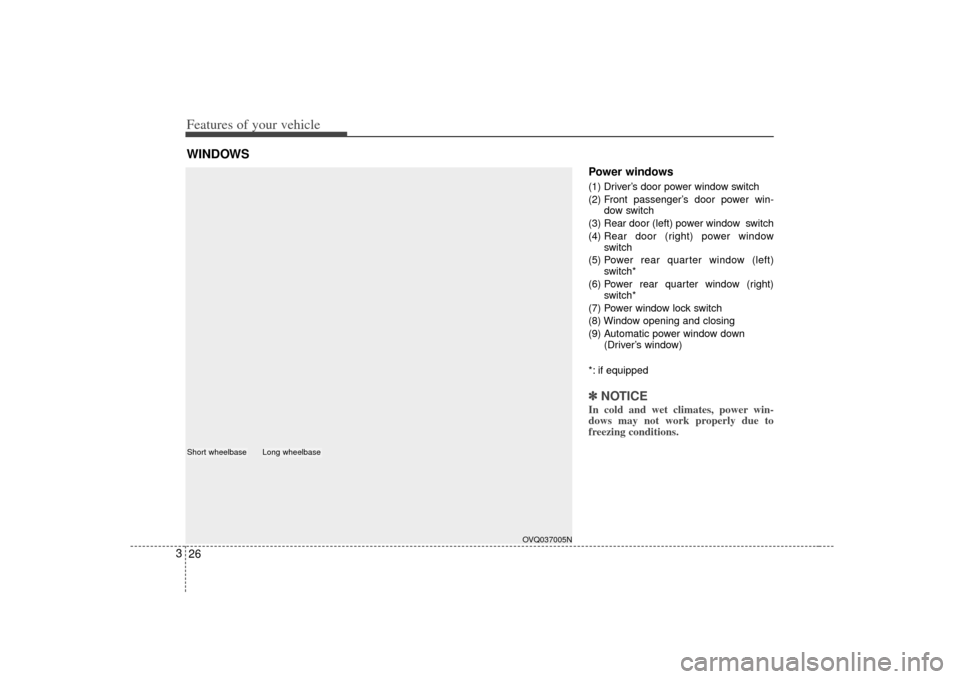
Power windows (1) Driver’s door power window switch
(2) Front passenger’s door power win-
dow switch
(3) Rear door (left) power window switch
(4) Rear door (right) power window
switch
(5) Power rear quarter window (left)
switch*
(6) Power rear quarter window (right) switch*
(7) Power window lock switch
(8) Window opening and closing
(9) Automatic power window down (Driver’s window)
*: if equipped✽ ✽ NOTICEIn cold and wet climates, power win-
dows may not work properly due to
freezing conditions.
WINDOWS
OVQ037005N
Short wheelbase
Long wheelbase
Page 36 of 344

327
Features of your vehicle
The ignition switch must be in the ON
position for power windows to operate.
Each door has a power window switch
that controls that door’s window.
However, the driver has a power window
lock switch which can block the operation
of passenger windows.
The power windows can be operated for
approximately 30 seconds after the igni-
tion key is removed or turned to the ACC
or LOCK position. However, if the front
doors are opened, the power windows
cannot be operated even within the 30
seconds after the ignition key removal.
While driving, if you notice buffeting and
pulsation (wind shock) with either side
window open, you should open the oppo-
site window slightly to reduce the condi-
tion.
Window opening and closingThe driver’s door has a master power
window switch that controls all the win-
dows in the vehicle.
To open or close a window, press down(8) or pull up (8) the front portion of the
corresponding switch.
To open or close a rear quarter win- dow, push (8) the corresponding
switch.
(Continued)
Never try to operate the main switch on the driver's door andthe individual door window switch in opposing directions atthe same time. If this is done, the window will stop and cannot beopened or closed.
WARNING -
Windows
Always double check to make sure all arms, hands, head and
other obstructions are safely out
of the way before closing a win-
dow.
Do not allow children to play with the power windows. Keep the dri-
ver’s door power window lock
switch in the LOCK position
(depressed). Serious injury can
result from unintentional window
operation by the child.
Do not extend face or arms out- side through the window opening
while driving.
CAUTION
To prevent the power window system from the possibility ofdamage, do not open or close two windows at the same time. Thiswill also ensure the longevity ofthe fuse.
(Continued)
Page 37 of 344

Features of your vehicle28
3Automatic power window down
(driver’s window)
Depressing the power window switch
momentarily to the second detent posi-
tion (9) completely lowers the driver’s
window even when the switch is
released. To stop the window at the
desired position while the window is in
operation, pull up the switch momentarily
to the opposite direction of the window
movement.
If the power window is not operated cor-
rectly, the automatic power window sys-
tem must be reset as follows:
1. Turn the ignition key to ON position.
2. Close driver’s window and continue
pulling up on driver’s power window
switch for at least 1 second after the
window is completely closed. Power window lock switch
The driver can disable the power win-
dow switches on a passenger door or
rear quarter trim by depressing the
power window lock switch located on
the driver’s door to LOCK (pressed).
When the power window lock switch is ON, the driver’s master control
cannot operate the passenger door
power windows or rear quarter win-
dows either.
Manual flip - open (rear quarter
windows, if equipped)To open the quarter windows, pull the
rear portion of the latch out. Swing the
latch forward and out, then lock it into the
open position by pushing outward until
you hear a click. To close the windows,
pull the handle inward. Then push the
handle rearward until you hear a click.✽ ✽ NOTICEIn cold and wet climates, rear quarter
panel windows may not work properly
due to freezing conditions.
1VQA2024
OVQ026023N
Page 99 of 344

Features of your vehicle90
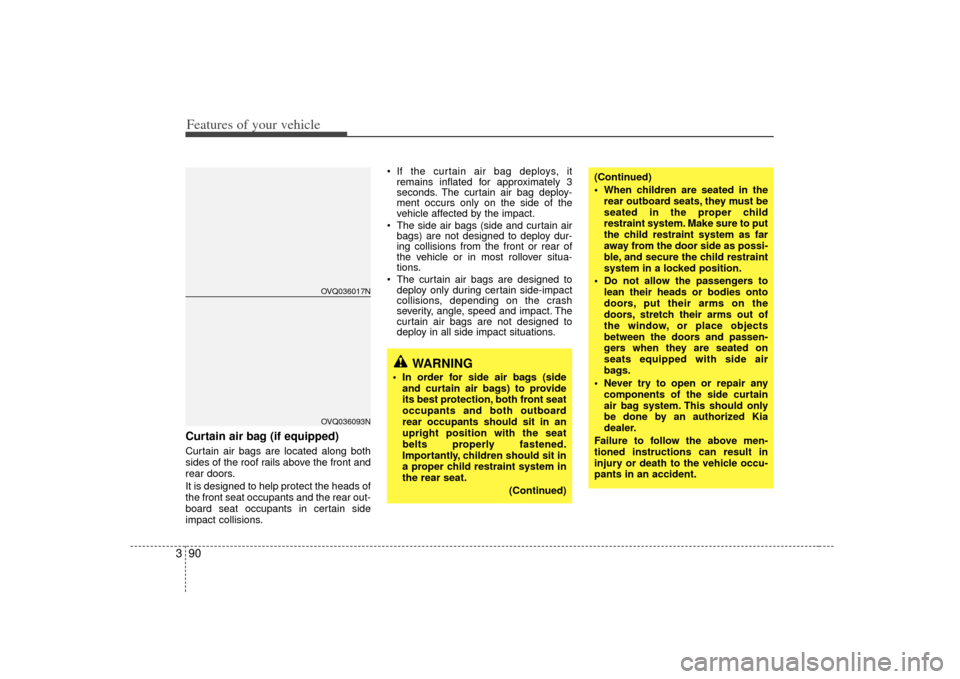
3Curtain air bag (if equipped)Curtain air bags are located along both
sides of the roof rails above the front and
rear doors.
It is designed to help protect the heads of
the front seat occupants and the rear out-
board seat occupants in certain side
impact collisions. If the curtain air bag deploys, it
remains inflated for approximately 3
seconds. The curtain air bag deploy-
ment occurs only on the side of the
vehicle affected by the impact.
The side air bags (side and curtain air bags) are not designed to deploy dur-
ing collisions from the front or rear of
the vehicle or in most rollover situa-
tions.
The curtain air bags are designed to deploy only during certain side-impact
collisions, depending on the crash
severity, angle, speed and impact. The
curtain air bags are not designed to
deploy in all side impact situations.
WARNING
In order for side air bags (side
and curtain air bags) to provide
its best protection, both front seat
occupants and both outboard
rear occupants should sit in an
upright position with the seat
belts properly fastened.
Importantly, children should sit in
a proper child restraint system in
the rear seat.
(Continued)
(Continued)
When children are seated in therear outboard seats, they must be
seated in the proper child
restraint system. Make sure to put
the child restraint system as far
away from the door side as possi-
ble, and secure the child restraint
system in a locked position.
Do not allow the passengers to lean their heads or bodies onto
doors, put their arms on the
doors, stretch their arms out of
the window, or place objects
between the doors and passen-
gers when they are seated on
seats equipped with side air
bags.
Never try to open or repair any components of the side curtain
air bag system. This should only
be done by an authorized Kia
dealer.
Failure to follow the above men-
tioned instructions can result in
injury or death to the vehicle occu-
pants in an accident.
OVQ036017NOVQ036093N
Page 113 of 344

Features of your vehicle104
3Outside rearview mirror heater
(if equipped) The outside rearview mirror heater is
actuated in connection with the rear win-
dow defroster. To heat the outside
rearview mirror glass, push the button for
the rear window defroster.
The rearview mirror heater (and rear win-
dow defroster) will not operate unless the
engine is running.
The outside rearview mirror glass will be
heated for defrosting or defogging and
will give you improved rear vision in
inclement weather conditions. Push the
button again to turn the heater off. The
outside rearview mirror heater automati-
cally turns off after 20 minutes.
Electric remote control The electric remote control mirror switch
allows you to adjust the position of the
left and right outside rearview mirrors. To
adjust the position of either mirror, move
the lever (1) to R or L to select the right
side mirror or the left side mirror, then
press a corresponding point ( ) on the
mirror adjustment control to position the
selected mirror up, down, left or right.
After adjustment, put the lever into neu-
tral position to prevent the inadvertent
adjustment.
CAUTION
The mirrors stop moving when they reach the maximum adjust-ing angles, but the motor contin-ues to operate while the switch is depressed. Do not depress theswitch longer than necessary, themotor may be damaged.
Do not attempt to adjust the out- side rearview mirror by hand.Doing so may damage the parts.
1VQA2108
Page 115 of 344

Features of your vehicle106
3Day/night rearview mirror Adjust the rearview mirror to center on
the view through the rear window. Make
this adjustment before you start driving.
Manual type Make this adjustment before you start
driving and while the day/night lever is in
the day position.
Pull the day/night lever toward you to
reduce glare from the headlights of vehi-
cles behind you during night driving.Remember that you lose some rearview
clarity in the night position. Electric type
The electric rearview mirror automatical-
ly controls the glare from the headlights
of the car behind you in nighttime or low
light driving conditions. The sensor
mounted in the mirror senses the light
level around the vehicle, and through a
chemical reaction, automatically controls
the headlight glare from vehicles behind
you.
When the engine is running, the glare is
automatically controlled by the sensor
mounted in the rearview mirror.
Whenever the shift lever is shifted into
reverse (R), the mirror will automatically
go to the brightest setting in order to
improve the drivers view behind the vehi-
cle.
WARNING -
Rear visibility
Do not place objects in the rear seat
or cargo area which would interfere
with your vision out the rear win-
dow.
1VQA2105
Day
Night
Day/Night lever
CAUTION
When cleaning the mirror, use apaper towel or similar materialdampened with glass cleaner. Do not spray glass cleaner directly onthe mirror as that may cause the liq- uid cleaner to enter the mirror hous-ing.
Page 142 of 344

3 133
Features of your vehicle
Rear window wiper and washer
switch (if equipped)The rear window wiper and washer
switch is located at the end of the wiper
and washer switch lever. Turn the switch
to desired position to operate the rear
wiper and washer.- Spraying washer fluid and wiping
OFF - Wiper is not in operation
INT - Intermittent wiper operation
ON - Normal wiper opertion - Spraying washer fluid and wiping
HORNTo sound the horn, press the horn sym-
bol on your steering wheel.
Check the horn regularly to be sure it
operates properly.
CAUTION
To prevent possible damage to thewasher pump, do not operate thewasher when the fluid reservoir isempty.
WARNING
Do not use the washer in freezing
temperatures without first warming
the windshield with the defrosters;
the washer solution could freeze on
contact with the windshield and
obscure your vision.
OVQ037054N
CAUTION
To sound the horn, press the area indicated by the horn symbol onyour steering wheel (see illustra-tion). The horn will operate only when this area is pressed.
Do not strike the horn severely to operate it, or hit it with your fist.Do not press on the horn with asharp-pointed object.
OVQ036055N