2007 KIA Sedona clock
[x] Cancel search: clockPage 206 of 344

3 197
Features of your vehicle
6. BOOKMARK (MARK) ButtonWhen the CD player unit is operating, the
desired track on the disc can be book-
marked by using the MARK button.(MP3
CD only)
Press the MARK button for more than0.8 seconds to bookmark the desired
track.
“M” will be displayed on the LCD and
“MEMORY(1~50)” will display for
approximately five seconds with beep
sound.
To play a bookmarked track, press the
MARK button within 0.8 seconds and
select the bookmarked track to play.
To erase a bookmarked track, press the MARK button for more than 0.8
seconds. The unit will beep once when
the bookmark is erased.✽ ✽ NOTICETracks stored on Mark Memory will be
automatically erased after you eject CDs
that contain those tracks. 7. SCROLL ButtonPress the button, and you can check the
file names with more than 16 characters
on MP3 CD(max 34 characters.). The button doesn’t work on file names
less than 16 characters.
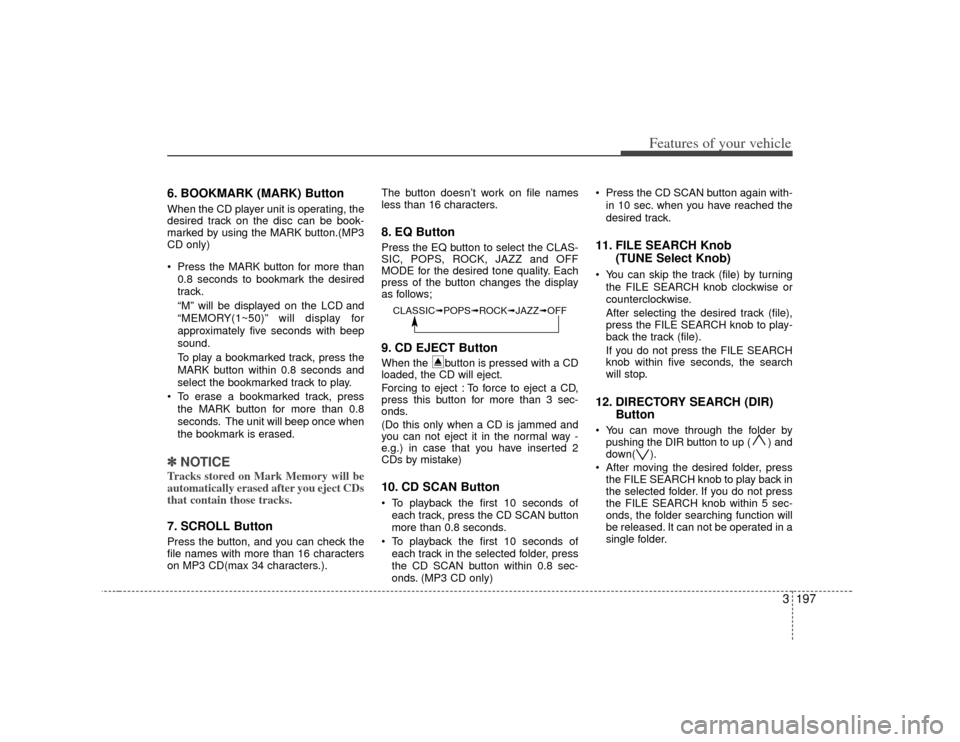
8. EQ ButtonPress the EQ button to select the CLAS-
SIC, POPS, ROCK, JAZZ and OFF
MODE for the desired tone quality. Each
press of the button changes the display
as follows;9. CD EJECT ButtonWhen the button is pressed with a CD
loaded, the CD will eject.
Forcing to eject : To force to eject a CD,
press this button for more than 3 sec-
onds.
(Do this only when a CD is jammed and
you can not eject it in the normal way -
e.g.) in case that you have inserted 2
CDs by mistake)10. CD SCAN Button To playback the first 10 seconds of
each track, press the CD SCAN button
more than 0.8 seconds.
To playback the first 10 seconds of each track in the selected folder, press
the CD SCAN button within 0.8 sec-
onds. (MP3 CD only) Press the CD SCAN button again with-
in 10 sec. when you have reached the
desired track.
11. FILE SEARCH Knob (TUNE Select Knob) You can skip the track (file) by turning
the FILE SEARCH knob clockwise or
counterclockwise.
After selecting the desired track (file),
press the FILE SEARCH knob to play-
back the track (file).
If you do not press the FILE SEARCH
knob within five seconds, the search
will stop.12. DIRECTORY SEARCH (DIR) Button You can move through the folder by
pushing the DIR button to up ( ) and
down( ).
After moving the desired folder, press the FILE SEARCH knob to play back in
the selected folder. If you do not press
the FILE SEARCH knob within 5 sec-
onds, the folder searching function will
be released. It can not be operated in a
single folder.
CLASSIC➟ POPS➟ROCK➟ JAZZ➟OFF
Page 209 of 344

Features of your vehicle200
31. POWER ON-OFF Control Knob The radio unit may be operated when
the ignition key is in the "ACC" or “ON”
position. Press the knob to switch the
power on. The LCD shows the radio
frequency in the radio mode, the tape
direction indicator in the tape mode or
CD/MP3 track in the CD/MP3 mode or
CD AUTO CHANGER mode. To switch
the power off, press the knob again.
Push the FM/AM, TAPE or CD/MP3 to turn on that function without pushing
the Power ON-OFF control knob.VOLUME ControlRotate the knob clockwise to increase
the volume and turn the knob counter-
clockwise to reduce the volume.2. BAND Select ButtonPressing the FM/AM button changes the
AM, FM1 and FM2 bands. The mode
selected is shown on the display.3. AUDIO Select ButtonPressing the AUDIO button changes the
BASS, MID-RANGE, TREBLE, FADER,
BALANCE and SURROUND mode. The
mode selected is shown on the display.
After selecting the each mode, rotate the
Audio control knob clockwise or counter-
clockwise.
BASS ControlTo increase the BASS, rotate the knob
clockwise, while to decrease the BASS,
rotate the knob counterclockwise.MID-RANGE ControlTo increase the MID-RANGE, rotate the
knob clockwise, while to decrease the
MID-RANGE, rotate the knob counter-
clockwise.TREBLE ControlTo increase the TREBLE, rotate the knob
clockwise, while to decrease the TRE-
BLE, rotate the knob counterclockwise.FADER ControlRotate the control knob clockwise to
emphasize rear speaker sound (front
speaker sound will be attenuated). When
the control knob is turned counterclock-
wise, front speaker sound will be empha-
sized (rear speaker sound will be attenu-
ated).BALANCE ControlRotate the knob clockwise to emphasize
right speaker sound (left speaker sound
will be attenuated). When the control
knob is turned counterclockwise, left
speaker sound will be emphasized (right
speaker sound will be attenuated).
SURROUND Control (if equipped with RSE)To turn on the SURROUND, rotate the
knob clockwise, while to turn off the SUR-
ROUND, rotate the knob counterclock-
wise. The surround sound is not consis-
tent when cycling from radio to CD, cas-
sette or DVD. Therefore, the SURROUND
ON/OFF control should be selected,
whenever you change to other audio
modes (AM/FM, CASSETTE TAPE, CD,
AUX).4. TUNE Select/AUDIO Control KnobRotate the knob clockwise to increase
the frequency and turn the knob counter-
clockwise to reduce the frequency.5. AUTO SEEK Select Button(Automatic Channel Selection)Press the AUTO SEEK select button.
When the side is pressed, the unit
will automatically tune to the next higher
frequency and when the side is
pressed, it will automatically tune to the
next lower frequency.
Page 218 of 344

3 209
Features of your vehicle
13. FILE SEARCH Knob (TUNE Select Knob) You can skip the track (file) by turning
the FILE SEARCH knob clockwise or
counterclockwise.
After selecting the desired track (file),
press the FILE SEARCH knob to play-
back the track (file).
If you do not press the FILE SEARCH
knob within five seconds, the search
will stop.14. DIRECTORY SEARCH (DIR) Button You can move through the folder by
pushing the DIR button to up ( ) and
down( ).
After moving the desired folder, press the FILE SEARCH knob to play back in
the selected folder. If you do not press
the FILE SEARCH knob within 5 sec-
onds, the folder searching function will
be released. It can not be operated in a
single folder.
✽ ✽ NOTICE• To assure proper operation of the unit,
keep the vehicle interior temperature
within a normal range by using the
vehicle's air conditioning or heating
system.
• When replacing the fuse, replace it with a fuse having the correct capaci-
ty.
• Stored bookmarks are all erased when the car battery is disconnected or
power to the vehicle is lost. If this
occurs, the bookmarks will have to be
reset.
• This equipment is designed to be used only in a 12 volt DC battery system
with negative ground.
• This unit is made of precision parts. Do not attempt to disassemble or
adjust any parts.
• Do not expose this equipment (includ- ing the speakers and tape) to water or
excessive moisture.
CAUTION
Do not insert warped or poor
quality discs into the CD playeras damage to the unit may occur.
Do not insert anything like coins into the player slot as damage tothe unit may occur.
Do not place beverages close to the audio system. The playbackmechanism may be damaged ifyou spill them.
Do not strike or allow anything to impact the audio system, damageto the system mechanisms couldoccur.
Off-road or rough surface driving may cause the compact disc toskip. Do not use the compactdisc when driving in such condi-tions as damage to the compact disc face could occur.
Do not attempt to grab or pull the compact disc out while the disc isbeing pulled into the audio unit by the self-loading mechanism.Damage to the audio unit and compact disc could occur.
Avoid using recorded compact discs in your audio unit. Originalcompact discs are recommended for best results.
WARNING
When driving your vehicle, be sure
to keep the volume of the unit set
low enough to allow you to hear
sounds coming from the outside.
Page 278 of 344

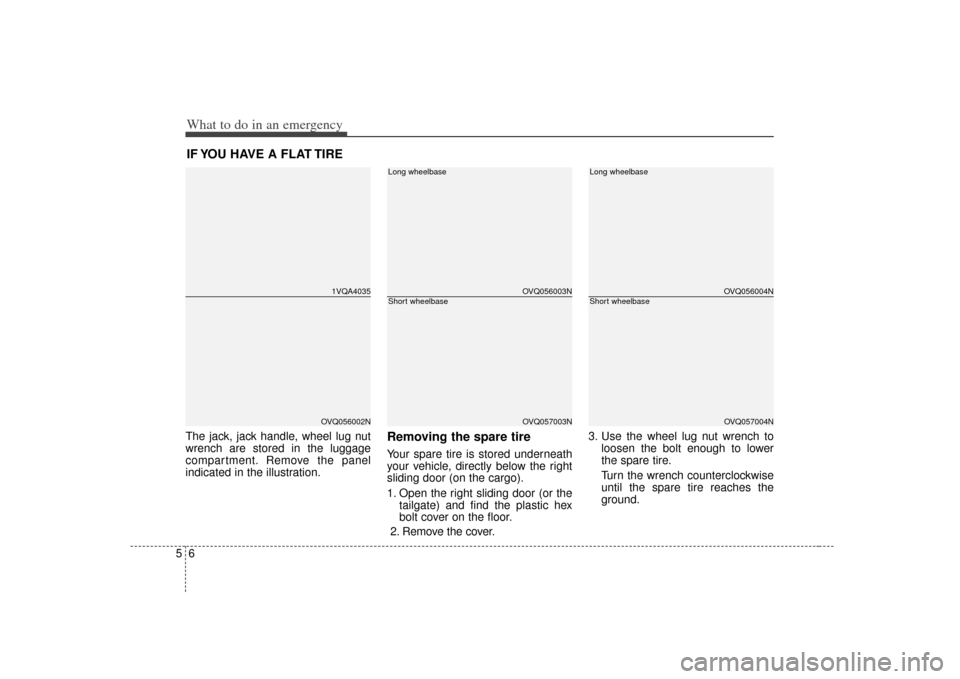
What to do in an emergency65IF YOU HAVE A FLAT TIRE The jack, jack handle, wheel lug nut
wrench are stored in the luggage
compartment. Remove the panel
indicated in the illustration.
Removing the spare tire Your spare tire is stored underneath
your vehicle, directly below the right
sliding door (on the cargo).
1. Open the right sliding door (or thetailgate) and find the plastic hex
bolt cover on the floor.
2. Remove the cover. 3. Use the wheel lug nut wrench to
loosen the bolt enough to lower
the spare tire.
Turn the wrench counterclockwise
until the spare tire reaches the
ground.
1VQA4035OVQ056002N
OVQ056003NOVQ057003N
Long wheelbaseShort wheelbase
OVQ056004NOVQ057004N
Long wheelbaseShort wheelbase
Page 279 of 344

57
What to do in an emergency
4. After the spare tire reaches theground, continue to turn the
wrench counterclockwise, and
draw the spare tire outside. Never
rotate the wrench excessively, oth-
erwise the spare tire carrier may
be damaged.
5. Remove the retainer from the cen- ter of the spare tire.
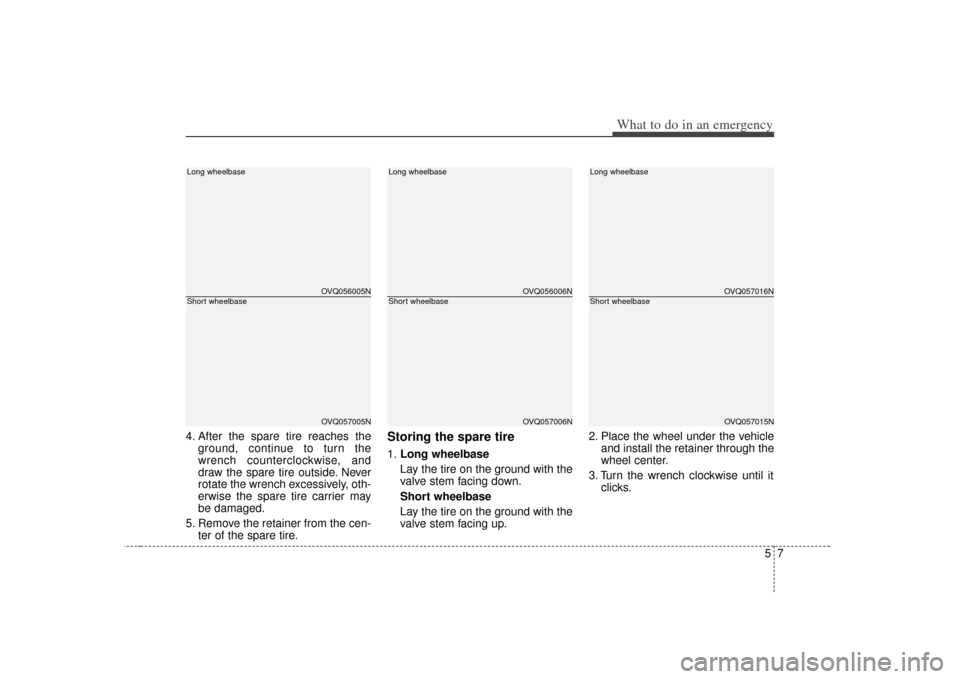
Storing the spare tire 1. Long wheelbase
Lay the tire on the ground with the
valve stem facing down. Short wheelbase
Lay the tire on the ground with the
valve stem facing up. 2. Place the wheel under the vehicle
and install the retainer through the
wheel center.
3. Turn the wrench clockwise until it clicks.
OVQ056005NOVQ057005N
Long wheelbaseShort wheelbase
OVQ056006NOVQ057006N
Long wheelbaseShort wheelbase
OVQ057016NOVQ057015N
Long wheelbaseShort wheelbase
Page 281 of 344

59
What to do in an emergency
Do not take this vehicle through anautomatic car wash while the com-
pact spare tire is installed.
Do not use tire chains on the com- pact spare tire. Because of the
smaller size, a tire chain will not fit
properly. This could damage the
vehicle and result in loss of the
chain.
The compact spare tire should not be installed on the front axle if the
vehicle must be driven in snow or
on ice.
Do not use the compact spare tire on any other vehicle because this
tire has been designed especially
for your vehicle.
The compact spare tire’s tread life is shorter than a regular tire.
Inspect your compact spare tire
regularly and replace worn com-
pact spare tires with the same size
and design, mounted on the same
wheel.
Changing tires Jacking instructions The jack is provided for emergency
tire changing only.
To prevent the jack from “rattling”
while the vehicle is in motion, lower
the jack to the lowest position, place
the jack in the luggage side trim and
turn the wing bolt (1) clockwise firmly.
Make sure the jack is secured firmly
by trying to move the jack forward
and backward. Follow jacking instructions to reduce
the possibility of personal injury.
WARNING
- Changing
tires
Never attempt vehicle repairs in the traffic lanes of a public
road or highway.
Always move the vehicle com- pletely off the road and onto
the shoulder before trying to
change a tire. The jack should
be used on level firm ground.
If you cannot find a firm, level
place off the road, call a tow-
ing service company for
assistance.
Be sure to use the correct front and rear jacking posi-
tions on the vehicle; never use
the bumpers or any other part
of the vehicle for jack support.
(Continued)
OVQ056007N
Page 283 of 344

511
What to do in an emergency
6. Loosen the wheel lug nuts coun-terclockwise one turn each, but do
not remove any nut until the tire
has been raised off the ground. 7. Place the jack at the front or rear
jacking position closest to the tire
you are changing. Place the jack
at the designated locations under
the frame. The jacking positions
are plates welded to the frame
with two tabs and a raised dot to
index with the jack.
WARNING
- Jack location
To reduce the possibility of
injury, be sure to use only the
jack provided with the vehicle
and in the correct jack position;
never use any other part of the
vehicle for jack support.
1VQA4024
1VQA4025
WARNING
- Changing a tire
To prevent vehicle movement while changing a tire, always
set the parking brake fully, and
always block the wheel diago-
nally opposite the wheel being
changed.
We recommend that the wheels of the vehicle be
chocked, and that no person
remain in a vehicle that is
being jacked.
Page 284 of 344

What to do in an emergency12
58. Insert the jack handle into the jack
and turn it clockwise, raising the
vehicle until the tire just clears the
ground. This measurement is
approximately 30 mm (1.2 in).
Before removing the wheel lug
nuts, make sure the vehicle is sta-
ble and that there is no chance for
movement or slippage.
9. Remove the wheel lug nuts by turning them counterclockwise,
then remove the wheel.
10. Mount the spare tire into position and install the wheel lug nuts
with the beveled edge inward. 11. Once the wheel lug nuts have
been tightened, lower the vehicle
fully to the ground and continue to
tighten the lug nuts until they are
fully secured. Tighten the wheel
lug nuts firmly in a “ ” pattern.
If you are unsure of the tightness
of the wheel lug nuts, have them
checked at the nearest service
station. The specified tightening
torque is 9~11 kg
88-107 N Improperly tight-
ened wheel lug nuts could cause
brake pedal vibration while brak-
ing.
CAUTION
Your vehicle has metric threads on the wheel studs and nuts.Make certain during wheelremoval that the same nutsremoved are reinstalled - or, ifreplaced, that nuts with metricthreads and the same chamferconfiguration are used.Installation of a non-metricthread nut on a metric stud orvice-versa will not secure thewheel to the hub properly andwill damage the stud so that itmust be replaced.
Note that most lug nuts do nothave metric threads. Be sure touse extreme care in checkingfor thread style before installingaftermarket lug nuts or wheels.If in doubt, consult anAuthorized Kia Dealer.
OVQ056008N
1VQA4026
X