2007 KIA Rio warning
[x] Cancel search: warningPage 202 of 221
Maintenance24
7✽
✽
NOTICE• Warm tires normally exceed rec-
ommended cold tire pressures by
28 to 41 kPa (4 to 6 psi). Do not
release air from warm tires to
adjust the pressure or the tires will
be underinflated.
• Be sure to reinstall the tire infla- tion valve caps. Without the valve
cap, dirt or moisture could get into
the valve core and cause air leak-
age. If a valve cap is missing,
install a new one as soon as possi-
ble.
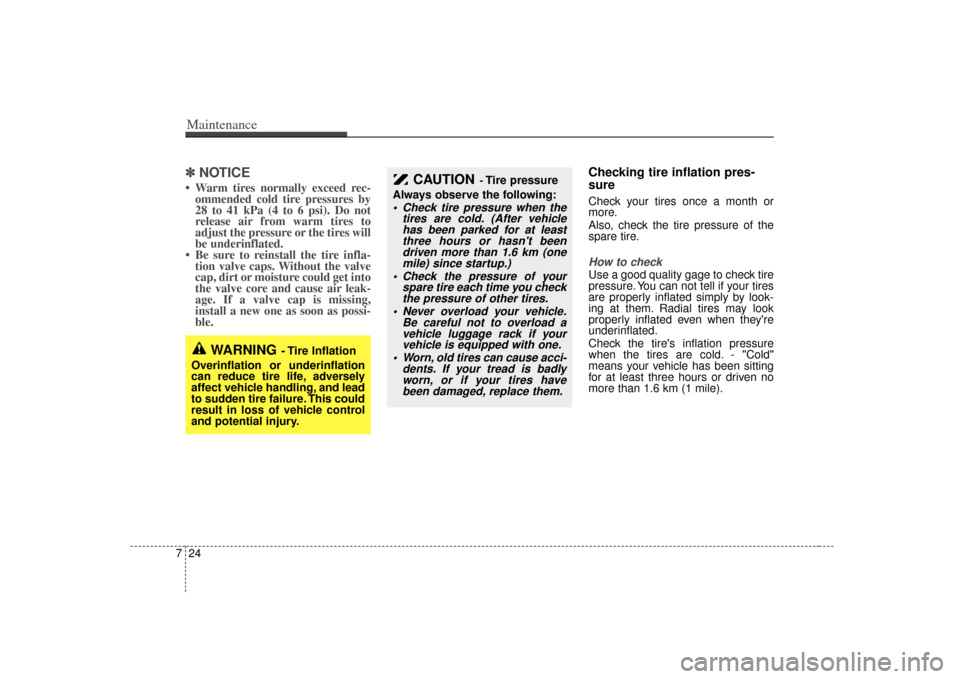
Checking tire inflation pres-
sureCheck your tires once a month or
more.
Also, check the tire pressure of the
spare tire.How to checkUse a good quality gage to check tire
pressure. You can not tell if your tires
are properly inflated simply by look-
ing at them. Radial tires may look
properly inflated even when they're
underinflated.
Check the tire's inflation pressure
when the tires are cold. - "Cold"
means your vehicle has been sitting
for at least three hours or driven no
more than 1.6 km (1 mile).
WARNING
- Tire Inflation
Overinflation or underinflation
can reduce tire life, adversely
affect vehicle handling, and lead
to sudden tire failure. This could
result in loss of vehicle control
and potential injury.
CAUTION
- Tire pressure
Always observe the following:
Check tire pressure when the tires are cold. (After vehiclehas been parked for at leastthree hours or hasn't beendriven more than 1.6 km (onemile) since startup.)
Check the pressure of your spare tire each time you checkthe pressure of other tires.
Never overload your vehicle. Be careful not to overload avehicle luggage rack if yourvehicle is equipped with one.
Worn, old tires can cause acci- dents. If your tread is badlyworn, or if your tires havebeen damaged, replace them.
Page 203 of 221

725
Maintenance
Remove the valve cap from the tire
valve stem. Press the tire gage firm-
ly onto the valve to get a pressure
measurement. If the cold tire inflation
pressure matches the recommended
pressure on the tire and loading
information label, no further adjust-
ment is necessary. If the pressure is
low, add air until you reach the rec-
ommended amount.
If you overfill the tire, release air by
pushing on the metal stem in the
center of the tire valve. Recheck the
tire pressure with the tire gage. Be
sure to put the valve caps back on
the valve stems. They help prevent
leaks by keeping out dirt and mois-
ture.
Tire rotation To equalize tread wear, it is recom-
mended that the tires be rotated
every 12,000 km (7,500 miles) or
sooner if irregular wear develops.
During rotation, check the tires for
correct balance.
When rotating tires, check for uneven
wear and damage. Abnormal wear is
usually caused by incorrect tire pres-
sure, improper wheel alignment, out-
of-balance wheels, severe braking or
severe cornering. Look for bumps or
bulges in the tread or side of tire.
Replace the tire if you find either of
these conditions. Replace the tire if
fabric or cord is visible. After rotation,
be sure to bring the front and rear tire
pressures to specification and check
lug nut tightness.
Refer to Section 8, Specifications.
Disc brake pads should be inspectedfor wear whenever tires are rotated.Rotate radial tires that have an
asymmetric tread pattern only
from front to rear and not from
right to left.
CBGQ0707A
Without a spare tire
Directional tires (if equipped)
CBGQ0707
WARNING
Do not use the temporary
spare tire for tire rotation
Do not mix bias ply and radial ply tires under any circum-
stances. This may cause
unusual handling characteris-
tics that could result in death,
severe injury, or property
damage.
Page 205 of 221
727
Maintenance
Wheel replacementWhen replacing the metal wheels for
any reason, make sure the new
wheels are equivalent to the original
factory units in diameter, rim width
and offset.
WARNING -
Replacing
tires
Driving on worn-out tires is very hazardous and will
reduce braking effectiveness,
steering accuracy, and trac-
tion.
Your vehicle is equipped with tires designed to provide for
safe ride and handling capa-
bility. Do not use a size and
type of tire and wheel that is
different from the one that is
originally installed on your
vehicle. It can affect the safety
and performance of your vehi-
cle, which could lead to han-
dling failure or rollover and
serious injury. When replacing
the tires, be sure to equip all
four tires with the tire and
wheel of the same size, type,
tread, brand and load-carrying
capacity.
(Continued)
(Continued)If you nevertheless decide to
equip your vehicle with any
tire/wheel combination not
recommended by Kia for off
road driving, you should not
use these tires for highway
driving.
The use of any other tire size or type may seriously affect
ride, handling, ground clear-
ance, stopping distance, body
to tire clearance, snow tire
clearance, and speedometer
reliability.
It is best to replace all four tires at the same time. If that is
not possible, or necessary,
then replace the two front or
two rear tires as a pair.
Replacing just one tire can
seriously affect your vehicle’s
handling.
WARNING
A wheel that is not the correct
size may adversely affect wheel
and bearing life, braking and
stopping abilities, handling
characteristics, ground clear-
ance, body-to-tire clearance,
snow chain clearance,
speedometer calibration, head-
light aim and bumper height.
Page 208 of 221
Maintenance30
74. Tire ply composition and mate-
rialThe number of layers or plies of rub-
ber-coated fabric in the tire. Tire
manufacturers also must indicate the
materials in the tire, which include
steel, nylon, polyester, and others.
The letter "R" means radial ply con-
struction; the letter "D" means diago-
nal or bias ply construction; and the
letter "B" means belted-bias ply con-
struction.
5. Maximum permissible inflationpressureThis number is the greatest amount
of air pressure that should be put in
the tire. Do not exceed the maximum
permissible inflation pressure. Refer
to the Tire and Loading Information
label for recommended inflation
pressure.6. Maximum load ratingThis number indicates the maximum
load in kilograms and pounds that
can be carried by the tire. When
replacing the tires on the vehicle,
always use a tire that has the same
load rating as the factory installed
tire.7. Uniform tire quality grading The following information relates to
the tire grading system developed by
the Canadian Motor Vehicle Safety
Standard (CMVSS) for grading tires
by tread wear, traction and tempera-
ture performance. Tread wear
The tread wear grade is a compara-
tive rating based on the wear rate of
the tire when tested under controlled
conditions on a specified govern-
ment test course. For example, a tire
graded 150 would wear one-and-a-
half times as well on the government
course as a tire graded 100.
The relative performance of tires
depends upon the actual conditions
of their use. However, performance
may differ from the norm because of
variations in driving habits, service
practices and differences in road
characteristics and climate.
These grades are molded on the
side-walls of passenger vehicle tires.
The tires available as standard or
optional equipment on Kia vehicles
may vary with respect to grade.
WARNING
Tires degrade over time, even
when they are not being used.
Regardless of the remaining
tread, it is recommended that
tires generally be replaced after
six (6) years of normal service.
Heat caused by hot climates or
frequent high loading condi-
tions can accelerate the aging
process. Failure to follow this
warning can result in sudden
tire failure, which could lead to a
loss of control and an accident
involving serious injury or
death.
Page 209 of 221
731
Maintenance
Traction - AA, A, B & C
The traction grades, from highest to
lowest, are AA, A, B and C. The
grades represent the tires ability to
stop on wet pavement as measured
under controlled conditions on spec-
ified government test surfaces of
asphalt and concrete. A tire marked
C may have poor traction perform-
ance.
Temperature -A, B & C
The temperature grades are A (the
highest), B and C. The grades repre-
sent the tire’s resistance to the gen-
eration of heat and its ability to dissi-
pate heat when tested under con-
trolled conditions on a specified
indoor laboratory test wheel.
Sustained high temperature can
cause the material of the tires to
degenerate and reduce tires life, and
excessive temperature can lead to
sudden tires failure. Grades A and B
represent higher levels of perform-
ance on the laboratory test wheel than
the minimum required by the law.
All season tires Kia specifies all season tires on
some models to provide good per-
formance for use all year round,
including snowy and icy road condi-
tions. All season tires are identified
by ALL SEASON and/or M+S (Mud
and Snow) on the tire sidewall. Snow
tires have better snow traction than
all season tires and may be more
appropriate in some areas.
Summer tires Kia specifies summer tires on some
models to provide superior perform-
ance on dry roads. Summer tire per-
formance is substantially reduced in
snow and ice. Summer tires do not
have the tire traction rating M+S
(Mud and Snow) on the tire side wall.
if you plan to operate your vehicle in
snowy or icy conditions. Kia recom-
mends the use of snow tires or all
season tires on all four wheels.Snow tiresIf you equip your car with snow tires,
they should be the same size and
have the same load capacity as the
original tires. Snow tires should be
installed on all four wheels; other-
wise, poor handling may result.
Snow tires should carry 28 kPa (4
psi) more air pressure than the pres-
sure recommended for the standard
tires on the tire label on the driver's
side of the center pillar, or up to the
maximum pressure shown on the tire
sidewall, whichever is less.
Do not drive faster than 120 km/h (75
mph) when your car is equipped with
snow tires.
WARNING
- Tire temperature
The temperature grade for this
tire is established for a tire that
is properly inflated and not
overloaded. Excessive speed,
underinflation, or excessive
loading, either separately or in
combination, can cause heat
build-up and possible sudden
tire failure. This can cause loss
of vehicle control and serious
injury or death.
Page 211 of 221
733
Maintenance
EXTERIOR CARE Exterior general caution It is very important to follow the label
directions when using any chemical
cleaner or polish. Read all warning and
caution statements that appear on the
label.Finish maintenanceWashing To help protect your vehicle’s finish from
rust and deterioration, wash it thoroughly
and frequently at least once a month with
lukewarm or cold water.
If you use your vehicle for off-road driv-
ing, you should wash it after each off-
road trip. Pay special attention to the
removal of any accumulation of salt, dirt,
mud, and other foreign materials. Make
sure the drain holes in the lower edges of
the doors and rocker panels are kept
clear and clean.
Insects, tar, tree sap, bird droppings,
industrial pollution and similar deposits
can damage your vehicle’s finish if not
removed immediately.
Even prompt washing with plain water
may not completely remove all these
deposits. A mild soap, safe for use on
painted surfaces, may be used.After washing, rinse the vehicle thor-
oughly with lukewarm or cold water. Do
not allow soap to dry on the finish.
✽ ✽
NOTICEDo not use strong soap, chemical deter-
gents or hot water, and do not wash the
vehicle in direct sunlight or when the
body of the vehicle is warm.
✽ ✽NOTICE• Water washing in the engine compart-
ment including high pressure water
washing may cause the failure of elec-
trical circuits located in the engine
compartment.
• Never allow water or other liquids to come in contact with electrical/elec-
tronic components inside the vehicle
as this may damage them.
WARNING
- Wet brakes
After washing the vehicle, test the
brakes while driving slowly to see if
they have been affected by water. If
braking performance is impaired,
dry the brakes by applying them
lightly while maintaining a slow for-
ward speed.
OJB037800
Page 212 of 221
Maintenance34
7WaxingWax the vehicle when water will no
longer bead on the paint.
Always wash and dry the vehicle before
waxing. Use a good quality liquid or
paste wax, and follow the manufacturer’s
instructions. Wax all metal trim to protect
it and to maintain its luster.
Removing oil, tar, and similar materials
with a spot remover will usually strip the
wax from the finish. Be sure to re-wax
these areas even if the rest of the vehicle
does not yet need waxing.✽ ✽
NOTICE• Wiping dust or dirt off the body with
a dry cloth will scratch the finish.
• Do not use steel wool, abrasive clean- ers, or strong detergents containing
highly alkaline or caustic agents on
chrome-plated or anodized aluminum
parts. This may result in damage to
the protective coating and cause dis-
coloration or paint deterioration.
Finish damage repair Deep scratches or stone chips in the
painted surface must be repaired
promptly. Exposed metal will quickly rust
and may develop into a major repair
expense.✽ ✽ NOTICEIf your vehicle is damaged and requires
any metal repair or replacement, be sure
the body shop applies anti-corrosion
materials to the parts repaired or
replaced. Bright-metal maintenance To remove road tar and insects, use a
tar remover, not a scraper or other
sharp object.
To protect the surfaces of bright-metal parts from corrosion, apply a coating of
wax or chrome preservative and rub to
a high luster.
During winter weather or in coastal areas, cover the bright metal parts with
a heavier coating of wax or preserva-
tive. If necessary, coat the parts with
non-corrosive petroleum jelly or other
protective compound.
Underbody maintenanceCorrosive materials used for ice and
snow removal and dust control may col-
lect on the underbody. If these materials
are not removed, accelerated rusting can
occur on underbody parts such as the
fuel lines, frame, floor pan and exhaust
system, even though they have been
treated with rust protection.
Thoroughly flush the vehicle underbody
and wheel openings with lukewarm or
cold water once a month, after off-road
driving and at the end of each winter. Pay
special attention to these areas because
it is difficult to see all the mud and dirt. It
will do more harm than good to wet down
the road grime without removing it. The
lower edges of doors, rocker panels, and
frame members have drain holes that
should not be allowed to clog with dirt;
trapped water in these areas can cause
rusting.
WARNING
After washing the vehicle, test the
brakes while driving slowly to see if
they have been affected by water. If
braking performance is impaired,
dry the brakes by applying them
lightly while maintaining a slow for-
ward speed.
Page 220 of 221
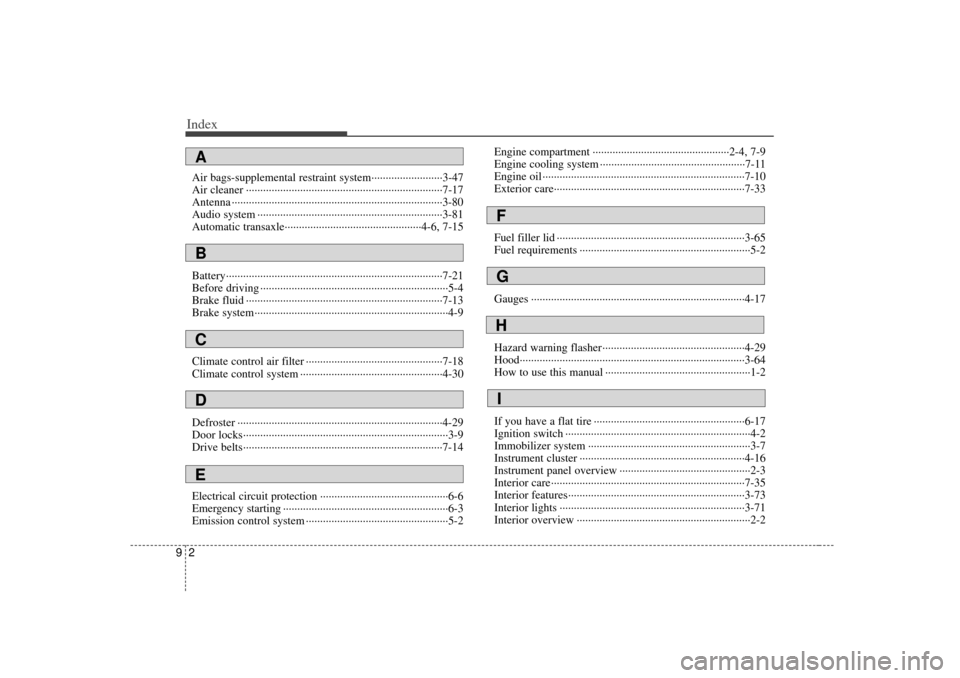
Index29Air bags-supplemental restraint system··················\
·······3-47
Air cleaner ··················\
··················\
··················\
···············7-17
Antenna ··················\
··················\
··················\
··················\
··3-80
Audio system ··················\
··················\
··················\
···········3-81
Automatic transaxle··················\
··················\
············4-6, 7-15
Battery··················\
··················\
··················\
··················\
····7-21
Before driving ··················\
··················\
··················\
············5-4
Brake fluid ··················\
··················\
··················\
···············7-13
Brake system··················\
··················\
··················\
··············4-9
Climate control air filter ··················\
··················\
············7-18
Climate control system ··················\
··················\
··············4-30
Defroster ··················\
··················\
··················\
··················\
4-29
Door locks··················\
··················\
··················\
··················\
3-9
Drive belts··················\
··················\
··················\
················7-14
Electrical circuit protection ··················\
··················\
·········6-6
Emergency starting ··················\
··················\
··················\
····6-3
Emission control system ··················\
··················\
··············5-2Engine compartment ··················\
··················\
············2-4, 7-9
Engine cooling system ··················\
··················\
···············7-11
Engine oil ··················\
··················\
··················\
·················7-10\
Exterior care··················\
··················\
··················\
·············7-33
Fuel filler lid ··················\
··················\
··················\
············3-65
Fuel requirements ··················\
··················\
··················\
······5-2
Gauges ··················\
··················\
··················\
··················\
···4-17
Hazard warning flasher··················\
··················\
··············4-29
Hood··················\
··················\
··················\
··················\
·······3-64
How to use this manual ··················\
··················\
···············1-2
If you have a flat tire ··················\
··················\
·················6-17\
Ignition switch ··················\
··················\
··················\
···········4-2
Immobilizer system ··················\
··················\
··················\
···3-7
Instrument cluster ··················\
··················\
··················\
····4-16
Instrument panel overview ··················\
··················\
··········2-3
Interior care··················\
··················\
··················\
··············7-35
Interior features··················\
··················\
··················\
········3-73
Interior lights ··················\
··················\
··················\
···········3-71
Interior overview ··················\
··················\
··················\
·······2-2ABCED
FGHI