2007 KIA CERATO display
[x] Cancel search: displayPage 104 of 329
Knowing your vehicle
94
3
1 23456789
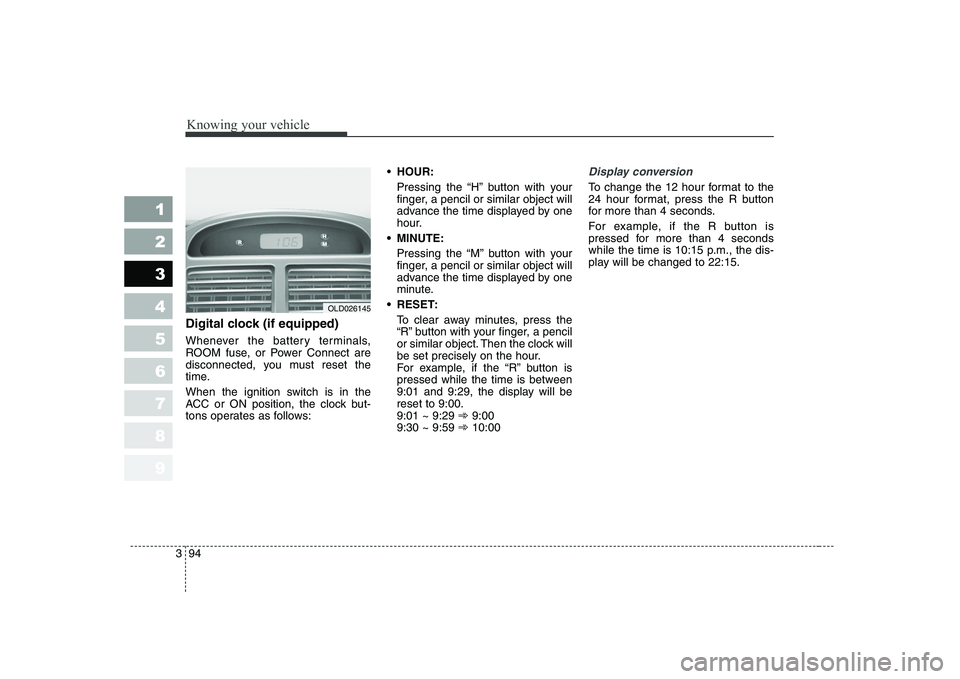
Digital clock (if equipped)
Whenever the battery terminals,
ROOM fuse, or Power Connect are
disconnected, you must reset the
time.
When the ignition switch is in the
ACC or ON position, the clock but-
tons operates as follows:
HOUR:
Pressing the “H” button with your
finger, a pencil or similar object will
advance the time displayed by one
hour.
MINUTE: Pressing the “M” button with your
finger, a pencil or similar object will
advance the time displayed by one
minute.
RESET: To clear away minutes, press the
“R” button with your finger, a pencil
or similar object. Then the clock will
be set precisely on the hour.
For example, if the “R” button is
pressed while the time is between
9:01 and 9:29, the display will bereset to 9:00.9:01 ~ 9:29 ➾9:00
9:30 ~ 9:59 ➾10:00
Display conversion
To change the 12 hour format to the
24 hour format, press the R button
for more than 4 seconds.
For example, if the R button is
pressed for more than 4 seconds
while the time is 10:15 p.m., the dis-
play will be changed to 22:15.
OLD026145
Page 116 of 329
Knowing your vehicle
106
3
1 23456789
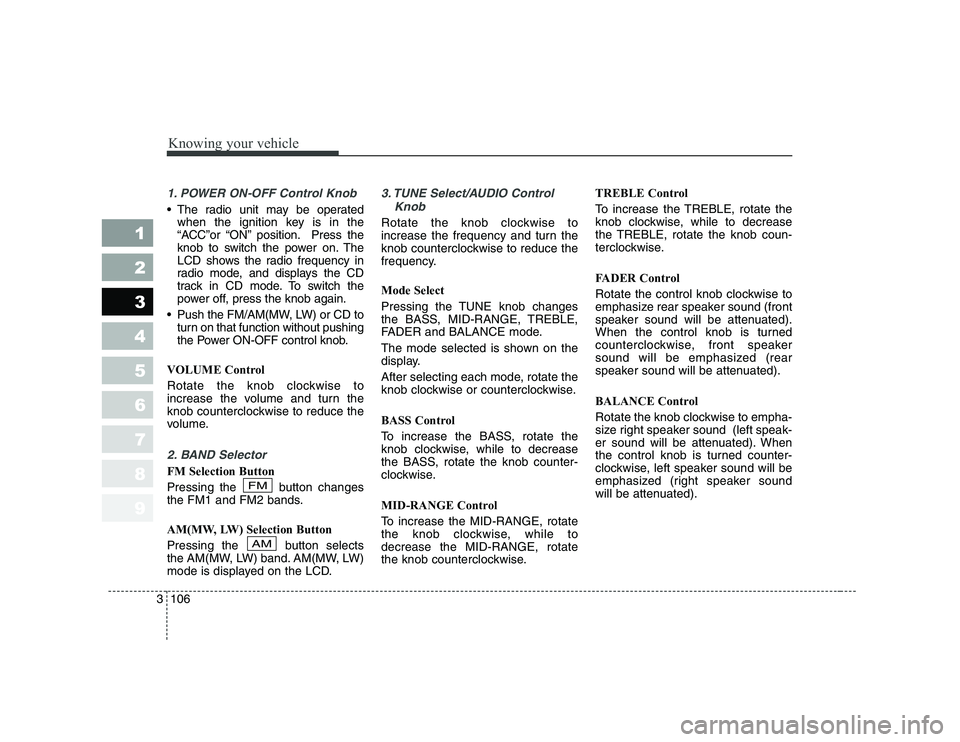
1. POWER ON-OFF Control Knob
The radio unit may be operated
when the ignition key is in the
“ACC”or “ON” position. Press the
knob to switch the power on. The
LCD shows the radio frequency in
radio mode, and displays the CD
track in CD mode. To switch the
power off, press the knob again.
Push the FM/AM(MW, LW) or CD to turn on that function without pushing
the Power ON-OFF control knob.
VOLUME Control
Rotate the knob clockwise to
increase the volume and turn the
knob counterclockwise to reduce the
volume.
2. BAND Selector
FM Selection Button
Pressing the button changes
the FM1 and FM2 bands.
AM(MW, LW) Selection Button
Pressing the button selects
the AM(MW, LW) band. AM(MW, LW)
mode is displayed on the LCD.
3. TUNE Select/AUDIO Control Knob
Rotate the knob clockwise to
increase the frequency and turn the
knob counterclockwise to reduce the
frequency. Mode Select
Pressing the TUNE knob changes
the BASS, MID-RANGE, TREBLE,
FADER and BALANCE mode.
The mode selected is shown on the
display.
After selecting each mode, rotate the
knob clockwise or counterclockwise.
BASS Control
To increase the BASS, rotate the
knob clockwise, while to decrease
the BASS, rotate the knob counter-
clockwise.
MID-RANGE Control
To increase the MID-RANGE, rotate
the knob clockwise, while todecrease the MID-RANGE, rotate
the knob counterclockwise. TREBLE Control
To increase the TREBLE, rotate the
knob clockwise, while to decrease
the TREBLE, rotate the knob coun-
terclockwise.
FADER Control
Rotate the control knob clockwise to
emphasize rear speaker sound (front
speaker sound will be attenuated).
When the control knob is turned
counterclockwise, front speaker
sound will be emphasized (rear
speaker sound will be attenuated).
BALANCE Control
Rotate the knob clockwise to empha-
size right speaker sound (left speak-
er sound will be attenuated). When
the control knob is turned counter-
clockwise, left speaker sound will be
emphasized (right speaker sound
will be attenuated).
AM
FM
Page 117 of 329
3 107
Knowing your vehicle
1 23456789
4. AUTO SEEK Select Button(Automatic Channel Selection)
Press the AUTO SEEK select button.
When the side is pressed, theunit will automatically tune to the
next higher frequency and when the side is pressed, it will automati-
cally tune to the next lower frequen-
cy.
5. CD SCAN (BSM) Button
When the CD SCAN (BSM) button is pressed, the six channels from thehighest field intensity are selected
next and stored in memory. The sta-tions selected are stored in thesequence of frequency from the first
preset key.
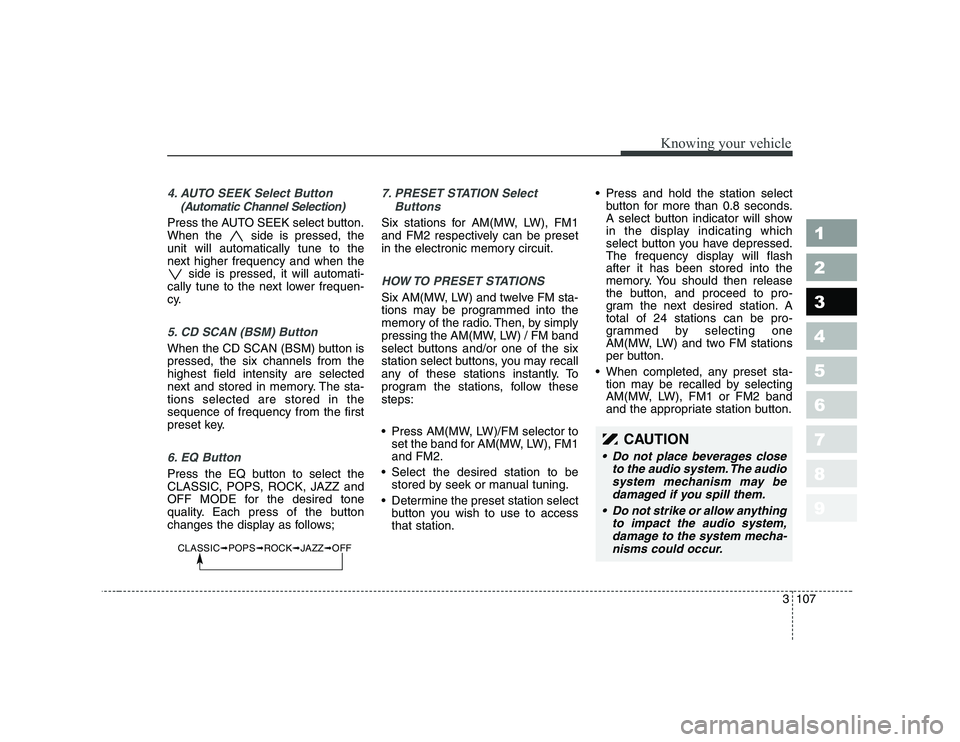
6. EQ Button
Press the EQ button to select the
CLASSIC, POPS, ROCK, JAZZ and
OFF MODE for the desired tone
quality. Each press of the button
changes the display as follows;
7. PRESET STATION Select
Buttons
Six stations for AM(MW, LW), FM1
and FM2 respectively can be preset
in the electronic memory circuit.
HOW TO PRESET STATIONS
Six AM(MW, LW) and twelve FM sta-
tions may be programmed into the
memory of the radio. Then, by simply
pressing the AM(MW, LW) / FM band
select buttons and/or one of the six
station select buttons, you may recall
any of these stations instantly. To
program the stations, follow thesesteps:
Press AM(MW, LW)/FM selector toset the band for AM(MW, LW), FM1 and FM2.
Select the desired station to be stored by seek or manual tuning.
Determine the preset station select button you wish to use to accessthat station. Press and hold the station select
button for more than 0.8 seconds.
A select button indicator will show
in the display indicating which
select button you have depressed.
The frequency display will flashafter it has been stored into the
memory. You should then release
the button, and proceed to pro-
gram the next desired station. Atotal of 24 stations can be pro-
grammed by selecting one
AM(MW, LW) and two FM stations
per button.
When completed, any preset sta- tion may be recalled by selecting
AM(MW, LW), FM1 or FM2 band
and the appropriate station button.
CAUTION
• Do not place beverages close
to the audio system. The audiosystem mechanism may bedamaged if you spill them.
Do not strike or allow anything to impact the audio system,damage to the system mecha- nisms could occur.
CLASSIC ➟POPS ➟ROCK ➟JAZZ ➟OFF
Page 123 of 329
3 113
Knowing your vehicle
1 23456789
1. POWER ON-OFF Control Knob
The radio unit may be operatedwhen the ignition key is in the
"ACC" or "ON" position. Press the
button to switch the power on. The
LCD shows the radio frequency in
the radio mode, the tape directionindicator in the tape mode or
CD/MP3 track in the CD/MP3
mode. To switch the power off,
press the button again.
Push the FM/AM(MW, LW), TAPE or CD/MP3 to turn on that function
without pushing the Power ON-
OFF control knob.
VOLUME Control
Rotate the knob clockwise to
increase the volume and turn the
knob counterclockwise to reduce the
volume.
2. AUDIO Select Button
Pressing the AUDIO button changes
the BASS, MID-RANGE, TREBLE,
FADER and BALANCE mode.
The mode selected is shown on the
display.
After selecting each mode, rotate the
Audio control knob clockwise or
counterclockwise.
BASS Control
To increase the BASS, rotate the
knob clockwise, while to decreasethe BASS, rotate the knob counter-
clockwise.
MID-RANGE Control
To increase the MID-RANGE, rotate
the knob clockwise, while todecrease the MID-RANGE, rotate
the knob counterclockwise.
TREBLE Control
To increase the TREBLE, rotate the
knob clockwise, while to decrease
the TREBLE, rotate the knob coun-
terclockwise. FADER Control
Turn the control knob clockwise to
emphasize rear speaker sound (front
speaker sound will be attenuated).
When the control knob is turned
counterclockwise, front speaker
sound will be emphasized (rear
speaker sound will be attenuated).
BALANCE Control
Rotate the knob clockwise to empha-
size right speaker sound (left speak-
er sound will be attenuated). When
the control knob is turned counter
clockwise, left speaker sound will be
emphasized (right speaker sound
will be attenuated).
3. BAND Select Button
Pressing the FM/AM button changes
the AM(MW, LW), FM1 and FM2
bands. The mode selected is shown
on the display.
Page 124 of 329
Knowing your vehicle
114
3
1 23456789
4. CD SCAN (BSM) Button
When the CD SCAN (BSM) button is pressed, the six channels from thehighest field intensity are selected
next and stored in memory. The sta-tions selected are stored in thesequence frequency from the first
preset key.
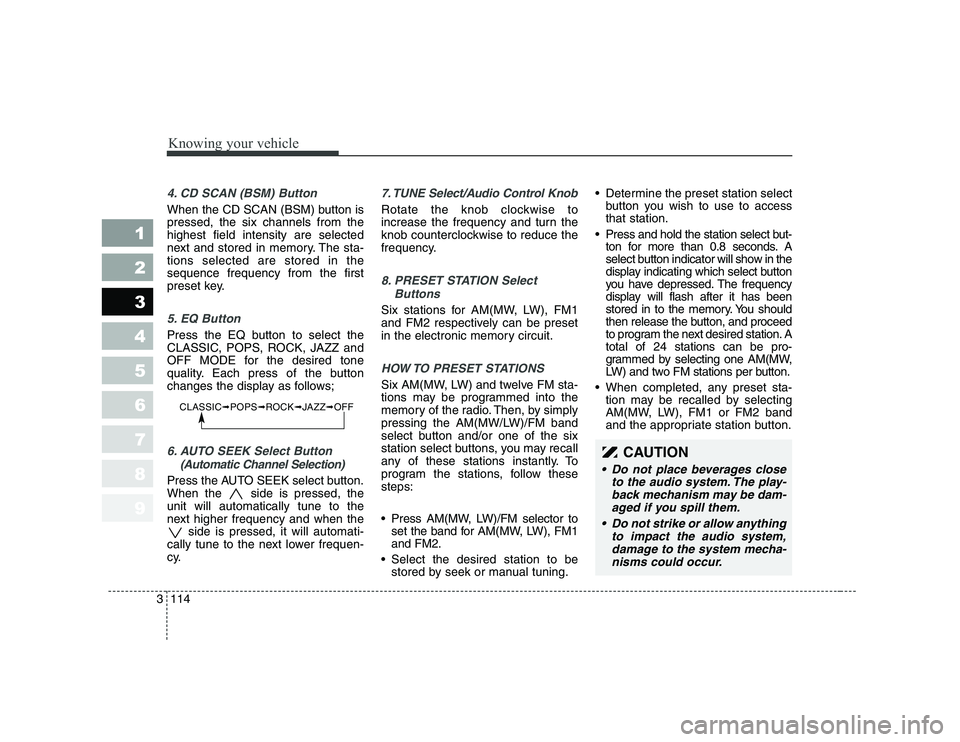
5. EQ Button
Press the EQ button to select the
CLASSIC, POPS, ROCK, JAZZ and
OFF MODE for the desired tone
quality. Each press of the button
changes the display as follows;
6. AUTO SEEK Select Button
(Automatic Channel Selection)
Press the AUTO SEEK select button.
When the side is pressed, theunit will automatically tune to the
next higher frequency and when the side is pressed, it will automati-
cally tune to the next lower frequen-
cy.
7. TUNE Select/Audio Control Knob
Rotate the knob clockwise to
increase the frequency and turn the
knob counterclockwise to reduce the
frequency.
8. PRESET STATION Select
Buttons
Six stations for AM(MW, LW), FM1
and FM2 respectively can be preset
in the electronic memory circuit.
HOW TO PRESET STATIONS
Six AM(MW, LW) and twelve FM sta-
tions may be programmed into the
memory of the radio. Then, by simply
pressing the AM(MW/LW)/FM band
select button and/or one of the six
station select buttons, you may recall
any of these stations instantly. To
program the stations, follow thesesteps:
Press AM(MW, LW)/FM selector toset the band for AM(MW, LW), FM1 and FM2.
Select the desired station to be stored by seek or manual tuning. Determine the preset station select
button you wish to use to accessthat station.
Press and hold the station select but- ton for more than 0.8 seconds. A
select button indicator will show in the
display indicating which select button
you have depressed. The frequency
display will flash after it has been
stored in to the memory. You should
then release the button, and proceed
to program the next desired station. Atotal of 24 stations can be pro-
grammed by selecting one AM(MW,
LW) and two FM stations per button.
When completed, any preset sta- tion may be recalled by selecting
AM(MW, LW), FM1 or FM2 band
and the appropriate station button.
CLASSIC ➟POPS ➟ROCK ➟JAZZ ➟OFF
CAUTION
Do not place beverages close
to the audio system. The play-back mechanism may be dam-aged if you spill them.
Do not strike or allow anything to impact the audio system,damage to the system mecha-nisms could occur.
Page 127 of 329

3 117
Knowing your vehicle
1 23456789
3. FF/REW Button
If you want to fast forward or reverse
through the compact disc track, push
and hold the FF or REW button.
When you release the button, the com-
pact disc player will resume playing.
4. REPEAT (RPT) Button
To repeat the track you are current-ly listening to, press the RPT but-
ton. To cancel, press it again.
To repeat the music within selected folder, press the RPT button for
more than 0.8 seconds. To cancel,
press it again. (MP3 CD only)
If you do not release RPT opera- tion when the track ends, it will
automatically be replayed.
This process will be continued until
you push the button again or turn
the power OFF then ON.
5. RANDOM (RDM) Button
With random, you can listen to the
tracks in random, rather than
sequential order.
To use random, do the following: Press the RDM button to listen to
recorded tracks in random
sequence. Press RDM again to
cancel or turn the power OFF then
ON. The unit defaults to playing
tracks in sequential order.
To listen to the music within the selected folder in random order,
press the RDM button within a sec-
ond. To cancel, press it again or
turn the power OFF then ON.(MP3CD only)
6. BOOKMARK (MARK) Button
When the CD player unit is operat-
ing, the desired track on the disc can
be bookmarked by using the MARK
button.(MP3 CD only)
Press the MARK button for morethan 0.8 seconds to bookmark the
desired track.
“M” will be displayed on the LCD
and “MEMORY(1~50)” will display
for approximately five seconds withbeep sound.
To play a bookmarked track, press
the MARK button within 0.8 sec-
onds and select the bookmarked
track to play. To erase a bookmarked track,
press the MARK button for more
than 0.8 seconds. The unit will
beep once when the bookmark is
erased.
✽✽ NOTICE
Tracks stored on Mark Memory will
be automatically erased after youeject CDs that contain those tracks.
7. SCROLL Button
Press the button, and you can check the file names with more than 16
characters on MP3 CD(max 34 char-
acters.).
The button doesn’t work on file
names less than 16 characters.
8. EQ Button
Press the EQ button to select the
CLASSIC, POPS, ROCK, JAZZ and
OFF MODE for the desired tone
quality. Each press of the button
changes the display as follows;
CLASSIC ➟POPS ➟ROCK ➟JAZZ ➟OFF
Page 130 of 329
Knowing your vehicle
120
3
1 23456789
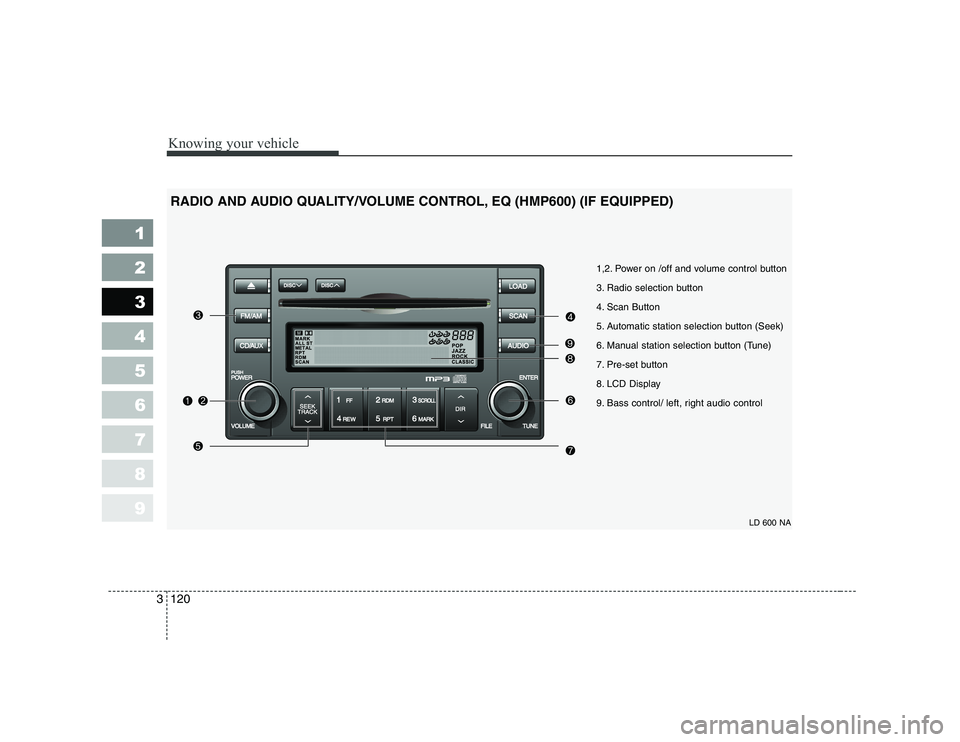
LD 600 NA
1,2. Power on /off and volume control button
3. Radio selection button
4. Scan Button
5. Automatic station selection button (Seek)
6. Manual station selection button (Tune)
7. Pre-set button
8. LCD Display
9. Bass control/ left, right audio control
RADIO AND AUDIO QUALITY/VOLUME CONTROL, EQ (HMP600) (IF EQUIPPED)
Page 131 of 329
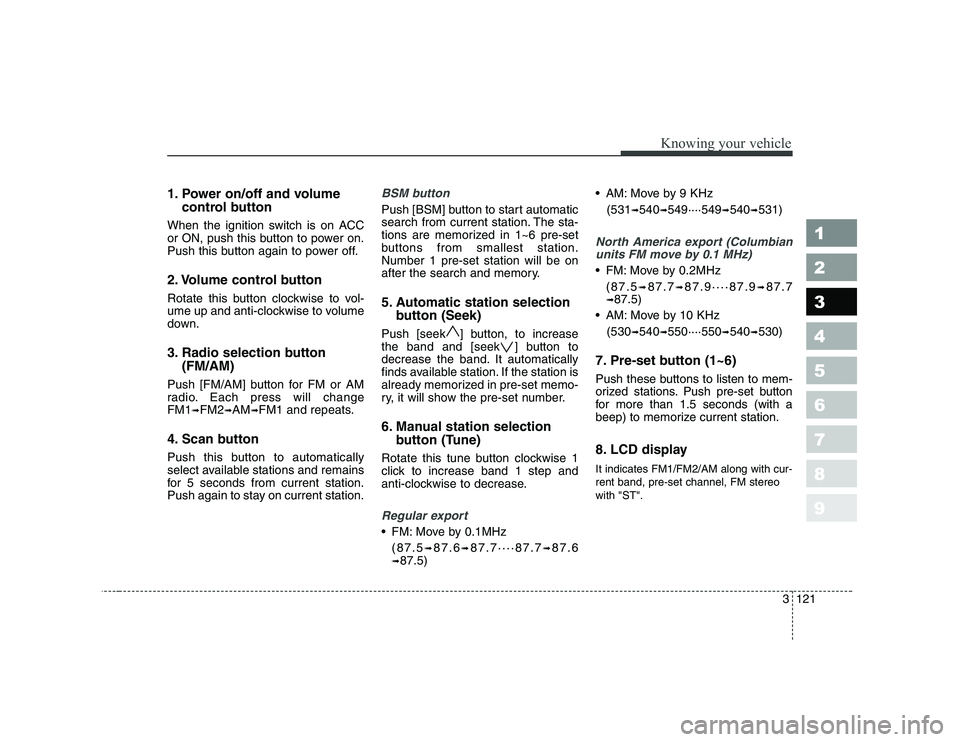
1. Power on/off and volumecontrol button
When the ignition switch is on ACC
or ON, push this button to power on.
Push this button again to power off.
2. Volume control button
Rotate this button clockwise to vol-
ume up and anti-clockwise to volume
down.
3. Radio selection button (FM/AM)
Push [FM/AM] button for FM or AM
radio. Each press will changeFM1 ➟FM2 ➟AM ➟FM1 and repeats.
4. Scan button
Push this button to automatically
select available stations and remains
for 5 seconds from current station.
Push again to stay on current station.BSM button
Push [BSM] button to start automatic
search from current station. The sta-
tions are memorized in 1~6 pre-set
buttons from smallest station.Number 1 pre-set station will be on
after the search and memory.
5. Automatic station selection button (Seek)
Push [seek ] button, to increase
the band and [seek ] button to
decrease the band. It automatically
finds available station. If the station is
already memorized in pre-set memo-
ry, it will show the pre-set number.
6. Manual station selection button (Tune)
Rotate this tune button clockwise 1
click to increase band 1 step and
anti-clockwise to decrease.
Regular export
FM: Move by 0.1MHz (87.5 ➟87.6 ➟87.7····87.7 ➟87.6
➟ 87.5) AM: Move by 9 KHz
(531 ➟
540 ➟549····549 ➟540 ➟531)
North America export (Columbian
units FM move by 0.1 MHz)
FM: Move by 0.2MHz
(87.5 ➟87.7 ➟87.9····87.9 ➟87.7
➟ 87.5)
AM: Move by 10 KHz
(530 ➟
540 ➟550····550 ➟540 ➟530)
7. Pre-set button (1~6)
Push these buttons to listen to mem-
orized stations. Push pre-set button
for more than 1.5 seconds (with a
beep) to memorize current station.
8. LCD display It indicates FM1/FM2/AM along with cur- rent band, pre-set channel, FM stereowith "ST".
3 121
Knowing your vehicle
1 23456789