Page 835 of 1575
2007 > 2.7L V6 GASOLINE >
REMOVAL
1.Disconnect the battery negative cable and wait at least three minutes before beginning work.
2. Remove the airbag module mounting bolts.
3.Disconnect the horn connector(A).
4.Release the connector locking pin(B), then disconnect the driver airbag module connector(C).
The removed airbag module should be stored in a clean, dry place with the pad cover face up.
5. Remove the steering wheel and steering wheel column cover(Refer to ST group in the Workshop Manual).
6. Disconnect the clock spring and horn connector, then remove the clock spring.
INSTALLATION
1.Disconnect the negative ( - ) cable from battery and wait for at least three minutes.
Page 836 of 1575

2.Remove ignition key from the vehicle.
3. Connect the clock spring harness connetor and horn harness connector to the clock spring.
4. Set the clock spring on neutral position and after turning the front wheels to the straight- ahead position, install the
clock spring.
5. Install the steering wheel column cover and the steering wheel. (Refer to ST group)
6. Connect the Driver Airbag (DAB) module connector and horn connector, then install the Driver Airbag (DAB)
module on the steering wheel.
7. Secure the Driver Airbag (DAB) with the new mounting bolts.
Tightening Torque (DAB Mounting Bolt)
: 0.8 ~ 1.1 kgf.m (7.9 ~ 10.8 Nm, 5.8 ~ 8.0 lb.ft)
8.Connect the battery negative cable.
9. After installing the airbag, confirm proper system operation:
a. Turn the ignition switch ON; the SRS indicator light should be turned on for about six seconds and then go off.
b. Make sure horn button works.
INSPECTION
Driver Airbag (DAB)
If any improper parts are found during the following inspection, replace the airbag module with a new one.
Never attempt to measure the circuit resistance of the airbag module (squib) even if you are using the specified
tester. If the circuit resistance is measured with a tester, accidental airbag deployment will result in serious
personal injury.
1. Check pad cover for dents, cracks or deformities.
2. Check the airbag module for denting, cracking or deformation.
3. Check hooks and connectors for damage, terminals for deformities, and harness for binds.
Page 837 of 1575
4.Check airbag inflator case for dents, cracks or deformities.
5.Install the airbag module to the steering wheel to check for fit or alignment with the wheel.
Clockspring
1.If, as a result of the following checks, even one abnormal point is discovered, replace the clock spring with a new
one.
2. Check connectors and protective tube for damage, and terminals for deformities.
Page 950 of 1575
2007 > 2.7L V6 GASOLINE >
REMOVAL
1.Remove the air cleaner. (Refer to 'Master cylinder Removal')
2. Disconnect the brake tube from the HECU by unlocking the nuts counterclockwise with a spanner.
3.Disconnect the connector(A) from the HECU.
4.Remove the two HECU brake mounting bolts(B) , and then disassemble the HECU with the bracket.
a.Never attempt to disassemble the HECU.
b. The HECU must be protected during storage and transport, and must not be subjected to excessive shock.
5. Remove the two HECU mounting nuts (C) and washer, and then remove the bracket.
INSTALLATION
1.Installation is the reverse of removal.
2. Tighten the HECU mounting bolts and brake tube nuts to the specified torque.
Page 1459 of 1575

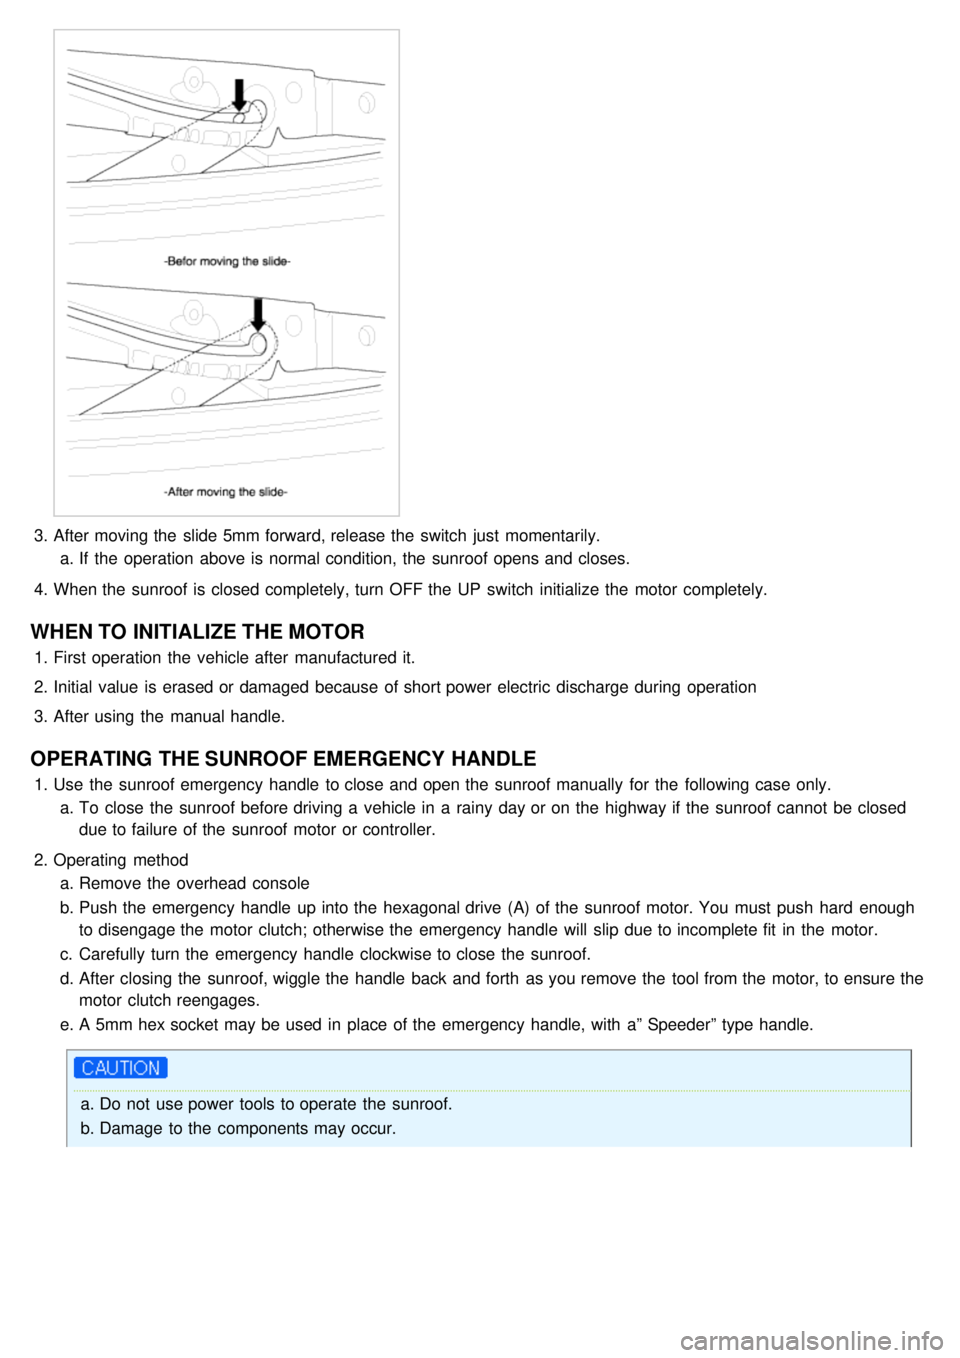
3.After moving the slide 5mm forward, release the switch just momentarily.
a. If the operation above is normal condition, the sunroof opens and closes.
4. When the sunroof is closed completely, turn OFF the UP switch initialize the motor completely.
WHEN TO INITIALIZE THE MOTOR
1.First operation the vehicle after manufactured it.
2. Initial value is erased or damaged because of short power electric discharge during operation
3. After using the manual handle.
OPERATING THE SUNROOF EMERGENCY HANDLE
1.Use the sunroof emergency handle to close and open the sunroof manually for the following case only.
a. To close the sunroof before driving a vehicle in a rainy day or on the highway if the sunroof cannot be closed
due to failure of the sunroof motor or controller.
2. Operating method
a. Remove the overhead console
b. Push the emergency handle up into the hexagonal drive (A) of the sunroof motor. You must push hard enough
to disengage the motor clutch; otherwise the emergency handle will slip due to incomplete fit in the motor.
c. Carefully turn the emergency handle clockwise to close the sunroof.
d. After closing the sunroof, wiggle the handle back and forth as you remove the tool from the motor, to ensure the
motor clutch reengages.
e. A 5mm hex socket may be used in place of the emergency handle, with a” Speeder” type handle.
a.Do not use power tools to operate the sunroof.
b. Damage to the components may occur.
Page 1474 of 1575
2007 > 2.7L V6 GASOLINE >
REPLACEMENT
FRONT TURN SIGNAL LAMP
1. Disconnect the negative ( - ) battery terminal.
2. Remove front lamp assembly.
3. Remove the socket in a counterclockwise direction.
4.Replace the bulb (A).
REAR TURN SIGNAL LAMP
1.Disconnect the negative ( - ) battery terminal.
2. Remove the rear lamp assembly (A) after removing the mounting screw (3EA) and connector.
3.Remove the socket in a counterclockwise direction and replace the bulbs.
SIDE TURN SIGNAL LAMP
1.Disconnect the negative ( - ) battery terminal.
2. Disconnect the connector after removing the lens.
Page 1475 of 1575
3.Remove the socket in a counterclockwise direction.
4.Replace the bulb.
Page 1483 of 1575
2007 > 2.7L V6 GASOLINE >
REPLACEMENT
1.Disconnect the negative ( - ) battery terminal.
2. Remove the front lamp assembly.
3. Remove connector and the socket in a counterclockwise direction.
4.Remove the bulb (A) and replace it with a new one.
Page:
< prev 1-8 9-16 17-24