2007 JEEP WRANGLER warning lights
[x] Cancel search: warning lightsPage 61 of 467

WARNING!
Deployed airbags and seat belt pretensioners cannot
protect you in another collision. Have the airbags,
seat belt pretensioner, and seat belt retractor assem-
bly, replaced by an authorized dealer as soon as
possible. Also, have the Occupant Classification Sys-
tem serviced as well.
Enhanced Accident Response Feature
If the airbags deploy after an impact and the electrical
system remains functional, vehicles equipped with
power door locks will unlock automatically. In addition,
approximately 5 seconds after the vehicle has stopped
moving, the interior lights will illuminate to aid visibility.
NOTE:The interior lights can only be deactivated if the
key is removed from the ignition switch or the vehicle is
driven.
Maintaining Your Airbag System
WARNING!
•Modifications to any part of the airbag system could cause it to fail when you
need it. You could be injured if the airbag system is not there to protect you. Do
not modify the components or wiring, including adding any kind of badges or
stickers to the steering wheel hub trim cover or the upper right side of the
instrument panel. Do not modify the front bumper or vehicle body structure.
•Do not attempt to modify any part of your advanced airbag system. The airbag
may inflate accidentally or may not function properly if modifications are made.
Take your vehicle to an authorized dealer for any advanced airbag system
service. If your seat including your trim cover and cushion needs to be serviced
in any way (including removal or loosening/tightening of seat attachment bolts),
take the vehicle to your authorized dealer. Only manufacturer approved seat
accessories may be used. If it is necessary to modify an advanced airbag system
for persons with disabilities, contact your authorized dealer.
•Do not place or hang any items such as add-on video players on the right front
passenger seat back. The additional weight may cause the Occupant Classifi-
cation System to be unable to correctly classify the right front occupant. This
could allow the passenger frontal airbag to inflate when it is not desired.
•You need proper knee impact protection in a collision. Do not mount or locate
any aftermarket equipment on or behind the knee bolsters.
•It is dangerous to try to repair any part of the airbag system yourself. Be sure
to tell anyone who works on your vehicle that it has an airbag system.
THINGS TO KNOW BEFORE STARTING YOUR VEHICLE 61
2
Page 117 of 467

Electrical Outlet Use With Engine Off
WARNING!
•Many accessories that can be plugged in draw power
from the vehicle’s battery, even when not in use (i.e.
cellular phones, etc.). Eventually, if plugged in long
enough, the vehicle’s battery will discharge sufficiently
to degrade battery life and/or prevent engine starting.
•Accessories that draw higher power (i.e. coolers,
vacuum cleaners, lights, etc.), will degrade the battery
even more quickly. Only use these intermittently and
with greater caution.
•After the use of high power draw accessories, or long
periods of the vehicle not being started (with acces-
sories still plugged in), the vehicle must be driven a
sufficient length of time to allow the alternator to
recharge the vehicle’s battery.
•Power outlets are designed for accessory plugs only.
Do not hang any type of accessory or accessory
bracket from the plug.
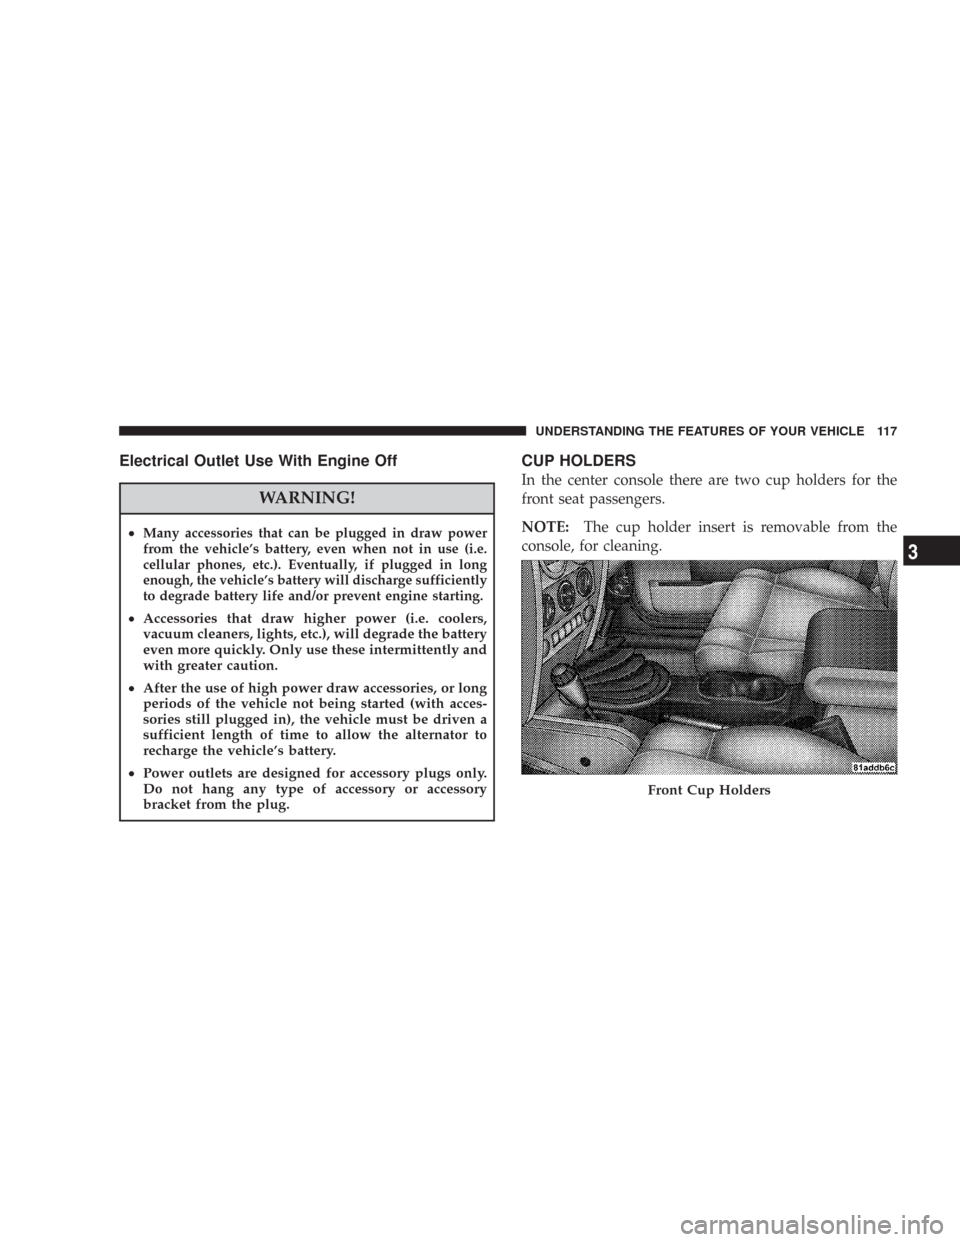
CUP HOLDERS
In the center console there are two cup holders for the
front seat passengers.
NOTE:The cup holder insert is removable from the
console, for cleaning.
Front Cup Holders
UNDERSTANDING THE FEATURES OF YOUR VEHICLE 117
3
Page 202 of 467

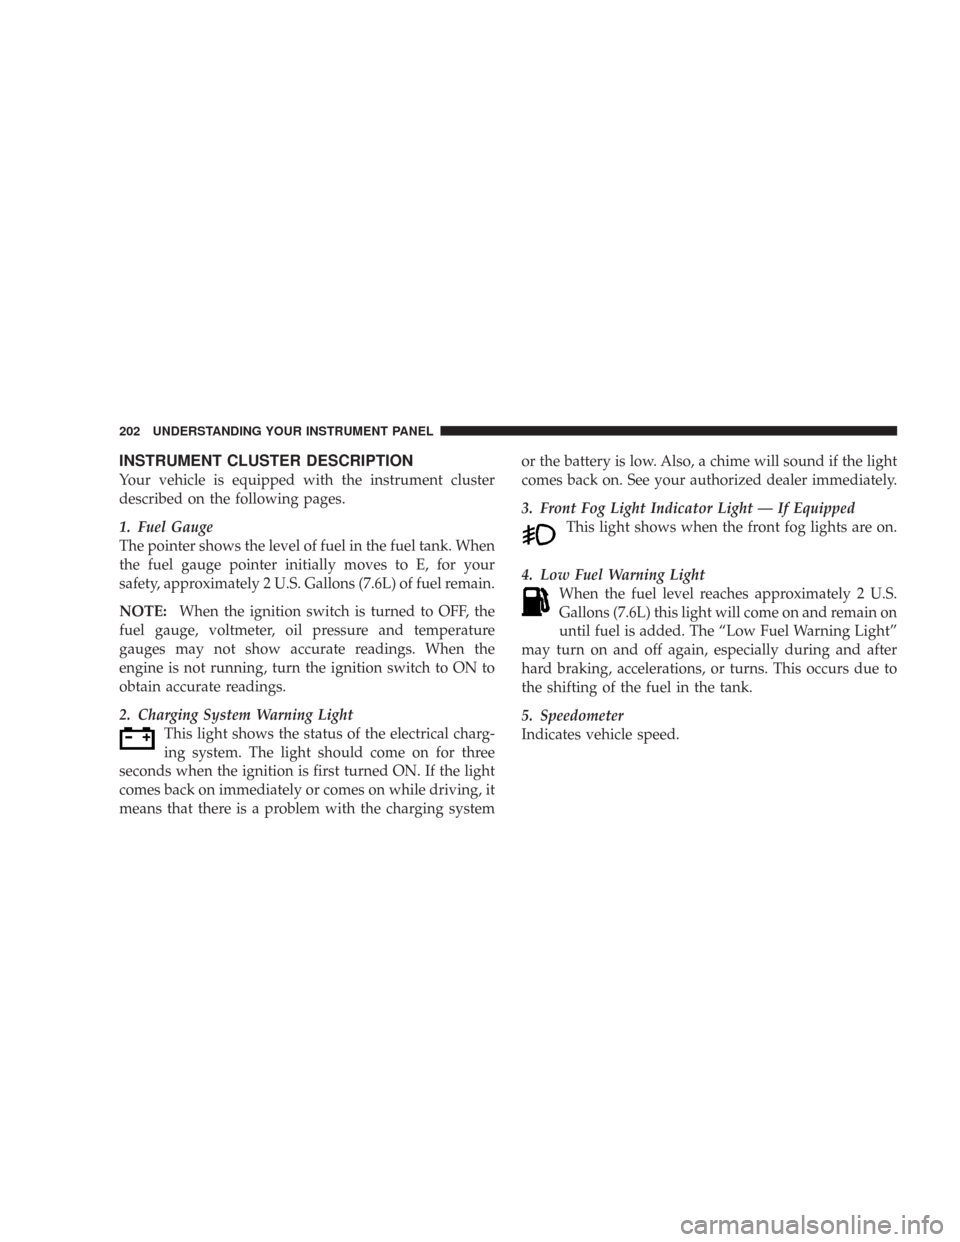
INSTRUMENT CLUSTER DESCRIPTION
Your vehicle is equipped with the instrument cluster
described on the following pages.
1. Fuel Gauge
The pointer shows the level of fuel in the fuel tank. When
the fuel gauge pointer initially moves to E, for your
safety, approximately 2 U.S. Gallons (7.6L) of fuel remain.
NOTE:When the ignition switch is turned to OFF, the
fuel gauge, voltmeter, oil pressure and temperature
gauges may not show accurate readings. When the
engine is not running, turn the ignition switch to ON to
obtain accurate readings.
2. Charging System Warning Light
This light shows the status of the electrical charg-
ing system. The light should come on for three
seconds when the ignition is first turned ON. If the light
comes back on immediately or comes on while driving, it
means that there is a problem with the charging systemor the battery is low. Also, a chime will sound if the light
comes back on. See your authorized dealer immediately.
3. Front Fog Light Indicator Light — If Equipped
This light shows when the front fog lights are on.
4. Low Fuel Warning Light
When the fuel level reaches approximately 2 U.S.
Gallons (7.6L) this light will come on and remain on
until fuel is added. The “Low Fuel Warning Light”
may turn on and off again, especially during and after
hard braking, accelerations, or turns. This occurs due to
the shifting of the fuel in the tank.
5. Speedometer
Indicates vehicle speed.
202 UNDERSTANDING YOUR INSTRUMENT PANEL
Page 203 of 467

6. Front Axle Lock Indicator Light — If Equipped
Indicates when the front axle lock has been
activated.
7. Seat Belt Indicator Light
A warning chime and an indicator light will alert
you to buckle the seat belts. When the belt is
buckled, the chime will stop, but the light will stay
on until it times out (about 6 seconds).
8. Turn Signal Indicator Lights
The arrows will flash with the exterior turn signals
when the turn signal lever is operated. A tone will
chime if the turn signals are left on for more than 1 mile
(2 km).
9. Oil Pressure Warning Light
Shows low engine oil pressure. The light will come
on and remain on when the ignition switch isturned from the OFF to the ON position, and the light
will turn off after the engine is started. If the bulb does
not come on, have the system checked by your autho-
rized dealer.
If the warning light comes on and remains on while
driving, stop the vehicle and shut off the engine. DO
NOT OPERATE THE VEHICLE UNTIL THE CAUSE IS
CORRECTED. Also, a single chime will sound.
10. High Beam Indicator Light
This light shows that the headlights are on high
beam. Pull the turn signal lever towards the
steering wheel to switch the headlights from high or low.
If the driver’s door is open, and the headlights or
parklights are left on, the “High Beam Indicator Light”
will flash and a chime will sound.
UNDERSTANDING YOUR INSTRUMENT PANEL 203
4
Page 204 of 467

11. Brake Warning Light
After ignition is turned on, illuminates to indicate
function check at vehicle start-up. Indicates park-
ing brake is applied. If the light stays on when the
parking brake is off, it indicates a possible brake system
fluid leak or low pressure level,see your authorized
dealer immediately.
If the parking brake is applied and the vehicle is in
motion, the red BRAKE warning light will “flash” and a
chime will sound.
The operation of the BRAKE warning light can be
checked by turning the ignition switch from the OFF
position to the ON position. The light should illuminate
for approximately two seconds. The light should then
turn off unless the parking brake is applied or a brake
fault is detected. If the light does not illuminate, have the
light inspected by an authorized dealer.12. Anti-Lock (ABS) Warning Light
After ignition is turned on, illuminates to indicate
function check at vehicle start-up. If light remains
on after start-up or comes on and stays on at road speeds,
it may indicate that the ABS has detected a malfunction
or has become inoperative. The system reverts to stan-
dard non-anti-lock brakes.
If both the red BRAKE warning light and the amber ABS
warning light are on, see your dealer immediately. Refer
to “Anti-Lock Brake System” in Section 5 of this manual.
13. Airbag Warning Light
This indicator lights and remains lit for 6 to 8
seconds when the ignition is first turned on. If
the light does not come on for 6 to 8 seconds,
stays on or comes on while driving, have the
airbag system checked by an authorized dealer.
204 UNDERSTANDING YOUR INSTRUMENT PANEL
Page 270 of 467

Follow the shift pattern on the gearshift knob.
NOTE:The backup lights will come on when your
vehicle is in R (Reverse) gear and the ignition is in the ON
position.WARNING!
When parking your vehicle, always leave a manual
transmission in first gear and apply the parking
brake fully to guard against vehicle movement and
possible injury or damage. Never use any gear as a
substitute for the parking brake.
CAUTION!
To drive as safely as possible and to prolong the life
of your manual transmission, follow these tips:
•Before shifting from a forward gear into reverse, or
from reverse to a forward gear, stop vehicle com-
pletely. Otherwise, transmission damage may result.
Manual Shift Controls
270 STARTING AND OPERATING
Page 456 of 467

Odometer........................... 208
Speedometer......................... 202
Tachometer.......................... 205
Gear Ranges........................271,276
General Information...................... 321
Glass Cleaning.......................... 397
Gross Axle Weight Rating.................. 331
Gross Vehicle Weight Rating................ 330
GVWR............................... 328
HardTop ............................. 125
Hard Top, Modular...................... 125
Hard Top Removal....................... 129
Hazard Warning Flasher................... 350
Head Restraints.......................... 90
Head Rests............................. 90
Headlights
Bulb Replacement...................... 409
Dimmer Switch....................... 100Replacing............................ 409
Switch............................... 99
Heater............................... 252
Heater, Engine Block..................... 269
High Beam Indicator..................... 203
Hitches
Trailer Towing........................ 334
Holder, Cup........................... 117
Hood Release........................... 96
Hoses.............................385,386
Hydraulic Clutch Fluid.................... 390
Ignition............................... 14
Key ................................. 14
Ignition Key Removal..................... 14
Illuminated Entry........................ 20
Infant Restraint.......................... 65
Inflation Pressure Tires.................... 309
Inside Rearview Mirror.................... 85
456 INDEX
Page 457 of 467

Instrument Cluster....................... 201
Instrument Panel and Controls.............. 200
Instrument Panel Lens Cleaning............. 397
Integrated Power Module (Fuses)............ 400
Interior Appearance Care.................. 396
Interior Lights........................... 97
Intermittent Wipers (Delay Wipers)........... 101
Introduction............................. 4
Jack Location........................... 352
Jack Operation.......................352,354
Jacking Instructions...................... 354
Jump Starting.......................... 356
Key, Programming........................ 18
Key, Replacement........................ 17
Key, Sentry (Immobilizer)................... 16
Key-In Reminder......................... 15
Keyless Entry System...................... 20Keys................................. 14
Lane Change and Turn Signals.............. 203
Lap Belts.............................. 37
Lap/Shoulder Belts....................... 37
LATCH
(Lower Anchors and Tether for CHildren).....70,71
Lead Free Gasoline...................... 321
Lights................................. 97
Airbag............................62,204
Anti-Lock........................... 204
Anti-Lock Warning..................... 204
Back-Up............................. 411
Brake Assist Warning................. 115,209
Brake Warning........................ 204
Bulb Replacement...................... 409
Cargo ............................... 97
Center Mounted Stop................... 411
Check Engine (Malfunction Indicator)........ 208
INDEX 457
10