Page 12 of 467

▫Using The Panic Alarm..................22
▫To Turn Off “Flash Lights With Lock”........22
▫Programming Additional Transmitters........23
▫General Information....................24
▫Battery Replacement....................25
�Doors................................26
▫Front Door Removal....................26
▫Rear Door Removal (4 Door Models)........27
�Door Locks............................29
▫Manual Door Locks.....................30
▫Power Door Locks — If Equipped..........31
�Windows.............................32
▫Power Windows — If Equipped............32▫Wind Buffeting........................34
�Rear Swing Gate........................34
�Occupant Restraints......................36
▫Lap/Shoulder Belts.....................37
▫Rear Center Lap/Shoulder Belt Retractor
Lock-Out............................42
▫Adjustable Upper Shoulder Belt Anchorage....43
▫Seat Belt Pretensioners...................44
▫Enhanced Seat Belt Use Reminder System
(BeltAlert)...........................45
▫Seat Belts And Pregnant Women............46
▫Seat Belt Extender......................46
▫Driver And Front Passenger Supplemental
Restraint Systems (SRS)..................47
12 THINGS TO KNOW BEFORE STARTING YOUR VEHICLE
Page 25 of 467
Battery Replacement
The recommended replacement battery is CR2032.
NOTE:
Perchlorate Material – special handling may apply,
See www.dtsc.ca.gov/hazardouswaste/perchlorate
1. If the key fob is equipped with a screw, remove the
screw. With the transmitter buttons facing down, use a
flat blade (screw driver) to pry the two halves of the
transmitter apart. Useextreme carenot to damage the
seal or internal components.
2. Remove and replace the batteries. Avoid touching the
new batteries with your fingers. Skin oils may cause
battery deterioration. If you touch a battery, clean it with
rubbing alcohol.
Separating Transmitter Halves
THINGS TO KNOW BEFORE STARTING YOUR VEHICLE 25
2
Page 62 of 467

NOTE:Perchlorate Material – special handling may apply,
See www.dtsc.ca.gov/hazardouswaste/perchlorate
Airbag Warning Light
You will want to have the airbag system ready to inflate
for your protection in an impact. The airbag system is
designed to be maintenance free. If any of the following
occurs, have an authorized dealer service the system
promptly:
•Does not come on during the 6 to 8 seconds after the
ignition switch is first turned on.
•Remains on after the 6 to 8 second interval.
•Comes on for any period of time while driving.
Event Data Recorder (EDR)
In the event of an accident, your vehicle is designed to
record up to 5-seconds of specific vehicle data parameters
(see the following list) in an event data recorder prior to
the moment of airbag deployment, or near deployment,and up to a quarter second of high-speed deceleration
data during and/or after air bag deployment or near-
deployment. EDR data are ONLY recorded if an airbag
deploys, or nearly deploys, and are otherwise unavail-
able.
NOTE:
•A near-deployment event occurs when the airbag
sensor detects severe vehicle deceleration usually in-
dicative of a crash, but not severe enough to warrant
airbag deployment.
•Under certain circumstances, EDR data may not be
recorded (e.g., loss of battery power).
In conjunction with other data gathered during a com-
plete accident investigation, the electronic data may be
used by DaimlerChrysler Corporation and others to learn
more about the possible causes of crashes and associated
injuries in order to assess and improve vehicle perfor-
mance. In addition to crash investigations initiated by
62 THINGS TO KNOW BEFORE STARTING YOUR VEHICLE
Page 98 of 467
When a door is open and the interior lights are on,
rotating the dimmer control all the way down to the OFF
detent will cause all the interior lights to go out. This is
also known as the�Party�mode because it allows the
doors to stay open for extended periods of time without
discharging the vehicle’s battery.Daytime Brightness Feature
Certain instrument panel components (odometer, radio
display) can be illuminated at full brightness during the
daytime. This can be helpful when driving with your
headlights on during the daytime such as in a parade or
a funeral procession. To activate this feature, rotate the
left stalk one detent lower than the dome light.
Multi-Function Control Lever
The multi-function control lever controls the operation of
the parking lights, headlights, headlight beam selection,
passing light, fog lights, instrument panel light dimming,
and turn signals.
Rear Cargo Lamp (4 Door Only)
98 UNDERSTANDING THE FEATURES OF YOUR VEHICLE
Page 117 of 467

Electrical Outlet Use With Engine Off
WARNING!
•Many accessories that can be plugged in draw power
from the vehicle’s battery, even when not in use (i.e.
cellular phones, etc.). Eventually, if plugged in long
enough, the vehicle’s battery will discharge sufficiently
to degrade battery life and/or prevent engine starting.
•Accessories that draw higher power (i.e. coolers,
vacuum cleaners, lights, etc.), will degrade the battery
even more quickly. Only use these intermittently and
with greater caution.
•After the use of high power draw accessories, or long
periods of the vehicle not being started (with acces-
sories still plugged in), the vehicle must be driven a
sufficient length of time to allow the alternator to
recharge the vehicle’s battery.
•Power outlets are designed for accessory plugs only.
Do not hang any type of accessory or accessory
bracket from the plug.
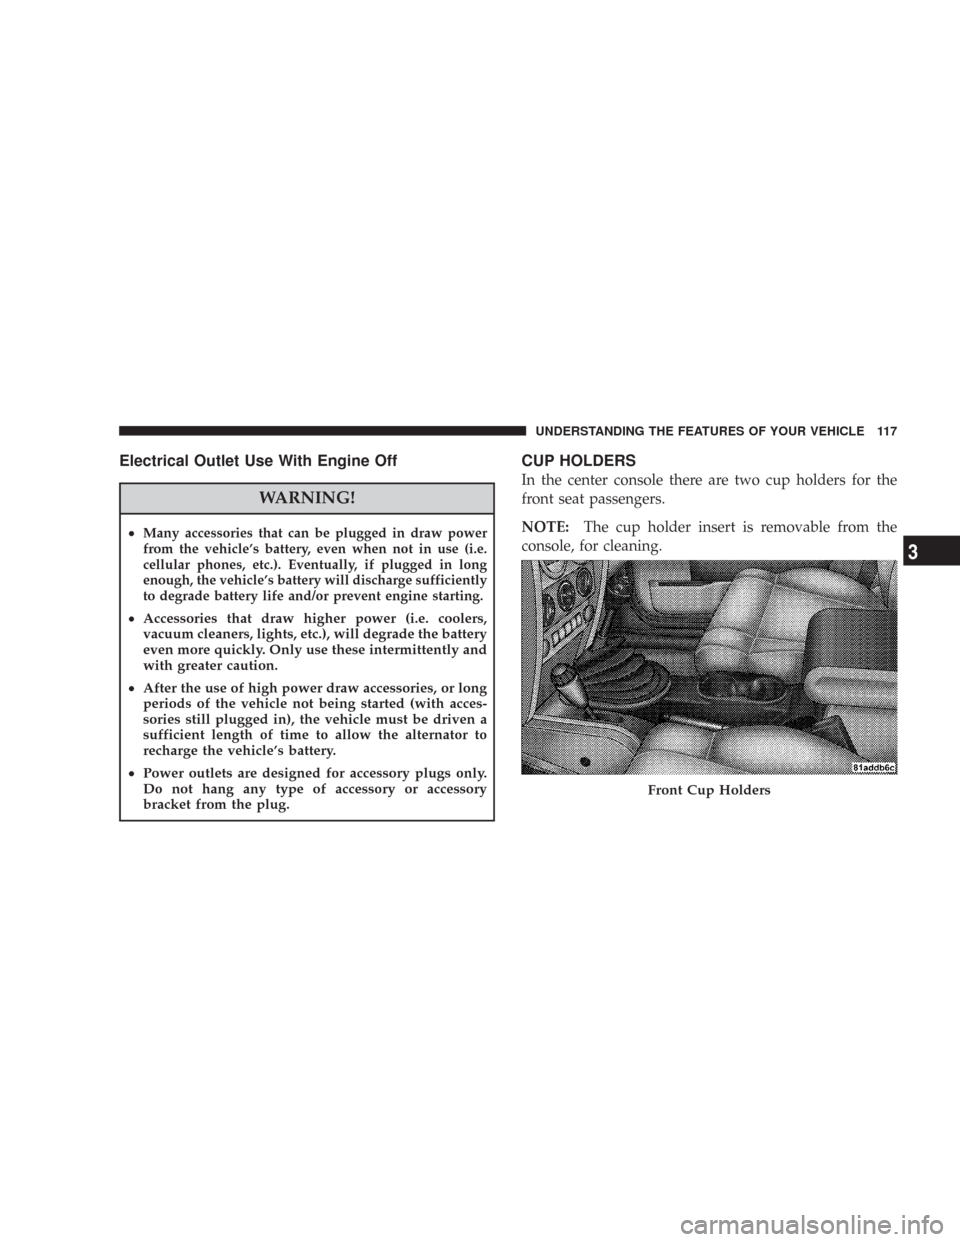
CUP HOLDERS
In the center console there are two cup holders for the
front seat passengers.
NOTE:The cup holder insert is removable from the
console, for cleaning.
Front Cup Holders
UNDERSTANDING THE FEATURES OF YOUR VEHICLE 117
3
Page 195 of 467

level at regular intervals. Fill the reservoir with wind-
shield washer solvent (not radiator antifreeze) and oper-
ate the system for a few seconds to flush out the residual
water.
Rear Window Defroster — If Equipped
The push-button is located on
the bottom right side of the
blower control knob. Press
this button to turn on the rear
window defroster, and the
optional electric remote con-
trol heated mirrors. An amber
light shows that the defroster
is on.The defroster will automatically turn off after about ten
minutes. For five more minutes of operation, press the
switch again. To prevent excessive battery drain, use the
defroster only when the engine is operating.CAUTION!
Use care when washing the inside of the rear window
to prevent damage to heating elements. Use a soft
cloth and a mild washing solution, wiping parallel to
the heating elements. Also, keep all objects a safe
distance from the window to prevent damaging the
heating elements.
UNDERSTANDING THE FEATURES OF YOUR VEHICLE 195
3
Page 202 of 467

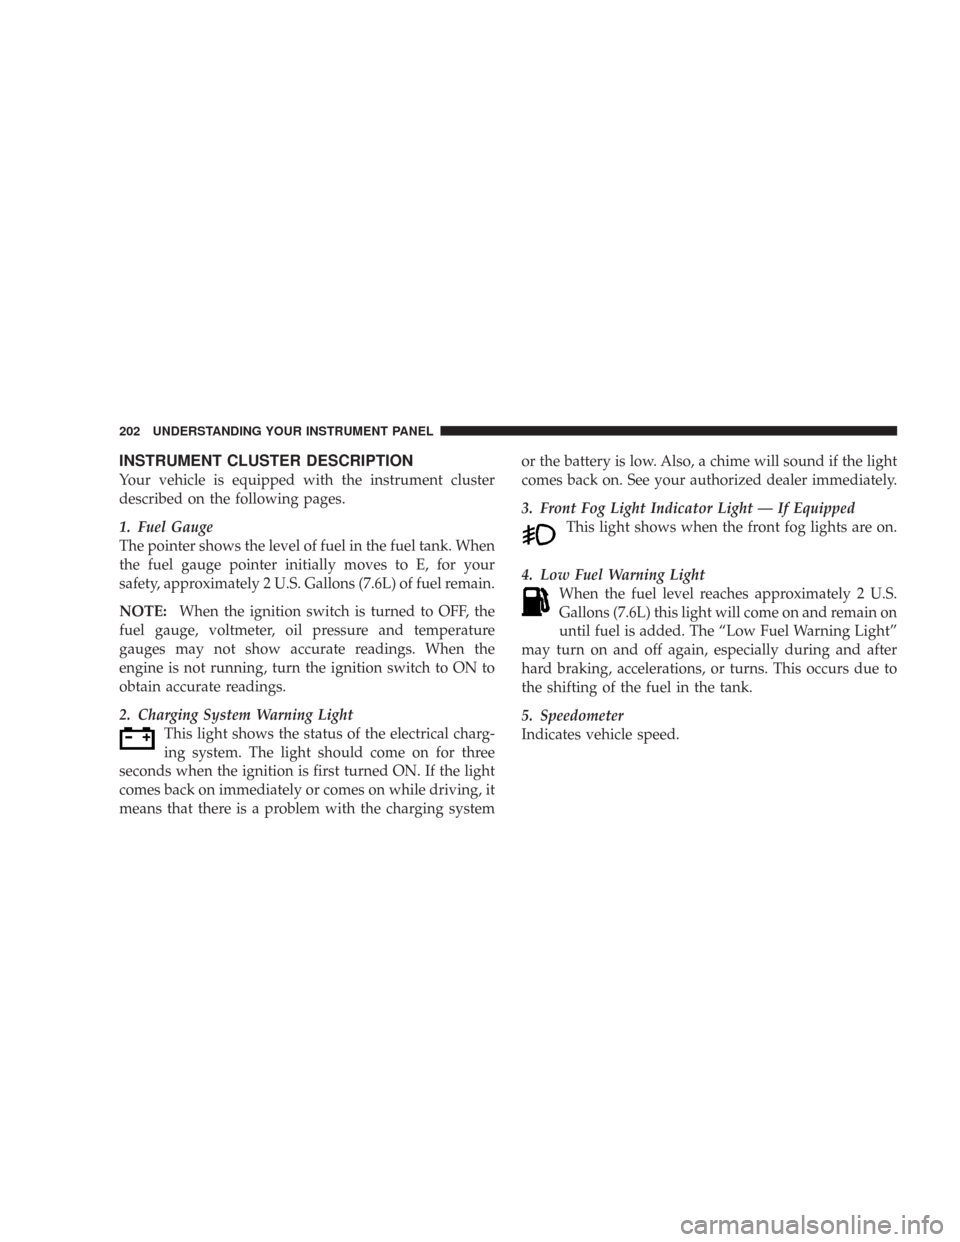
INSTRUMENT CLUSTER DESCRIPTION
Your vehicle is equipped with the instrument cluster
described on the following pages.
1. Fuel Gauge
The pointer shows the level of fuel in the fuel tank. When
the fuel gauge pointer initially moves to E, for your
safety, approximately 2 U.S. Gallons (7.6L) of fuel remain.
NOTE:When the ignition switch is turned to OFF, the
fuel gauge, voltmeter, oil pressure and temperature
gauges may not show accurate readings. When the
engine is not running, turn the ignition switch to ON to
obtain accurate readings.
2. Charging System Warning Light
This light shows the status of the electrical charg-
ing system. The light should come on for three
seconds when the ignition is first turned ON. If the light
comes back on immediately or comes on while driving, it
means that there is a problem with the charging systemor the battery is low. Also, a chime will sound if the light
comes back on. See your authorized dealer immediately.
3. Front Fog Light Indicator Light — If Equipped
This light shows when the front fog lights are on.
4. Low Fuel Warning Light
When the fuel level reaches approximately 2 U.S.
Gallons (7.6L) this light will come on and remain on
until fuel is added. The “Low Fuel Warning Light”
may turn on and off again, especially during and after
hard braking, accelerations, or turns. This occurs due to
the shifting of the fuel in the tank.
5. Speedometer
Indicates vehicle speed.
202 UNDERSTANDING YOUR INSTRUMENT PANEL
Page 267 of 467
CAUTION!
To prevent damage to the starter, do not crank the
engine for more than 15 seconds at a time. Wait 10 to
15 seconds before trying again.
WARNING!
Never pour fuel or other flammable liquids into the
throttle body air inlet opening in an attempt to start
the vehicle. This could result in a flash fire causing
serious personal injury.
WARNING!
Do not attempt to push or tow your vehicle to get it
started. Vehicles equipped with an automatic trans-
mission cannot be started this way. Unburned fuel
could enter the catalytic converter and once the
engine has started, ignite and damage the converter
and vehicle. If the vehicle has a discharged battery,
booster cables may be used to obtain a start from a
booster battery or the battery in another vehicle. This
type of start can be dangerous if done improperly.
Refer to Section 6 of this manual for proper jump
starting procedures and follow them carefully.
STARTING AND OPERATING 267
5