Page 17 of 467

longer than 10 seconds) a fault has been detected in the
electronics and the vehicle should be serviced as soon as
possible.
NOTE:
•The Sentry Key Immobilizer System is not compatible
with remote starting systems. Use of these systems
may result in vehicle starting problems and loss of
security protection.
•Mobil Speedpass™, additional Sentry Keys, or any
other transponder equipped components on the same
keychain will not cause a key-related (Transponder)
fault unless the additional part isphysically held
against the ignition keybeing used when starting the
vehicle. Also, cell phones, pagers, or other RF electron-
ics will not cause interference with this system.
All of the keys provided with your new vehicle have
been programmed to the vehicle electronics.
Important Note About Service
A four digit PIN number is needed to service the Sentry
Key Immobilizer System. This number can be obtained
from your authorized dealer. However, this number can
also be found on your customer invoice that you were
given upon receipt of your vehicle.
Replacement Keys
NOTE:Only keys that have been programmed to the
vehicle electronics can be used to start the vehicle. Once
a Sentry Key has been programmed to a vehicle, it cannot
be programmed to any other vehicle.
At the time of purchase, the original owner is provided
with a four digit PIN number. This number is required
for dealer replacement of keys. Duplication of keys may
be performed at an authorized dealer or by using the
Customer Key Programming procedure. This procedure
THINGS TO KNOW BEFORE STARTING YOUR VEHICLE 17
2
Page 51 of 467

3. The driver and front passenger seats should be moved
back as far as practical to allow the front airbags room to
inflate.
4. If your vehicle has side airbags, do not lean against the
door, airbags will inflate forcefully into the space be-
tween you and the door.
5. If the airbag system in this vehicle needs to be
modified to accommodate a disabled person, contact the
Customer Center. Phone numbers are provided under “If
You Need Assistance” in Section 9 of this manual.WARNING!
•Relying on the airbags alone could lead to more
severe injuries in a collision. The airbags work
with your seat belt to restrain you properly. In
some collisions the airbags won’t deploy at all.
Always wear your seat belts even though you have
airbags.
•Being too close to the steering wheel or instrument
panel during airbag deployment could cause seri-
ous injury. Airbags need room to inflate. Sit back,
comfortably extending your arms to reach the
steering wheel or instrument panel.
•If the vehicle has side airbags, they also need room
to inflate. Do not lean against the door. Sit upright
in the center of the seat.
THINGS TO KNOW BEFORE STARTING YOUR VEHICLE 51
2
Page 117 of 467

Electrical Outlet Use With Engine Off
WARNING!
•Many accessories that can be plugged in draw power
from the vehicle’s battery, even when not in use (i.e.
cellular phones, etc.). Eventually, if plugged in long
enough, the vehicle’s battery will discharge sufficiently
to degrade battery life and/or prevent engine starting.
•Accessories that draw higher power (i.e. coolers,
vacuum cleaners, lights, etc.), will degrade the battery
even more quickly. Only use these intermittently and
with greater caution.
•After the use of high power draw accessories, or long
periods of the vehicle not being started (with acces-
sories still plugged in), the vehicle must be driven a
sufficient length of time to allow the alternator to
recharge the vehicle’s battery.
•Power outlets are designed for accessory plugs only.
Do not hang any type of accessory or accessory
bracket from the plug.
CUP HOLDERS
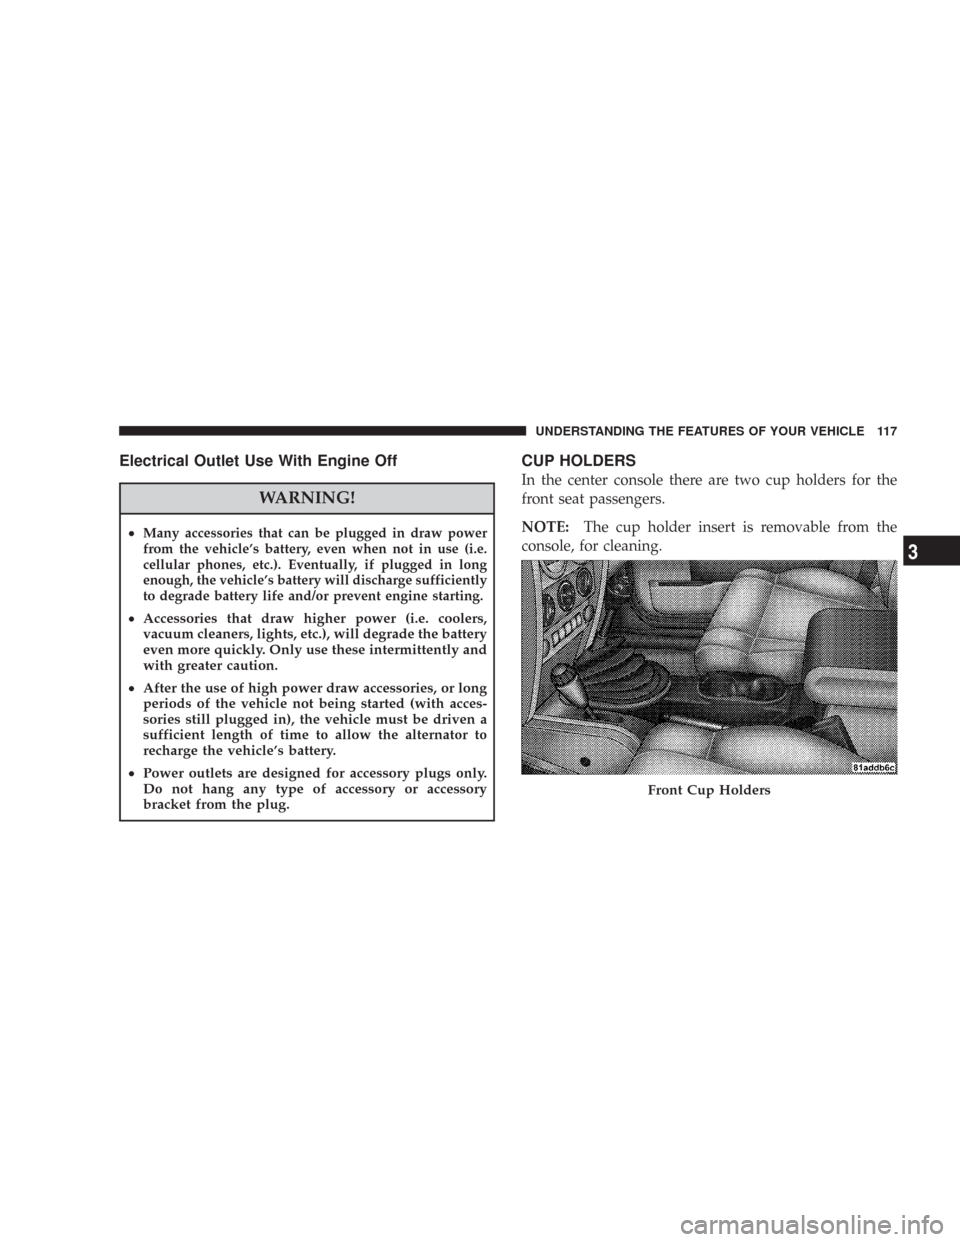
In the center console there are two cup holders for the
front seat passengers.
NOTE:The cup holder insert is removable from the
console, for cleaning.
Front Cup Holders
UNDERSTANDING THE FEATURES OF YOUR VEHICLE 117
3
Page 198 of 467

▫Notes On Playing MP3/WMA Files........228
▫List Button (Disc Mode For MP3/WMA
Play)..............................230
▫Info Button (Disc Mode For MP3/WMA
Play)..............................231
�Sales Code RES — AM/FM Stereo Radio
With CD Player (MP3 Aux Jack)............233
▫Operating Instructions - Radio Mode.......233
▫Operation Instructions - CD Mode For CD
And MP3 Audio Play..................239
▫Notes On Playing MP3 Files.............241
▫List Button (CD Mode For MP3 Play).......244
▫Info Button (CD Mode For MP3 Play).......244
�Sales Code RER — AM/FM/CD/DVD Radio
With Navigation System — If Equipped.......245▫Operating Instructions — Satellite Radio.....246
▫Clock Setting Procedure.................246
�Satellite Radio — If Equipped..............247
▫System Activation.....................247
▫Electronic Serial Number/Sirius Identification
Number (ENS/SID)....................248
▫Selecting Satellite Mode (RSC Radios).......248
▫Satellite Antenna......................248
▫Reception Quality.....................248
▫Operating Instructions - Satellite Mode......249
▫Operating Instructions - Hands Free Phone
(If Equipped)........................251
▫Operating Instructions - Video Entertainment
System (VES�) (If Equipped).............251
198 UNDERSTANDING YOUR INSTRUMENT PANEL
Page 199 of 467
�CD/DVD Disc Maintenance...............251
�Radio Operation And Cellular Phones........252
�Climate Controls.......................252
▫Manual Heater Only...................252▫Manual Air Conditioning And Heating
System — If Equipped..................254
▫Operating Tips.......................258
UNDERSTANDING YOUR INSTRUMENT PANEL 199
4
Page 218 of 467

Power Switch/Volume Control (Rotary)
Press the ON/VOL control to turn the radio ON. Press
the ON/VOL a second time to turn OFF the radio.
Electronic Volume Control
The electronic volume control turns continuously (360
degrees) in either direction without stopping. Turning the
volume control to the right increases the volume and to
the left decreases it.
When the audio system is turned on, the sound will be
set at the same volume level as last played.
SEEK Buttons (Radio Mode)
Press and release the SEEK buttons to search for the next
listenable station in AM/FM mode. Press the right switch
to seek up and the left switch to seek down. The radio
will remain tuned to the new station until you make
another selection. Holding either button will bypass
stations without stopping until you release it.
SCAN Button (Radio Mode)
Pressing the SCAN button causes the tuner to search for
the next listenable station, in AM, FM or Satellite (if
equipped) frequencies, pausing for 5 seconds at each
listenable station before continuing to the next. To stop
the search, press the SCAN button a second time.
Voice Recognition Button (UConnect™ Hands Free
Phone) — If Equipped
Press this button to operate the Hand Free Phone (UCon-
nect™) feature (if equipped). Refer to Hands-Free Com-
munication (UConnect™) in Section 3 for more informa-
tion.
If your vehicle is not equipped with this feature, a
“UConnect™ System Not Available” message will dis-
play on the radio screen.
218 UNDERSTANDING YOUR INSTRUMENT PANEL
Page 219 of 467

Phone Button (UConnect™ Hands Free Phone) —
If Equipped
Press this button to operate the Hand Free Phone (UCon-
nect™) feature (if equipped). Refer to Hands-Free Com-
munication (UConnect™) in Section 3 for more informa-
tion.
If your vehicle is not equipped with this feature, a
“UConnect™ System Not Available” message will dis-
play on the radio screen.
TIME Button
Press the TIME button and the time of day will display. In
AM or FM mode, pressing the TIME button will switch
between the time and frequency displays.
Clock Setting Procedure
1. Press and hold the TIME button, until the hours blink.
2. Adjust the hours by turning the right side TUNE
control knob.3. After adjusting the hours, press the right side TUNE
control knob to set the minutes. The minutes will begin to
blink.
4. Adjust the minutes using the right side TUNE control
knob. Press the TUNE control knob to save time change.
5. To exit, press any button/knob or wait 5 seconds.
The clock can also be set by pressing the SETUP button
and selecting the “SET HOME CLOCK” entry. Once in
this display follow the above procedure, starting at step
2.
INFO Button (Radio Mode)
Press the INFO button for an RDS station (one with call
letters displayed). The radio will return a Radio Text
message broadcast from an FM station (FM mode only).
UNDERSTANDING YOUR INSTRUMENT PANEL 219
4
Page 223 of 467

•Angle – Repeatedly Pressing SELECT will change
the viewing angle if supported by the DVD disc (If
Equipped).
NOTE:The available selections for each of the above
entries varies depending upon the disc.
NOTE:These selections can only be made while playing
a DVD.
•VES Power -Allows you to turn VES ON and OFF (If
Equipped).
•VES Lock -Locks out rear VES remote controls (If
Equipped).
•VES CH1/CH2 -Allows the user to change mode of
either the IR1 or IR2, wireless headphones, by pressing
the Audio/Select button (If Equipped).
•Set Home Clock -Pressing the SELECT button will
allow user to set the clock. Turn the TUNE controlknob to adjust the hours and then press and turn the
TUNE control knob to adjust the minutes. Press the
TUNE control knob again to save changes.
•Player Defaults -Selecting this item will allow the
user to scroll through the following items, and set
defaults according to customer preference.
Menu Language — If Equipped
Selecting this item will allow the user to choose the
default startup DVD menu language (effective only if
language supported by disc). If customer wishes to select
a language not listed, then scroll down and select�other.�
Enter the 4-digit country code using the TUNE control
knob to scroll up and down to select the # and then push
to select.
Audio Language — If Equipped
Selecting this item will allow the user to choose a default
audio language (effective only if language supported by
UNDERSTANDING YOUR INSTRUMENT PANEL 223
4