Page 71 of 417
downward into the seat, removing slack in the straps
according to the child restraint manufacturer’s instruc-
tions.
WARNING!
Improper installation of a child restraint to the
LATCH anchorages can lead to failure of an infant or
child restraint. The child could be badly injured or
killed. Follow the manufacturer’s directions exactly
when installing an infant or child restraint.
Installing Child Restraints Using the Vehicle Seat
Belt
The passenger seat belts are equipped with either cinch-
ing latch plates or automatic locking retractors, which are
designed to keep the lap portion tight around the child
restraint so that it is not necessary to use a locking clip. If
the seat belt has a cinching latch plate, pulling up on theshoulder portion of the lap/shoulder belt will tighten the
belt. The cinching latch plate will keep the belt tight,
however, any seat belt system will loosen with time, so
check the belt occasionally and pull it tight if necessary.
If the seat belt has a automatic locking retractor, it will
have a distinctive label. Pull the belt from the retractor
until there is enough to allow you to pass through the
child restraint and slide the latch plate into the buckle.
Then, pull the belt until it is all extracted from the
retractor. Allow the belt to return to the retractor, pulling
on the excess webbing to tighten the lap portion about
the child restraint. Refer to “Automatic Locking Mode”
earlier in this section.
In the rear seat, you may have trouble tightening the
lap/shoulder belt on the child restraint because the
buckle or latch plate is too close to the belt path opening
on the restraint. Disconnect the latch plate from the
THINGS TO KNOW BEFORE STARTING YOUR VEHICLE 71
2
Page 72 of 417
buckle and twist the short buckle-end belt several times
to shorten it. Insert the latch plate into the buckle with the
release button facing out.
If the belt still can’t be tightened, or if by pulling and
pushing on the restraint loosens the belt, you may need
to do something more. Disconnect the latch plate from
the buckle, turn the buckle around, and insert the latch
plate into the buckle again. If you still can’t make the
child restraint secure, try a different seating position.
To attach a child restraint tether strap:
Route the tether strap over the seat back and attach the
hook to the tether anchor located on the back of the seat.
For the outboard seating positions, route the tether under
the head restraint between the head restraint posts.
Tether Strap Mounting
72 THINGS TO KNOW BEFORE STARTING YOUR VEHICLE
Page 73 of 417
WARNING!
An incorrectly anchored tether strap could lead to
increased head motion and possible injury to the
child. Use only the anchor positions directly behind
the child seat to secure a child restraint top tether
strap.
Children Too Large for Booster Seats
Children who are large enough to wear the shoulder belt
comfortably, and whose legs are long enough to bend
over the front of the seat when their back is against the
seat back should use the lap/shoulder belt in a rear seat.
•Make sure that the child is upright in the seat.
•The lap portion should be low on the hips and as snug
as possible.
•Check belt fit periodically. A child’s squirming or
slouching can move the belt out of position.
•If the shoulder belt contacts the face or neck, move the
child closer to the center of the vehicle. Never allow a
child to put the shoulder belt under an arm.
Transporting Pets
Airbags deploying in the front seat could harm your pet.
An unrestrained pet will be thrown about and possibly
injured, or injure a passenger during panic braking or in
a collision.
Pets should be restrained in the rear seat in pet harnesses
or pet carriers that are secured by seat belts.
THINGS TO KNOW BEFORE STARTING YOUR VEHICLE 73
2
Page 115 of 417
To restore the 65/35 rear seat to the upright
position perform the following steps:
Raise the seatback and lock it into place. If interference
from the cargo area prevents the seatback from fully
locking, you will have difficulty returning the seat to its
proper position. The seat release handle will be flush
with the seatback when the seat is fully latched.
NOTE:If the rear seatback is not fully latched, the
center shoulder belt will not be able to be extended for
use. If you cannot extend the center shoulder belt, please
make sure your seatback is fully latched.
WARNING!
Be certain that the seatback is securely locked into
position. If the seatback in not securely locked into
position the seat will not provide the proper stability
for child seats and/or passengers. An improperly
latched seat could cause serious injury.
TO OPEN AND CLOSE THE HOOD
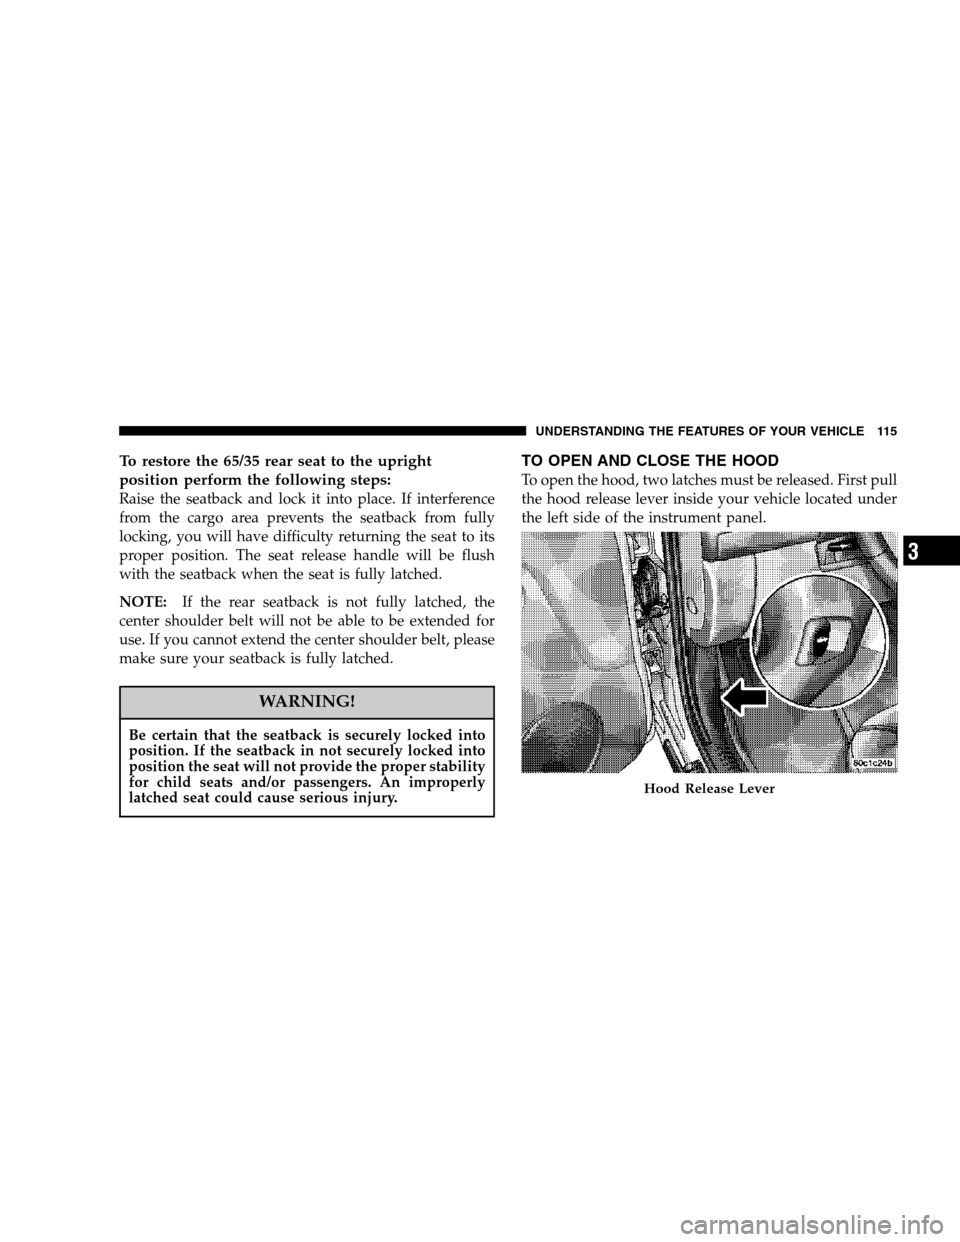
To open the hood, two latches must be released. First pull
the hood release lever inside your vehicle located under
the left side of the instrument panel.
Hood Release Lever
UNDERSTANDING THE FEATURES OF YOUR VEHICLE 115
3
Page 150 of 417
WARNING!
•In an accident, there is a greater risk of being
thrown from a vehicle with an open sunroof. You
could also be seriously injured or killed. Always
fasten your seat belt properly and make sure all
passengers are properly secured too.
•Do not allow small children to operate the sun-
roof. Never allow fingers or other body parts, or
any object to project through the sunroof opening.
Injury may result.
Sunroof Maintenance
Use only a non-abrasive cleaner and a soft cloth to clean
the glass panel.
POWER OUTLET
To the right of the convenience tray (lower center of
instrument panel) is an outlet for electrically powered
accessories. Pull lightly on the top of the plastic cover to
open the outlet.
Front Power Outlet
150 UNDERSTANDING THE FEATURES OF YOUR VEHICLE
Page 156 of 417
WARNING!
•Cargo tie-down hooks are not safe anchors for a
child seat tether strap. In a sudden stop or colli-
sion a hook could pull loose and allow the child
seat to come loose. A child could be badly injured.
Use only the anchors provided for child seat
tethers.
•The weight and position of cargo and passengers
can change the vehicle center of gravity and
vehicle handling. To avoid loss of control result-
ing in personal injury, follow these guidelines for
loading your vehicle:
•Always place cargo evenly on the cargo floor. Put
heavier objects as low and as far forward as possible.
•Place as much cargo as possible in front of the rear
axle. Too much weight or improperly placed weight
over or behind the rear axle can cause the rear of the
vehicle to sway.
•Do not pile luggage or cargo higher than the top of the
seatback. This could impair visibility or become a
dangerous projectile in a sudden stop or collision.
WARNING!
To help protect against personal injury, passengers
should not be seated in the rear cargo area. The rear
cargo space is intended for load carrying purposes
only, not for passengers, who should sit in seats and
use seat belts.
156 UNDERSTANDING THE FEATURES OF YOUR VEHICLE
Page 211 of 417
STARTING PROCEDURES
Before starting your vehicle, adjust your seat, adjust both
inside and outside mirrors, and fasten your seat belts.
CAUTION!
Long periods of engine idling, especially at high
engine speeds can cause excessive exhaust tempera-
tures which can damage your vehicle. Do not leave
your vehicle unattended with the engine running.
WARNING!
Do not leave children or animals inside parked
vehicles in hot weather. Interior heat build up may
cause serious injury or death.
Manual Transmission
Apply the parking brake, place the gearshift control lever
in N (Neutral) and depress the clutch pedal before
starting vehicle. This vehicle is equipped with a clutch
interlocking ignition system, which requires the clutch to
be fully depressed before starting the vehicle.
4WD Models Only
In 4L mode, this vehicle will start regardless of whether
or not the clutch pedal is pressed to the floor. This feature
enhances off-road performance by allowing the vehicle to
start when in 4L without having to depress the clutch
pedal. The 4 LO MODE indicator light will illuminate
when the transfer case has been shifted into this mode.
Automatic Transmission
Start the engine with the selector lever in the N (Neutral)
or P (Park) position. Apply the brake before shifting to
any driving range.
STARTING AND OPERATING 211
5
Page 409 of 417

Rear Servicing........................ 365
Rear Tail............................ 365
Seat Belt Reminder..................... 173
Security Alarm (Theft Alarm).............. 172
Sentry Key........................... 172
Service.............................. 362
Side Marker.......................... 365
Tire Pressure Monitoring (TPMS)........... 166
Traction Control....................130,175
Transfer Case......................171,172
Transmission Warning................... 171
Turn Signal............... 117,119,166,363,365
Warning (Instrument Cluster Description)..... 166
Loading Vehicle......................... 280
Tires ............................... 249
Locks................................. 26
Automatic Door........................ 29
Child Protection........................ 30
Door.............................. 26,28Power Door........................... 29
Steering Wheel......................... 16
Lower Anchors and Tether for CHildren
(LATCH)............................ 68,69
Lubrication, Body....................... 331
Luggage Carrier......................... 159
Luggage Rack (Roof Rack)................. 159
Maintenance Free Battery.................. 327
Maintenance Procedures................... 320
Maintenance Schedule.................... 370
Schedule “A”......................... 385
Schedule “B”......................... 373
Maintenance Schedules.................... 370
Maintenance, Sunroof..................... 150
Malfunction Indicator Light (Check Engine) . . 168,318
Manual, Service......................... 396
Manual Transmission..................216,344
Fluid Level Check...................... 344
INDEX 409
10