Page 125 of 456
Interior Lights
The interior lighting consists of courtesy lights mounted
below the instrument panel, an overhead console light
assembly which contains both driver and passenger
reading lights, reading lights located above the rear
doors, and a rear cargo light. Opening a door or turning
the center of the multi-function control lever to the
extreme up position will activate all interior courtesy
lights.
Courtesy/Reading Lights
Each light can be turned on by pressing the recessed area
of the lens. To turn these lights off, press the recessed area
of the lens a second time. There are also reading lights
located above the rear doors. Each light can be turned on
by pressing the front recessed area of the lens. To turn
these lights off, press the recessed area of the lens a
second time.
Courtesy/Reading Lights
UNDERSTANDING THE FEATURES OF YOUR VEHICLE 125
3
Page 162 of 456
POWER OUTLETTo the right of the convenience tray (lower center of
instrument panel) is an outlet for electrically powered
accessories. Pull lightly on the tab of the plastic cover to
access the outlet.
The rear power outlet (if equipped) is located in the left
rear cargo area.The power outlets are a direct feed from the battery so
they receive power whether the ignition is in the ON or
OFF position.
All accessories connected to this outlet should be re-
moved or turned off when the vehicle is not in use to
protect the battery against discharge.
Front Power Outlet
Rear Power Outlet
162 UNDERSTANDING THE FEATURES OF YOUR VEHICLE
Page 171 of 456
UNDERSTANDING YOUR INSTRUMENT PANEL
CONTENTS
�Instrument Panel And Controls.............174
�Instrument Cluster......................175
�Instrument Cluster Description.............176
�Electronic Vehicle Information Center —
If Equipped...........................184
▫Customer Programmable Features.........187
▫Compass/Temperature/Trip Computer......191
▫Trip Computer.......................193
�Radio General Information................197▫Radio Broadcast Signals.................197
▫Two Types Of Signals..................198
▫Electrical Disturbances..................198
▫AM Reception.......................198
▫FM Reception........................198
�Sales Code RAQ – AM/FM/CD (6-Disc) Radio
With Optional Satellite Radio, Hands Free Phone,
And Vehicle Entertainment Systems (VES)
Capabilities...........................199
▫Operating Instructions - Radio Mode.......1994
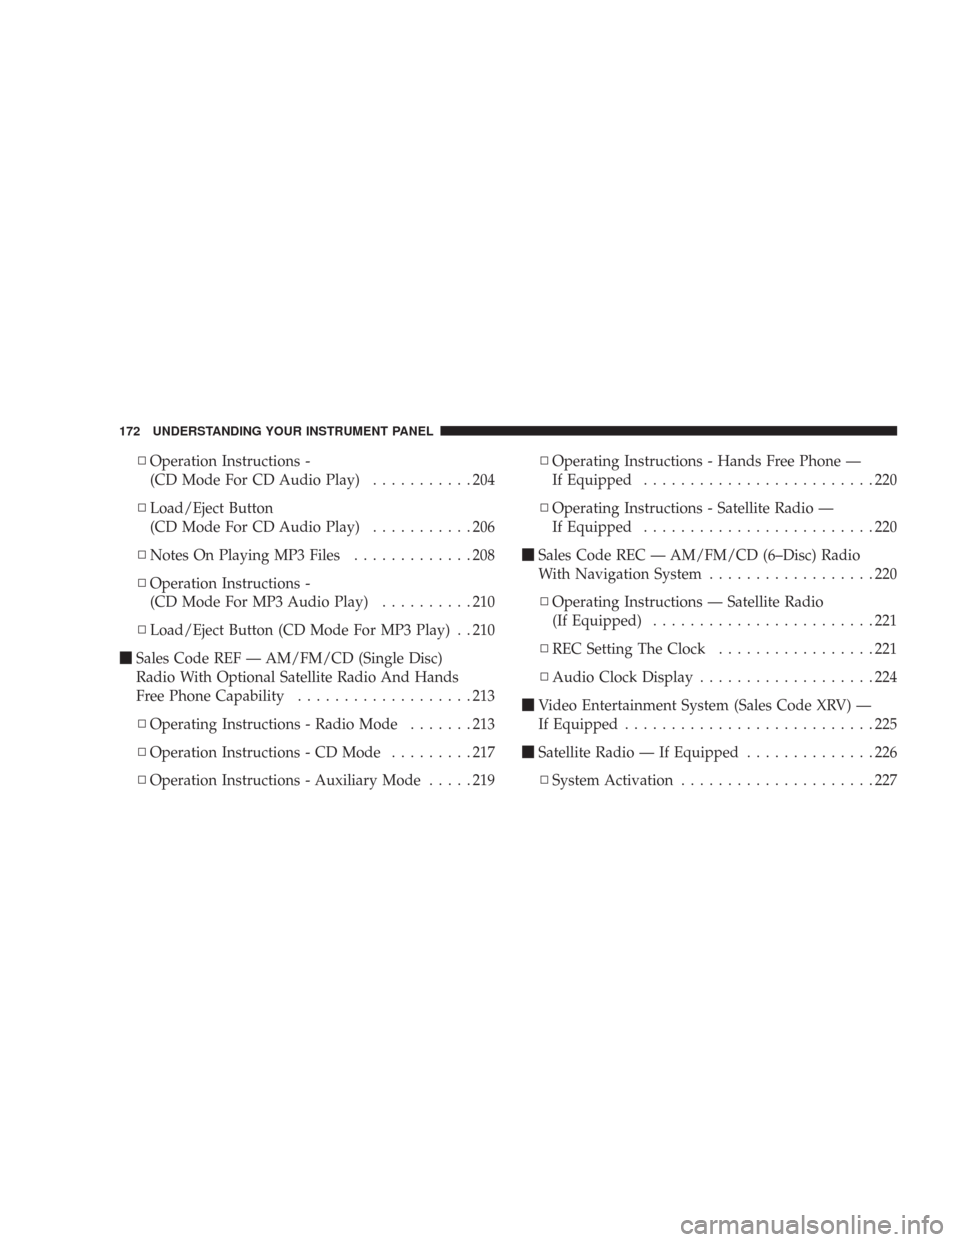
Page 172 of 456

▫Operation Instructions -
(CD Mode For CD Audio Play)...........204
▫Load/Eject Button
(CD Mode For CD Audio Play)...........206
▫Notes On Playing MP3 Files.............208
▫Operation Instructions -
(CD Mode For MP3 Audio Play)..........210
▫Load/Eject Button (CD Mode For MP3 Play) . . 210
�Sales Code REF — AM/FM/CD (Single Disc)
Radio With Optional Satellite Radio And Hands
Free Phone Capability...................213
▫Operating Instructions - Radio Mode.......213
▫Operation Instructions - CD Mode.........217
▫Operation Instructions - Auxiliary Mode.....219▫Operating Instructions - Hands Free Phone —
If Equipped.........................220
▫Operating Instructions - Satellite Radio —
If Equipped.........................220
�Sales Code REC — AM/FM/CD (6–Disc) Radio
With Navigation System..................220
▫Operating Instructions — Satellite Radio
(If Equipped)........................221
▫REC Setting The Clock.................221
▫Audio Clock Display...................224
�Video Entertainment System (Sales Code XRV) —
If Equipped...........................225
�Satellite Radio — If Equipped..............226
▫System Activation.....................227
172 UNDERSTANDING YOUR INSTRUMENT PANEL
Page 173 of 456

▫Electronic Serial Number/Sirius Identification
Number (ESN/SID)....................227
▫Selecting Satellite Mode In REF Radios......228
▫Selecting Satellite Mode In RAQ Radios.....228
▫Selecting a Channel....................228
▫Storing And Selecting Pre-Set Channels......229
▫Using The PTY (Program Type) Button —
If Equipped.........................229
▫PTY Button�Scan�.....................229
▫PTY Button�Seek�.....................229
▫Satellite Antenna......................230
▫Reception Quality.....................230
�Remote Sound System Controls — If Equipped . . 230▫Radio Operation......................231
▫CD Player..........................231
�CD/DVD Disc Maintenance...............232
�Radio Operation And Cellular Phones........232
�Climate Controls.......................233
▫Manual Air Conditioning And Heating
System — If Equipped..................233
▫Automatic Temperature Control —
If Equipped.........................236
▫Rear Climate Control — If Equipped.......242
▫Operating Tips.......................244
▫Operating Tips Chart...................246
UNDERSTANDING YOUR INSTRUMENT PANEL 173
4
Page 174 of 456
INSTRUMENT PANEL AND CONTROLS
174 UNDERSTANDING YOUR INSTRUMENT PANEL
Page 175 of 456
INSTRUMENT CLUSTER
UNDERSTANDING YOUR INSTRUMENT PANEL 175
4
Page 176 of 456

INSTRUMENT CLUSTER DESCRIPTION
1. Speedometer
Indicates vehicle speed.
2. Brake Warning Light
The BRAKE warning light will come on when
the ignition is first turned on, and stay on
briefly as a bulb check. If the bulb does not
come on during starting, have the bulb re-
paired promptly. If the light stays on longer, it may be an
indication that the parking brake has not been released.
If the light remains on when the parking brake is off, it
indicates a possible brake hydraulic system malfunction
or low fluid level. In this case, the “Brake Warning Light”
will remain on until the cause is corrected. If a brake
malfunction is indicated, immediate repair is necessary
and continued operation of the vehicle in this condition is
dangerous.3. Turn Signal Indicator Light
The arrow will flash with the exterior turn signal
when the turn signal lever is operated.
If the vehicle electronics sense that the vehicle has
traveled about one mile with the turn signals on, a chime
will sound to alert you to turn the signals off. If either
indicator flashes at a rapid rate, check for a defective
outside light bulb.
4. High Beam Indicator Light
Indicates that headlights are on high beam.
5. Malfunction Indicator Light
This light is part of an onboard diagnostic system
called OBD II that monitors engine and auto-
matic transmission control systems. The light will
illuminate when the key is in the ON position before
176 UNDERSTANDING YOUR INSTRUMENT PANEL