2007 HYUNDAI VERACRUZ remote control
[x] Cancel search: remote controlPage 83 of 441

4
Keys / 4-3
Smart key / 4-6
Remote keyless entry / 4-10
Theft-alarm system / 4-13
Door locks / 4-15
Tailgate / 4-19
Windows / 4-26
Hood / 4-30
Fuel filler lid / 4-31
Sunroof / 4-34
Driver position memory system / 4-38
Power adjustable pedals / 4-39
Steering wheel / 4-40
Mirrors / 4-42
Instrument cluster / 4-52
Rear parking assist system / 4-69
Hazard warning flasher / 4-71
Lighting / 4-72
Wipers and washers / 4-76
Interior light / 4-78
Defroster / 4-83
Manual climate control system / 4-84
Automatic climate control system / 4-96
Features of your vehicle
EN hma 4~83.qxd 11/28/2006 3:21 PM Page 1
procarmanuals.com
Page 115 of 441

433
Features of your vehicle
D100500AUNEmergency fuel filer lid releaseIf the fuel filler lid does not open using
the remote fuel filler lid release, you can
open it manually. Unsnap and remove the
panel in the cargo area. Pull the handle
outward slightly.
(Continued)
If a fire breaks out during refuel-
ing, leave the vicinity of the vehi-
cle, and immediately contact the
manager of the gas station and
then contact the local fire depart-
ment or 911. Follow any safety
instructions they provide.
CAUTION
Make sure to refuel with unleaded
fuel only.
If the fuel filler cap requires
replacement, use only a genuine
HYUNDAI cap or the equivalent
specified for your vehicle. An
incorrect fuel filler cap can result
in a serious malfunction of the
fuel system or emission control
system.
Do not spill fuel on the exterior
surfaces of the vehicle. Any type
of fuel spilled on painted surfaces
may damage the paint.
After refueling, make sure the fuel
cap is installed securely to pre-
vent fuel spillage in the event of
an accident.
CAUTION
Do not pull the handle excessively,
otherwise the luggage area trim or
release handle may be damaged.
OEN046021
EN hma 4~83.qxd 11/28/2006 3:32 PM Page 33
procarmanuals.com
Page 132 of 441
Features of your vehicle50 4D140200AUN-EUOutside rearview mirror Be sure to adjust mirror angles before
driving.
Your vehicle is equipped with both left-
hand and right-hand outside rearview
mirrors. The mirrors can be adjusted
remotely with the remote switch. The mir-
ror heads can be folded back to prevent
damage during an automatic car wash or
when passing in a narrow street.
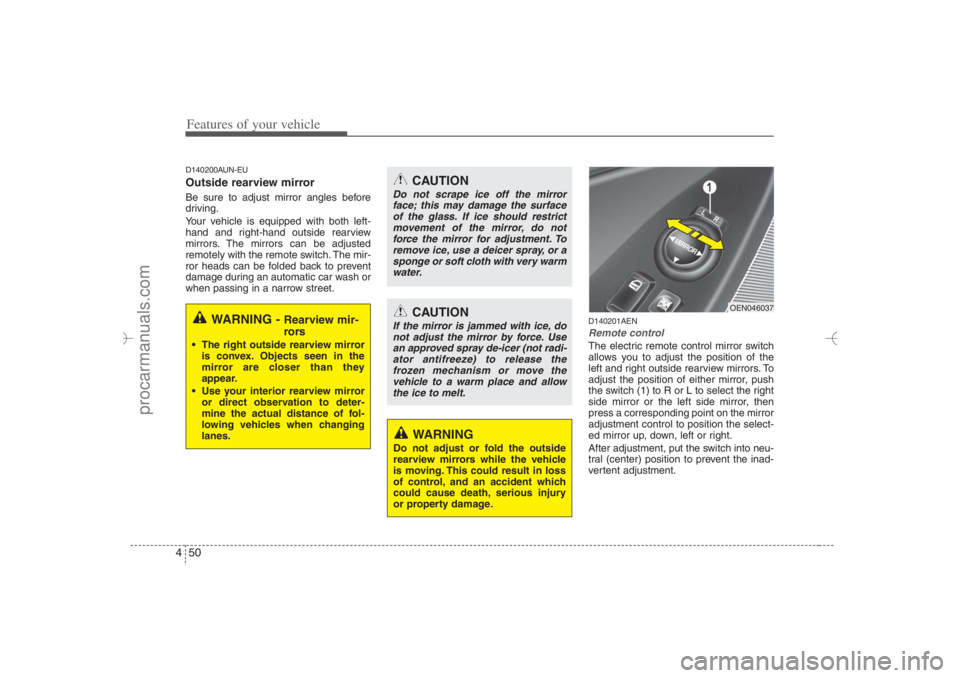
D140201AENRemote controlThe electric remote control mirror switch
allows you to adjust the position of the
left and right outside rearview mirrors. To
adjust the position of either mirror, push
the switch (1) to R or L to select the right
side mirror or the left side mirror, then
press a corresponding point on the mirror
adjustment control to position the select-
ed mirror up, down, left or right.
After adjustment, put the switch into neu-
tral (center) position to prevent the inad-
vertent adjustment.
WARNING -
Rearview mir-
rors
The right outside rearview mirror
is convex. Objects seen in the
mirror are closer than they
appear.
Use your interior rearview mirror
or direct observation to deter-
mine the actual distance of fol-
lowing vehicles when changing
lanes.
CAUTION
Do not scrape ice off the mirror
face; this may damage the surface
of the glass. If ice should restrict
movement of the mirror, do not
force the mirror for adjustment. To
remove ice, use a deicer spray, or a
sponge or soft cloth with very warm
water.
CAUTION
If the mirror is jammed with ice, do
not adjust the mirror by force. Use
an approved spray de-icer (not radi-
ator antifreeze) to release the
frozen mechanism or move the
vehicle to a warm place and allow
the ice to melt.
WARNING
Do not adjust or fold the outside
rearview mirrors while the vehicle
is moving. This could result in loss
of control, and an accident which
could cause death, serious injury
or property damage.
OEN046037
EN hma 4~83.qxd 11/28/2006 3:36 PM Page 50
procarmanuals.com
Page 203 of 441
4121
Features of your vehicle
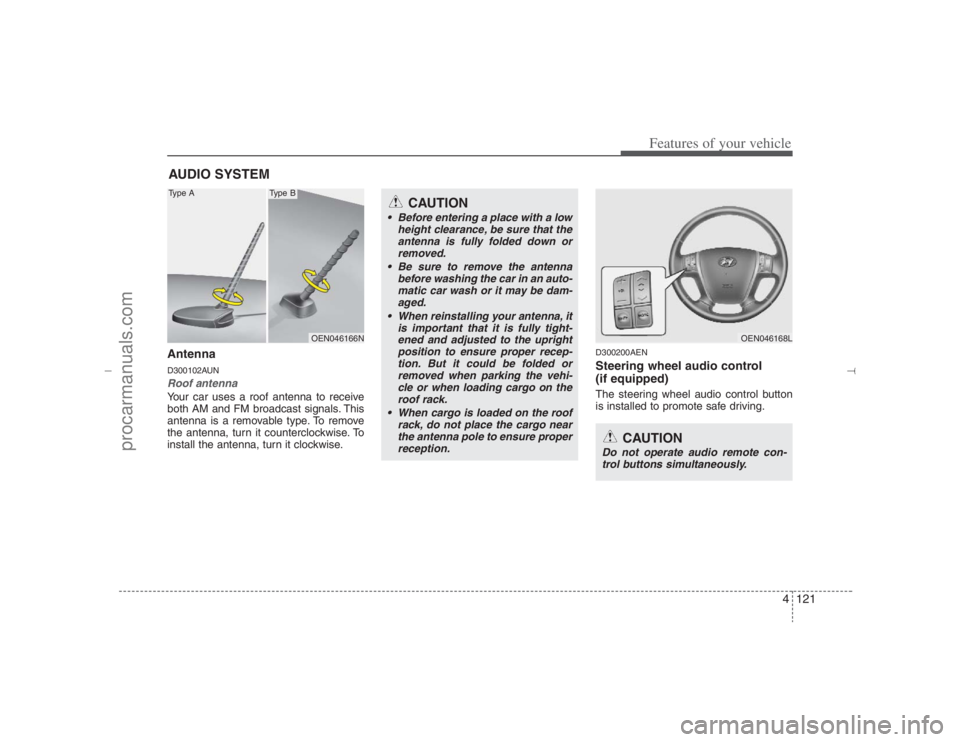
AntennaD300102AUNRoof antenna Your car uses a roof antenna to receive
both AM and FM broadcast signals. This
antenna is a removable type. To remove
the antenna, turn it counterclockwise. To
install the antenna, turn it clockwise.
D300200AENSteering wheel audio control
(if equipped) The steering wheel audio control button
is installed to promote safe driving.
AUDIO SYSTEM
OEN046166N
CAUTION
• Before entering a place with a low
height clearance, be sure that the
antenna is fully folded down or
removed.
Be sure to remove the antenna
before washing the car in an auto-
matic car wash or it may be dam-
aged.
When reinstalling your antenna, it
is important that it is fully tight-
ened and adjusted to the upright
position to ensure proper recep-
tion. But it could be folded or
removed when parking the vehi-
cle or when loading cargo on the
roof rack.
When cargo is loaded on the roof
rack, do not place the cargo near
the antenna pole to ensure proper
reception.
OEN046168L
CAUTION
Do not operate audio remote con-
trol buttons simultaneously.
Type A
Type B
EN hma 4-121~(Audio).qxd 11/28/2006 3:06 PM Page 121
procarmanuals.com
Page 249 of 441
4167
Features of your vehicle
✽ ✽
NOTICEThe RSE requires a few seconds of set
up time after the ignition switch is
turned ON or to ACC mode.
Your RSE system is already set up and
ready for use, and can be turned on by
pushing the POWER/VOLUMEknob on
the RSE control panel or the POWER
ON/OFFbutton on the remote
controller. The vehicle's ignition must be
turned on or in accessory power mode.
The RSE system can also be turned OFF
by the Audio Unit.
ComponentsYour RSE consists of several compo-
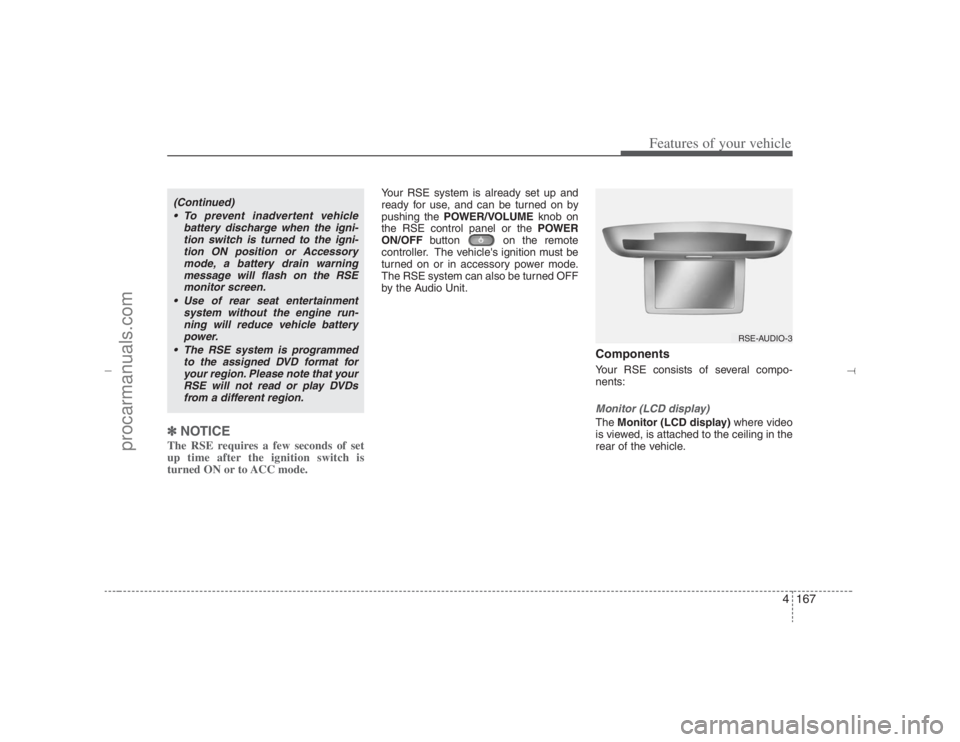
nents:Monitor (LCD display)The Monitor (LCD display)where video
is viewed, is attached to the ceiling in the
rear of the vehicle.
(Continued)
To prevent inadvertent vehicle
battery discharge when the igni-
tion switch is turned to the igni-
tion ON position or Accessory
mode, a battery drain warning
message will flash on the RSE
monitor screen.
Use of rear seat entertainment
system without the engine run-
ning will reduce vehicle battery
power.
The RSE system is programmed
to the assigned DVD format for
your region. Please note that your
RSE will not read or play DVDs
from a different region.
RSE-AUDIO-3
EN hma 4-121~(Audio).qxd 11/28/2006 3:10 PM Page 167
procarmanuals.com
Page 251 of 441
4169
Features of your vehicle
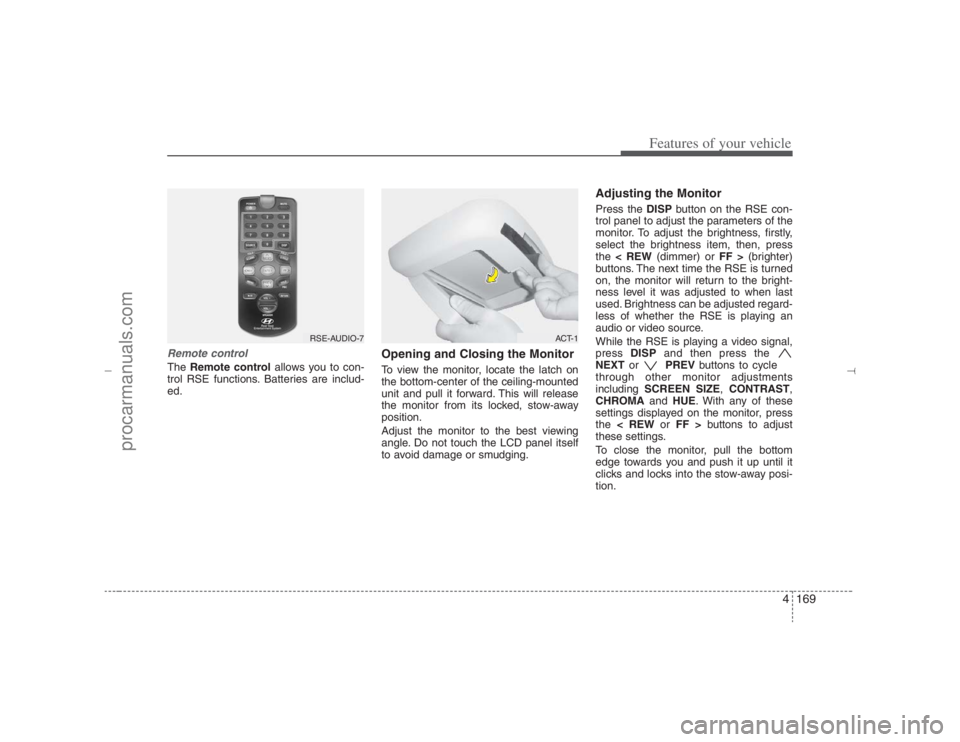
Remote controlThe Remote controlallows you to con-
trol RSE functions. Batteries are includ-
ed.
Opening and Closing the MonitorTo view the monitor, locate the latch on
the bottom-center of the ceiling-mounted
unit and pull it forward. This will release
the monitor from its locked, stow-away
position.
Adjust the monitor to the best viewing
angle. Do not touch the LCD panel itself
to avoid damage or smudging.
Adjusting the MonitorPress the DISPbutton on the RSE con-
trol panel to adjust the parameters of the
monitor. To adjust the brightness, firstly,
select the brightness item, then, press
the < REW(dimmer) or FF >(brighter)
buttons. The next time the RSE is turned
on, the monitor will return to the bright-
ness level it was adjusted to when last
used. Brightness can be adjusted regard-
less of whether the RSE is playing an
audio or video source.
While the RSE is playing a video signal,
press DISPand then press the
NEXTor PREVbuttons to cycle
through other monitor adjustments
including SCREEN SIZE,CONTRAST,
CHROMAand HUE. With any of these
settings displayed on the monitor, press
the < REWor FF >buttons to adjust
these settings.
To close the monitor, pull the bottom
edge towards you and push it up until it
clicks and locks into the stow-away posi-
tion.
RSE-AUDIO-7
ACT-1
EN hma 4-121~(Audio).qxd 11/28/2006 3:10 PM Page 169
procarmanuals.com
Page 252 of 441
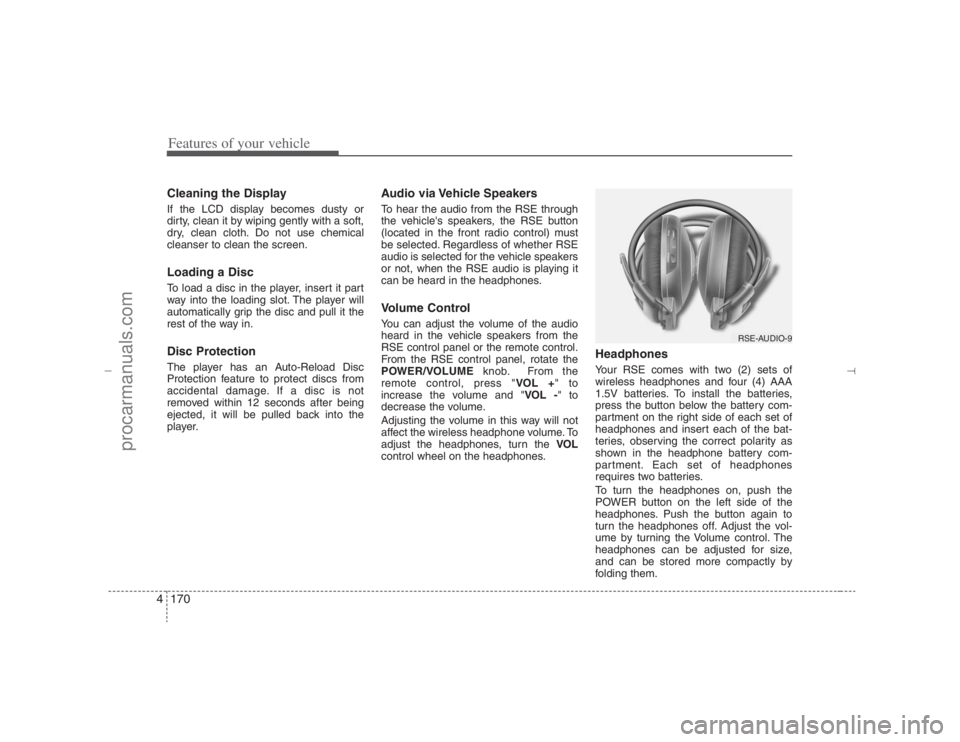
Features of your vehicle170 4Cleaning the DisplayIf the LCD display becomes dusty or
dirty, clean it by wiping gently with a soft,
dry, clean cloth. Do not use chemical
cleanser to clean the screen.Loading a DiscTo load a disc in the player, insert it part
way into the loading slot. The player will
automatically grip the disc and pull it the
rest of the way in.Disc ProtectionThe player has an Auto-Reload Disc
Protection feature to protect discs from
accidental damage. If a disc is not
removed within 12 seconds after being
ejected, it will be pulled back into the
player.
Audio via Vehicle SpeakersTo hear the audio from the RSE through
the vehicle's speakers, the RSE button
(located in the front radio control) must
be selected. Regardless of whether RSE
audio is selected for the vehicle speakers
or not, when the RSE audio is playing it
can be heard in the headphones.Volume ControlYou can adjust the volume of the audio
heard in the vehicle speakers from the
RSE control panel or the remote control.
From the RSE control panel, rotate the
POWER/VOLUMEknob. From the
remote control, press "VOL +" to
increase the volume and "VOL -" to
decrease the volume.
Adjusting the volume in this way will not
affect the wireless headphone volume. To
adjust the headphones, turn the VOL
control wheel on the headphones.
HeadphonesYour RSE comes with two (2) sets of
wireless headphones and four (4) AAA
1.5V batteries. To install the batteries,
press the button below the battery com-
partment on the right side of each set of
headphones and insert each of the bat-
teries, observing the correct polarity as
shown in the headphone battery com-
partment. Each set of headphones
requires two batteries.
To turn the headphones on, push the
POWER button on the left side of the
headphones. Push the button again to
turn the headphones off. Adjust the vol-
ume by turning the Volume control. The
headphones can be adjusted for size,
and can be stored more compactly by
folding them.
RSE-AUDIO-9
EN hma 4-121~(Audio).qxd 11/28/2006 3:10 PM Page 170
procarmanuals.com
Page 253 of 441

4171
Features of your vehicle
✽ ✽
NOTICE• Conserve the energy of your batteries
by turning the headphones off when
they are not in use. Headphone bat-
teries will typically work for 48 hours,
depending on the volume setting.
• The headphone has an automatic
shutoff feature to extend battery life.
The headphones will automatically
turn off after 20 seconds if they don't
detect a signal from the RSE.
• In case of poor headphone reception
performance, please check the battery
condition.
The headphones perform best when
used within 2 - 8 feet (0.6-2 m) of the
RSE LCD display. Getting too close or
too far away will cause poor reception.
• Audio from the vehicle's CD/radio
cannot be heard through the head-
phones.
Connecting Other Devices to the
RSEElectronic devices such as video game
systems or VHS players can be played
through the RSE. These external devices
can be connected to the unit via RCA
plugs available in the vehicle.
Press the SOURCEbutton on the remote
control, or the SRCbutton on the RSE
control panel, to select and switch to the
external device inputs.Once the RSE has switched to the exter-
nal device audio and/or video sources,
you can operate the device using its con-
trols. The RSE controls will not control
external devices. For example, to control
or play a video game after the RSE has
recognized it as the source, you must
use the game controls, not the RSE con-
trols.
RSE-EN-10
CAUTION
Connect only appropriate input
sources to the RSE jacks. Be sure
to connect audio outputs from the
external device to audio inputs in
your vehicle, and video outputs to
video inputs. Connecting an incor-
rect input may cause damage to the
RSE and/or the external electronic
device.
EN hma 4-121~(Audio).qxd 11/28/2006 3:10 PM Page 171
procarmanuals.com