Page 203 of 441

4121
Features of your vehicle
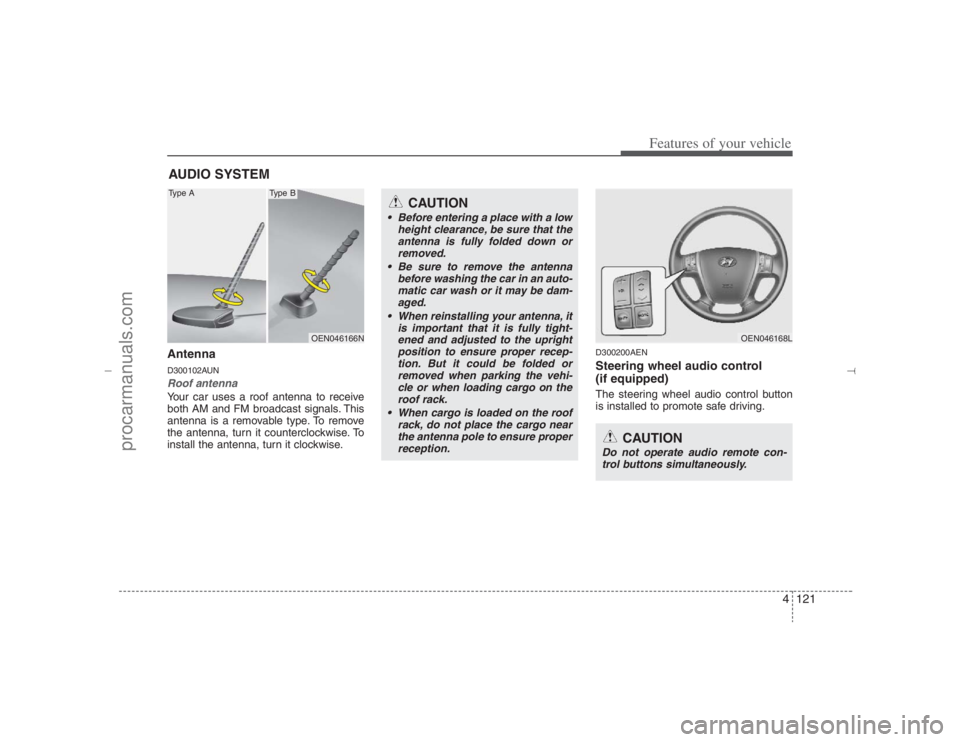
AntennaD300102AUNRoof antenna Your car uses a roof antenna to receive
both AM and FM broadcast signals. This
antenna is a removable type. To remove
the antenna, turn it counterclockwise. To
install the antenna, turn it clockwise.
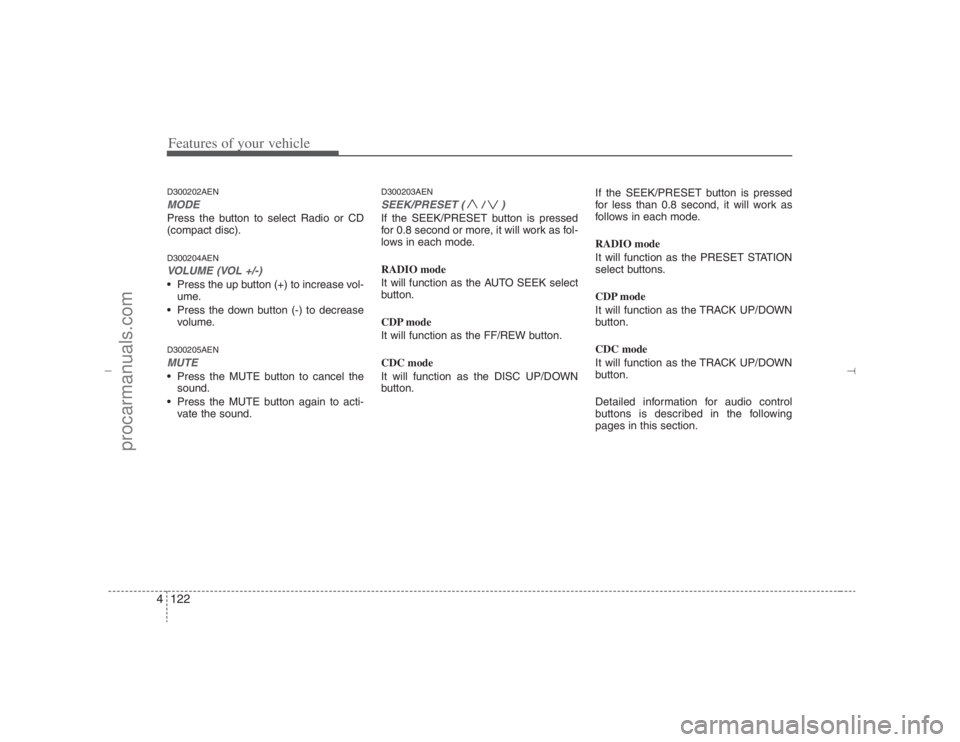
D300200AENSteering wheel audio control
(if equipped) The steering wheel audio control button
is installed to promote safe driving.
AUDIO SYSTEM
OEN046166N
CAUTION
• Before entering a place with a low
height clearance, be sure that the
antenna is fully folded down or
removed.
Be sure to remove the antenna
before washing the car in an auto-
matic car wash or it may be dam-
aged.
When reinstalling your antenna, it
is important that it is fully tight-
ened and adjusted to the upright
position to ensure proper recep-
tion. But it could be folded or
removed when parking the vehi-
cle or when loading cargo on the
roof rack.
When cargo is loaded on the roof
rack, do not place the cargo near
the antenna pole to ensure proper
reception.
OEN046168L
CAUTION
Do not operate audio remote con-
trol buttons simultaneously.
Type A
Type B
EN hma 4-121~(Audio).qxd 11/28/2006 3:06 PM Page 121
procarmanuals.com
Page 204 of 441

Features of your vehicle122 4D300202AENMODEPress the button to select Radio or CD
(compact disc).D300204AENVOLUME (VOL +/-)• Press the up button (+) to increase vol-
ume.
Press the down button (-) to decrease
volume.D300205AENMUTE Press the MUTE button to cancel the
sound.
Press the MUTE button again to acti-
vate the sound.
D300203AENSEEK/PRESET ( / )If the SEEK/PRESET button is pressed
for 0.8 second or more, it will work as fol-
lows in each mode.
RADIO mode
It will function as the AUTO SEEK select
button.
CDP mode
It will function as the FF/REW button.
CDC mode
It will function as the DISC UP/DOWN
button.If the SEEK/PRESET button is pressed
for less than 0.8 second, it will work as
follows in each mode.
RADIO mode
It will function as the PRESET STATION
select buttons.
CDP mode
It will function as the TRACK UP/DOWN
button.
CDC mode
It will function as the TRACK UP/DOWN
button.
Detailed information for audio control
buttons is described in the following
pages in this section.
EN hma 4-121~(Audio).qxd 11/28/2006 3:06 PM Page 122
procarmanuals.com
Page 222 of 441

Features of your vehicle140 41. XM Selector The XM selector will turn to each mode
in the following order each time you
press the button.
- XM1 XM2 XM3
When you press this button when you
are listening to CD or RADIO, the sys-
tem will automatically turn to XM
mode.
When the ignition switch is set to ACC
(1st notch) or ON (2nd notch) and
when you press this button, XM will be
on even when the audio system was
turned off.2. LCD (Liquid Crystal Display)It displays the XM1, XM2, XM3, Preset
Number, Title of the Channel Received,
EQ Mode (CLASSIC, POP, ROCK,
JAZZ), and SCAN Status when listening
to XM.
3. SCAN ButtonWhen you press this button, the player
will play 10 seconds of each channel
(LCD will display "SCAN"). Press it again
to cancel scanning. Also, press and this
button for more than 0.8 seconds to play
the channels memorized to the preset
buttons for 10 seconds each. (LCD will
display "corresponding channel number",
"
", and "SCAN".) Press it again to
cancel scanning.4. Information ButtonYou can see the information of the chan-
nel currently received and you can switch
to different information by pressing this
button in the following order.
- Title Name Category Current
State
5. Channel Move (Seek Up/Down)
Button When you press this button, the chan-
nel will move automatically and stop at
the next available channel and play the
channel. The display will cycle once
through the Channel, Title, Name and
Category for selected channel.
(Press [ ] to move to the higher fre-
quencies, press [ ] to the lower fre-
quencies automatically.)
Press and hold either the down or up at
a fast rate. The display will show the
Channel Name and Number while tun-
ing at the fast rate.
Radio ID :Seek or tune to XM channel
0 to display the Radio ID.
EN hma 4-121~(Audio).qxd 11/28/2006 3:07 PM Page 140
procarmanuals.com
Page 234 of 441

Features of your vehicle152 41. XM Selector The XM selector will turn to each mode
in the following order each time you
press the button.
- XM1 XM2 XM3
When you press this button when you
are listening to CD or RADIO, the sys-
tem will automatically turn to XM
mode.
When the ignition switch is set to ACC
(1st notch) or ON (2nd notch) and
when you press this button, XM will be
on even when the audio system was
turned off.2. LCD (Liquid Crystal Display)It displays the XM1, XM2, XM3, Preset
Number, Title of the Channel Received,
EQ Mode (CLASSIC, POP, ROCK,
JAZZ), and SCAN Status when listening
to XM.
3. SCAN ButtonWhen you press this button, the player
will play 10 seconds of each channel
(LCD will display "SCAN"). Press it again
to cancel scanning. Also, press and this
button for more than 0.8 seconds to play
the channels memorized to the preset
buttons for 10 seconds each. (LCD will
display "corresponding channel number",
"
", and "SCAN".) Press it again to
cancel scanning.4. Information ButtonYou can see the information of the chan-
nel currently received and you can switch
to different information by pressing this
button in the following order.
- Title Name Category Current
State
5. Channel Move (Seek Up/Down)
Button When you press this button, the chan-
nel will move automatically and stop at
the next available channel and play the
channel. The display will cycle once
through the Channel, Title, Name and
Category for selected channel.
(Press [ ] to move to the higher fre-
quencies, press [ ] to the lower fre-
quencies automatically.)
Press and hold either the down or up at
a fast rate. The display will show the
Channel Name and Number while tun-
ing at the fast rate.
Radio ID :Seek or tune to XM channel
0 to display the Radio ID.
EN hma 4-121~(Audio).qxd 11/28/2006 3:08 PM Page 152
procarmanuals.com
Page 246 of 441

Features of your vehicle164 41. XM Selector The XM selector will turn to each mode
in the following order each time you
press the button.
- XM1 XM2 XM3
When you press this button when you
are listening to CD or RADIO, the sys-
tem will automatically turn to XM
mode.
When the ignition switch is set to ACC
(1st notch) or ON (2nd notch) and
when you press this button, XM will be
on even when the audio system was
turned off.2. LCD (Liquid Crystal Display)It displays the XM1, XM2, XM3, Preset
Number, Title of the Channel Received,
EQ Mode (CLASSIC, POP, ROCK,
JAZZ), and SCAN Status when listening
to XM.
3. SCAN ButtonWhen you press this button, the player
will play 10 seconds of each channel
(LCD will display "SCAN"). Press it again
to cancel scanning. Also, press and this
button for more than 0.8 seconds to play
the channels memorized to the preset
buttons for 10 seconds each. (LCD will
display "corresponding channel number",
"
", and "SCAN".) Press it again to
cancel scanning.4. Information ButtonYou can see the information of the chan-
nel currently received and you can switch
to different information by pressing this
button in the following order.
- Title Name Category Current
State
5. Channel Move (Seek Up/Down)
Button When you press this button, the chan-
nel will move automatically and stop at
the next available channel and play the
channel. The display will cycle once
through the Channel, Title, Name and
Category for selected channel.
(Press [ ] to move to the higher fre-
quencies, press [ ] to the lower fre-
quencies automatically.)
Press and hold either the down or up at
a fast rate. The display will show the
Channel Name and Number while tun-
ing at the fast rate.
Radio ID :Seek or tune to XM channel
0 to display the Radio ID.
EN hma 4-121~(Audio).qxd 11/28/2006 3:10 PM Page 164
procarmanuals.com
Page 251 of 441

4169
Features of your vehicle
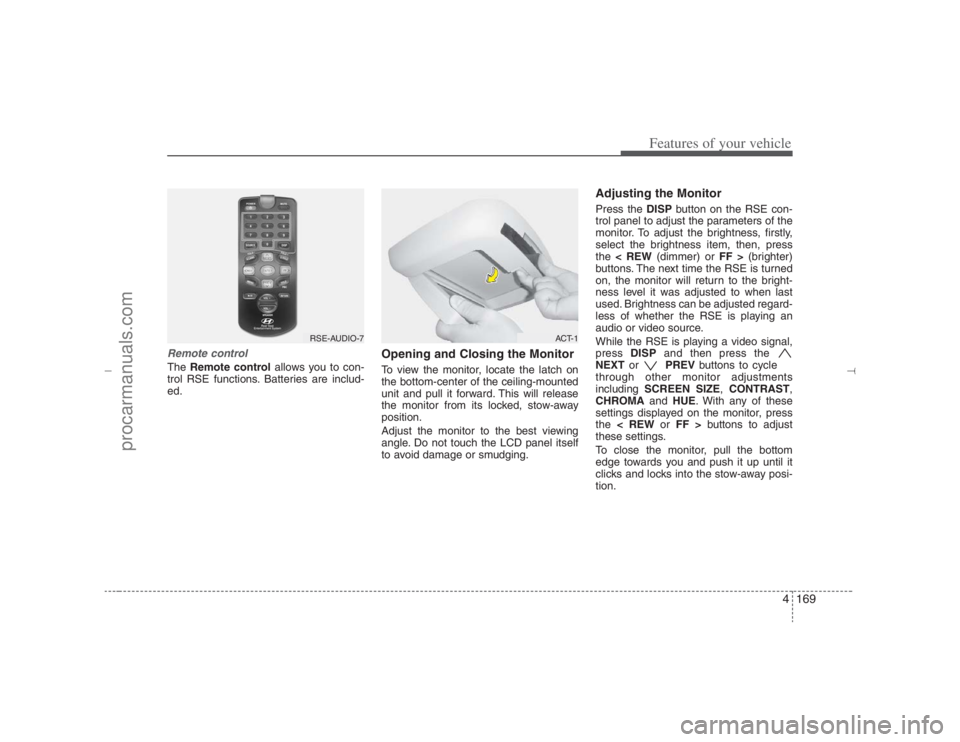
Remote controlThe Remote controlallows you to con-
trol RSE functions. Batteries are includ-
ed.
Opening and Closing the MonitorTo view the monitor, locate the latch on
the bottom-center of the ceiling-mounted
unit and pull it forward. This will release
the monitor from its locked, stow-away
position.
Adjust the monitor to the best viewing
angle. Do not touch the LCD panel itself
to avoid damage or smudging.
Adjusting the MonitorPress the DISPbutton on the RSE con-
trol panel to adjust the parameters of the
monitor. To adjust the brightness, firstly,
select the brightness item, then, press
the < REW(dimmer) or FF >(brighter)
buttons. The next time the RSE is turned
on, the monitor will return to the bright-
ness level it was adjusted to when last
used. Brightness can be adjusted regard-
less of whether the RSE is playing an
audio or video source.
While the RSE is playing a video signal,
press DISPand then press the
NEXTor PREVbuttons to cycle
through other monitor adjustments
including SCREEN SIZE,CONTRAST,
CHROMAand HUE. With any of these
settings displayed on the monitor, press
the < REWor FF >buttons to adjust
these settings.
To close the monitor, pull the bottom
edge towards you and push it up until it
clicks and locks into the stow-away posi-
tion.
RSE-AUDIO-7
ACT-1
EN hma 4-121~(Audio).qxd 11/28/2006 3:10 PM Page 169
procarmanuals.com
Page 254 of 441
Features of your vehicle172 4RSE Lock Function Front seat passengers can prevent rear-
seat passengers from operating the RSE
with the RSE Lock function. To lock the
RSE, press the " " button located
in the front radio control."Lock" will appear on the RSE monitor,
as well as on the RSE control panel.
None of the RSE control panel or remote
control buttons will function while the
RSE is locked except for the POWER
button on the RSE control panel and the
remote control. Rear seat passengers
will still be able to eject or insert a disc in
the player.
Press this button again to turn off the
RSE lock.
Battery Discharge WarningTo prevent inadvertent vehicle battery
discharge when the ignition switch is
turned to the ignition ON position or ACC
mode, a battery drain warning message
will flash on the RSE monitor screen.
RSE-AUDIO-10
RSE-EN-10A
EN hma 4-121~(Audio).qxd 11/28/2006 3:11 PM Page 172
procarmanuals.com
Page 255 of 441
4173
Features of your vehicle
1. ON/OFF and Speaker Volume
2. RSE Display
3. MENU Button
4. DISP (Display) Button
5. SRC (Source) Button
6. Play/Pause Button
7 - 11 Next / Prev (Next/Previous)
and < REW/FF > (Rewind/Fast
Forward) and ENTER Buttons
Most RSE functions are available through the RSE control panel.
RSE-EN001
RSE Control Panel Operation
EN hma 4-121~(Audio).qxd 11/28/2006 3:11 PM Page 173
procarmanuals.com