2007 Hyundai Terracan open hood
[x] Cancel search: open hoodPage 28 of 291
1FEATURES OF YOUR HYUNDAI
14
!
!
1) Remove the ignition key from the
ignition switch.
2) Make sure that the engine hood and tail gate are closed and latched.
3) Lock the doors using the transmitter
of the keyless entry system.
After completion of the steps above, the turn signal lights will blink once to indicate that the system is armed. NOTE:
1) If any door, tail gate or engine hood remains open, the system will not be armed.
2) If this happens, rearm the system as previously described.
CAUTION:
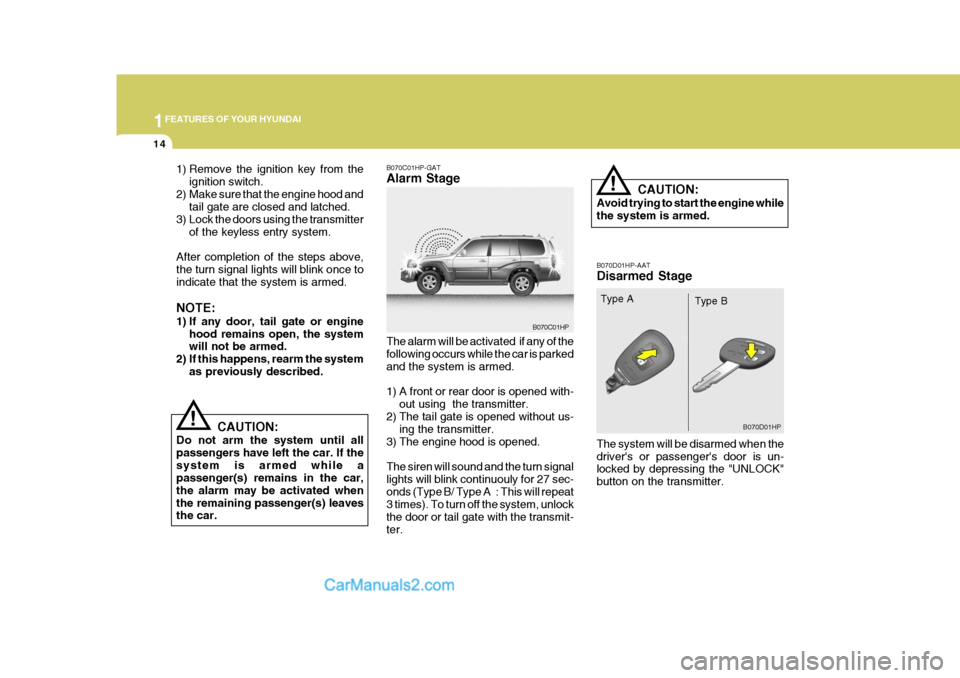
Do not arm the system until all passengers have left the car. If thesystem is armed while a passenger(s) remains in the car, the alarm may be activated whenthe remaining passenger(s) leaves the car. B070C01HP-GAT Alarm Stage The alarm will be activated if any of the following occurs while the car is parked and the system is armed.
1) A front or rear door is opened with-
out using the transmitter.
2) The tail gate is opened without us- ing the transmitter.
3) The engine hood is opened.The siren will sound and the turn signal lights will blink continuouly for 27 sec-
onds (Type B/ Type A : This will repeat 3 times). To turn off the system, unlock the door or tail gate with the transmit-ter. CAUTION: Avoid trying to start the engine while the system is armed. B070D01HP-AAT Disarmed Stage The system will be disarmed when the driver's or passenger's door is un- locked by depressing the "UNLOCK" button on the transmitter.
B070C01HP
B070D01HP
Type A
Type B
Page 29 of 291
1
FEATURES OF YOUR HYUNDAI
15
!
After completion of the step above, the turn signal lights will blink twice toindicate that the system is disarmed. NOTE: If any door, tail gate or engine hood is not opened within 30 seconds,the system will be rearmed.
CAUTION:
Only the transmitter can disarm thearmed stage. If the transmitter does not disarm the system, it is neces- sary to take the following steps;
1. Unlock the door with the key, which will cause the alarm to be activated.
2. Insert the key in the ignition key
cylinder and turn the ignition keyto "ON" position.
3. Wait for 30 seconds. After completing the steps above, the system will be disarmed. B070F02A-GAT Keyless Entry System (If Installed) Locking doors
1. Close all doors.
2. Push the "LOCK" button on the trans-
mitter.
3. At the same time all doors lock, the
turn signal lights will blink once toindicate that the system is armed.
Unlocking doors
1. Push the "UNLOCK" button on the transmitter.
2. At the same time all doors unlock,
the turn signal lights will blink twice to indicate that the system is dis- armed.
NOTE: The transmitter will not work if any of following occur:
- The ignition key is in ignition switch.
- You exceed the operating distance
limit (10 m).
- The battery in the transmitter is weak. - Other vehicles or objects may be
blocking the signal.
- The weather is extremely cold.
- The transmitter is close to a radio transmitter such as a radio station or an airport which can interfere with normal operation of the trans- mitter.
When the transmitter does not work correctly, open and close the door with the ignition key. If you have aproblem with the transmitter, con- tact an authorized Hyundai Dealer. NOTE: Keep the transmitter away from wa- ter or any liquid. If the keyless entry system is inoperative due to expo- sure to water or liquids, it will not becovered by your manufacturer ve- hicle warranty.
Page 80 of 291
1FEATURES OF YOUR HYUNDAI
66
!
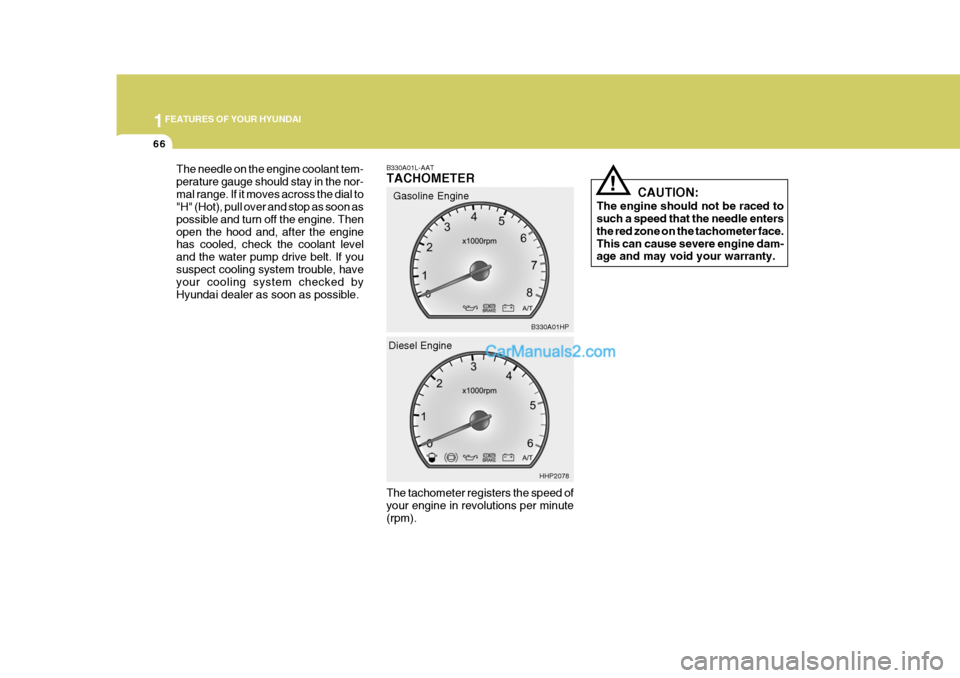
B330A01L-AAT TACHOMETER The tachometer registers the speed of your engine in revolutions per minute(rpm). Gasoline Engine
CAUTION:
The engine should not be raced to such a speed that the needle enters the red zone on the tachometer face.This can cause severe engine dam- age and may void your warranty.
B330A01HP
HHP2078
Diesel Engine
The needle on the engine coolant tem- perature gauge should stay in the nor-mal range. If it moves across the dial to "H" (Hot), pull over and stop as soon as possible and turn off the engine. Thenopen the hood and, after the engine has cooled, check the coolant level and the water pump drive belt. If yoususpect cooling system trouble, have your cooling system checked by Hyundai dealer as soon as possible.
Page 112 of 291
1FEATURES OF YOUR HYUNDAI
98
!WARNING:
Do not place the sun visor in such a manner that it obscures visibility of the roadway, traffic or other ob- jects.
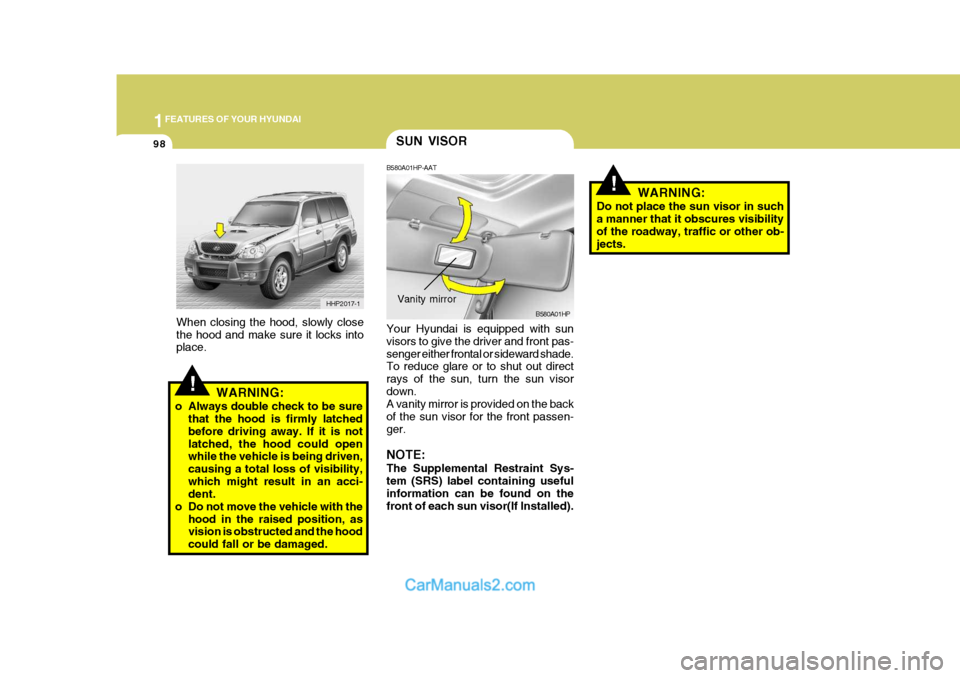
When closing the hood, slowly close the hood and make sure it locks into place. HHP2017-1
!WARNING:
o Always double check to be sure that the hood is firmly latched before driving away. If it is notlatched, the hood could open while the vehicle is being driven, causing a total loss of visibility,which might result in an acci- dent.
o Do not move the vehicle with the
hood in the raised position, asvision is obstructed and the hood could fall or be damaged.
SUN VISOR
B580A01HP-AAT Your Hyundai is equipped with sun visors to give the driver and front pas- senger either frontal or sideward shade. To reduce glare or to shut out direct rays of the sun, turn the sun visordown. A vanity mirror is provided on the back of the sun visor for the front passen-ger. NOTE: The Supplemental Restraint Sys- tem (SRS) label containing usefulinformation can be found on the front of each sun visor(If Installed). B580A01HP
Vanity mirror
Page 192 of 291
3 WHAT TO DO IN AN EMERGENCY
4IF THE ENGINE OVERHEATS
!
5. Start the engine in the car with the
discharged battery using the nor- mal starting procedure. After the engine starts, leave the jumper cables connected and let the enginerun at fast idle or about 2000 rpm for several minutes.
6. Carefully remove the jumper cables in the reverse order of attachment.
If you do not know why your battery became discharged (because the lights were left on, etc.), have the charging system checked by your Hyundaidealer. D030A02HP-AAT If your temperature gauge indicates overheating, you experience a loss of power, or hear loud pinging or knock- ing, the engine is probably too hot. Ifthis happens to you, you should:
1. Pull off the road and stop as soon as
it is safe to do so.
2. Place the gear selector lever in "P"
(automatic), or neutral (manual transmission) and set the parking brake. If the air conditioning is on, turn it off.
3. If engine coolant is running out un- der the car or steam is coming outfrom under the hood, stop the en-gine. Do not open the hood until the engine coolant has stopped running or the steaming has stopped. If thereis no visible loss of coolant and no steam, leave the engine running and check to be sure the enginecooling fan is operating. If the fan is not running, turn the engine off. 4. Check to see if the water pump drive
belt is missing. If it is not missing, check to see that it is tight. If the drive belt seems to be satisfactory, check for engine coolant leakingfrom the radiator, hoses or under the car. (If the air conditioning had been in use, it is normal for coldwater to be draining from it when you stop).
WARNING:
While the engine is running, keephands and clothing away from mov- ing parts such as the fan and drivebelts to prevent injury.
Page 241 of 291
6 DO-IT-YOURSELF MAINTENANCE
18
G110D02HP-GAT
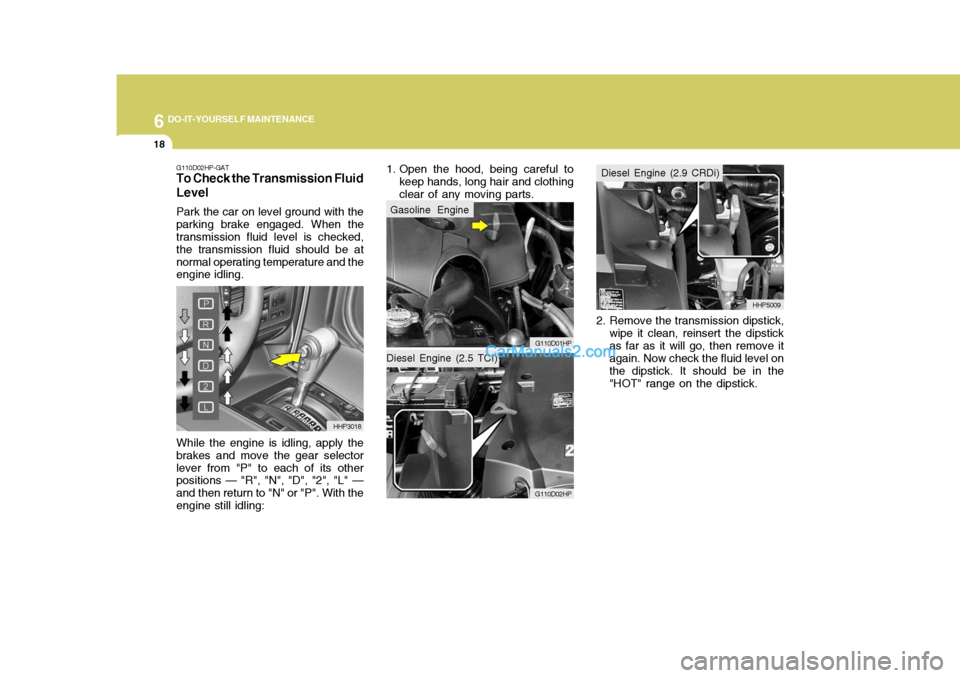
To Check the Transmission Fluid Level
Park the car on level ground with the parking brake engaged. When the transmission fluid level is checked, the transmission fluid should be atnormal operating temperature and the engine idling. While the engine is idling, apply the brakes and move the gear selectorlever from "P" to each of its other positions — "R", "N", "D", "2", "L" — and then return to "N" or "P". With theengine still idling: HHP30181. Open the hood, being careful to
keep hands, long hair and clothingclear of any moving parts.
2. Remove the transmission dipstick,wipe it clean, reinsert the dipstickas far as it will go, then remove it again. Now check the fluid level on the dipstick. It should be in the"HOT" range on the dipstick. HHP5009
G110D01HP
G110D02HP
Diesel Engine (2.5 TCI) Gasoline Engine
Diesel Engine (2.9 CRDi)
Page 244 of 291
6
DO-IT-YOURSELF MAINTENANCE
21
!
G120E02A-AAT
Adding Brake Fluid
WARNING:
Handle brake fluid carefully. It can damage your vision if it gets into your eyes. Use only DOT 3 or DOT4 specification fluid from a sealed container. Do not allow the fluid can or reservoir to remain openany longer than required. This will prevent entry of dirt and moisture which can damage the brake sys-tem and cause improper opera- tion.
To add brake fluid, first wipe away any dirt, then unscrew the fluid reservoir cap. Slowly pour the recommended fluid into the reservoir. Do not overfill.Carefully replace the cap on the reser- voir and tighten.
CHECKING THE CLUTCH FLUID
G130A01A-AAT
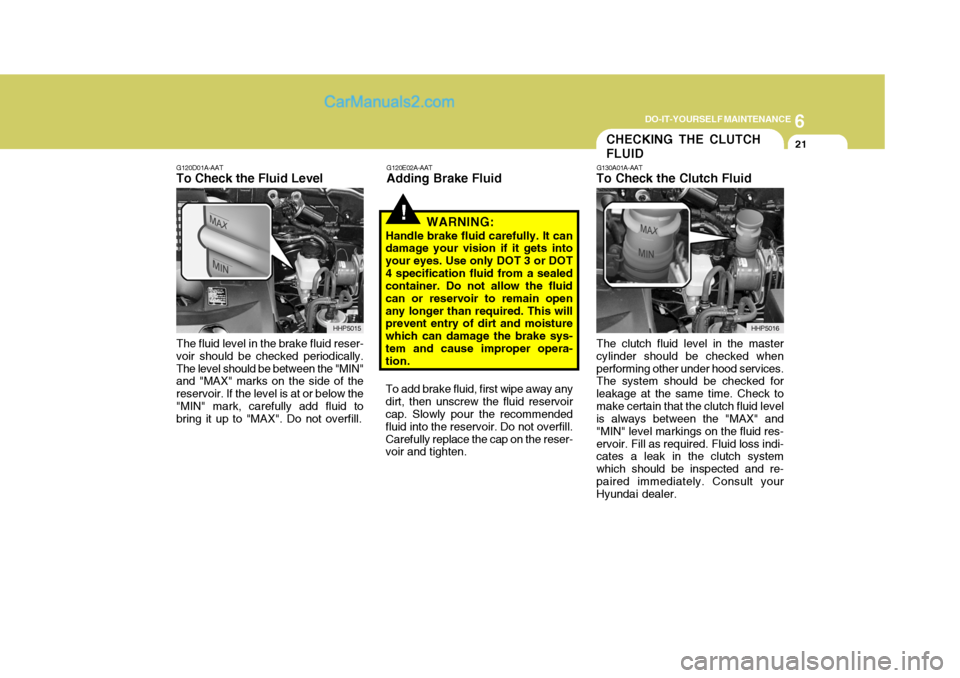
To Check the Clutch Fluid The clutch fluid level in the master cylinder should be checked whenperforming other under hood services. The system should be checked for leakage at the same time. Check tomake certain that the clutch fluid level is always between the "MAX" and "MIN" level markings on the fluid res-ervoir. Fill as required. Fluid loss indi- cates a leak in the clutch system which should be inspected and re-paired immediately. Consult your Hyundai dealer. HHP5016
G120D01A-AAT
To Check the Fluid Level
The fluid level in the brake fluid reser-
voir should be checked periodically. The level should be between the "MIN" and "MAX" marks on the side of the reservoir. If the level is at or below the"MIN" mark, carefully add fluid to bring it up to "MAX". Do not overfill. HHP5015
Page 257 of 291
6 DO-IT-YOURSELF MAINTENANCE
34REPLACING HEADLIGHT BULBS
G260A03A-GAT Before attempting to replace a head- light bulb, be sure the switch is turned to the "OFF" position. The next paragraph shows how to reach the headlight bulbs so they may be changed. Be sure to replacethe burned-out bulb with one of the same number and wattage rating.
CAUTION:
o Keep the lamps out of contact with petroleum product, such as oil, gasoline, etc.
o After heavy, driving rain or wash- ing, headlight and taillight lensescould appear frosty. This condi- tion is caused by the temperature difference between the lamp in-side and outside. This is similar to the condensation on your win- dows inside your vehicle duringthe rain and doesn’t indicate a problem with your vehicle. If the water leaks into the lamp bulbcircuitry, have the vehicle checked by an authorized Hyundai Dealer.
! G270A01B-GAT
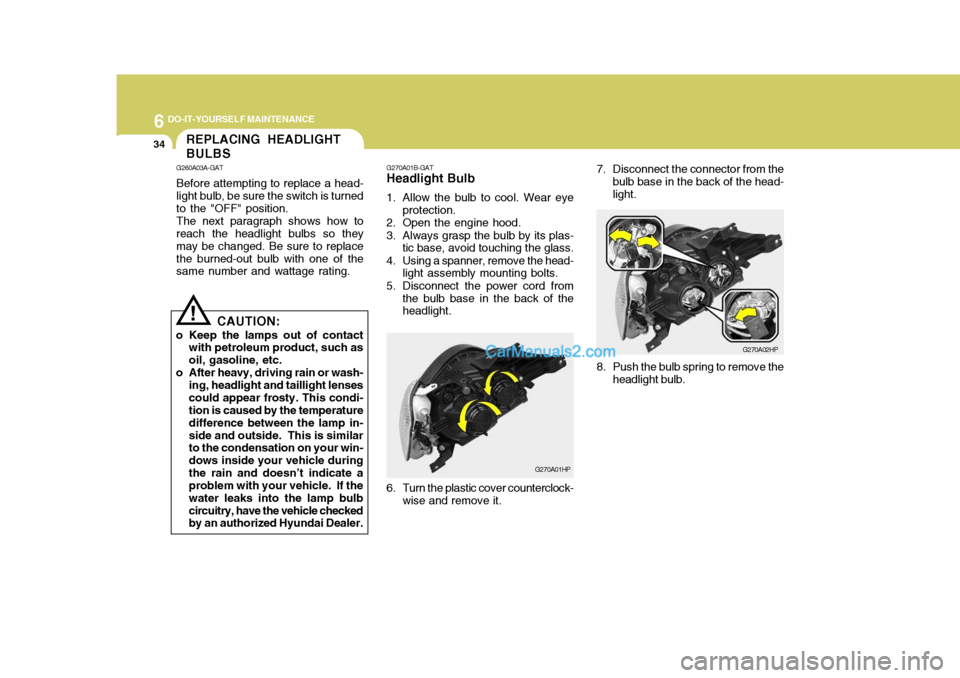
Headlight Bulb
1. Allow the bulb to cool. Wear eye
protection.
2. Open the engine hood.
3. Always grasp the bulb by its plas- tic base, avoid touching the glass.
4. Using a spanner, remove the head- light assembly mounting bolts.
5. Disconnect the power cord from the bulb base in the back of the headlight.
G270A01HP7. Disconnect the connector from the
bulb base in the back of the head- light.
G270A02HP
6. Turn the plastic cover counterclock- wise and remove it. 8. Push the bulb spring to remove the
headlight bulb.