Page 92 of 291

1FEATURES OF YOUR HYUNDAI
78DIGITAL CLOCK
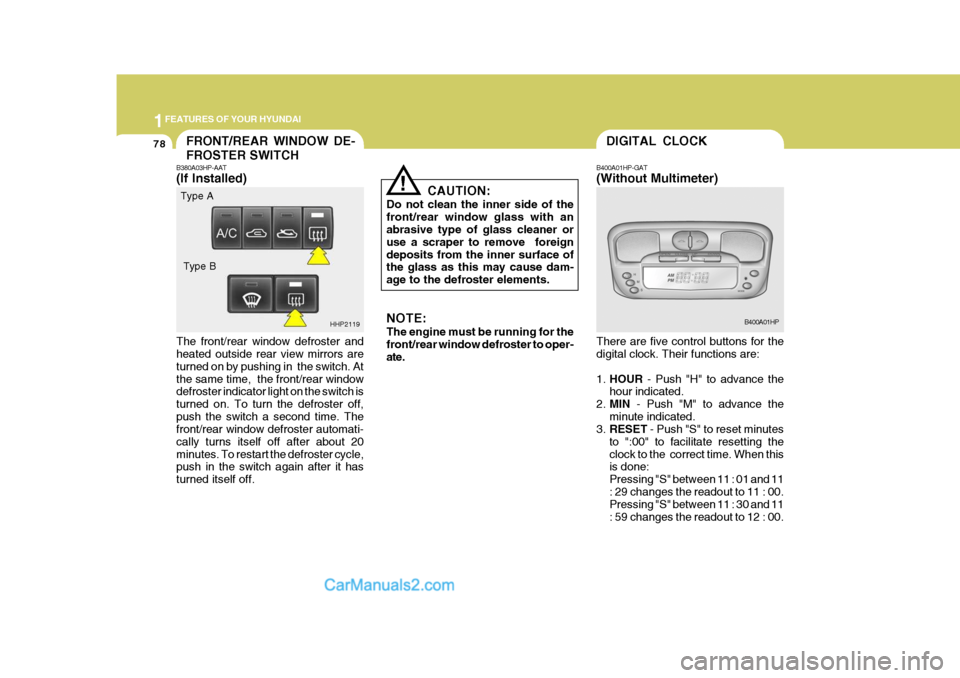
B400A01HP-GAT (Without Multimeter) There are five control buttons for the digital clock. Their functions are: 1. HOUR - Push "H" to advance the
hour indicated.
2. MIN - Push "M" to advance the
minute indicated.
3. RESET - Push "S" to reset minutes
to ":00" to facilitate resetting the clock to the correct time. When this is done: Pressing "S" between 11 : 01 and 11: 29 changes the readout to 11 : 00. Pressing "S" between 11 : 30 and 11 : 59 changes the readout to 12 : 00. B400A01HPFRONT/REAR WINDOW DE- FROSTER SWITCH
!
B380A03HP-AAT (If Installed) The front/rear window defroster and heated outside rear view mirrors are turned on by pushing in the switch. Atthe same time, the front/rear window defroster indicator light on the switch is turned on. To turn the defroster off,push the switch a second time. The front/rear window defroster automati- cally turns itself off after about 20minutes. To restart the defroster cycle, push in the switch again after it has turned itself off. CAUTION:
Do not clean the inner side of thefront/rear window glass with an abrasive type of glass cleaner or use a scraper to remove foreigndeposits from the inner surface of the glass as this may cause dam- age to the defroster elements.
HHP2119 NOTE: The engine must be running for the front/rear window defroster to oper- ate.
Type A
Type B
Page 97 of 291
1
FEATURES OF YOUR HYUNDAI
83COIN HOLDERSUNSHADE
B470A01HP-AAT (If Installed) The sunshade can be opened and closed by sliding it forward or rearward when the sunroof is closed. The sun-shade will open automatically when the sunroof is opened, but it must be closed manually. HHP2023
!WARNING:
Never adjust the sunshade while driving.
B505D01HR-GAT The coin holder is used to store coins.
HHP2173
B460B01HP-GAT Opening or Closing the Sunroof The sunroof can be electrically opened or closed. The sunroof is moved to its fully open position by pushing the "Open" button, and to stop at the de-sired position, push in any buttons (OPEN, CLOSE, UP, DOWN).B460B01HP
SUNROOF
B460A01S-AAT (If Installed) The sunroof can be operated with the ignition key in the "ON" position.
Page 99 of 291
1
FEATURES OF YOUR HYUNDAI
85INTERIOR LIGHT
B480B01Y-AAT Map Light Push in the map light switch to turn the light on or off. This light produces aspot beam for convenient use as a map light at night or as a personal light for the driver and the passenger. B480B01HP
2. Insert the hexagonal head wrench
provided with the vehicle into the socket. This wrench can be found in the glove box.
3. Turn the wrench clockwise to open or counterclockwise to close. HHP2022
B490A03Y-AAT Interior Light The interior courtesy light has three buttons. The three buttons are: o DOOR In the "DOOR" position, the interior courtesy light comes on when anydoor is opened regardless of the igni- tion key position. The light goes out gradually 6 seconds after the door isclosed. HHP2115
Page 108 of 291

1FEATURES OF YOUR HYUNDAI
94ROOF RACK
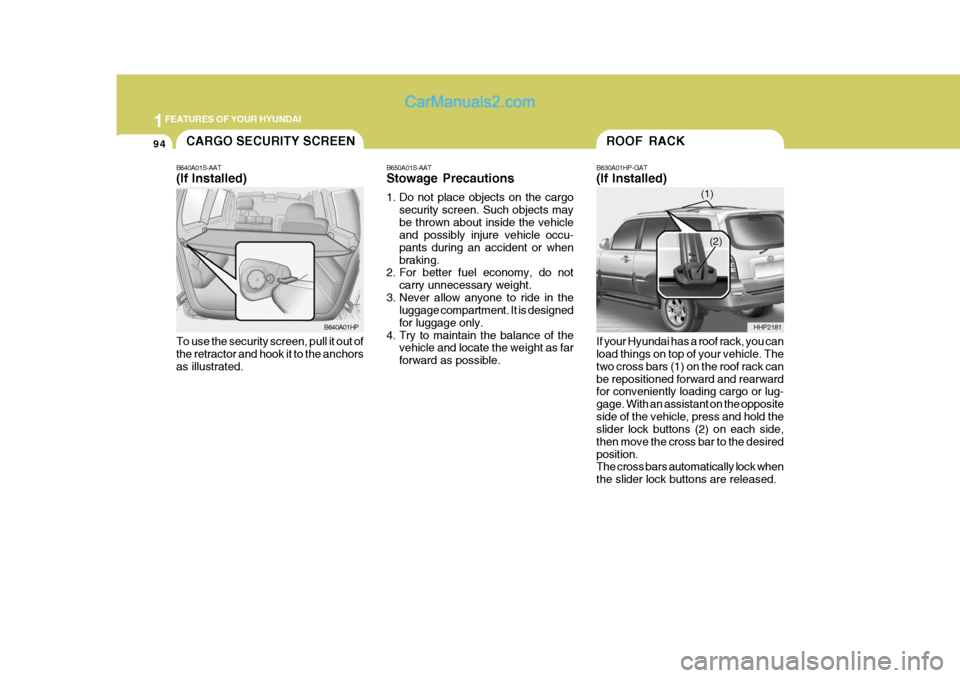
B630A01HP-GAT (If Installed) If your Hyundai has a roof rack, you can load things on top of your vehicle. The two cross bars (1) on the roof rack canbe repositioned forward and rearward for conveniently loading cargo or lug- gage. With an assistant on the oppositeside of the vehicle, press and hold the slider lock buttons (2) on each side, then move the cross bar to the desiredposition. The cross bars automatically lock when the slider lock buttons are released. HHP2181
(1)
(2)
B650A01S-AAT Stowage Precautions
1. Do not place objects on the cargo
security screen. Such objects may be thrown about inside the vehicle and possibly injure vehicle occu- pants during an accident or whenbraking.
2. For better fuel economy, do not
carry unnecessary weight.
3. Never allow anyone to ride in the luggage compartment. It is designedfor luggage only.
4. Try to maintain the balance of the vehicle and locate the weight as farforward as possible.
CARGO SECURITY SCREEN
B640A01S-AAT (If Installed) To use the security screen, pull it out of the retractor and hook it to the anchors as illustrated. B640A01HP
Page 129 of 291
1
FEATURES OF YOUR HYUNDAI
115
NOTE: Never place anything over the sen- sor which is located on the instru- ment panel to ensure better controlof the heating and cooling system. B995A01Y-AAT AMBIENT TEMPERATURE SWITCH
B980A01Y-AAT MANUAL OPERATION The heating and cooling system can be controlled manually as well by push-ing buttons other than the "AUTO" button. In this state, the system se- quentially works according to the orderof buttons selected. The function of the buttons which are not selected will be controlled auto-matically. Press the "AUTO" button in order to convert to automatic control of thesystem.
HHP2096
Pressing the
AMB button displays the
ambient temperature on the display. HHP2147
Photo Sensor
Page 136 of 291
1FEATURES OF YOUR HYUNDAI
122AUDIO SYSTEM
H240A01O-GAT STEREO RADIO OPERATION (H240) (If Installed)
H240A01HP
1. POWER ON/OFF, VOLUME Control Knob
2. BASS/BALANCE Control Knob
(BASS/BAL)
3. TREBLE/FADER Control Knob
(TREB/FAD)
4. TUNE/SEEK Select Button
5. BAND Selector
6. PRESET Buttons7. SCAN Button
Page 137 of 291

1
FEATURES OF YOUR HYUNDAI
123
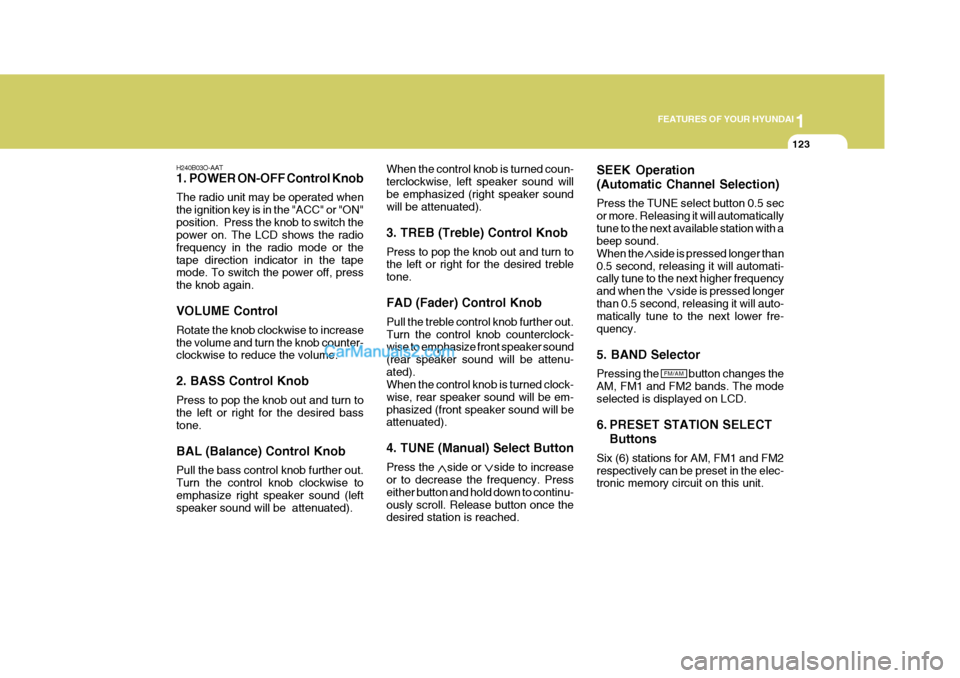
H240B03O-AAT
1. POWER ON-OFF Control Knob The radio unit may be operated when the ignition key is in the "ACC" or "ON"position. Press the knob to switch the power on. The LCD shows the radio frequency in the radio mode or thetape direction indicator in the tape mode. To switch the power off, press the knob again. VOLUME Control Rotate the knob clockwise to increase the volume and turn the knob counter- clockwise to reduce the volume. 2. BASS Control Knob Press to pop the knob out and turn to the left or right for the desired bass tone. BAL (Balance) Control Knob Pull the bass control knob further out. Turn the control knob clockwise to emphasize right speaker sound (left speaker sound will be attenuated). When the control knob is turned coun-terclockwise, left speaker sound willbe emphasized (right speaker sound will be attenuated). 3. TREB (Treble) Control Knob Press to pop the knob out and turn to the left or right for the desired treble tone. FAD (Fader) Control Knob Pull the treble control knob further out. Turn the control knob counterclock- wise to emphasize front speaker sound (rear speaker sound will be attenu-ated). When the control knob is turned clock- wise, rear speaker sound will be em-phasized (front speaker sound will be attenuated). 4. TUNE (Manual) Select Button Press the side or side to increase or to decrease the frequency. Press either button and hold down to continu-ously scroll. Release button once the desired station is reached.SEEK Operation (Automatic Channel Selection) Press the TUNE select button 0.5 sec or more. Releasing it will automaticallytune to the next available station with a beep sound. When the side is pressed longer than0.5 second, releasing it will automati- cally tune to the next higher frequency and when the side is pressed longerthan 0.5 second, releasing it will auto- matically tune to the next lower fre- quency. 5. BAND Selector Pressing the button changes the AM, FM1 and FM2 bands. The modeselected is displayed on LCD.
6. PRESET STATION SELECT
Buttons
Six (6) stations for AM, FM1 and FM2 respectively can be preset in the elec- tronic memory circuit on this unit.
FM/AM
Page 138 of 291

1FEATURES OF YOUR HYUNDAI
124
!
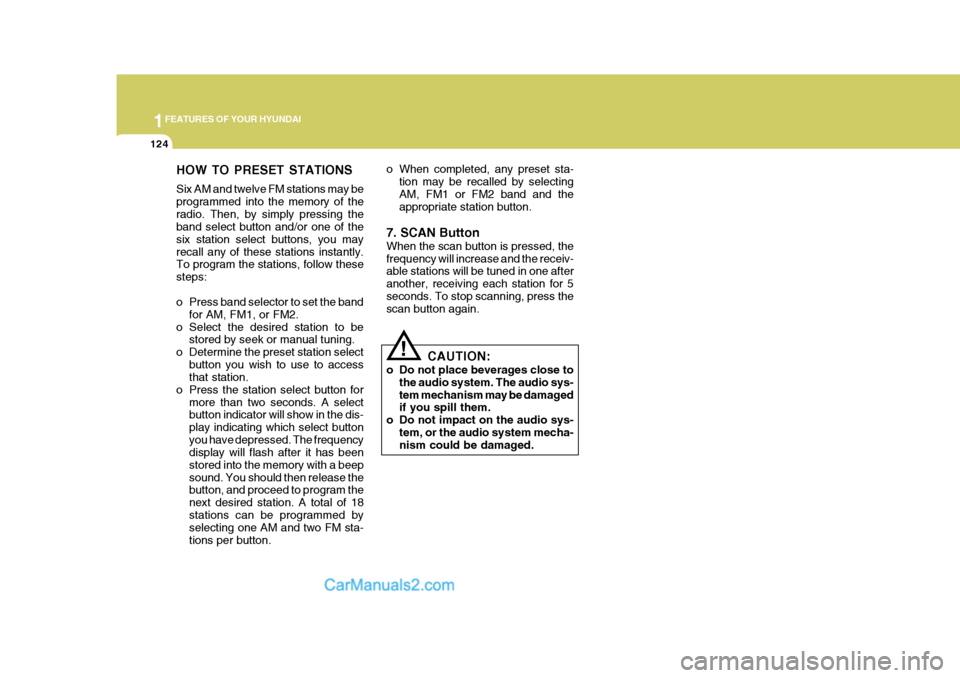
HOW TO PRESET STATIONS Six AM and twelve FM stations may be programmed into the memory of theradio. Then, by simply pressing the band select button and/or one of the six station select buttons, you mayrecall any of these stations instantly. To program the stations, follow these steps:
o Press band selector to set the band
for AM, FM1, or FM2.
o Select the desired station to be stored by seek or manual tuning.
o Determine the preset station select button you wish to use to access that station.
o Press the station select button for more than two seconds. A selectbutton indicator will show in the dis- play indicating which select buttonyou have depressed. The frequency display will flash after it has been stored into the memory with a beepsound. You should then release the button, and proceed to program the next desired station. A total of 18stations can be programmed by selecting one AM and two FM sta- tions per button. o When completed, any preset sta-
tion may be recalled by selectingAM, FM1 or FM2 band and the appropriate station button.
7. SCAN Button When the scan button is pressed, the frequency will increase and the receiv- able stations will be tuned in one after another, receiving each station for 5seconds. To stop scanning, press the scan button again.
CAUTION:
o Do not place beverages close to the audio system. The audio sys- tem mechanism may be damaged if you spill them.
o Do not impact on the audio sys- tem, or the audio system mecha-nism could be damaged.