2007 Hyundai Sonata service
[x] Cancel search: servicePage 209 of 283

5
VEHICLE MAINTENANCE REQUIREMENTS8
F070G02A-AATo Brake FluidCheck brake fluid level in the brake fluid reser-
voir. The level should be between "MIN" and
"MAX" marks on the side of the reservoir. Use
only hydraulic brake fluid conforming to DOT 3
or DOT 4.F070F01A-AATo Brake Hoses and LinesVisually check for proper installation, chafing,
cracks, deterioration and any leakage. Replace
any deteriorated or damaged parts immedi-
ately.
F070E06A-AATo Automatic Transaxle FluidThe fluid level should be in the “HOT” range of
the dipstick, after the engine and transaxle are
at normal operating temperature. Check the
automatic transaxle fluid level with the engine
running and the transaxle in neutral, with the
parking brake properly applied. Use HYUNDAI
GENUINE ATF SP III, DIAMOND ATF SP III, SK
ATF SP III or other brands meeting the SP III
specification approved by Hyundai Motor Co.
when adding or changing fluid. Using the wrong
ATF may result in damage to the ATM.
F070H01A-AATo Rear Brake Drums and Linings/
Parking BrakeCheck the rear brake drums and linings for
scoring, burning, leaking fluid, broken parts,
and excessive wear. Inspect the parking brake
system including the parking brake lever and
cables. For detailed service procedures, refer
to the Shop Manual.
F070C01A-AATo CoolantThe coolant should be changed at the intervals
specified in the maintenance schedule.
F060J01A-AATo Spark PlugsMake sure to install new spark plugs of the
correct heat range.F060H01A-AATo Air Cleaner FilterA Genuine Hyundai air cleaner filter is recom-
mended when the filter is replaced.F060G01A-AATo Vapor Hose and Fuel Filler CapThe vapor hose and fuel filler cap should be
inspected at those intervals specified in the
maintenance schedule. Make sure that a new
vapor hose or fuel filler cap is correctly re-
placed.
F070D01A-AATo Manual Transaxle OilInspect the manual transaxle oil according to
the maintenance schedule.NOTE:If the oil level is low, check for possible leaks
before adding oil. Do not overfill.
F060N02E-AATo Valve ClearanceInspect excessive valve noise and/or engine
vibration and adjust if necessary. A qualified
technician should perform the operation.
Page 215 of 283

6
DO-IT-YOURSELF MAINTENANCE
4
G020C01A-AATVehicle InteriorThe following should be checked each time
when the vehicle is driven:
o Lights operation
o Windshield wiper operation
o Horn operation
o Defroster, heating system operation (and air
conditioning, if installed)
o Steering operation and condition
o Mirror condition and operation
o Turn signal operation
o Accelerator pedal operation
o Brake operation, including parking brake
o Manual transaxle operation, including clutch
operation
o Automatic transaxle operation, including
"Park" mechanism operation
o Seat control condition and operation
o Seat belt condition and operation
o Sun visor operation
If you notice anything that does not operate
correctly or appears to be functioning correctly,
inspect it carefully and seek assistance from
your Hyundai dealer if service is needed.
G020B01A-AATVehicle ExteriorThe following should be checked monthly:
o Overall appearance and condition
o Wheel condition and wheel nut torque
o Exhaust system condition
o Light condition and operation
o Windshield glass condition
o Wiper blade condition
o Paint condition and body corrosion
o Fluid leaks
o Door and hood lock condition
o Tire pressure and condition
(including spare tire)GENERAL CHECKSG020A01NF-AATEngine CompartmentThe following should be checked regularly:
o Engine oil level and condition
o Transaxle fluid level and condition
o Brake fluid level
o Engine coolant level
o Windshield washer fluid level
o Accessory drive belt condition
o Engine coolant hose condition
o Fluid leaks (on or below components)
o Power steering fluid level
o Battery condition
o Air filter condition
o Engine vibration
CHECKING THE ENGINE OILG030B01O-AATRecommended OilThe engine oil quality should meet the following
classification.
API SJ, SL or ABOVE,
ILSAC GF-3 or ABOVE
G030B01JM-U G030A01A-AAT
Engine oil is essential to the performance and
service of the engine. It is suggested that you
check the oil level at least once a week in normal
use and more often if you are on a trip or driving
in severe conditions.
Page 219 of 283

6
DO-IT-YOURSELF MAINTENANCE
8
CHECKING AND CHANGING THE
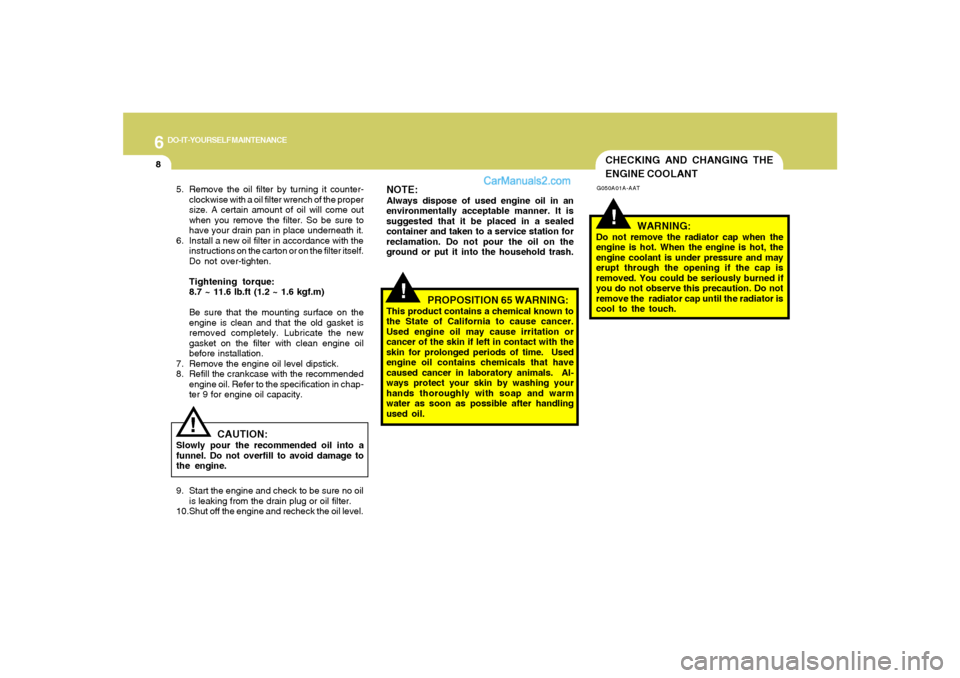
ENGINE COOLANT!
G050A01A-AAT
WARNING:
Do not remove the radiator cap when the
engine is hot. When the engine is hot, the
engine coolant is under pressure and may
erupt through the opening if the cap is
removed. You could be seriously burned if
you do not observe this precaution. Do not
remove the radiator cap until the radiator is
cool to the touch.
!
5. Remove the oil filter by turning it counter-
clockwise with a oil filter wrench of the proper
size. A certain amount of oil will come out
when you remove the filter. So be sure to
have your drain pan in place underneath it.
6. Install a new oil filter in accordance with the
instructions on the carton or on the filter itself.
Do not over-tighten.
Tightening torque:
8.7 ~ 11.6 lb.ft (1.2 ~ 1.6 kgf.m)
Be sure that the mounting surface on the
engine is clean and that the old gasket is
removed completely. Lubricate the new
gasket on the filter with clean engine oil
before installation.
7. Remove the engine oil level dipstick.
8. Refill the crankcase with the recommended
engine oil. Refer to the specification in chap-
ter 9 for engine oil capacity.
CAUTION:
Slowly pour the recommended oil into a
funnel. Do not overfill to avoid damage to
the engine.
NOTE:Always dispose of used engine oil in an
environmentally acceptable manner. It is
suggested that it be placed in a sealed
container and taken to a service station for
reclamation. Do not pour the oil on the
ground or put it into the household trash.
PROPOSITION 65 WARNING:
This product contains a chemical known to
the State of California to cause cancer.
Used engine oil may cause irritation or
cancer of the skin if left in contact with the
skin for prolonged periods of time. Used
engine oil contains chemicals that have
caused cancer in laboratory animals. Al-
ways protect your skin by washing your
hands thoroughly with soap and warm
water as soon as possible after handling
used oil.
!
9. Start the engine and check to be sure no oil
is leaking from the drain plug or oil filter.
10.Shut off the engine and recheck the oil level.
Page 226 of 283

6
DO-IT-YOURSELF MAINTENANCE
15
CHECKING THE TRANSAXLE
FLUID (AUTOMATIC)G110A01E-AATTransaxle fluid in the automatic transaxle should
be checked at those intervals specified in the
vehicle maintenance schedule in Section 5.NOTE:Automatic transaxle fluid is basically red in
color. As driving distance increases, the
fluid color turns darkish red gradually. It is
a normal condition and you should not
judge the need to replace based upon the
changing color.
You must replace the automatic transaxle
fluid in accordance with intervals specified
in the vehicle maintenance schedule in
section 5.
!
G110B05A-AATRecommended FluidYour Hyundai automatic transaxle is specially
designed to operate with HYUNDAI GENUINE
ATF SP III, DIAMOND ATF SP III, SK ATF SP
III or other brands meeting the SP III specifica-
tion approved by Hyundai Motor Co.. Damage
caused by a nonspecified fluid is not covered by
your new vehicle limited warranty.
CAUTION:
Use of aftermarket ATF additives may cause
damage to the automatic transaxle.
Only use HYUNDAI GENUINE ATF SP III,
DIAMOND ATF SP III, SK ATF SP III or other
brands meeting the SP III specification ap-
proved by Hyundai Motor Co.. If you are
having your vehicle serviced at a facility
other than a Hyundai dealer, verify that the
correct ATF is used for your vehicle.
!
G110C01NF-AATTransaxle Fluid CapacityThe fluid capacity of the automatic transaxle is:
WARNING:
The transaxle fluid level should be checked
when the engine is at normal operating
temperature. This means that the engine,
radiator, radiator hose, exhaust system etc.,
are very hot. Exercise great care not to burn
yourself during this procedure.2.4L
3.3L
8.24 U.S. quarts (7.8 liters)
11.52 U.S. quarts (10.9 liters)
Page 268 of 283

8
CONSUMER INFORMATION, REPORTING SAFETY DEFECTS & BINDING ARBITRATION OF WARRANTY CLAIMS
14
Traction AA, A, B, C - The traction
grades, from highest to lowest, are AA,
A, B, and C. Those grades represent
the tire's ability to stop on wet pave-
ment as measured under controlled
conditions on specified government test
surfaces of asphalt and concrete. A tire
marked C may have poor traction per-
formance.
!
WARNING:
The traction grade assigned to this
tire is based on straight-ahead brak-
ing traction tests, and does not in-
clude acceleration, cornering, hy-
droplaning, or peak traction charac-
teristics.
CONSUMER INFORMATIONI130A01A-AATThis consumer information has been prepared
in accordance with regulations issued by the
National Highway Traffic Safety Administration
of the U.S. Department of Transportation. It
provides the purchasers and/or prospective
purchasers of Hyundai automobiles with infor-
mation on uniform tire quality grading. Your
Hyundai dealer will help answer any questions
you may have as you read this information.
I130B04A-AATTire Quality Grading
Department of Transportation quality
grades - All passenger vehicle tires
must conform to Federal Safety Stan-
dards in addition to these grades. These
quality grades are molded on the
sidewall.
Treadwear - The treadwear grade is a
comparative rating based on the wear
rate of the tire when tested under con-
trolled conditions on a specified gov-
ernment test course. For example, a
tire graded 150 would wear one and a
half (1 - 1/2) times as well on the
government course as a tire graded
100. The relative performance of tires
depends upon the actual conditions of
their use, however, and may depart
significantly from the norm due to varia-
tions in driving habits, service prac-
tices and differences in road character-
istics and climate.
Page 280 of 283

10
INDEX
5
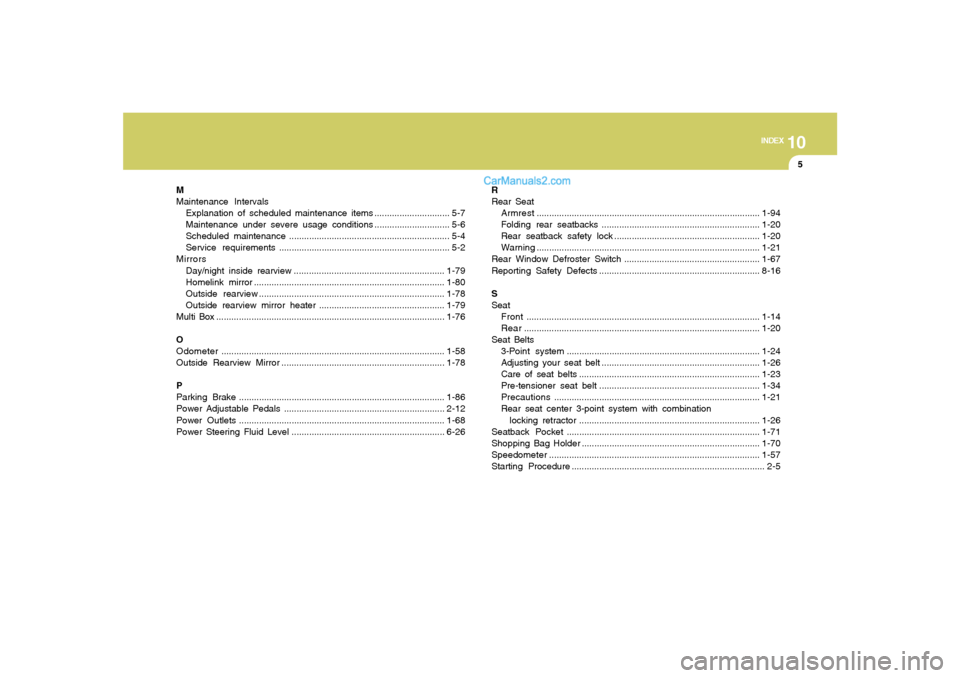
M
Maintenance Intervals
Explanation of scheduled maintenance items .............................. 5-7
Maintenance under severe usage conditions.............................. 5-6
Scheduled maintenance................................................................ 5-4
Service requirements.................................................................... 5-2
Mirrors
Day/night inside rearview ............................................................1-79
Homelink mirror ............................................................................1-80
Outside rearview..........................................................................1-78
Outside rearview mirror heater ..................................................1-79
Multi Box ...........................................................................................1-76
O
Odometer.........................................................................................1-58
Outside Rearview Mirror .................................................................1-78
P
Parking Brake..................................................................................1-86
Power Adjustable Pedals ................................................................2-12
Power Outlets..................................................................................1-68
Power Steering Fluid Level .............................................................6-26R
Rear Seat
Armrest.........................................................................................1-94
Folding rear seatbacks ...............................................................1-20
Rear seatback safety lock ..........................................................1-20
Warning.........................................................................................1-21
Rear Window Defroster Switch ......................................................1-67
Reporting Safety Defects ................................................................8-16
S
Seat
Front.............................................................................................1-14
Rear..............................................................................................1-20
Seat Belts
3-Point system.............................................................................1-24
Adjusting your seat belt ...............................................................1-26
Care of seat belts ........................................................................1-23
Pre-tensioner seat belt ................................................................1-34
Precautions..................................................................................1-21
Rear seat center 3-point system with combination
locking retractor........................................................................1-26
Seatback Pocket.............................................................................1-71
Shopping Bag Holder.......................................................................
1-70
Speedometer....................................................................................1-57
Starting Procedure............................................................................. 2-5