2007 Hyundai H-1 (Grand Starex) ECO mode
[x] Cancel search: ECO modePage 133 of 284
2 INSTRUMENTS AND CONTROLS
66
H290D02O-GAT
1. FF/REW Button
o Fast forward tape winding startswhen the FF ( ) button is pressed during the PLAY or REW mode.
o Tape play starts when the FF ( )
button is pressed again during theFF mode.
o Tape rewinding starts when the
REW ( ) button is pressed duringthe PLAY or FF mode.
o Tape play starts when the REW
( ) button pressed again duringthe REW mode.
2. AUTO MUSIC Select Button Press the button to find the starting point of each song in a prerecorded music tape. The quiet space betweensongs (must have at least a 4 sec. gap) can be identified by the AUTO MUSIC Select button.
o Pressing the button will play the beginning of the next music seg- ment.
o Pressing the button will start
replay at the beginning of the musicjust listened to. 3. TAPE PROGRAM Button This allows you to play the reverse side of the tape by merely depressingthe program button. An arrow will ap- pear in the display to show tape direc- tion.
4. TAPE EJECT button
o When the button is pressed with
the cassette loaded, the cassette is ejected.
o When the button is pressed
during the FF/REW mode, the cas-sette is ejected.
5. EQ Button Press the EQ button to select the CLASSIC, JAZZ, ROCK and DEFEAT MODE for the desired tone quality.Each press of the button changes the display as follows; 6. DOLBY Button If you get background noise during tape PLAY, you can reduce this con-siderably by merely pressing the DOLBY button. If you want to cancel the DOLBY feature, press the buttonagain.
CLASSIC � JAZZ � ROCK � DEFEAT
!
CAUTION:
o Do not insert anything like coins into the player slot as damage to the unit may occur.
o Do not place beverages close to the audio system. The playbackmechanism may be damaged ifyou spill them.
o Do not impact on the audio sys-
tem, or the playback mechanismcould be damaged.
Page 135 of 284
2 INSTRUMENTS AND CONTROLS
68
H290F02O-GAT
1. CD Select Button
o Insert the CD with the label facingupward.
o Insert the CD to start CD playback, during radio operation or cassette tape playing.
o When a disc is in the CD deck, if you
press the CD button the CD playerwill begin playing even if the radio or cassette player is being used.
o The CD player can be used when the ignition switch is in either the"ON" or "ACC" position.
2. FF/REW ( / ) If you want to fast forward or reverse through the compact disc track, push and hold in the FF ( ) or REW ( ) button.When you release the button, the com- pact disc player will resume playing. 3. TRACK UP/DOWN
o The desired track on the disc cur-
rently being played can be selected using the track number.
o Press button once to skip for- ward to the beginning of the nexttrack. Press button once to skipback to the beginning of the track.
4. REPEAT BUTTON
o To repeat the track you are cur- rently listening to, press the RPT button. To cancel , press again.
o If you do not release RPT operation when the track ends, it will automati- cally be replayed.This process will be continued until you push the button again.
5. EQUALIZER BUTTON Press the EQ button to select the CLASSIC, JAZZ, ROCK and DEFEAT MODE for the desired tone quality.Each press of the button changes the display as follows; 6. CD EJECT Button When the button is pressed with a CD loaded, the CD will eject.
7. SCAN Button (If installed)
o Press the SCAN button to playback
the first 10 seconds of each track.
o Press the SCAN button again within
10 sec. for the desired track.
NOTE:
o To assure proper operation of the unit, keep the vehicle interior temperature within a normal range by using the vehicle's airconditioning or heating system.
o When replacing the fuse, replace
it with a fuse having the correctcapacity.
o The preset station frequencies
are all erased when the car bat-tery is disconnected. Therefore, all data will have to be set again if this should occur.
o Do not add any oil to the rotating parts. Keep magnets, screwdriv-ers and other metallic objectsaway from the tape mechanism and head.
CLASSIC
� JAZZ � ROCK � DEFEAT
Page 156 of 284
3 STARTING AND OPERATING
14DRIVING WITH ELECTRONIC DUAL-RANGE AUTOMATICTRANSMISSION
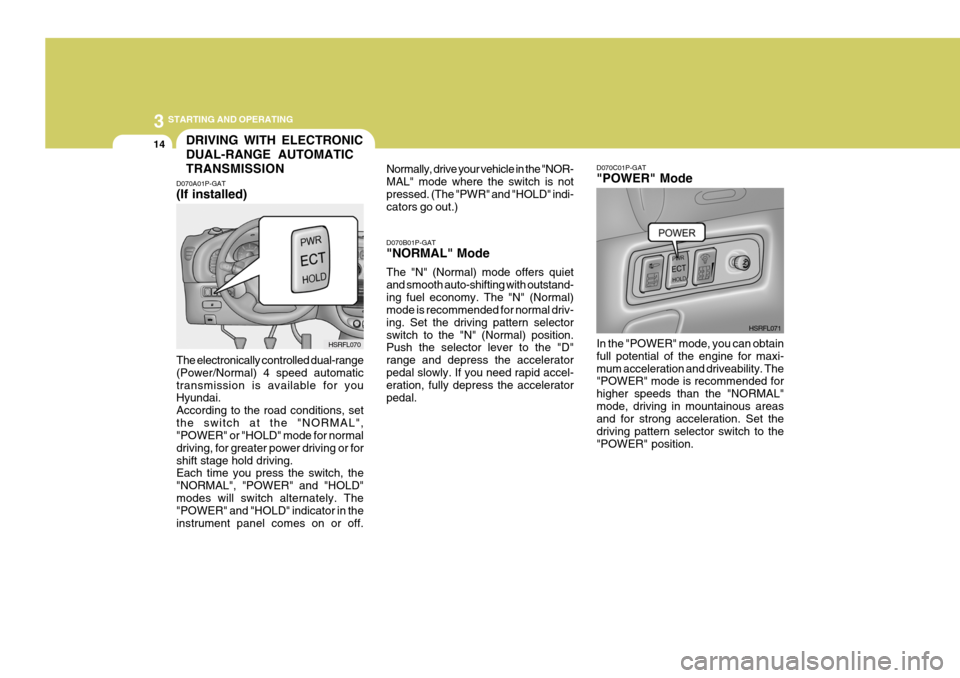
D070A01P-GAT (If installed) The electronically controlled dual-range (Power/Normal) 4 speed automatictransmission is available for you Hyundai. According to the road conditions, setthe switch at the "NORMAL", "POWER" or "HOLD" mode for normal driving, for greater power driving or forshift stage hold driving. Each time you press the switch, the "NORMAL", "POWER" and "HOLD"modes will switch alternately. The "POWER" and "HOLD" indicator in the instrument panel comes on or off. Normally, drive your vehicle in the "NOR-MAL" mode where the switch is notpressed. (The "PWR" and "HOLD" indi- cators go out.) D070B01P-GAT "NORMAL" Mode The "N" (Normal) mode offers quiet and smooth auto-shifting with outstand-ing fuel economy. The "N" (Normal) mode is recommended for normal driv- ing. Set the driving pattern selectorswitch to the "N" (Normal) position. Push the selector lever to the "D" range and depress the accelerator pedal slowly. If you need rapid accel- eration, fully depress the acceleratorpedal.
HSRFL070 D070C01P-GAT "POWER" Mode In the "POWER" mode, you can obtain full potential of the engine for maxi-mum acceleration and driveability. The "POWER" mode is recommended for higher speeds than the "NORMAL"mode, driving in mountainous areas and for strong acceleration. Set the driving pattern selector switch to the"POWER" position.
HSRFL071
Page 157 of 284
3
STARTING AND OPERATING
15
D070E04P-GAT Good Driving Practices
o Never move the gear selector lever
from "P" or "N" to any other position with the accelerator pedal de- pressed.
o Never move the gear selector lever into "P" when the vehicle is in mo-tion.
o Be sure the vehicle is completely stopped before you attempt to shiftinto "R" or "D".
o Never take the vehicle out of gear and coast down a hill. This may beextremely hazardous. Always leave the vehicle in gear when moving.
o Do not "ride" the brakes. This can cause them to overheat and mal-function. Instead, when you are driv-ing down a long hill, slow down and shift to a lower gear. When you do this, engine braking will help slowthe car.
o Slow down before shifting to a lower
gear. Otherwise, the lower gear maynot be engaged.
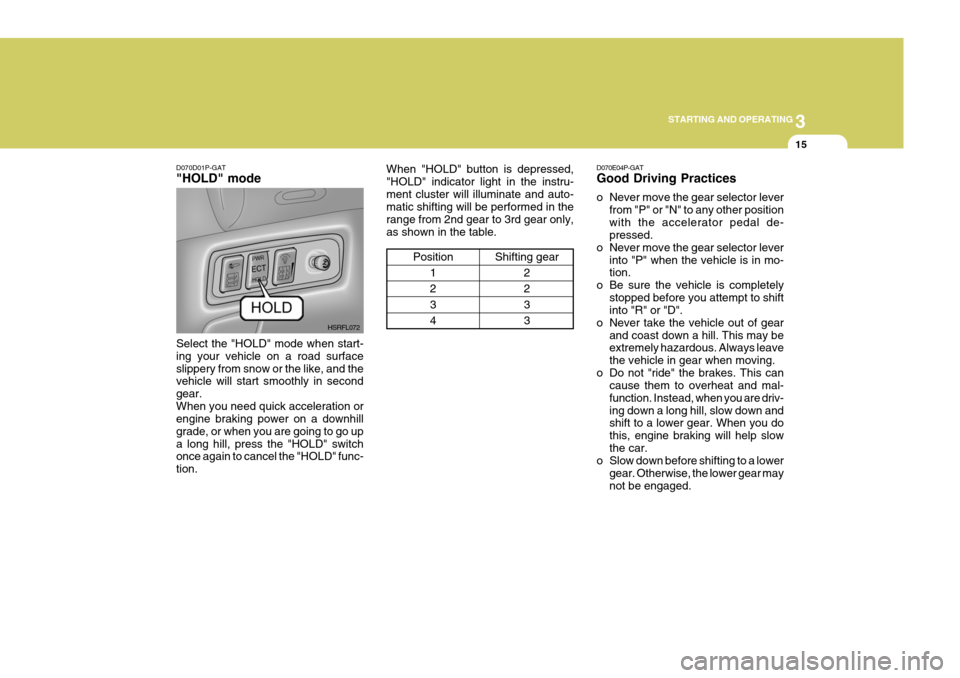
D070D01P-GAT "HOLD" mode Select the "HOLD" mode when start- ing your vehicle on a road surfaceslippery from snow or the like, and the vehicle will start smoothly in second gear.When you need quick acceleration or engine braking power on a downhill grade, or when you are going to go upa long hill, press the "HOLD" switch once again to cancel the "HOLD" func- tion.
When "HOLD" button is depressed,"HOLD" indicator light in the instru-ment cluster will illuminate and auto- matic shifting will be performed in the range from 2nd gear to 3rd gear only,as shown in the table.
Position1 2 34
Shifting gear 2 2 33
HSRFL072
Page 160 of 284
3 STARTING AND OPERATING
18
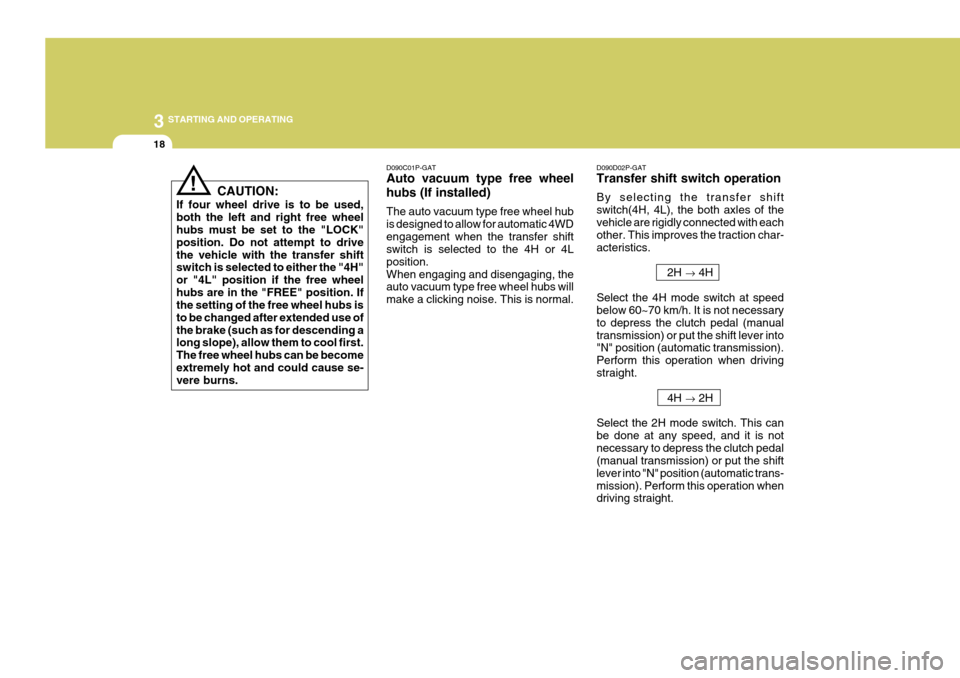
D090D02P-GAT Transfer shift switch operation By selecting the transfer shift switch(4H, 4L), the both axles of thevehicle are rigidly connected with each other. This improves the traction char- acteristics.
2H � 4H
Select the 4H mode switch at speed below 60~70 km/h. It is not necessary to depress the clutch pedal (manualtransmission) or put the shift lever into "N" position (automatic transmission). Perform this operation when drivingstraight. 4H � 2H
Select the 2H mode switch. This canbe done at any speed, and it is notnecessary to depress the clutch pedal (manual transmission) or put the shift lever into "N" position (automatic trans-mission). Perform this operation when driving straight.
CAUTION:
If four wheel drive is to be used, both the left and right free wheel hubs must be set to the "LOCK" position. Do not attempt to drivethe vehicle with the transfer shift switch is selected to either the "4H" or "4L" position if the free wheelhubs are in the "FREE" position. If the setting of the free wheel hubs is to be changed after extended use ofthe brake (such as for descending a long slope), allow them to cool first. The free wheel hubs can be becomeextremely hot and could cause se- vere burns.! D090C01P-GAT Auto vacuum type free wheel hubs (If installed) The auto vacuum type free wheel hub is designed to allow for automatic 4WDengagement when the transfer shift switch is selected to the 4H or 4L position.When engaging and disengaging, the auto vacuum type free wheel hubs will make a clicking noise. This is normal.
Page 168 of 284
3 STARTING AND OPERATING
26
!
o Such objects may not be detected
by the system at very close range (approximately 300 mm).
WARNING:
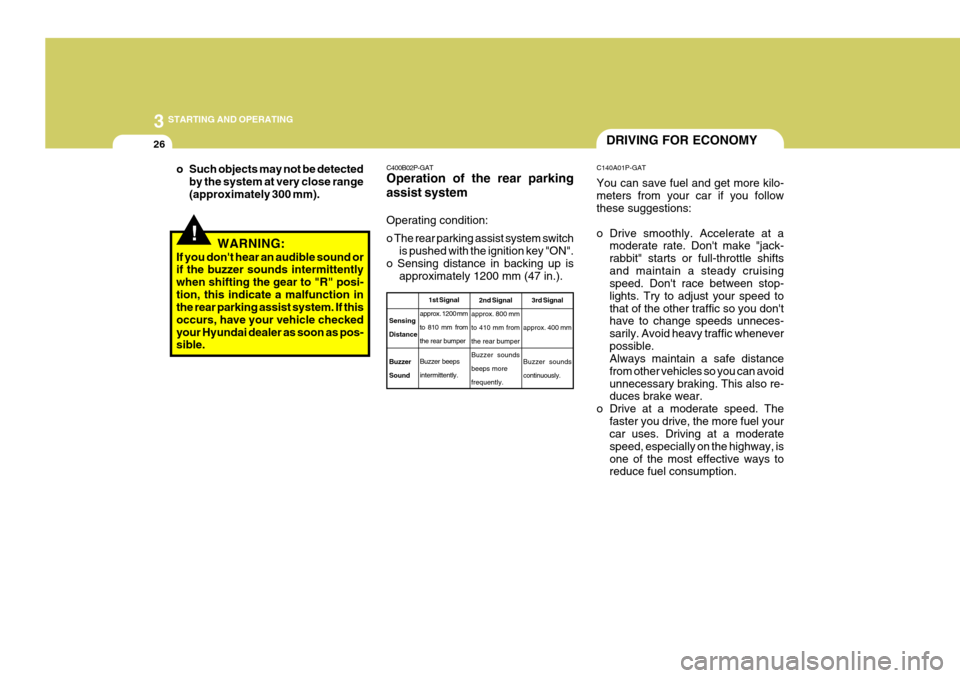
If you don't hear an audible sound or if the buzzer sounds intermittently when shifting the gear to "R" posi-tion, this indicate a malfunction in the rear parking assist system. If this occurs, have your vehicle checkedyour Hyundai dealer as soon as pos- sible. C400B02P-GAT Operation of the rear parking assist system Operating condition: o The rear parking assist system switch
is pushed with the ignition key "ON".
o Sensing distance in backing up is approximately 1200 mm (47 in.).
1st Signal
approx. 1200 mm
to 810 mm fromthe rear bumper Buzzer beeps intermittently.
SensingDistance Buzzer Sound 2nd Signal
approx. 800 mmto 410 mm fromthe rear bumperBuzzer soundsbeeps morefrequently. 3rd Signal
approx. 400 mm Buzzer sounds continuously.
DRIVING FOR ECONOMY
C140A01P-GAT You can save fuel and get more kilo- meters from your car if you follow these suggestions:
o Drive smoothly. Accelerate at a moderate rate. Don't make "jack- rabbit" starts or full-throttle shiftsand maintain a steady cruising speed. Don't race between stop- lights. Try to adjust your speed tothat of the other traffic so you don't have to change speeds unneces- sarily. Avoid heavy traffic wheneverpossible. Always maintain a safe distance from other vehicles so you can avoidunnecessary braking. This also re- duces brake wear.
o Drive at a moderate speed. The faster you drive, the more fuel yourcar uses. Driving at a moderate speed, especially on the highway, isone of the most effective ways to reduce fuel consumption.