2007 Hyundai H-1 (Grand Starex) fuel pressure
[x] Cancel search: fuel pressurePage 12 of 284

YOUR VEHICLE AT A GLANCE
F12
B255A01P-GAT INDICATOR SYMBOLS ON THE INSTRUMENT CLUSTER * More detailed explanations of these items will be found beginning on page 2-8.
O/D OFF Indicator Light (Automatic Transmission Only)
Fuel Filter Warning Light (Diesel only)
Diesel Pre-heat Indicator Light (Diesel only)
Immobilizer Warning Light (If installed)
SRS (Airbag) Service Reminder Indicator Light (SRI) (If installed)
ABS Service Reminder Indicator Light(If installed)
Turn Signal Indicator Lights High Beam Indicator LightLow Oil Pressure Warning Light Parking Brake/Low Brake Fluid Level Warning Light Charging System Warning Light Seat Belt Warning Light (If installed) Door Ajar Warning Light Low Fuel Level Warning Light
POWER/HOLD Indicator Light (If installed) Malfunction Indicator Light (If installed)
4WD HIGH/LOW Indicator Light (If installed)
Page 39 of 284

1
BEFORE DRIVING YOUR VEHICLE
27
!WARNING:
o Fuel vapors are dangerous. Be- fore refueling, always stop the en- gine and never allow sparks oropen flames near the filler area. If you need to replace the filler cap, use a genuine Hyundai replace-ment part. If you open the fuel filler cap dur- ing high ambient temperatures, aslight "pressure sound" may be heard. This is normal and not a cause for concern.Whenever you open the fuel filler cap, turn it slowly. o Automotive fuels are flammable/
explosive materials. When refuel-ing, please note the following guidelines carefully. Failure tofollow these guidelines may re- sult in severe personal injury, se- vere burns or death by fire orexplosion.
- Before refueling always note thelocation of the Emergency Gaso- line Shut-Off, if available, at the gas station facility.
- Before touching the fuel nozzle or fuel filler cap, you shouldeliminate potentially dangerous static electricity discharge bytouching another metal part of the front of the vehicle, a safe distance away from the fuel fillerneck, nozzle, or other gas source.
- Do not get back into a vehicle once you have begun refueling.Do not touch, rub or slide against any item or fabric (polyester,satin, nylon, etc.) capable of pro- ducing static electricity. Static electricity discharge can ignitefuel vapors resulting in explo- sion. If you must re-enter the vehicle,you should once again elimi- nate potentially dangerous staticelectricity discharge by touch- ing a metal part of the vehicle, away from the fuel filler neck,nozzle or other gasoline source.
- When using a portable fuel con-
tainer be sure to place the con-tainer on the ground prior to refueling. Static electricity dis- charge from the container canignite fuel vapors causing a fire. Once refueling has begun, con- tact with the vehicle should bemaintained until the filling is complete. Use only portable fuel containers designed to carry andstore gasoline.
- Do not use cellular phones
around a gas station or whilerefueling any vehicle. Electric current and/or electronic inter- ference from cellular phones canpotentially ignite fuel vapors causing a fire. If you must use your cellular phone use it in aplace away from the gas station.
NOTE: If the fuel-filler lid will not open be- cause ice has formed around it, tap lightly or push on the lid to break theice and release the lid. Do not pry on the lid. If necessary, spray around the lid with an approved de-icer fluid(do not use radiator anti-freeze) or move the vehicle to a warm place and allow the ice to melt.
Page 70 of 284
2
INSTRUMENTS AND CONTROLS
3
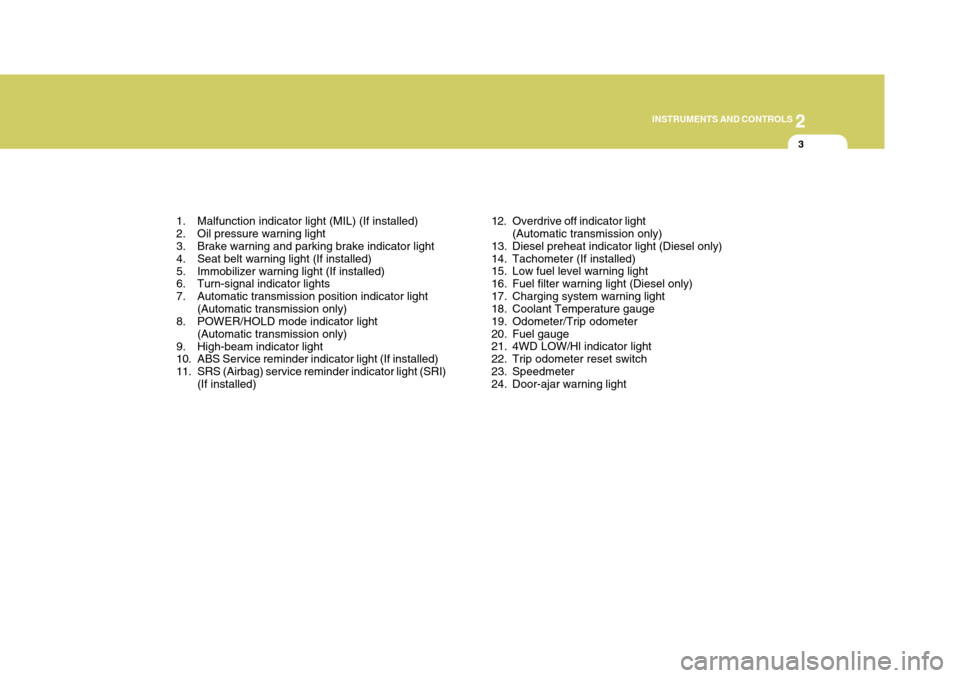
1. Malfunction indicator light (MIL) (If installed)
2. Oil pressure warning light
3. Brake warning and parking brake indicator light
4. Seat belt warning light (If installed)
5. Immobilizer warning light (If installed)
6. Turn-signal indicator lights
7. Automatic transmission position indicator light (Automatic transmission only)
8. POWER/HOLD mode indicator light
(Automatic transmission only)
9. High-beam indicator light
10. ABS Service reminder indicator light (If installed)
11. SRS (Airbag) service reminder indicator light (SRI) (If installed) 12. Overdrive off indicator light
(Automatic transmission only)
13. Diesel preheat indicator light (Diesel only)
14. Tachometer (If installed)
15. Low fuel level warning light
16. Fuel filter warning light (Diesel only)
17. Charging system warning light
18. Coolant Temperature gauge
19. Odometer/Trip odometer
20. Fuel gauge
21. 4WD LOW/Hl indicator light
22. Trip odometer reset switch
23. Speedmeter
24. Door-ajar warning light
Page 72 of 284
2
INSTRUMENTS AND CONTROLS
5
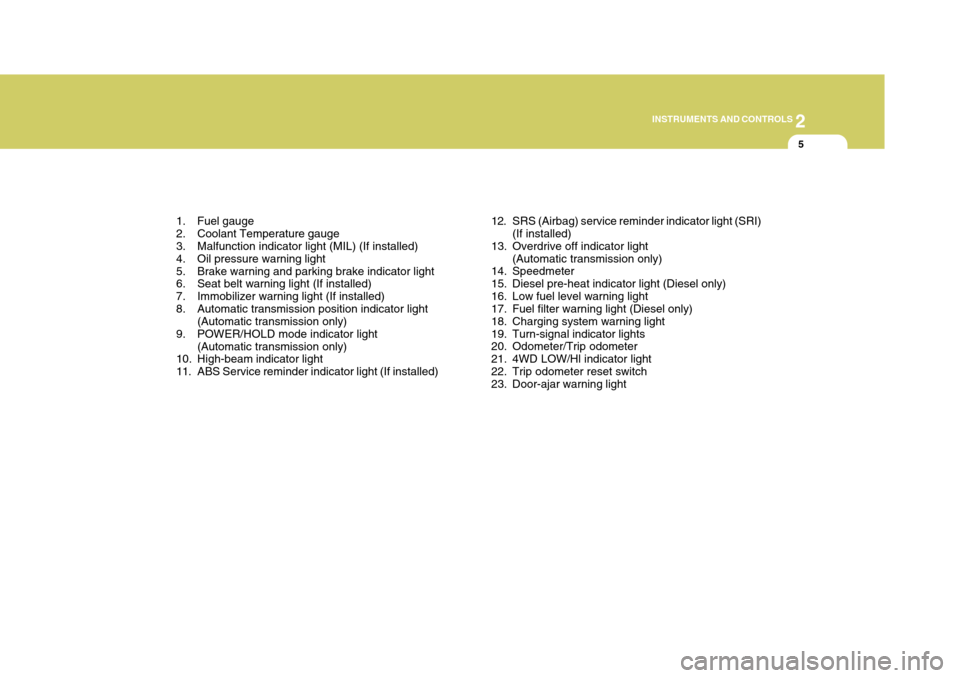
1. Fuel gauge
2. Coolant Temperature gauge
3. Malfunction indicator light (MIL) (If installed)
4. Oil pressure warning light
5. Brake warning and parking brake indicator light
6. Seat belt warning light (If installed)
7. Immobilizer warning light (If installed)
8. Automatic transmission position indicator light (Automatic transmission only)
9. POWER/HOLD mode indicator light
(Automatic transmission only)
10. High-beam indicator light
11. ABS Service reminder indicator light (If installed) 12. SRS (Airbag) service reminder indicator light (SRI)
(If installed)
13. Overdrive off indicator light (Automatic transmission only)
14. Speedmeter
15. Diesel pre-heat indicator light (Diesel only)
16. Low fuel level warning light
17. Fuel filter warning light (Diesel only)
18. Charging system warning light
19. Turn-signal indicator lights
20. Odometer/Trip odometer
21. 4WD LOW/Hl indicator light
22. Trip odometer reset switch
23. Door-ajar warning light
Page 74 of 284
2
INSTRUMENTS AND CONTROLS
7
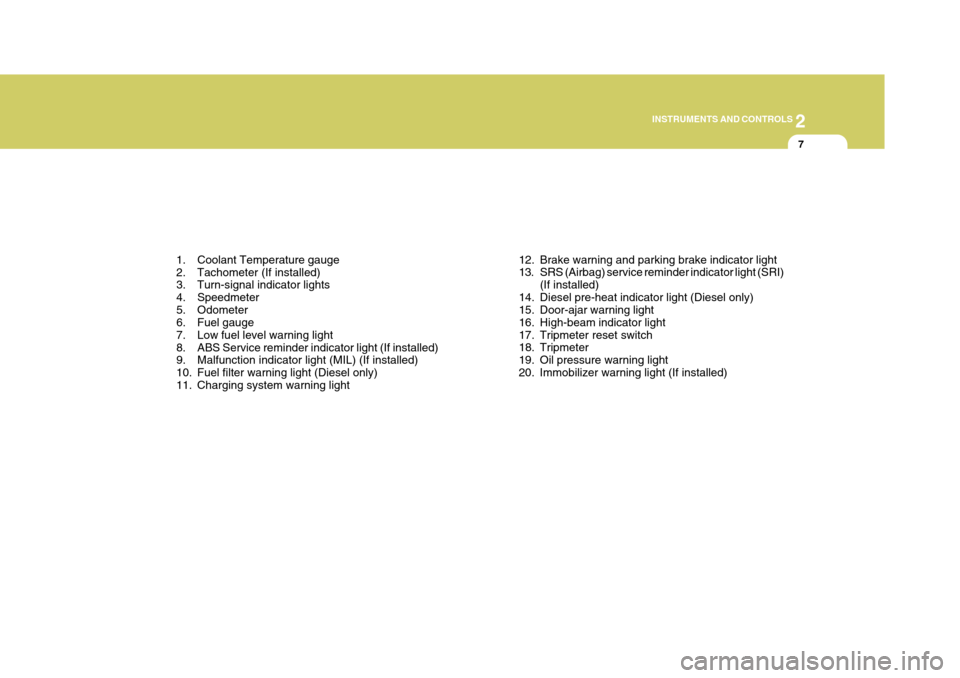
1. Coolant Temperature gauge
2. Tachometer (If installed)
3. Turn-signal indicator lights
4. Speedmeter
5. Odometer
6. Fuel gauge
7. Low fuel level warning light
8. ABS Service reminder indicator light (If installed)
9. Malfunction indicator light (MIL) (If installed)
10. Fuel filter warning light (Diesel only)
11. Charging system warning light 12. Brake warning and parking brake indicator light
13. SRS (Airbag) service reminder indicator light (SRI)
(If installed)
14. Diesel pre-heat indicator light (Diesel only)
15. Door-ajar warning light
16. High-beam indicator light
17. Tripmeter reset switch
18. Tripmeter
19. Oil pressure warning light
20. Immobilizer warning light (If installed)
Page 170 of 284
3 STARTING AND OPERATING
28
D170B01P-GAT (1) Speed Avoid rapid acceleration, sudden starts, and maximum speed driving; suchoperation will result in more fuel con- sumption. D170C01P-GAT (2) Shifting Shift only at an appropriate vehicle speed and engine rpm.Always use the highest gear possible. Fuel consumption depends largely on the manner in which vehicle is drivenbut it is also affected by other driving conditions. D170D01P-GAT (3) City traffic Frequent starting and stopping in- creases the average fuel consump- tion. Use roads with smooth traffic flowwhenever possible. When driving on congested roads, avoid use of a low gear at high engine rpm. D170G01P-GAT (6) Tire inflation pressure Check the tire inflation pressure at regular intervals. Low tire inflation pres- sures increase road resistance and fuel consumption. In addition, low tirepressures adversely affect tire wear and driving control.D170H01P-GAT (7) Load Do not drive with unnecessary articles in the luggage compartment.Especially during city driving where frequent starting and stopping is nec- essary, the increased weight of thevehicle will greatly affect fuel consump- tion. Also avoid driving with unnecessaryluggage, etc., on the roof; the increased air resistance will cause more fuel consumption.
D170I01P-GAT (8) Cold engine starting Starting of a cold engine consumes more fuel. Unnecessary fuel consump- tion is also caused by keeping a hot engine running. After the engine isstarted, begin driving soon.
D170E01P-GAT (4) Idling The vehicle consumes fuel even dur- ing idling. Avoid extended idling when-ever possible. D170F01P-GAT (5) High speed The higher the vehicles speed, the more fuel consumed. Avoid driving at full speed. Even a slight release of the accelerator pedal will save significant amount of fuel.
Page 196 of 284
44IN CASE OF EMERGENCY
20
!WARNING:
o Improperly loading your car and trailer can serious affect its steer- ing and braking performance causing a crash in which youmay be seriously injured.
o For automatic transmission ve-
hicles, the trailer should be towedwith the towing vehicle unloaded, with the exception of the driver. Otherwise, the automatic trans-mission oil temperature may rise to a temperature that may result in serious damage of the auto- matic transmission. C190F02A-GAT Trailer or Vehicle Towing Tips
1. Before towing, check hitch and
safety chain connections as well as proper operation of the trailer run- ning lights, brake lights, and turn signals.
2. Always drive your vehicle at a mod- erate speed (Less than 100 km/h).
3. Trailer towing requires more fuel than normal conditions.
4. To maintain engine braking effi-
ciency and electrical charging per-formance, do not use fifth gear (manual transmission) or overdrive (automatic transmission).
5. Always secure items in the trailer to prevent load shift while driving.
6. Check the condition and air pres- sure of all tires on the trailer and your car. Low tire pressure can se- riously affect the handling. Alsocheck the spare tire.
7. The vehicle/trailer combination is
more affected by crosswind andbuffeting. When being passed by a large vehicle, keep a constant speed and steer straight ahead. If there is too much wind buffeting,slow down to get out of the othervehicle’s air turbulence.
8. When parking your car and trailer,
especially on a hill, be sure to followall the normal precautions. Turn your front wheel into the curb, set the parking brake firmly, and put thetransmission in 1st or "R" (manual transmission) or "P" (automatic transmission). In addition, placewheel chocks at each of the trailer’s tires.
9. If the trailer has electric brakes, start your vehicle and trailer mov-ing, and then apply the trailer brake controller by hand to be sure thebrakes are working. This lets you check your electrical connection at the same time.
10.During your trip, check occasion- ally to be sure that the load issecure, and that the lights and anytrailer brakes are still working.
11.Avoid jerky starts, sudden accel-
eration or sudden stops.
12.Avoid sharp turns and rapid lane changes.
Page 202 of 284
44IN CASE OF EMERGENCY
26
4. Check to see if the water pump drivebelt is missing. If it is not missing, check to see that it is tight. If the drive belt seems to be satisfactory, check for engine coolant leakingfrom the radiator, hoses or under the car. (If the air conditioning had been in use, it is normal for coldwater to be draining from it when you stop).
!WARNING:
While the engine is running, keep hair, hands, long hair and clothing away from moving parts such as the fan and drive belts to preventinjury.
!WARNING (Diesel only):
Never work on injection system with engine running or within 30 sec- onds after shutting off engine. High pressure pump, rail, injectors andhigh pressure pipes are subject to high pressure even after the engine stopped. The fuel jet produced byfuel leaks may cause serious in- jury, if it touch the body. People using pacemakers should not movethan 30cm closer to the ECU or wiring harness within the engine room while engine is running, sincethe high currents in the Common Rail system produce considerable magnetic fields.
5. If the water pump drive belt is broken or engine coolant is leaking out, stop the engine immediately and call the nearest Hyundai dealer for assis- tance.!WARNING:
Do not remove the radiator cap when the engine is hot. This can allow coolant to be blown out of the open- ing and cause serious burns.
6. If you cannot find the cause of the overheating, wait until the engine temperature has returned to nor-mal. Then, if the engine coolant has been lost, carefully add coolant to the reservoir (page 8-12) to bringthe fluid level in the reservoir up to the halfway mark.
7. Proceed with caution, keeping alert for further signs of overheating. Ifoverheating happens again, call a Hyundai dealer for assistance.
CAUTION:
Serious loss of engine coolant indi-cates there is a leak in the coolingsystem and this should be checked as soon as possible by a Hyundai dealer.
!