Page 51 of 228
 position and the parking brake is
rele ased, it means there is a problem
in the high beam headlight’s cir")
If this indicator comes on when the
ignition switch is turned to the ON
(II) position and the parking brake is
rele ased, it means there is a problem
in the high beam headlight’s circuit.
Have your vehicle checked by your
dealer.
Driving
with the power steering
system continuously overheating can
cause system damage.
The left or right turn signal indicator
blinks when you signal a lane change
or turn. If the indicator does not
blink or blinks rapidly, it usually
means one of the turn signal bulbs is
burned out (see page ). Replace
the bulb as soon as possible, since
other drivers cannot see that you are
signaling.
When you press the hazard warning
button, both turn signal indicators
blink. All turn signals on the outside
of the vehicle should f lash.
This indicator normally comes on
when you turn the ignition to the ON
(II) position and goes of f af ter the
engine starts. If it comes on at any
other time, there is a problem in the
electric power steering system. If
this happens, stop the vehicle in a
saf e place and turn of f the engine.
Reset the system by restarting the
engine. The indicator will not turn
of f immediately. If it does not go of f
after driving a short distance, or
comes on again while driving, take
the vehicle to your dealer to have it
checked. With the indicator on, the
EPS may be turned of f , making the
vehicle harder to steer.
If the power steering system
overheats while driving, the assist is
reduced and steering may f eel
slightly harder.
157
Instrument Panel Indicators
‘‘Daytime Running
Lights’’ Indicator
Turn Signal and
Hazard Warning
Indicators
Electric Power Steering
(EPS) Indicator
48
Page 61 of 228

�´�µ�´�µ
The buttons in the lower left corner
of the instrument panel adjust the
brightness of the display in f ive steps.
Push the or button five times
to see the f ull range. To reduce glare at night, the
instrument panel illumination dims
when you turn the light switch to the
or position.
Push the red button next to the
parking brake to turn on the hazard
warning lights (f our-way f lashers).
This causes all f our outside turn
signals and both indicators in the
instrument panel to f lash. Use the
hazard warning lights if you need to
park in a dangerous area near heavy
traffic, or if your vehicle is disabled.
Adjust the brightness to the desired
level with the headlight switch of f ,
and also with the headlight switch on.
Both settings will remain at those
levels until you change them.
With the headlight switch on, you
can switch the display to f ull daytime
brightness by pushing and holding
the button. Push the button to
return the display to the original
brightness.
Instrument Panel Brightness
Hazard Warning Button
Instrument Panel Brightness, Hazard Warning Button
58
Page 70 of 228
�µ
To adjust the seat forward and
backward, pull up on the lever under
the seat cushion’s front edge. Then
trytomovetheseattomakesureit
is locked in position. To
change the seat-back angle, pull
up on the lever on the outside of the
seat bottom.
Make
all seat adjustm ents before
you start driving.
See pages f or important saf ety
inf ormation and warnings about how toproperly position the seats and seat-backs. 10 12
Seats
Inst rument s and Cont rols
67
Page 173 of 228
�µ
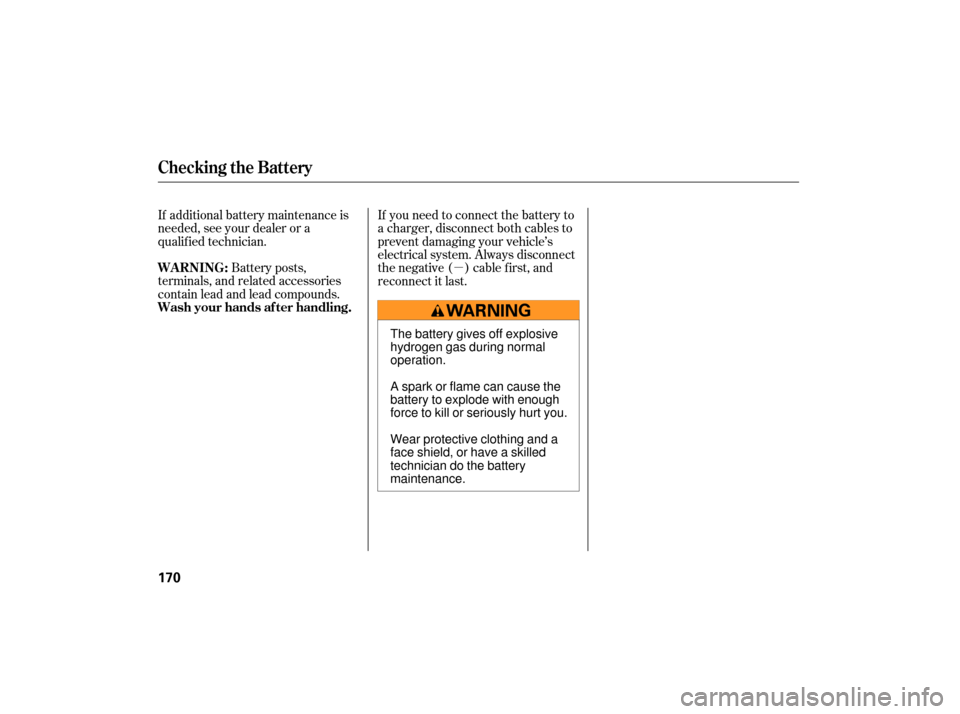
If additional battery maintenance is
needed, see your dealer or a
qualif ied technician.
Battery posts,
terminals, and related accessories
contain lead and lead compounds. If you need to connect the battery to
a charger, disconnect both cables to
prevent damaging your vehicle’s
electrical system. Always disconnect
the negative ( ) cable first, and
reconnect it last.
Checking the Battery
WARNING:
Wash your hands af ter handling.
170
The battery gives off explosive
hydrogen gas during normal
operation.
A spark or flame can cause the
battery to explode with enough
force to kill or seriously hurt you.
Wear protective clothing and a
face shield, or have a skilled
technician do the battery
maintenance.
Page 178 of 228

Thesizedifferencemayalsocause
damage to the rear dif f erential, so do
not mount the compact spare on the
rear. If either rear tire goes f lat,
remove the f ront tire on that same
side, mount the compact spare tire
on the f ront, then mount the f ront
tire on the rear.Park the vehicle on f irm, level, and
non-slippery ground. Put the
transmission in reverse. Apply the
parking brake.
Turn on the hazard warning lights,
and turn the ignition switch to the
LOCK (0) position. Have your
passenger get out of the vehicle
while you change the tire. Open the trunk. Lift up the tool
box lid, and take the jack, the
wheel nut wrench, and the
extension out of the tool box.
Thecompactsparetireissmaller
than a standard tire, which will affect
the vehicle’s handling. Drive
cautiously when this spare is
mounted on your vehicle. If you have a f lat tire while driving,
stop in a saf e place to change it.
Drive slowly along the shoulder until
you get to an exit or an area to stop
that is far away from the traffic lanes.
3.
1.
2.
CONT INUED
Changing a Flat Tire
T aking Care of t he Unexpect ed
175
TOOL BOX LID
JACK
The vehicle can easily roll off
the jack, seriously injuring
anyone underneath.
Follow the directions for
changing a tire exactly, and
never get under the vehicle
when it is supported only by the
jack. Use the jack that came with your
vehicle. If you try to raise another
vehicle with this jack or use another
jack to raise your vehicle, the vehicle or
jack can be damaged.
Page 187 of 228

Look for any obvious coolant leaks,
such as a split radiator hose.
Everything is still extremely hot,
so use caution. If you find a leak, it
must be repaired before you
continue driving (see
on page ).
If
the temperatu re gauge stays at
the red mark, turn off the engine.
If you do not see steam or spray,
leave the engine running, and
watch the temperature gauge. If
the high heat is due to overloading,
the engine should start to cool
down almost immediately. If it
does, wait until the temperature
gauge comes down to the midpoint,
th en continue driving.
If
you see steam and/or spray
coming from under the hood, turn
off the engine. Wait until you see
no more signs of steam or spray,
th en open the hood.
Safely
pull to the side of the road.
Put the transmission in neutral,
and set the parking brake. Turn
off the all accessories, and turn on
the hazard warning indicators.
If you don’t find an obvious leak,
check the coolant level in the
radiator reserve tank. Add coolant
if the level is below the MIN mark
(see on
page ).
2. 1.
3. 4.
5.
6.
149 196
Emergency
Towing
A dding Engine Coolant
If theEngineOverheats
184
Steam and spray from an
overheated engine can
seriously scald you.
Do not open the hood if steam
is coming out.
Page 189 of 228
. An en")
Safely pull off the road, and shut
off the engine. Turn on the hazard
warning indicators.
Let the vehicle sit for a minute.
Op en the hood, and check the oil
level (see page ). An engine
very low on oil can lose pressure
during cornering and other driving
maneuvers.
If necessary, add oil to bring the
level back to the full mark on the
dipsti ck (see page ).
Start the engine, and watch the oil
pressure indicator. If it does not go
out within 10 seconds, turn off the
engine. There is a mechanical
problem that needs to be repaired
befo re you can continue driving
(see on page
). If the charging system
indicator comes on brightly
when the engine is running, the
battery is not being charged.
Immediately turn of f all electrical
accessories. Try not to use other
electrically operated controls such as
the power windows. Keep the engine
running; starting the engine will
discharge the battery rapidly.
Go to a service station or garage
where you can get technical
assistance.
This indicator should never
come on when the engine is
running. If it starts f lashing or stays
on, the oil pressure has dropped very
low or lost pressure. Serious engine
damage is possible, and you should
take immediate action. 1.
2.
3.
4.113
146
196
L ow Oil Pressure Indicator, Charging System Indicator
L ow Oil Pressure Indicator
Emergency T owingCharging System Indicator
186
Running the engine with low oil
pressure can cause serious mechanical
damage almost immediately. Turn of f
the engine as soon as you can saf ely get
the vehicle stopped.
Page 198 of 228
�µ
�µ
�µ
�µ
�µ
�µ�µ
�µ
�µ
�µ
No. No.
Amps. Circuits Protected Amps. Circuits Protected
Amps. Circuits Protected
No.
1
2
3
4
5
6
7
8
9
10
11
12
13 14
15
16
17
18
19
20
21
22
23
24
25
40 A
20 A
30 A
20 A
40 A
20 A
20 A Lighting 1 Relay
Lighting 2 Relay
Horn Relay
Power Window Motor
Right Roof Motor
Not used
Backup ACC
Left Roof Motor
Heater Motor
Condenser Fan
DBW
Condenser Fan Relay
Cooling Fan Relay 20 A
15 A
10 A
20 A
15 A
20 A
30 A
30 A
100 A 40 A Magnetic Clutch Relay
Right Headlight
ACG S
Hazard Warning Lights
Cooling Fan
Not used
Stop
Left Headlight
VSA F/S
VSA Motor
Battery
IG1 Main
20 A
70 A Rear Window Defogger
Not used
EPS
Not used
1
2
3
4
Fuse Locations
T aking Care of t he Unexpect ed
195
AUXILIARY FUSE BOX
UNDER-HOOD FUSE BOXES:
PRIMARY FUSE BOX