Page 165 of 304

The radio can receive the complete
AM and FM bands.
Those bands cover these f requen-
cies:
AM band: 530 to 1,710 kHz
FM band: 87.7 to 107.9 MHzHow well the radio receives stations
is dependent on many f actors, such
as the distance from the station’s
transmitter, nearby large objects,
and atmospheric conditions.
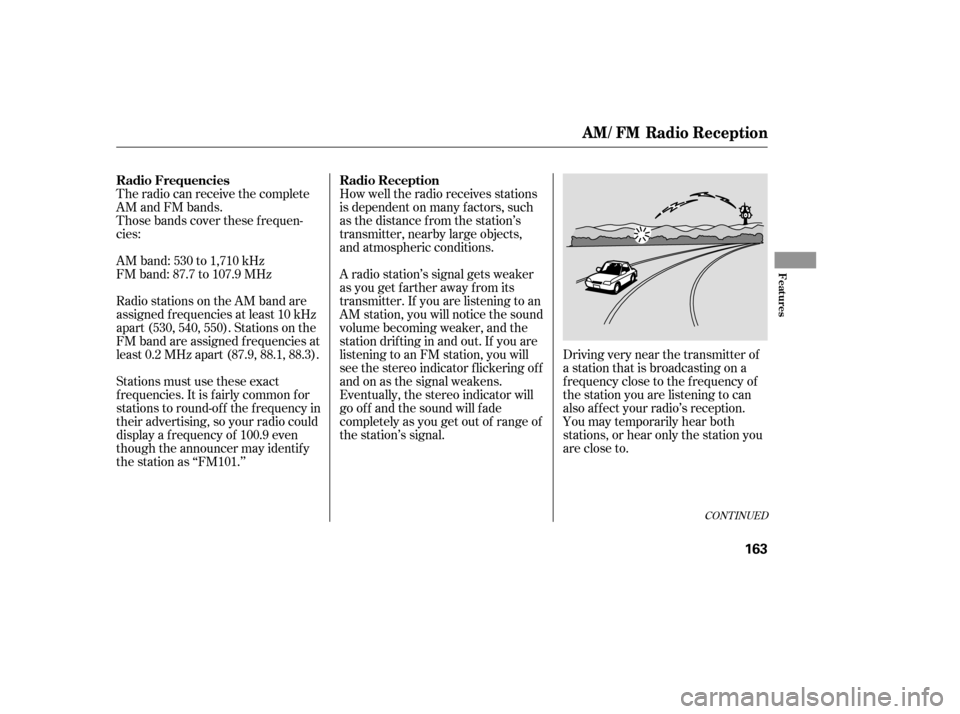
Driving very near the transmitter of
a station that is broadcasting on a
f requency close to the f requency of
the station you are listening to can
also af f ect your radio’s reception.
You may temporarily hear both
stations,orhearonlythestationyou
are close to.
A radio station’s signal gets weaker
as you get f arther away f rom its
transmitter. If you are listening to an
AM station, you will notice the sound
volume becoming weaker, and the
stationdriftinginandout.If youare
listening to an FM station, you will
see the stereo indicator f lickering of f
and on as the signal weakens.
Eventually, the stereo indicator will
go of f and the sound will f ade
completely as you get out of range of
the station’s signal.
Radio stations on the AM band are
assigned f requencies at least 10 kHz
apart (530, 540, 550). Stations on the
FM band are assigned f requencies at
least 0.2 MHz apart (87.9, 88.1, 88.3).
Stations must use these exact
f requencies. It is f airly common f or
stations to round-of f the f requency in
their advertising, so your radio could
display a f requency of 100.9 even
though the announcer may identif y
the station as ‘‘FM101.’’
CONT INUED
Radio Frequencies Radio Reception
AM / FM Radio Reception
Features
163
�����—�����—�����y�
����
������
�y���
�(�#�����
���y���
�����y
Page 170 of 304

Your vehicle’s audio system will
disable itself if it is disconnected
f rom electrical power f or any reason.
To make it work again, you must
enter a specif ic digit code using the
preset buttons (icon on vehicle’s with
navigation system). Because there
are hundreds of number
combinations possible f rom specif ic
digits, making the system work
without knowing the exact code is
nearly impossible.If your vehicle’s battery is
disconnected or goes dead, or the
radio f use is removed, the audio
system will disable itself . If this
happens, you will see ‘‘ENTER
CODE’’ in the f requency display the
nexttimeyouturnonthesystem.
Use the preset buttons (icons on
vehicles with navigation system) to
enter the code. The code is on the
radio code card included in your
owner’s manual kit. When it is
entered correctly, the radio will start
playing.
If you make a mistake entering the
code, do not start over; complete the
sequence, then enter the correct
code. You have 10 tries to enter the
correct code. If you are unsuccessf ul
in 10 attempts, you must then leave
the system on f or 1 hour bef ore
trying again.
If you lose the card, you must obtain
the code number f rom a dealer. To
do this, you will need the system’s
serial number.
Youshouldhavereceivedacardthat
lists your audio system’s code and
serial numbers. It is best to store this
card in a saf e place at home. In
addition, you should write the audio
system’s serial number in this owner’s
manual.
On all models except U.S. DX
Radio T hef t Protection
168
�����—�����—�����y�
����
��������y���
�(�#�����
���y���
�����y
Page 171 of 304

On models with navigation system
On models without navigation system
The navigation system receives
signals f rom the global positioning
system (GPS), and the displayed
time is updated automatically by the
GPS. Ref er to the navigation system
manual f or how to adjust the time.
To set the time, press the CLOCK
(AM, AM/FM) button until the
displayed time begins to blink, then
release the button.
Change the hours by pressing the H
(preset 1) button until the numbers
advance to the desired time. Change
the minutes by pressing the M
(preset 2) button until the numbers
advance to the desired time.
Press the CLOCK (AM, AM/FM)
button again to enter the set time.
You can quickly set the time to the
nearest hour. If the displayed time is
bef ore the half hour, pressing the
CLOCK (AM, AM/FM) button until
you hear a beep, then pressing the R
(preset 3) button sets the clock back
to the previous hour. If the displayed
time is af ter the half hour, the clock
sets f orward to the beginning of the
next hour.
For example: 1:06 will reset to 1:00
1:52 will reset to 2:00
Setting the Clock
Features
169
MINUTE BUTTON MINUTE BUTTON
HOUR BUTTON RESET BUTTON HOUR BUTTON RESET BUTTON CLOCK BUTTON
CLOCK BUTTON
U.S. LX and all Canadian models U.S. EX and Si models
�����—�����—�����y�
����
��������y���
�(�#�����
���y���
�����y
Page 172 of 304

Once the security system is set,
opening any door, the trunk, or the
hood without using the key or the
remote transmitter will cause it to
alarm. It also alarms if the radio is
removed f rom the dashboard or the
wiring is cut.
The security system helps to protect
your vehicle and valuables f rom thef t.
The horn sounds and a combination
of headlights (low beam), parking
lights, side marker lights, and
taillights f lash if someone attempts
to break into your vehicle or remove
the radio. This alarm continues f or 2
minutes, then it stops. To reset an
alarming system bef ore the 2
minutes have elapsed, unlock the
driver’s door with the key or the
remote transmitter.
The security system automatically
sets 15 seconds after you lock the
doors, hood, and trunk. For the
system to activate, you must lock the
doors f rom the outside with the key,
driver’s lock tab, door lock switch, or
remote transmitter. The security
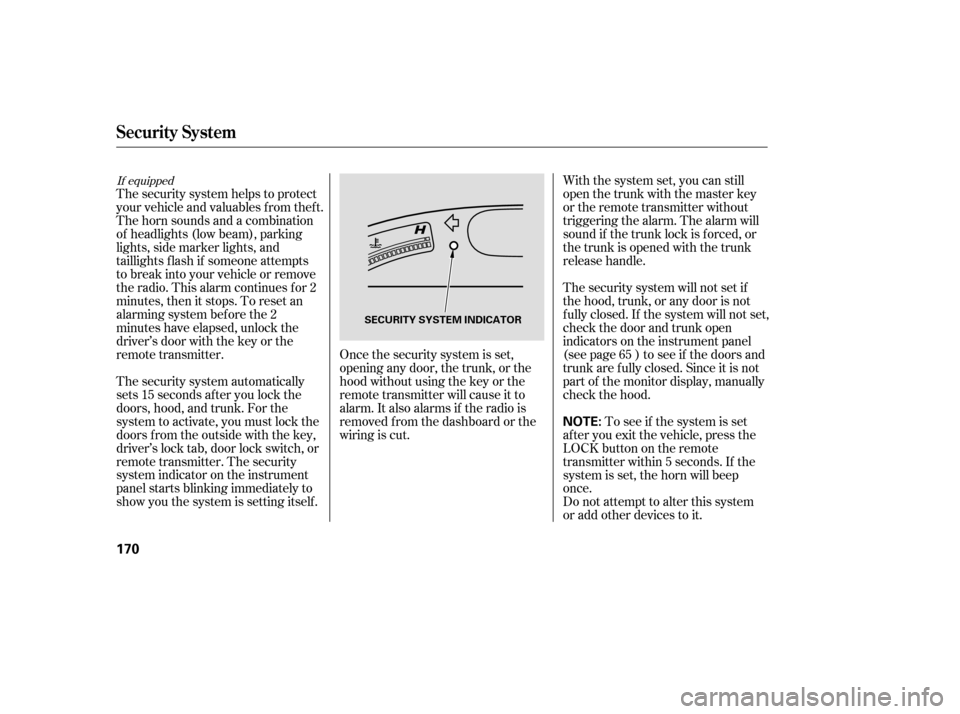
system indicator on the instrument
panel starts blinking immediately to
show you the system is setting itself . With the system set, you can still
open the trunk with the master key
or the remote transmitter without
triggering the alarm. The alarm will
sound if the trunk lock is f orced, or
the trunk is opened with the trunk
release handle.
The security system will not set if
the hood, trunk, or any door is not
f ully closed. If the system will not set,
check the door and trunk open
indicators on the instrument panel
(see page ) to see if the doors and
trunk are f ully closed. Since it is not
part of the monitor display, manually
check the hood.
Do not attempt to alter this system
or add other devices to it.
To see if the system is set
af ter you exit the vehicle, press the
LOCK button on the remote
transmitter within 5 seconds. If the
system is set, the horn will beep
once. 65
If equipped
Security System
170
NOTE:
SECURITY SYSTEM INDICATOR
�����—�����—�����y�
����
��������y���
�(�#�����
���y���
�����y
Page 179 of 304

Park the vehicle, and set the
parking brake. Pull the hood
release handle under the lower lef t
corner of the dashboard. The
hood will pop up slightly.
Screw the f uel f ill cap back on
until it clicks at least once. If you
do not properly tighten the cap,
the malf unction indicator lamp
maycomeon(seepage ).You
will also see a ‘‘CHECK FUEL
CAP’’ message on the inf ormation
display.
Push the f uel f ill door closed until
it latches.
Remove the f uel f ill cap slowly.
You may hear a hissing sound as
pressure inside the tank escapes.
The fuel fill cap is attached to the
f uel f iller with a tether. Place the
cap in the holder on the f uel f ill
door.
Stop f illing the tank af ter the f uel
nozzle automatically clicks of f . Do
not try to ‘‘top off’’ the tank. Leave
some room f or the f uel to expand
with temperature changes.
even though the tank is not f ull,
there may be a problem with your
vehicle’s fuel vapor recovery
system. The system helps keep
f uel vapor f rom going into the
atmosphere. Try f illing at another
pump. If this does not f ix the
problem, consult your dealer.
1.
5. 6.
4.
3.
268If the f uel nozzle keeps clicking of f
Service Station Procedures
Opening and Closing the Hood
178
HOOD RELEASE HANDLE
�����—�����—�����y�
����
�
������y���
�(�#�����
���y���
�����y
Page 182 of 304

CONT INUED
Look at the coolant level in the
radiator reserve tank. Make sure it is
between the MAX and MIN lines. If
it is below the MIN line, seeon page f or
inf ormation on adding the proper
coolant. Refer to
on page f or inf ormation
about checking other items on your
vehicle. Always maintain your vehicle
according to the maintenance
minder displayed in the
inf ormation display. See
on page
.
Always drive in the highest gear
possible.
Drive moderately. Rapid
acceleration, abrupt cornering,
and hard braking use more f uel.
The build-up of snow or mud on
your vehicle’s underside adds
weight and rolling resistance.
Frequent cleaning helps your f uel
mileage and reduces the chance of
corrosion.
an underinf lated tire
causes more ‘‘rolling resistance,’’
which uses more f uel.
228 218218
For example,
A dding
Engine Coolant Owner’s Maintenance
Checks
Engine Coolant Check
Improving Fuel Economy
Owner’s
Maintenance Checks
Service Station Procedures, Fuel Economy
Bef ore Driving
181
RESERVE TANK RESERVE TANK
MAX
MIN
MAX
MIN U.S. Si
Except U.S. Si
�����—�����—�����y�
����
����
���y���
�(�#�����
���y���
�����y
Page 212 of 304

�µ
�µ �µ�µ�µ�µ�µ�µ�µ�µ �µ
�µ
CONT INUED
Calculated Engine Oil Lif e (%)
100 % 91 % 90 % 81 %
80 % 71 %
70 % 61 %
60 % 51 %
50 % 41 %
40 % 31 %
30 % 21 %
20 % 16 %
15 % 11 %10 % 6 % 5% 1% 0% Displayed
Engine Oil Lif e (%) 100 %90 %
80 %
70 %
60 %
50 %
40 %
30 %
20 %
15 %
10 %5%0%
Your vehicle displays engine oil lif e
and maintenance service items on
the inf ormation display to show you
when you should have your dealer
perf orm engine oil replacement and
indicated maintenance service.
Based on the engine operating
conditions and accumulated engine
revolutions, the onboard computer in
your vehicle calculates the remaining
engine oil lif e and displays it as a
percentage.
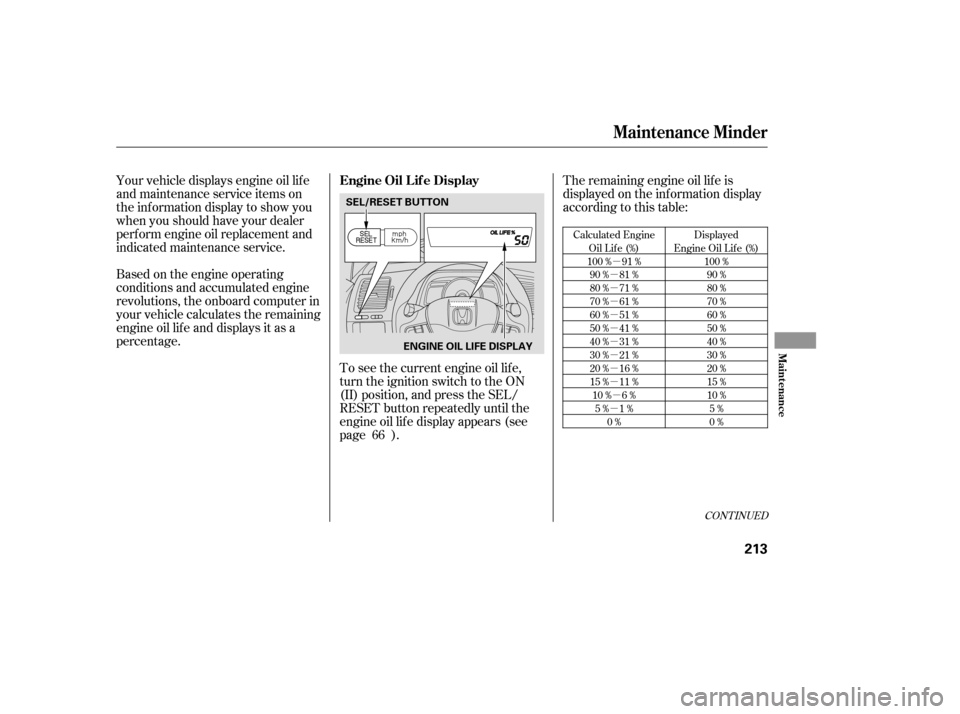
To see the current engine oil lif e,
turn the ignition switch to the ON
(II) position, and press the SEL/
RESET button repeatedly until the
engine oil lif e display appears (see
page ).The remaining engine oil lif e is
displayed on the inf ormation display
according to this table:
66
Maintenance Minder
Engine Oil L if e Display
Maint enance
213
ENGINE OIL LIFE DISPLAY
SEL/RESET BUTTON
�����—�����—�����y�
����
��������y���
�(�#�����
���y�����
���y
Page 213 of 304
If the remaining engine oil lif e is 15
to 6 percent, you will see the engine
oil lif e indicator every time you turn
the ignition switch to the ON (II)
position. The maintenance minder
indicator will also come on, and the
maintenance item code(s) for other
scheduled maintenance items
needing service will be displayed
next to the engine oil lif e indicator.When the remaining engine oil lif e is
5 to 1 percent, you will see a
‘‘SERVICE’’ message along with the
same maintenance item code(s),
every time you turn the ignition
switch to the ON (II) position.
The 15 and 10 percent oil lif e
indicator reminds you that the time
is coming soon to take your vehicle
in f or the required maintenance.
Maintenance Minder
214
ENGINE OIL LIFE
INDICATOR
MAINTENANCE
ITEM CODE(S) SERVICE MESSAGE
�����—�����—�����y�
����
������
�y���
�(�#�����
���y�����
���y