Page 67 of 268
To switch the information display
between the odometer, trip meter,
outside temperature, and engine oil
lif e and maintenance item code(s),
press the SEL/RESET button
repeatedly.
The odometer shows the total
distance your vehicle has been
driven. It measures in miles or
kilometers. It is illegal under U.S.
federal law and Canadian provincial
regulations to disconnect, reset, or
alter the odometer with the intent to
change the number of miles or
kilometers indicated.
Gauges
Odometer
64
TRIP METER
SEL/RESET BUTTON DISPLAY CHANGE BUTTON TACHOMETER
INSTRUMENT PANEL BRIGHTNESS CONTROL BUTTONS INFORMATION
DISPLAYFUEL GAUGE
ODOMETER/OUTSIDE
TEMPERATURE INDICATOR CURRENT FUEL MILEAGE/
TEMPERATURE GAUGE SPEEDOMETER
Page 71 of 268

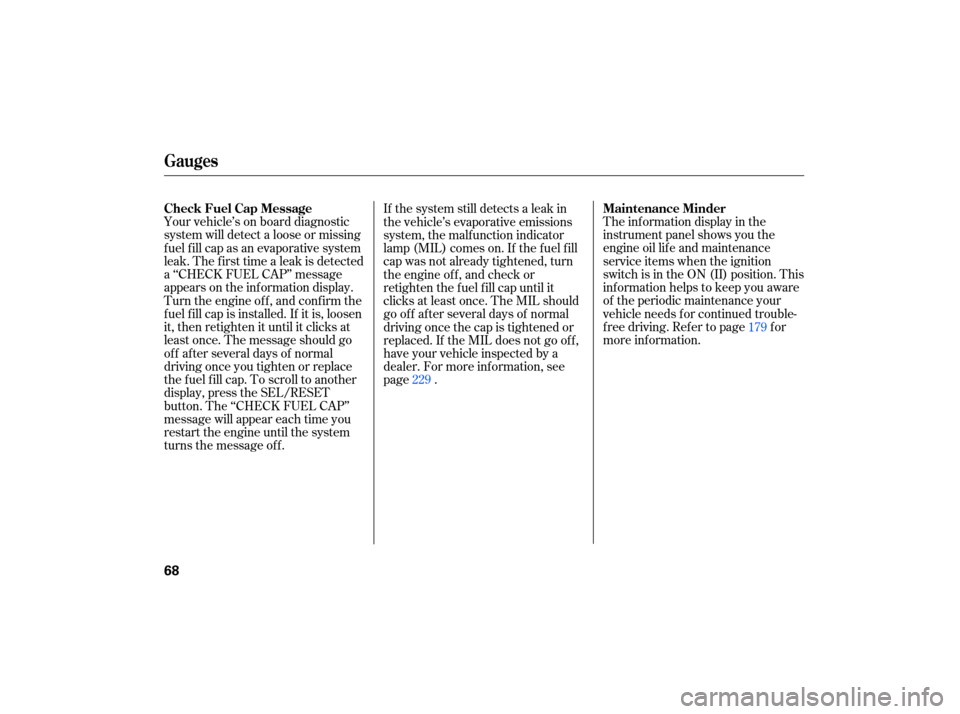
The information display in the
instrument panel shows you the
engine oil life and maintenance
service items when the ignition
switch is in the ON (II) position. This
information helps to keep you aware
of the periodic maintenance your
vehicle needs for continued trouble-
free driving. Refer to page for
more information.
Your
vehicle’s on board diagnostic
system will detect a loose or missing
fuel fill cap as an evaporative system
leak. The first time a leak is detected
a ‘‘CHECK FUEL CAP’’ message
appears on the information display.
Turn the engine off, and confi rm the
fuel fill cap is installed. If it is, loosen
it, then retighten it until it clicks at
least once. The message should go
off after several days of normal
driving once you tighten or replace
the fuel fill cap. To scroll to another
display, press the SEL/RESET
button. The ‘‘CHECK FUEL CAP’’
message will appear each time you
restart the engine until the system
turns the message off. If
the system still detects a leak in
the vehicle’s evaporative emissions
system, the malfunction indicator
lamp (MIL) comes on. If the fuel fill
cap was not already tightened, turn
the engine off, and check or
retighten the fuel fill cap until it
clicks at least once. The MIL should
go off after several days of normal
driving once the cap is tightened or
replaced. If the MIL does not go off,
have your vehicle inspected by a
dealer. For more information, see
page . 179
229
Gauges
Maintenance Minder
Check Fuel Cap Message
68
Page 74 of 268
�Î
�Î
�Î
�Î
�Î
�ΠOnly on vehicles equipped with navigation system. Refer to the navigation system manual.
To
use the horn, press the pad around the ‘‘H’’ logo.
Canadian model only
:
1:
2:
Controls Near the Steering Wheel
Instru m ent sand Cont ro ls
71
SEL/RESET BUTTON
HORN
(P.
143)
DISPLAY
CHANGE BUTTON
(P. 65)
Vehicle with navigation system is shown.
REMOTE
AUDIO CONTROLS
(P.
74)
(P. 64) (P.
73)
INSTRUMENT
PANEL BRIGHTNESS
VOICE CONTROL
SWITCHES HEATED MIRRORS
REAR
WINDOW
DEFOGGER (P. 31)
PASSENGER
AIRBAG
OFF INDICATOR
HAZARD WARNING
BUTTON
(P. 74)
(P. 75)
HOOD RELEASE HANDLE
(P. 152) WINDSHIELD
WIPERS/WASHERS
(P. 72)
(P. 94)
STEERING WHEEL
ADJUSTMENT (P.
75) CRUISE
CONTROL BUTTONS
(P. 145)
HEADLIGHTS/TURN
SIGNAL
2
1
Page 76 of 268

�µ
�µ �µ
Push
down on the
lever to signal a left turn and up to
signal a right turn. To signal a lane
change, push lightly on the lever,
and hold it. The lever will return to
center when you release it or
complete a turn.
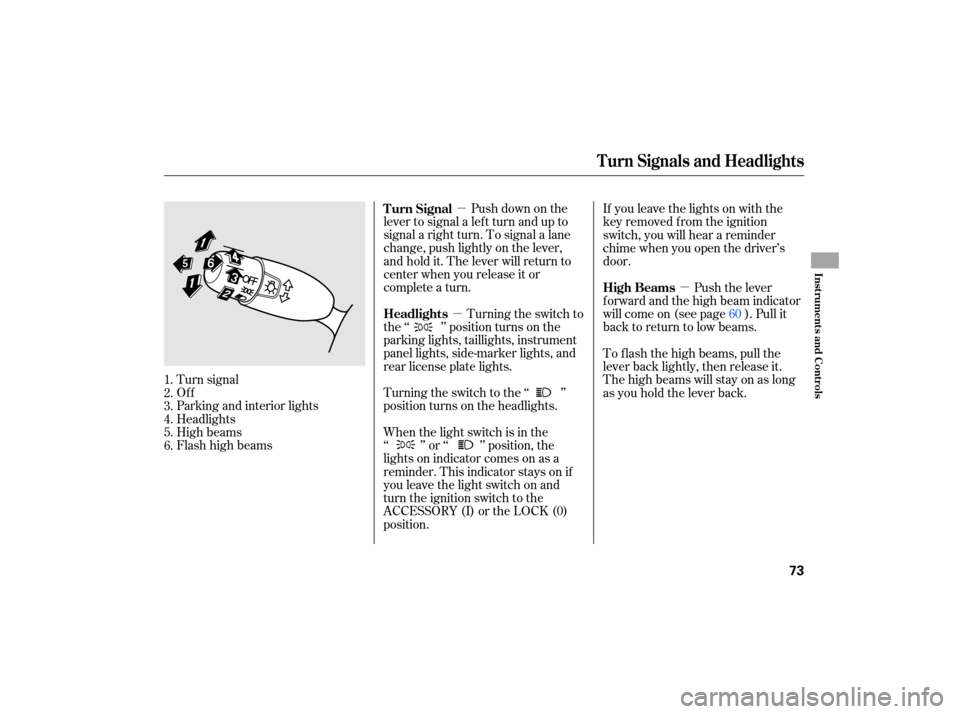
Turning the switch to
the ‘‘ ’’ position turns on the
parking lights, taillights, instrument
panel lights, side-marker lights, and
rear license plate lights.
Tu rn signal
Off
Parking and interior lights
Headlights
High beams
Flashhighbeams Turning
the switch to the ‘‘ ’’
position turns on the headlights. If
you leave the lights on with the
key removed from the ignition
switch, you will hear a reminder
chime when you open the driver’s
door.
When the light switch is in the
‘‘ ’’ or ‘‘ ’’ position, the
lights on indicator comes on as a
reminder. This indicator stays on if
you leave the light switch on and
turn the ignition switch to the
ACCESSORY (I) or the LOCK (0)
position. Push the lever
f orward and the high beam indicator
will come on (see page ). Pull it
back to return to low beams.
To f lash the high beams, pull the
lever back lightly, then release it.
The high beams will stay on as long
as you hold the lever back.
1.
2.
3.
4.
5.
6. 60
Turn Signal
Headlights
High Beams
Turn Signals and Headlights
Inst rument s and Cont rols
73
Page 77 of 268

�´�µ
The buttons under the lef t side vent
control the brightness of the
instrument panel. Push the or
button to adjust the brightness. Pushthebuttontoturnonthe
hazard warning lights (four-way
flashers). This causes all four
outside turn signals and both turn
indicators in the instrument panel to
f lash. Use the hazard warning lights
if you need to park in a dangerous
area near heavy traffic, or if your
vehicle is disabled.
Separate adjustments can be made
when the headlights are on and of f .
With the headlight switch of f or
position, the high beam
headlights come on with reduced
brightness when you turn the
ignition switch to the ON (II)
position and release the parking
brake. They remain on until you turn
the ignition switch of f , even if you
set the parking brake.
The headlights revert to normal
operation when you turn them on
with the switch. Daytime Running L ights Instrument Panel Brightness Hazard Warning Button
Headlights, Instrument Panel Brightness, Hazard Warning Button
74
INSTRUMENT PANEL BRIGHTNESS
CONTROL BUTTONS
Page 79 of 268
Push the lever under the steering
column all the way down.
Move the steering wheel up or
downandinorouttothedesired
position. Make sure you can see
the instrument panel gauges and
the indicators.Push the lever up to lock the
steering wheel in that position.
Make sure you have securely
locked the steering wheel in place
by trying to move it up, down, in,
and out.
The master key fits all the locks on
your vehicle.
1. 4.
2. 3.
Steering Wheel A djustment, K eys and L ocks
76
KEY
NUMBER
TAG
VALET
KEY
(Gray)
U.S. model MASTER KEYS
WITH REMOTE
TRANSMITTER
Page 82 of 268

�µ�µ
�µ
�µ
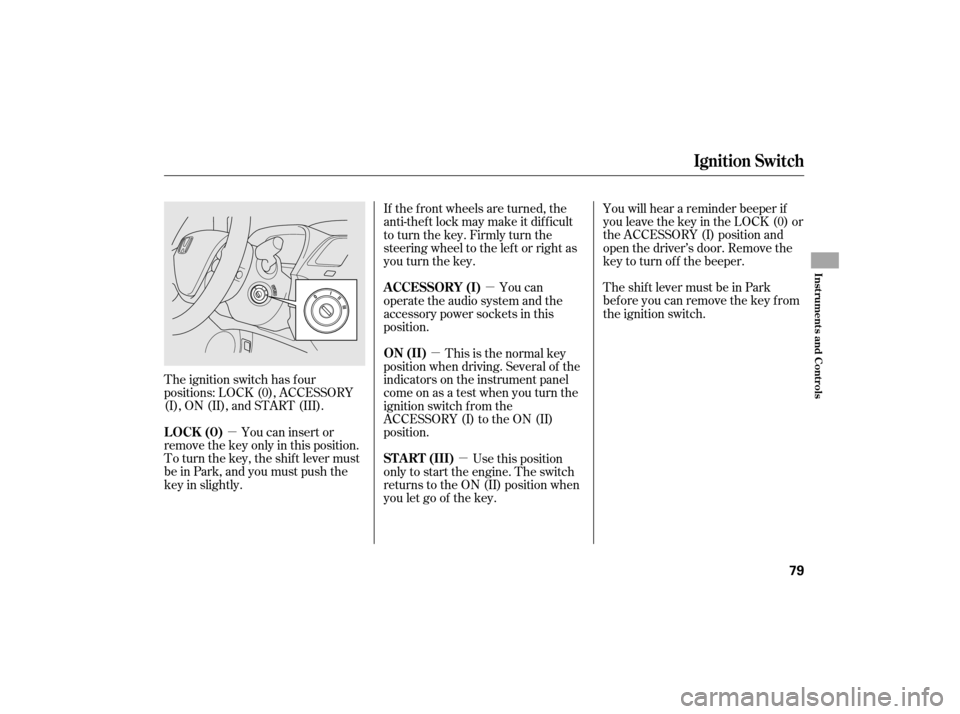
The ignition switch has f our
positions: LOCK (0), ACCESSORY
(I), ON (II), and START (III). You will hear a reminder beeper if
you leave the key in the LOCK (0) or
the ACCESSORY (I) position and
open the driver’s door. Remove the
key to turn of f the beeper.
TheshiftlevermustbeinPark
bef ore you can remove the key f rom
the ignition switch.
You can insert or
remove the key only in this position.
To turn the key, the shift lever must
be in Park, and you must push the
key in slightly. If the f ront wheels are turned, the
anti-thef t lock may make it dif f icult
to turn the key. Firmly turn the
steering wheel to the lef t or right as
you turn the key.
You can
operate the audio system and the
accessory power sockets in this
position.
This is the normal key
position when driving. Several of the
indicators on the instrument panel
come on as a test when you turn the
ignition switch f rom the
ACCESSORY (I) to the ON (II)
position.
Use this position
only to start the engine. The switch
returns to the ON (II) position when
you let go of the key.
Ignition Switch
LOCK (0) A CCESSORY (I)
ON (II)
ST A RT (III)
Inst rument s and Cont rols
79
Page 97 of 268
On Canadian models
The outside mirrors are heated to
remove fog and frost. With the
ignition switch in the ON (II)
position, turn on the heaters by
pressing the button. The indicator in
the button comes on as a reminder.
Press the button again to turn the
heaters off. Pressing this button also
turns the rear window defogger on
and off. To
apply the parking brake, pull the
lever up fully. To release it, pull up
slightly, push the button, and lower
the lever. The parking brake
indicator on the instrument panel
should go out when the parking
brake is f ully released (see page ). 58
Mirrors, Parking Brake
Heated Mirrors Parking Brake
94
HEATED MIRROR BUTTONPARKING BRAKE LEVER
Driving the vehicle with the parking
brake applied can damage the rear
brakes and axles. A beeper will sound
if the vehicle is driven with the parking
brake on.