Page 116 of 311
CONT INUED
Audio System (Models without navigation system)
Playing the Radio(A type) (B type)
Features
113
TUNE/SOUND KNOB AUTO SELECT BUTTON
AM/FM BUTTON
AM
BUTTON FM
BUTTON
SCAN
BUTTON
AUTO SELECT BUTTON
PWR/VOL KNOB TUNE/SOUND KNOB
PWR/VOL KNOB
SCAN
BUTTON U.S. EX and Si models without navigation system
U.S. LX, and all Canadian models
SEEK BUTTON SEEK BUTTON
PRESET BUTTONS PRESET BUTTONS
Page 117 of 311
�µ
�µ
�µ�µ
�µ
If you do nothing, the system will
then scan f or the next strong station
and play it f or 10 seconds. When it
plays a station you want to listen to,
press the SCAN button again.
Use the TUNE knob to
tune the radio to a desired f requency.
Turn the knob right to tune to a
higher f requency, or lef t to tune to a
lower f requency.
The scan f unction samples
all stations with strong signals on the
selected band. To activate it, press
the SCAN button, then release it.
You will see SCAN in the display.
The system will scan f or a station
with a strong signal. When it f inds
one, it will stop and play that station
f or about 10 seconds. The SEEK f unction
searches up and down from the
current f requency to f ind a station
with a strong signal. To activate it,
press the or side of the
SEEK button, then release it. Each side of the buttons
(1 through 6) can store one
f requency on AM, and two
f requencies on FM.
Repeat steps 1 through 3 to store a
total of six stations on AM and
twelve stations on FM. Pick a preset number (1 6), and
hold it until you hear a beep. Usethetune,seek,orscan
function to tune the radio to a
desired station. Select the desired band, AM or
FM. FM1 and FM2 let you store
twelve stations.
The ignition switch must be in the
ACCESSORY (I) or ON (II) position.
Turn the system on by pushing the
power/volume knob or the AM or
FM button (the AM/FM button on
models with XM radio available).
Adjust the volume by turning the
power/volume knob.
The band and f requency that the
radio was last tuned to is displayed.
To change bands, press the AM/FM
button (AM or FM button). On the
FM band, ST will be displayed if the
stationisbroadcastinginstereo.
Stereo reproduction in AM is not
available.
You can use any of f ive methods to
f ind radio stations on the selected
band: tune, seek, scan, the preset
buttons, and auto select.
1.
2.
3.
4.
TUNE
SCAN SEEK
Preset
To Select a Station
Audio System (Models without navigation system)
114
Page 118 of 311
�µ
To turn of f auto select,pressthe
A. SEL (auto select) button. This
restores the presets you originally
set. Press the SOUND (TUNE) knob
repeatedly to display the bass (BAS),
treble (TRE), fader (FAD), balance
(BAL), and speed-sensitive volume
compensation (SVC) settings.
Eachmodeisshowninthedisplayas
it changes. Turn the SOUND
(TUNE) knob to adjust the setting to
your liking. When the level reaches
the center, you will see ‘‘ ’’ in
the display. The system will
automatically return the display to
the selected audio mode about 5
seconds af ter you stop adjusting a
mode.
If you are
traveling far from home and can no
longer receive your preset stations,
you can use the auto select feature to
find stations in the local area.
Press the A. SEL button. ‘‘A.SEL’’
f lashes in the display, and the system
goes into scan mode f or several
seconds. It stores the f requencies of
six AM, and twelve FM stations in
the preset buttons. You will see a ‘‘0’’ displayed af ter
pressing a preset button if auto
select cannot f ind a strong station f or
every preset button.
If you do not like the stations auto
select has stored, you can store
other f requencies on the preset
buttons as previously described.
CONT INUED
Adjusting the Sound
AUTO SELECT
Audio System (Models without navigation system)
Features
115
Page 120 of 311
Your audio system is capable of
receiving XM
Satellite Radio
anywhere in the United States,
except Hawaii and Alaska.
XM
is a registered trademark of
XM Satellite Radio, Inc.
XM radio receives signals f rom two
satellites to produce clear, high-
quality digital reception. It of f ers
many channels in several categories.
Along with a large selection of
dif f erent types of music, XM radio
allows you to view channel and
category selections in the display. Playing the XM
Satellite Radio
Audio System (Models without navigation system)
Opt ional on U.S. EX and Si models
Features
117
DISPLAY BUTTON
POWER/VOLUME KNOB
XM RADIO BUTTON
SCAN BUTTON
PRESET BUTTONS TUNE KNOB
Page 122 of 311
�µ�µ �µ
�µ
�µ
�µ
The scan f unction gives
you a sampling of all channels while
in the channel mode. In the category
mode, only the channels within that
category are scanned. To activate
scan, press the SCAN button. The
system plays each channel in
numerical order f or a f ew seconds,
then selects the next channel. When
you hear a channel you want to
continue listening to, press the
button again.
Youcanstoreupto12
preset channels using each side of
the preset button. Each side of the
button stores one channel f rom the
XM1 band and one channel f rom the
XM2 band.
To store a channel:
Press the XM button. Either XM1
or XM2 will show in the display. Usethetune,seek,orscan
function to tune to a desired
channel.
In category mode, only channels
within that category can be selected.
In channel mode, all channels can be
selected. XM is loading the
audio or program inf ormation.
The channel
currently selected is no longer
broadcasting.
The encryption
code is being updated. Wait until the
encryption code is f ully updated.
Channels 0 and 1 should still work
normally.
The signal is
currently too weak. Move the vehicle
to an area away from tall buildings,
and with an unobstructed view of the
southern horizon.
Pick a preset number you want f or
that channel. Press and hold the
button until you hear a beep.
Repeat steps 2 and 3 to store the
f irst six channels.
Press the XM button again. Store
the next six channels using steps 2
and 3.
Once a channel is stored, press and
release the proper side of the preset
button to tune to it.
1. 2.
3.
4.
5.
CONT INUED
SCAN
Preset
XM Radio Display Messages
‘‘L OA DING’’
‘‘OFF A IR’’
‘‘UPDA T ING’’
‘‘NO SIGNA L ’’
Audio System (Models without navigation system)
Features
119
Page 130 of 311
�µ�´
�µ�´
If
you turn the system off while a
disc is playing, either with the
power/volume knob or by turning
off the ignition switch, the disc will
stay in the drive. When you turn the
system back on, the disc will begin
playing where it left off.
Load the desired discs in the
magazine, and load the magazine in
the changer according to the
instructions that came with the unit.
To select the disc changer, press the
CD button. The disc and track
numbers will be displayed. To select
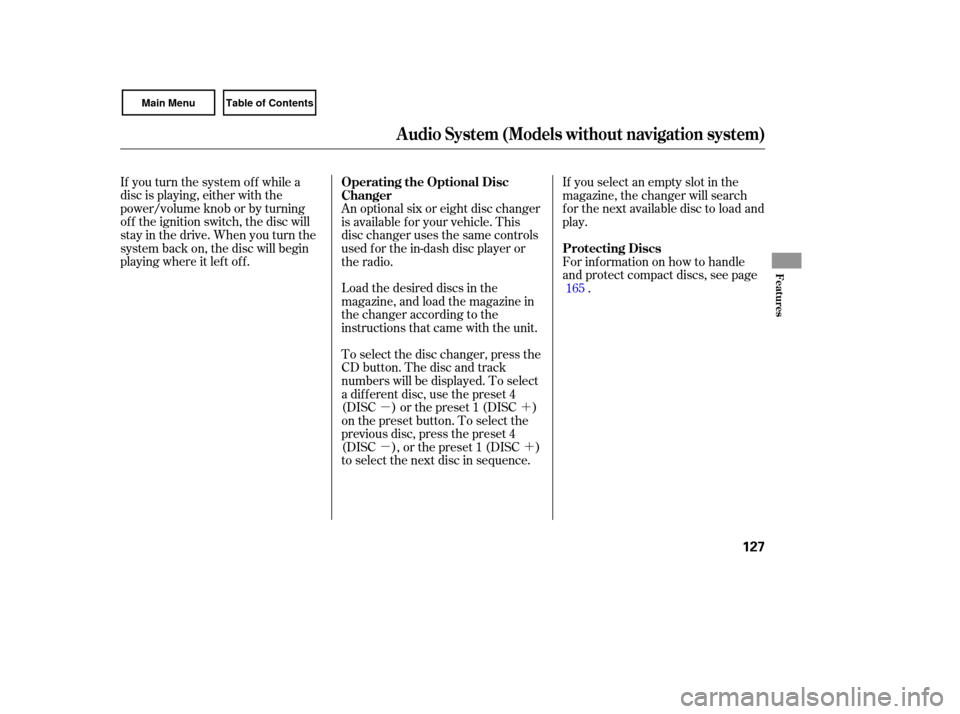
a different disc, use the preset 4
(DISC ) or the preset 1 (DISC )
on the preset button. To select the
previous disc, press the preset 4
(DISC ), or the preset 1 (DISC )
to select the next disc in sequence. If
you select an empty slot in the
magazine, the changer will search
for the next available disc to load and
play.
An
optional six or eight disc changer
is available for your vehicle. This
disc changer uses the same controls
used f or the in-dash disc player or
the radio. For inf ormation on how to handle
and protect compact discs, see page .
165
Operating the Optional Disc
Changer
Protecting Discs
Audio System (Models without navigation system)
Features
127
Page 133 of 311
In addition to the standard audio
controls, the audio system in your
vehicle can be operated using the
voice control system. See the
navigation section in your quick start
guide f or an overview of this system,
and the navigation system manual
f or complete details.
Audio System (Models with navigation system)
Playing the AM/FM Radio
Voice Control System Ctype
130
TUNE BAR AUTO SELECT
ICON
BACKGROUND
ICON
SOUND ICON
AM/FM
BUTTON
AUDIO
BUTTON
SCAN
BUTTON
PRESET BUTTONS
FM2 ICON
AM ICON
FM1 ICON
Page 134 of 311
�µ�Û�Ý
�Û
�Ý
The
ignition switch must be in the
ACCESSORY (I) or ON (II) position.
Turn the system on by pushing the
power/volume knob or the AM/FM
button. Adjust the volume by turning
the power/volume knob.
Pushing the AUDIO button will also
turn on the system.
You can also operate the audio
system without using the control
icons on the audio screen. Use the
control buttons on the left side of the
screen. The status bar appears on
the bottom of the screen each time
you operate any of the control
buttons. On the navigation screen,
you can also see audio information
by touching the AUDIO INFO icon
on the lower of the screen. The
band and frequency that the
radio was last tuned to are displayed.
To change bands, press the AM/FM
button, or touch the desired band
icon (FM1, FM2, AM, XM1, or XM2).
On the FM band, STEREO will be
displayed if the station is
broadcasting in stereo. Stereo
reproduction on AM is not available.
For inf ormation on XM radio, see
page . You can use any of f ive methods to
f ind radio stations on the selected
band: tune, seek, scan, the preset
buttons, and auto select.
Use the TUNE bar to tune
the radio to a desired f requency.
Press the side of the bar to tune
to a higher f requency, and press the side to tune to a lower
f requency.
Press and hold the or side of
the TUNE bar until you hear two
beeps to change the f requency
rapidly. Release the bar when the
display reaches the desired
f requency.
134
CONT INUED
Audio System (Models with navigation system)
T o Play the A M/FM Radio
T o Select a Station
TUNE
Features
131