2007 FORD SUPER DUTY light
[x] Cancel search: lightPage 1 of 28
Lights
2
Driver Controls
3
Safety Restraints
17
Driving
18
Tires, Wheels and Loading
21
Roadside emergencies
28
All rights reserved. Reproduction by any means, electronic or mechanical
including photocopying, recording or by any information storage and retrieval
system or translation in whole or part is not permitted without written
authorization from Ford Motor Company. Ford may change the contents without
notice and without incurring obligation.
Copyright 2006 Ford Motor Company
Table of Contents
1
Page 2 of 28
BLACKOUT LIGHTING (IF EQUIPPED)
If your vehicle is equipped with blackout lighting it will turn off all
interior and exterior lighting, regardless of ignition position or if any
doors are open.
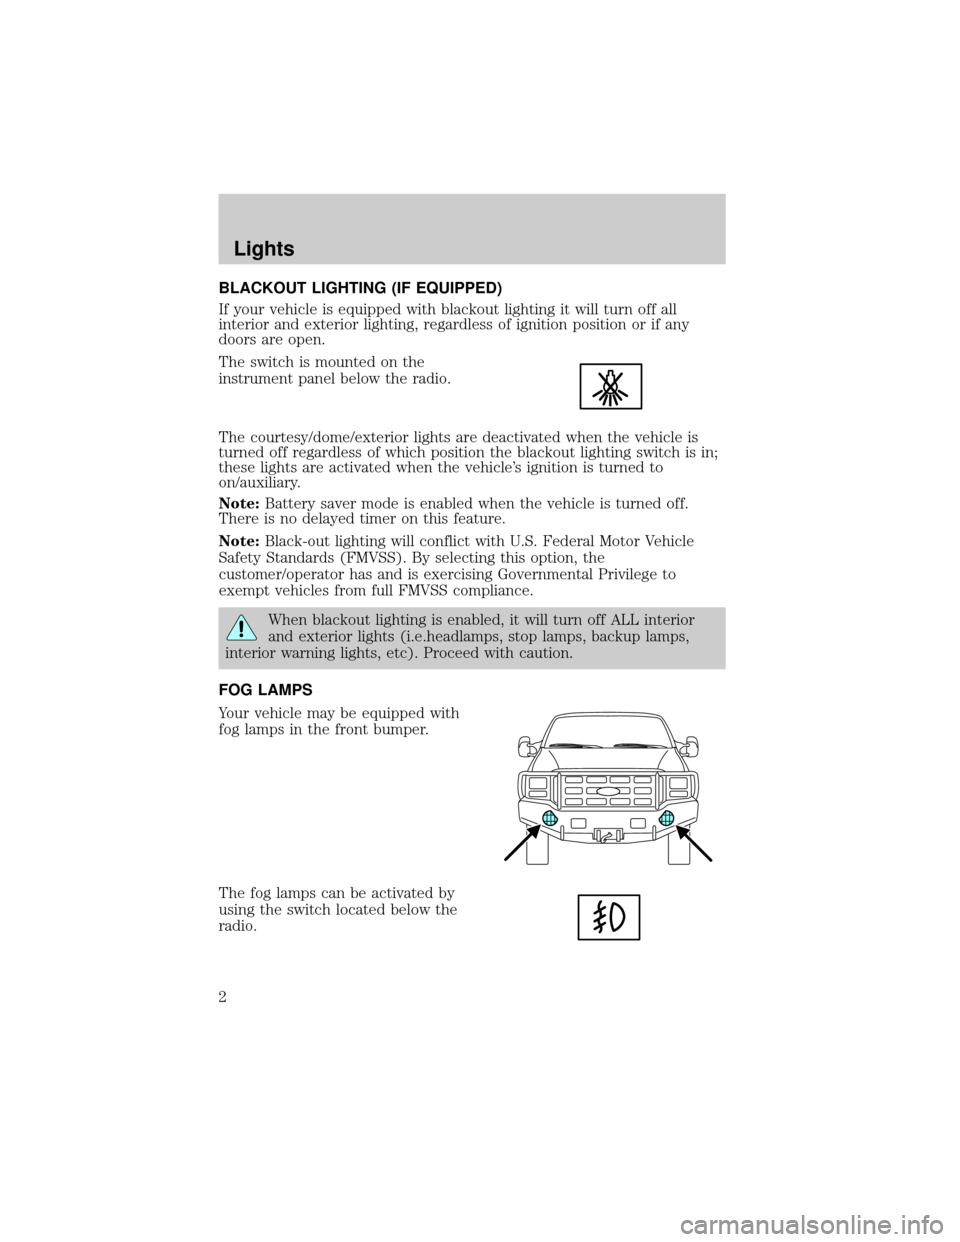
The switch is mounted on the
instrument panel below the radio.
The courtesy/dome/exterior lights are deactivated when the vehicle is
turned off regardless of which position the blackout lighting switch is in;
these lights are activated when the vehicle's ignition is turned to
on/auxiliary.
Note:Battery saver mode is enabled when the vehicle is turned off.
There is no delayed timer on this feature.
Note:Black-out lighting will conflict with U.S. Federal Motor Vehicle
Safety Standards (FMVSS). By selecting this option, the
customer/operator has and is exercising Governmental Privilege to
exempt vehicles from full FMVSS compliance.
When blackout lighting is enabled, it will turn off ALL interior
and exterior lights (i.e.headlamps, stop lamps, backup lamps,
interior warning lights, etc). Proceed with caution.
FOG LAMPS
Your vehicle may be equipped with
fog lamps in the front bumper.
The fog lamps can be activated by
using the switch located below the
radio.
Lights
2
Page 7 of 28

Winch operation
Before you pull
Make sure the new rope is stretched before its first use. Unspool the
wire rope, leaving five wraps on the drum. Apply at least 500 lbs. (227
kg) of tension. This can be done by setting up an anchor point and
pulling your vehicle to it at a slightly inclined, flat surface and letting the
vehicle roll.
Before you use your winch, remember these key points:
1. Think safety at all times.
2. Always take your time to assess your situation and plan your pull
carefully.
3. Always take your time when using the winch.
4. Use the right equipment for your situation.
5. Always wear leather gloves and do not allow the wire rope to slide
through your hands.
6. You and only you should handle the wire rope and operate the remote
control switch.
7. Practice. Practice and practice the steps.
Choosing an anchor point
A secure anchor is critical to winching operations. The anchor must be
strong enough to hold while winching. Natural anchors include trees,
stumps and rocks. Hook the rope as low as possible. If no natural
anchors are available, when recovering another vehicle, your vehicle
becomes the anchor point. In this case, be sure to put the transmission
in neutral, apply the parking brake and block the wheels to prevent it
from moving.
The anchor point should allow you to pull straight in the direction the
vehicle will move. This allows the rope to wind tightly and evenly on the
winch drum. An anchor point as far away as possible will provide the
winch with its greatest pulling power.
Winching hand signals
In some situations, recovery could involve two people. While one person
drives, the other person provides navigation assistance and ensures the
rope is winding properly. Understanding the right hand signals help
provide clear understanding between the driver and the navigator. Also,
if the driver controlling the winch can not see both hands of the
navigator, the winch should not be activated. The following are some
suggested hand signals to review:
Driver Controls
7
Page 11 of 28
9. Slowly wind the wire rope until no slack remains by using the winch
switch. Once the wire rope is under tension, stand clear and never step
over it.
10. Check the anchor point. Make sure all connections are secured and
free of debris before continuing with the winching procedure.
Never use the winch as a hoist. Never use the winch's wire rope
to tow another vehicle.
11. Check the wire rope. It should be neatly wound around the drum.
Improper winding can cause damage to the wire rope.
12. Lay something over the wire rope to absorb energy should the rope
snap. Tree limbs, heavy jackets, chain and the like may be used for this
purpose.
Note:Always avoid continuous side pulls which can pile up wire rope at
one end of the drum. This pile can damage the wire rope or the winch.
13. Make sure everyone in the immediate area is aware of the winching
operation. Tell them where they shouldn't stand; never behind or in front
of the vehicle and never near the wire rope.
14. With the vehicle's engine on and light tension on the wire rope, begin
winching slowly and steadily. Be sure the wire rope is winding evenly
and tightly around the drum. For assistance, the winched vehicle can be
slowly driven while being pulled by the winch.
Note:Avoid overheating of the winch motor. For extended winching,
stop at reasonable intervals to allow the winch motor to cool down.
What to look for under load
The wire rope must always spool onto the drum as indicated by the
drum rotation decal on the winch. As you power in, make sure the rope
winds evenly and tightly on the drum. This prevents the outer wrap from
drawing into the inner wraps, binding and damaging the rope. Avoid
shock loads by using the control switch intermittently to take up wire
rope slack. During side pulls, the wire rope tends to stack up at one end
of the drum. This stack can become large enough to cause serious
damage to the winch. Line up pulls as straight as possible and stop
winching if the wire rope comes close to the tie rods or mounting plate.
Note:To fix an uneven stack, spool out that section of the rope and
reposition it to the opposite end of the drum; this will free up space for
continued winching.
15. For vehicle recovery, continue pulling until the vehicle is on stable
ground. If the vehicle is able to be driven, the winching operation is
complete.
Driver Controls
11
Page 12 of 28
16. Once recovery of the vehicle is complete, be sure to secure the
vehicle's brakes and put the transmission in P (Park) (automatic
transmission) or 1 (First) (manual transmission). Release tension in the
wire rope.
17. Disconnect the wire rope from the anchor.
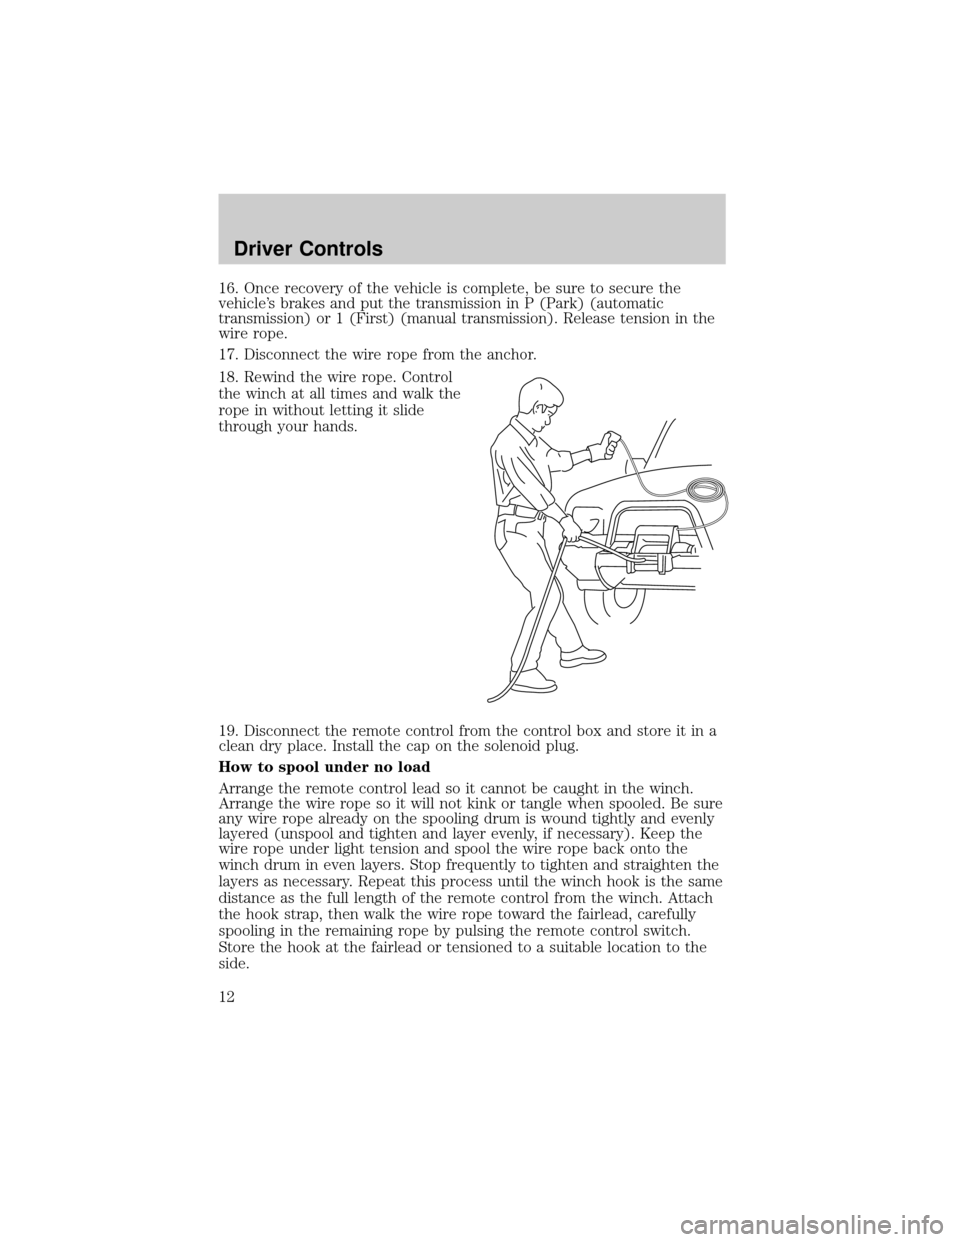
18. Rewind the wire rope. Control
the winch at all times and walk the
rope in without letting it slide
through your hands.
19. Disconnect the remote control from the control box and store it in a
clean dry place. Install the cap on the solenoid plug.
How to spool under no load
Arrange the remote control lead so it cannot be caught in the winch.
Arrange the wire rope so it will not kink or tangle when spooled. Be sure
any wire rope already on the spooling drum is wound tightly and evenly
layered (unspool and tighten and layer evenly, if necessary). Keep the
wire rope under light tension and spool the wire rope back onto the
winch drum in even layers. Stop frequently to tighten and straighten the
layers as necessary. Repeat this process until the winch hook is the same
distance as the full length of the remote control from the winch. Attach
the hook strap, then walk the wire rope toward the fairlead, carefully
spooling in the remaining rope by pulsing the remote control switch.
Store the hook at the fairlead or tensioned to a suitable location to the
side.
Driver Controls
12
Page 15 of 28

Secure the winch hook. While keeping the line near the ground, insert
the winch hook through the clevis/D-shackle. Check the anchor. Make
sure all connections are secured and free of debris before continuing
with the winching procedure.
Maintenance
²Inspect the wire rope before and after each winching operation. If the
wire rope has become kinked or frayed, it needs to be replaced. Be
sure to also inspect the winch hook and hook pin for signs of wear or
damage. Replace as necessary.
²Keep winch, wire rope and switch control free from contaminants. Use
a clean rag or towel to remove any dirt and debris. If necessary,
unwind the winch completely (leaving a minimum of five wraps of
rope on the drum) and wipe it clean before rewinding it. Using a light
oil on the rope and winch hook can keep rust and corrosion from
forming.
²Operating the winch for an extended period of time places an
additional load on your vehicle battery. Be sure to check and maintain
your battery and battery cables according to manufacturer guidelines.
Also, inspect the switch control and all electrical connections to be
certain they are clean and tight fitting.
²Inspect the remote control, if so equipped, for damage. Be sure to cap
the remote socket to prevent dirt and debris from entering the
connections. Store the remote control in a dry, protected area.
²No lubrication is required for the life of the winch.
Driver Controls
15
Page 18 of 28
ANTI-LOCK BRAKE SYSTEM (ABS) DEACTIVATION IN 4WD
(IF EQUIPPED)
Refer to the label on the back of the sun visor mirror regarding Anti-lock
Brake System (ABS) operation.
Your vehicle may be equipped with a feature that deactivates the
Anti-lock Brake System (ABS) when 4WD Low is engaged. The ABS
indicator (
ABS) illuminates, to indicate that ABS is deactivated, and
stays on as long as 4WD Low is engaged.
When 4WD Low is disengaged, the ABS light turns off and the system is
active again.
SUSPENSION UPGRADE PACKAGE
Your vehicle is equipped with a special suspension package that will
enhance the vehicle's off-road performance. The vehicle will handle
differently, both on and off-road, from a factory-equipped passenger car
or truck.
Vehicles with a higher center of gravity such as utility and
four-wheel drive vehicles handle differently than vehicles with a
lower center of gravity. Utility and four-wheel drive vehicles are not
designed for cornering at speeds as high as passenger cars any more
than low-slung sports cars are designed to perform satisfactorily under
off-road conditions. Avoid sharp turns, excessive speed and abrupt
maneuvers in these vehicles. Failure to drive cautiously could result in
an increased risk of loss of vehicle control, vehicle rollover, personal
injury and death.
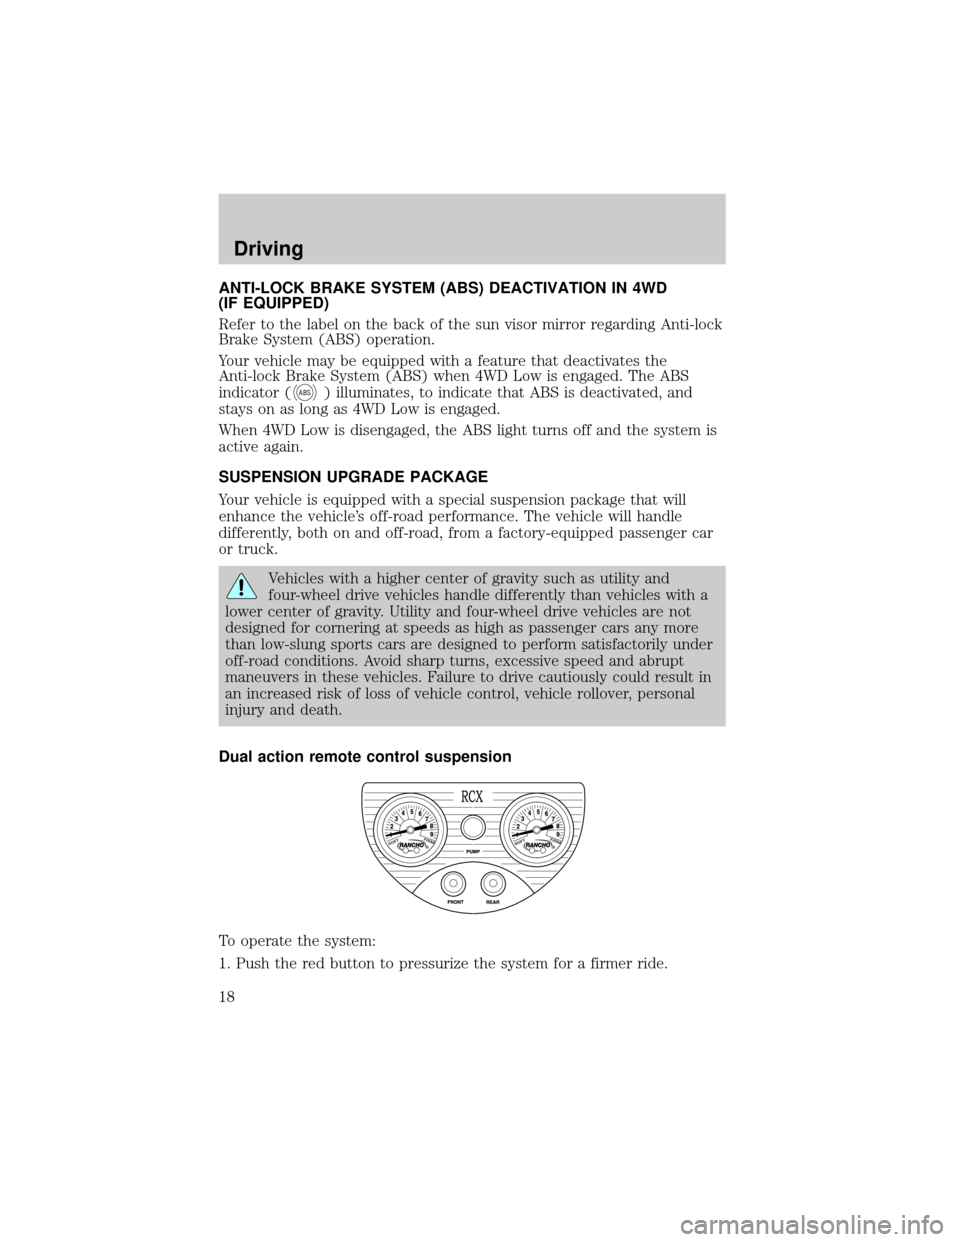
Dual action remote control suspension
To operate the system:
1. Push the red button to pressurize the system for a firmer ride.
Driving
18
Page 19 of 28
2. Push the black buttons on the bleed valves for a softer ride. Separate
bleed valves allow independent adjustment of front and rear shocks.
Note:Do not operate the compressor for more than 30 seconds at a
time. Allow the compressor to cool down for one minute between
operations.
Note:Stop compressor operation when the arrow on the gauge reaches
maximum. Continuing to supply pressure will not make the shocks any
firmer and damage to the system will occur.
The following table is an example of typical settings for the suspension.
Setting Front Rear
High-speed firm ride 8 6
Slow-speed soft ride 2 2
Towing 5 8
LOCKING REAR DIFFERENTIAL
General information
Your vehicle may be equipped with a locking rear differential; vehicles
equipped with this differential should be identified by a ªCautionº label
mounted on the instrument panel. Vehicle handling characteristcs will be
different than a conventional differential. Examples of this would be:
²When turning a corner, the sound of component disengagement and
re-engagement may be audible, and the transfer of driving torque from
both wheels to one wheel may be noticeable.
²When going from drive (acceleration) to coast (deceleration) in a
turn, a ªmetallicº sound may be heard as torque flow is reversed
(inside wheel engaged during acceleration; outside wheel engaged
during deceleration).
²When negotiating a turn (outside wheel disengaged), the inside wheel
under conditions of poor traction may receive excessive torque, which
could cause it to break traction momentarily until its speed is equal to
the outside wheel. This will result in re-engagement of the outside
wheel thus allowing both wheels to be driven. This condition is most
noticeable with lightly loaded axles.
Driving
19