Page 65 of 312
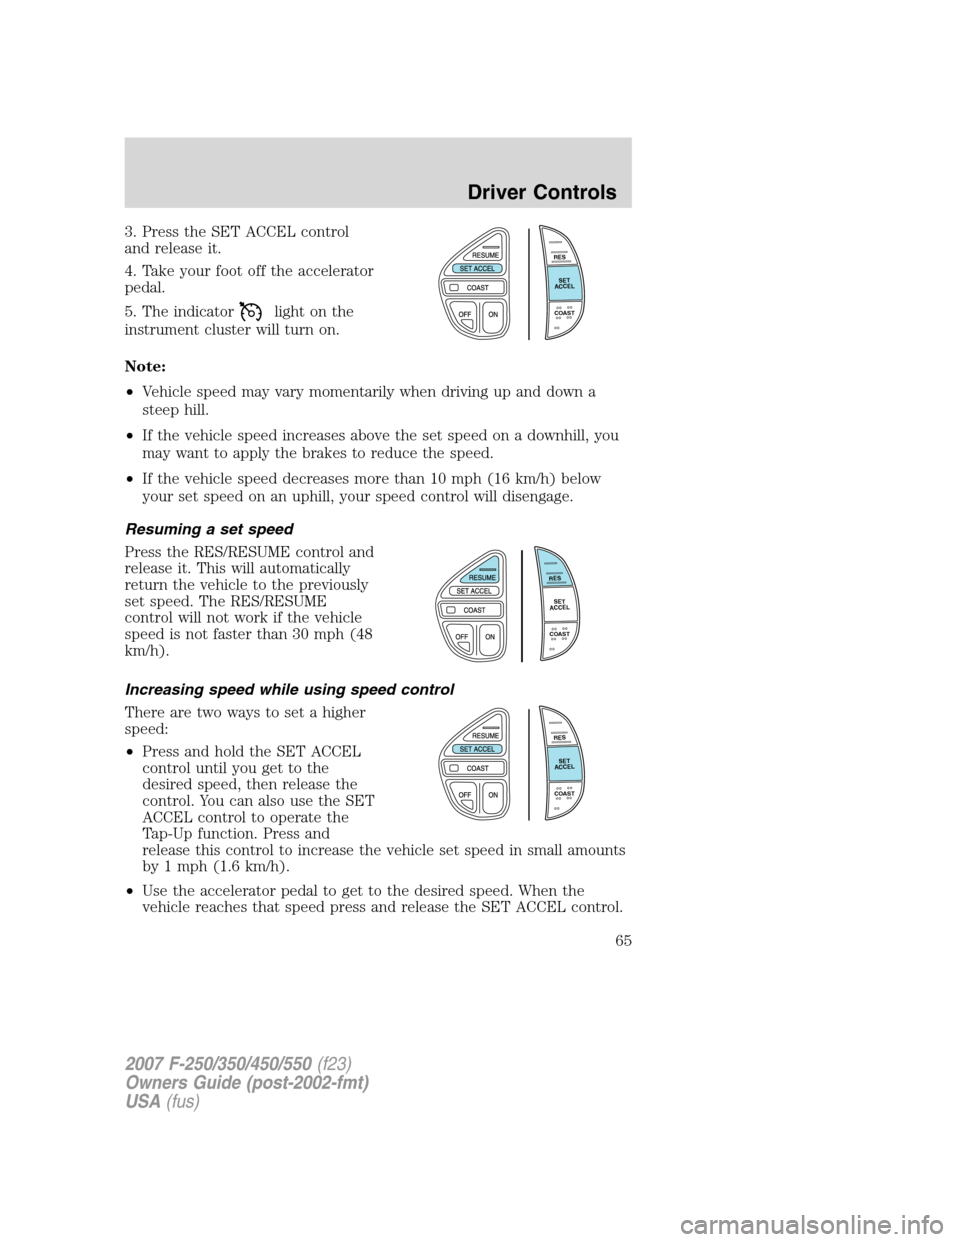
3. Press the SET ACCEL control
and release it.
4. Take your foot off the accelerator
pedal.
5. The indicator
light on the
instrument cluster will turn on.
Note:
•Vehicle speed may vary momentarily when driving up and down a
steep hill.
•If the vehicle speed increases above the set speed on a downhill, you
may want to apply the brakes to reduce the speed.
•If the vehicle speed decreases more than 10 mph (16 km/h) below
your set speed on an uphill, your speed control will disengage.
Resuming a set speed
Press the RES/RESUME control and
release it. This will automatically
return the vehicle to the previously
set speed. The RES/RESUME
control will not work if the vehicle
speed is not faster than 30 mph (48
km/h).
Increasing speed while using speed control
There are two ways to set a higher
speed:
•Press and hold the SET ACCEL
control until you get to the
desired speed, then release the
control. You can also use the SET
ACCEL control to operate the
Tap-Up function. Press and
release this control to increase the vehicle set speed in small amounts
by 1 mph (1.6 km/h).
•Use the accelerator pedal to get to the desired speed. When the
vehicle reaches that speed press and release the SET ACCEL control.
R
E
S
S
E
T
A
C
C
E
L
C
O
A
S
T
R
E
S
S
E
T
A
C
C
E
L
C
O
A
S
T
R
E
S
S
E
T
A
C
C
E
L
C
O
A
S
T
2007 F-250/350/450/550(f23)
Owners Guide (post-2002-fmt)
USA(fus)
Driver Controls
65
Page 66 of 312
Reducing speed while using speed control
There are two ways to reduce a set
speed:
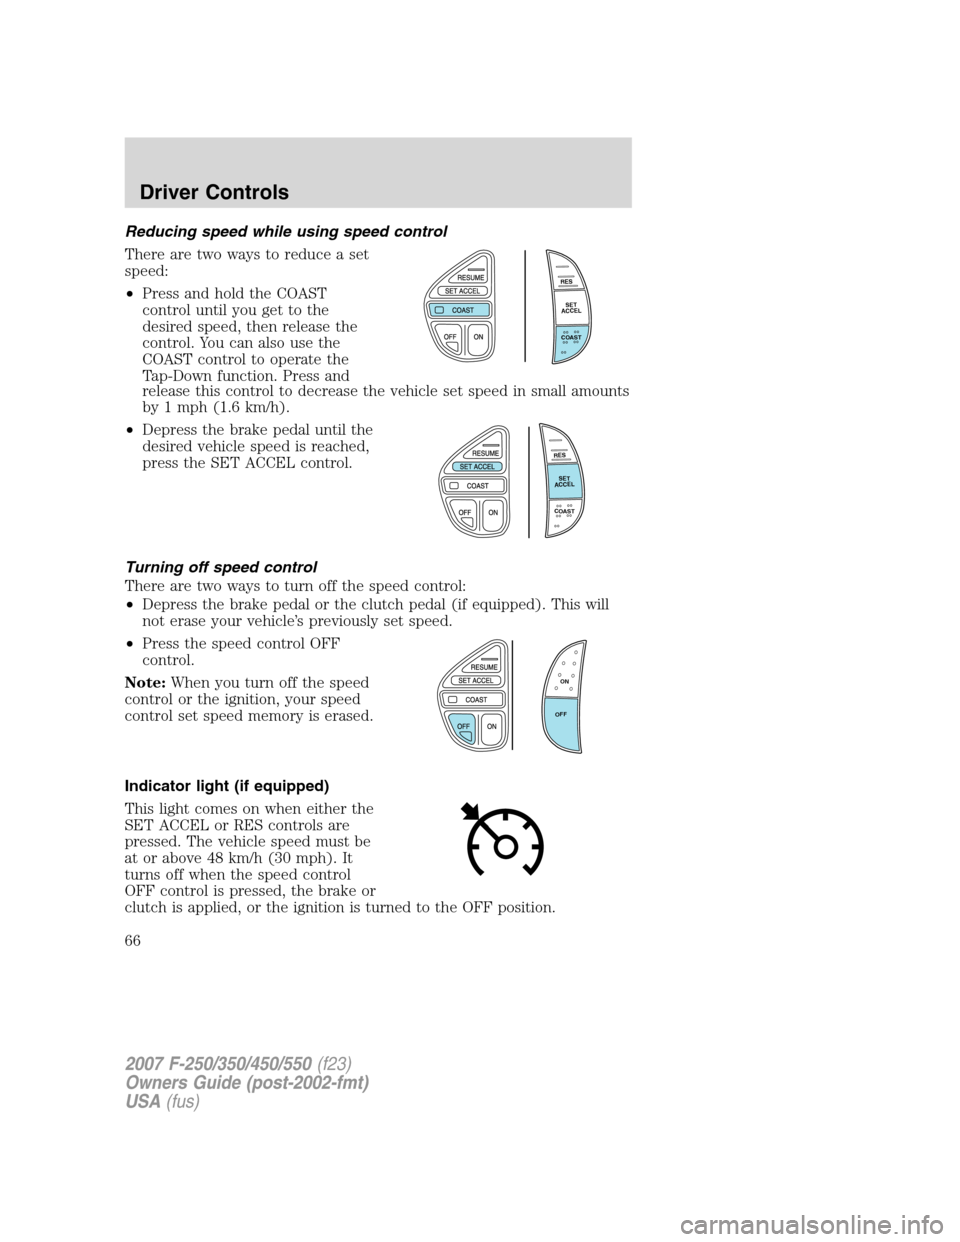
•Press and hold the COAST
control until you get to the
desired speed, then release the
control. You can also use the
COAST control to operate the
Tap-Down function. Press and
release this control to decrease the vehicle set speed in small amounts
by 1 mph (1.6 km/h).
•Depress the brake pedal until the
desired vehicle speed is reached,
press the SET ACCEL control.
Turning off speed control
There are two ways to turn off the speed control:
•Depress the brake pedal or the clutch pedal (if equipped). This will
not erase your vehicle’s previously set speed.
•Press the speed control OFF
control.
Note:When you turn off the speed
control or the ignition, your speed
control set speed memory is erased.
Indicator light (if equipped)
This light comes on when either the
SET ACCEL or RES controls are
pressed. The vehicle speed must be
at or above 48 km/h (30 mph). It
turns off when the speed control
OFF control is pressed, the brake or
clutch is applied, or the ignition is turned to the OFF position.
R
E
S
S
E
T
A
C
C
E
L
C
O
A
S
T
R
E
S
S
E
T
A
C
C
E
L
C
O
A
S
T
ON
OFF
2007 F-250/350/450/550(f23)
Owners Guide (post-2002-fmt)
USA(fus)
Driver Controls
66
Page 68 of 312
The relays and fuse in the glove box are coded as shown in the
accompanying illustration.
There will also be one power lead
for each switch found as a blunt-cut
and sealed wire located behind the
passenger compartment fuse panel.
They are coded as follows:
Switch Circuit number Wire color Fuse
AUX 1 1936 Orange with
Light Green
Trace30A
AUX 2 1933 Orange 30A
AUX 3 1934 Orange with
Yellow Trace10A
AUX 4 1935 Orange with
Light Blue Trace10A
More detailed information about the Upfitter switches can be found in
theElectrical Wiringsection of theFord Truck Body Builders Layout
Book, found at www.fleet.ford.com/truckbbas.
2007 F-250/350/450/550(f23)
Owners Guide (post-2002-fmt)
USA(fus)
Driver Controls
68
Page 71 of 312
Note:The following warning messages will reappear after an ignition
OFF-ON cycle has been completed.
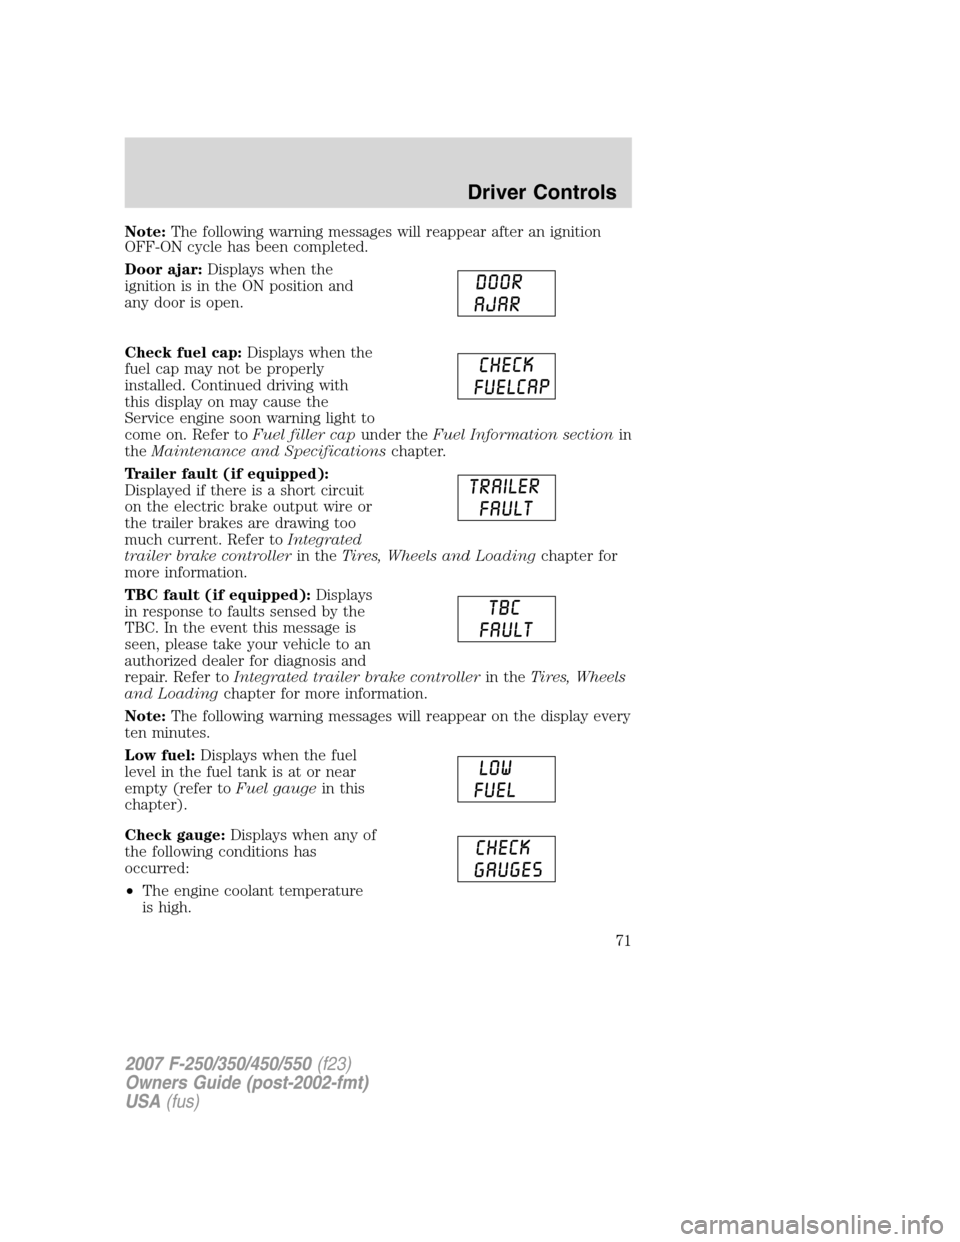
Door ajar:Displays when the
ignition is in the ON position and
any door is open.
Check fuel cap:Displays when the
fuel cap may not be properly
installed. Continued driving with
this display on may cause the
Service engine soon warning light to
come on. Refer toFuel filler capunder theFuel Information sectionin
theMaintenance and Specificationschapter.
Trailer fault (if equipped):
Displayed if there is a short circuit
on the electric brake output wire or
the trailer brakes are drawing too
much current. Refer toIntegrated
trailer brake controllerin theTires, Wheels and Loadingchapter for
more information.
TBC fault (if equipped):Displays
in response to faults sensed by the
TBC. In the event this message is
seen, please take your vehicle to an
authorized dealer for diagnosis and
repair. Refer toIntegrated trailer brake controllerin theTires, Wheels
and Loadingchapter for more information.
Note:The following warning messages will reappear on the display every
ten minutes.
Low fuel:Displays when the fuel
level in the fuel tank is at or near
empty (refer toFuel gaugein this
chapter).
Check gauge:Displays when any of
the following conditions has
occurred:
•The engine coolant temperature
is high.
2007 F-250/350/450/550(f23)
Owners Guide (post-2002-fmt)
USA(fus)
Driver Controls
71
Page 73 of 312
Selectable features
Reset
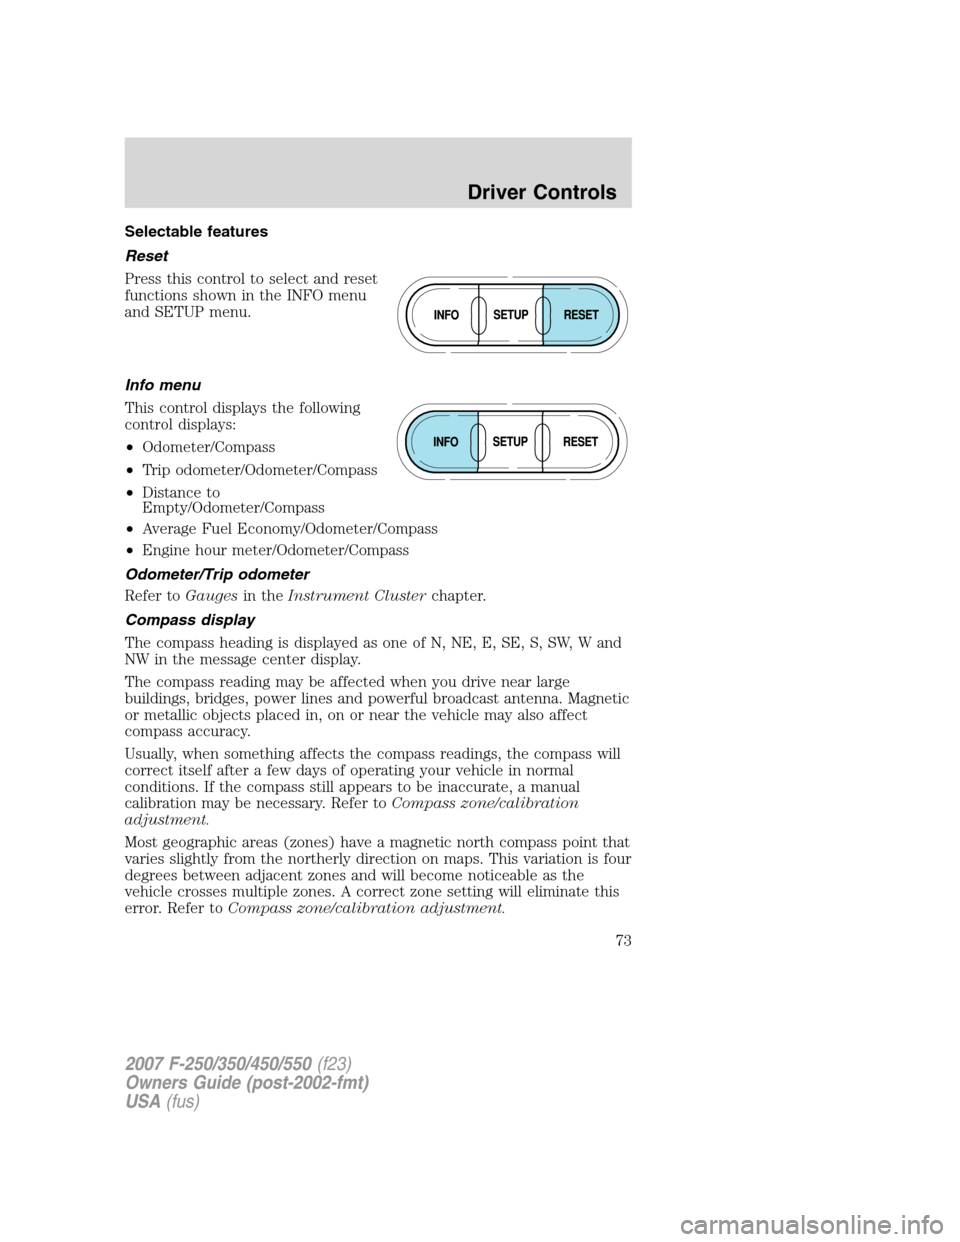
Press this control to select and reset
functions shown in the INFO menu
and SETUP menu.
Info menu
This control displays the following
control displays:
•Odometer/Compass
•Trip odometer/Odometer/Compass
•Distance to
Empty/Odometer/Compass
•Average Fuel Economy/Odometer/Compass
•Engine hour meter/Odometer/Compass
Odometer/Trip odometer
Refer toGaugesin theInstrument Clusterchapter.
Compass display
The compass heading is displayed as one of N, NE, E, SE, S, SW, W and
NW in the message center display.
The compass reading may be affected when you drive near large
buildings, bridges, power lines and powerful broadcast antenna. Magnetic
or metallic objects placed in, on or near the vehicle may also affect
compass accuracy.
Usually, when something affects the compass readings, the compass will
correct itself after a few days of operating your vehicle in normal
conditions. If the compass still appears to be inaccurate, a manual
calibration may be necessary. Refer toCompass zone/calibration
adjustment.
Most geographic areas (zones) have a magnetic north compass point that
varies slightly from the northerly direction on maps. This variation is four
degrees between adjacent zones and will become noticeable as the
vehicle crosses multiple zones. A correct zone setting will eliminate this
error. Refer toCompass zone/calibration adjustment.
2007 F-250/350/450/550(f23)
Owners Guide (post-2002-fmt)
USA(fus)
Driver Controls
73
Page 77 of 312
6. FUEL CAP (gasoline engine only)
7. AIR FILTER (diesel engine only)
8. FUEL LEVEL
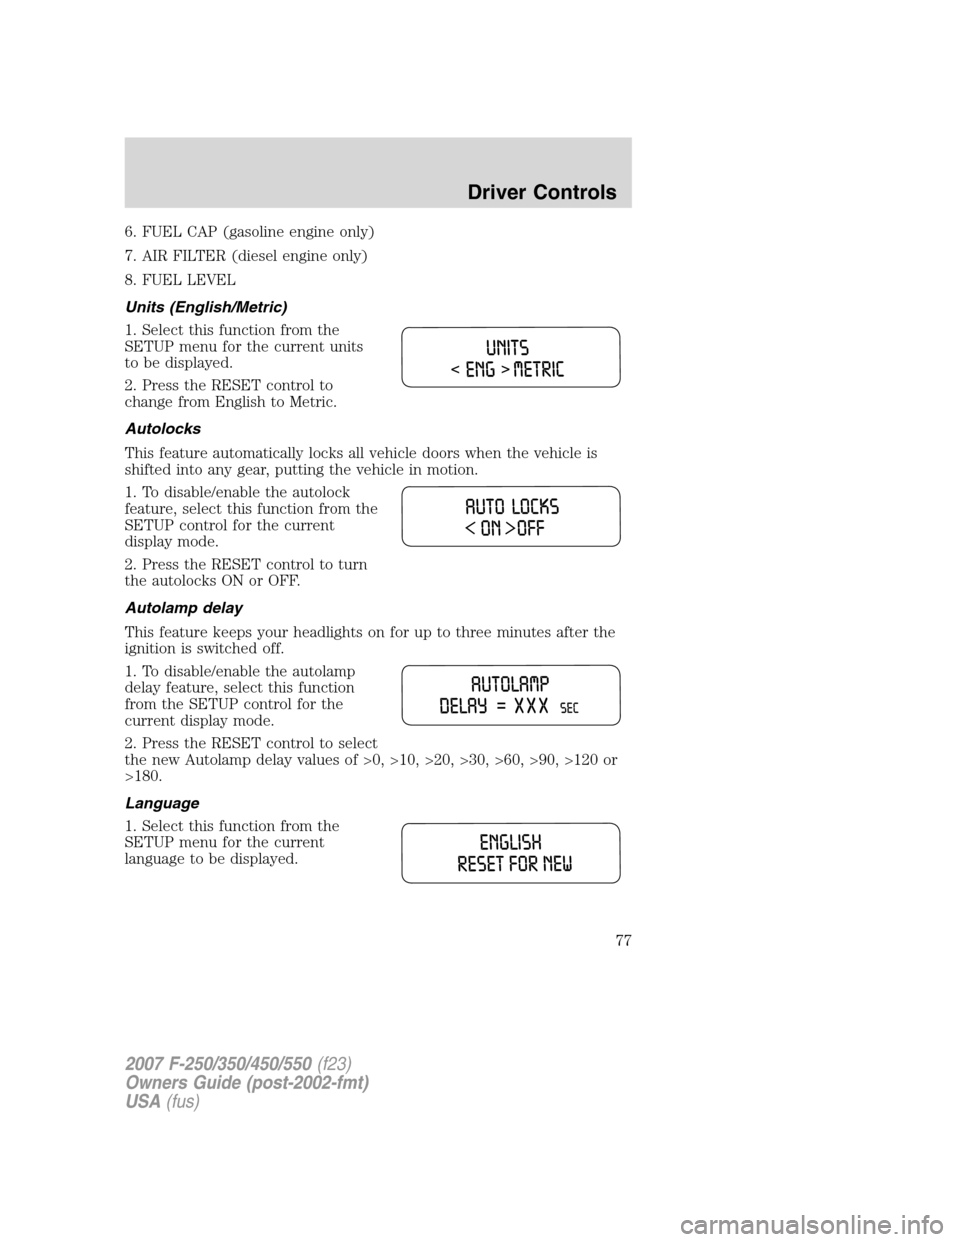
Units (English/Metric)
1. Select this function from the
SETUP menu for the current units
to be displayed.
2. Press the RESET control to
change from English to Metric.
Autolocks
This feature automatically locks all vehicle doors when the vehicle is
shifted into any gear, putting the vehicle in motion.
1. To disable/enable the autolock
feature, select this function from the
SETUP control for the current
display mode.
2. Press the RESET control to turn
the autolocks ON or OFF.
Autolamp delay
This feature keeps your headlights on for up to three minutes after the
ignition is switched off.
1. To disable/enable the autolamp
delay feature, select this function
from the SETUP control for the
current display mode.
2. Press the RESET control to select
the new Autolamp delay values of >0, >10, >20, >30, >60, >90, >120 or
>180.
Language
1. Select this function from the
SETUP menu for the current
language to be displayed.
2007 F-250/350/450/550(f23)
Owners Guide (post-2002-fmt)
USA(fus)
Driver Controls
77
Page 79 of 312
Warning display Status
Low fuel level Warning returns after 10 minutes
Low brake fluid level
Low oil pressure
Check engine temperature
Trailer disconnected
Water in fuel (diesel only)
Check air filter (diesel only)
Door ajar Warning returns after the ignition key
is turned from OFF to ON.
Check fuel cap
Engine failsafe mode
Check compass module
Trailer fault
TBC fault
DOOR AJAR.Displayed when a door is not completely closed.
CHECK ENGINE TEMPERATURE.Displayed when the engine
coolant is overheating. Stop the vehicle as soon as safely possible, turn
off the engine and let it cool. Check the coolant and coolant level. Refer
toEngine coolantin theMaintenance and Specificationschapter. If
the warning stays on or continues to come on, contact your authorized
dealer as soon as possible.
To reduce the risk of personal injury, make sure the engine is
cool before unscrewing the coolant pressure relief cap. The
cooling system is under pressure; steam and hot liquid can come out
forcefully when the cap is loosened slightly.
REDUCED ENGINE POWER.Displayed when the engine is
overheating. Stop the vehicle as soon as safely possible, turn off the
engine. If the warning stays on followed by an indicator chime or
continues to come on, contact your authorized dealer as soon as
possible.
STOP ENGINE SAFELY.Displayed when the engine is overheating.
Stop the vehicle as soon as safely possible, turn off the engine. If the
warning stays on followed by an indicator chime or continues to come
on, contact your authorized dealer as soon as possible.
LOW FUEL LEVEL.Displayed as an early reminder of a low fuel
condition.
2007 F-250/350/450/550(f23)
Owners Guide (post-2002-fmt)
USA(fus)
Driver Controls
79
Page 89 of 312
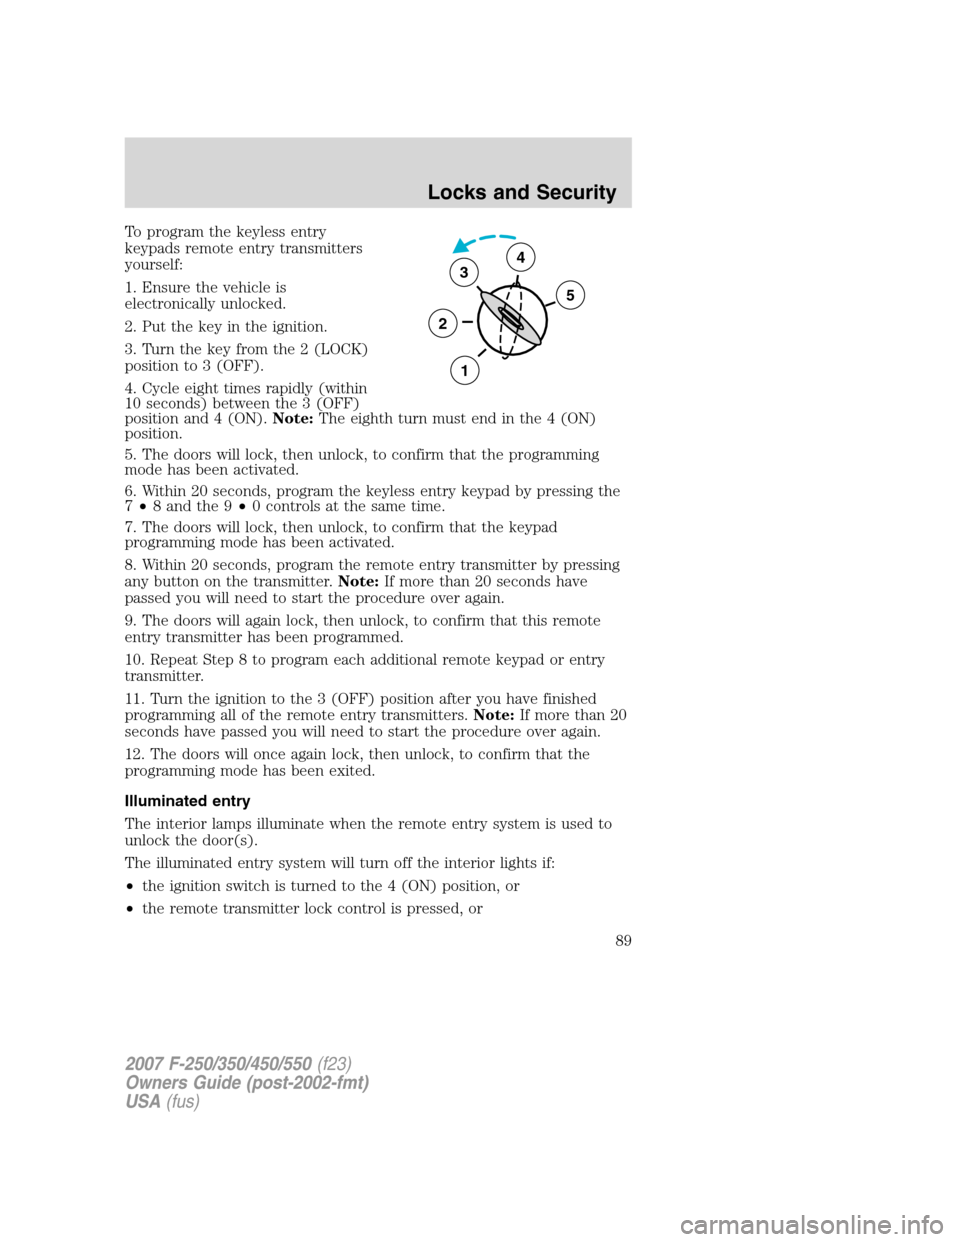
To program the keyless entry
keypads remote entry transmitters
yourself:
1. Ensure the vehicle is
electronically unlocked.
2. Put the key in the ignition.
3. Turn the key from the 2 (LOCK)
position to 3 (OFF).
4. Cycle eight times rapidly (within
10 seconds) between the 3 (OFF)
position and 4 (ON).Note:The eighth turn must end in the 4 (ON)
position.
5. The doors will lock, then unlock, to confirm that the programming
mode has been activated.
6. Within 20 seconds, program the keyless entry keypad by pressing the
7•8 and the 9•0 controls at the same time.
7. The doors will lock, then unlock, to confirm that the keypad
programming mode has been activated.
8. Within 20 seconds, program the remote entry transmitter by pressing
any button on the transmitter.Note:If more than 20 seconds have
passed you will need to start the procedure over again.
9. The doors will again lock, then unlock, to confirm that this remote
entry transmitter has been programmed.
10. Repeat Step 8 to program each additional remote keypad or entry
transmitter.
11. Turn the ignition to the 3 (OFF) position after you have finished
programming all of the remote entry transmitters.Note:If more than 20
seconds have passed you will need to start the procedure over again.
12. The doors will once again lock, then unlock, to confirm that the
programming mode has been exited.
Illuminated entry
The interior lamps illuminate when the remote entry system is used to
unlock the door(s).
The illuminated entry system will turn off the interior lights if:
•the ignition switch is turned to the 4 (ON) position, or
•the remote transmitter lock control is pressed, or
3
2
1
5
4
2007 F-250/350/450/550(f23)
Owners Guide (post-2002-fmt)
USA(fus)
Locks and Security
89