Page 1 of 312
Introduction 4
Instrument Cluster 10
Warning lights and chimes 10
Gauges 16
Entertainment Systems 19
AM/FM stereo 19
AM/FM stereo with CD 21
AM/FM stereo cassette with CD 24
AM/FM stereo with in-dash six CD 27
Climate Controls 35
Manual heating and air conditioning 35
Rear window defroster 44
Lights 45
Headlamps 45
Turn signal control 49
Bulb replacement 51
Driver Controls 56
Windshield wiper/washer control 56
Steering wheel adjustment 57
Power windows 67
Mirrors 69
Speed control 71
Message center 78
Locks and Security 95
Keys 95
Locks 95
Anti-theft system 109
Table of Contents
1
2007 Freestar(win)
Owners Guide (post-2002-fmt)
USA(fus)
Page 14 of 312
Speed control:Illuminates when
the speed control is engaged. Turns
off when the speed control system
is disengaged.
Low washer fluid:Illuminates when the windshield washer fluid is low.
•Without Message Center
•With Message Center
Door ajar:Illuminates when the ignition is in the ON position and any
door is open.
•Without Message Center
•With Message Center
Displays which door or the liftgate is
open.
Turn signal:Illuminates when the
left or right turn signal or the
hazard lights are turned on. If the
indicators stay on or flash faster, check for a burned out bulb.
2007 Freestar(win)
Owners Guide (post-2002-fmt)
USA(fus)
Instrument Cluster
14
Page 15 of 312
Bulb warning:Illuminates when one of the exterior front turn lamps or
rear brake/turn/tail lamps bulb has burned out.
•Without Message Center
•With Message Center
Displays which bulb is burned out.
Depress the RESET control to clear.
High beams:Illuminates when the
high beam headlamps are turned on.
Key-in-ignition warning chime:Sounds when the key is left in the
ignition in the OFF/LOCK or ACCESSORY position and the driver’s door
is opened.
Headlamps on warning chime:Sounds when the headlamps or parking
lamps are on, the ignition is off (the key is not in the ignition) and the
driver’s door is opened.
Turn signal warning chime:Sounds when the turn signal lever has
been activated to signal a turn and not turned off after the vehicle is
driven more than 2 miles (3.2 km).
2007 Freestar(win)
Owners Guide (post-2002-fmt)
USA(fus)
Instrument Cluster
15
Page 49 of 312

5. Locate the vertical adjuster on
each headlamp, then usea#2
Phillips screwdriver to turn the
adjuster either counterclockwise (to
adjust up) or clockwise (to adjust
down) positioning the horizontal
edge of the high intensity light on
the horizontal reference line.
6. HORIZONTAL AIM IS NOT
REQUIRED FOR THIS VEHICLE
AND IS NON-ADJUSTABLE.
7. Close the hood and turn off the lamps.
TURN SIGNAL CONTROL
•Push down to activate the left
turn signal.
•Push up to activate the right turn
signal.
The cornering lamps feature (if equipped) automatically illuminates the
left or right cornering lamps, located at the front corners of the vehicle,
when the left or right turn signal, is activated. Cornering lamps are to
provide better visibility of the area where the driver intends to turn.
INTERIOR LAMPS
The interior lights illuminate when:
•any door is opened (and the operation switch is in the middle
position).
•the instrument panel dimmer switch is moved to the passenger side
position (right position).
•any of the remote entry controls are pressed and the ignition is OFF
(and the operation switch is in the middle position).
2007 Freestar(win)
Owners Guide (post-2002-fmt)
USA(fus)
Lights
49
Page 53 of 312
2. Remove the two retainer pins to
release the headlamp assembly and
pull headlamp assembly forward to
expose the back of the bulb.
3. Disconnect the electrical
connector from the bulb by pulling
rearward and unlock the bulb by
rotating it counterclockwise.
Handle a halogen headlamp bulb carefully and keep out of
children’s reach. Grasp the bulb only by its plastic base and do
not touch the glass. The oil from your hand could cause the bulb to
break the next time the headlamps are operated.
Install the new bulb(s) in reverse order.
Replacing front parking/turn/sidemarker signal bulbs
1. Make sure the headlamp switch is in the OFF position and open the
hood.
2. Remove the two headlamp retaining pins to release the headlamp
assembly, then pull the headlamp assembly forward to expose the bulb
socket.
2007 Freestar(win)
Owners Guide (post-2002-fmt)
USA(fus)
Lights
53
Page 70 of 312
Heated outside mirrors(if equipped)
Both mirrors are heated
automatically to remove ice, mist
and fog when the rear window
defrost is activated.
Do not remove ice from the
mirrors with a scraper or
attempt to readjust the mirror
glass if it is frozen in place.
These actions could cause damage to the glass and mirrors.
Signal indicator mirrors (if equipped)
When the turn signal is activated,
the appropriate mirror will show a
blinking yellow arrow. When the
park lamps are on, the blinking
arrow will be dimmer.
The arrow provides an additional
warning to other drivers that your
vehicle is about to turn.
When the sliding door is open, the indicator in the appropriate mirror
will flash indicating people may be entering/exiting the vehicle.
Fold-away mirrors
Fold the side mirrors in carefully
when driving through a narrow
space, like an automatic car wash.
2007 Freestar(win)
Owners Guide (post-2002-fmt)
USA(fus)
Driver Controls
70
Page 75 of 312

When programming your HomeLink�Wireless Control System to
a garage door or gate, be sure that people and objects are out of
the way to prevent potential harm or damage.
Do not use the HomeLink�Wireless Control System with any garage
door opener that lacks safety stop and reverse features as required by
U.S. federal safety standards (this includes any garage door opener
model manufactured before April 1, 1982). A garage door which cannot
detect an object, signaling the door to stop and reverse, does not meet
current U.S. federal safety standards. For more information, contact
HomeLink�at:www.homelink.comor1–800–355–3515.
Retain the original transmitter for use in other vehicles as well as for
future programming procedures (i.e. new HomeLink�equipped vehicle
purchase). It is also suggested that upon the sale of the vehicle, the
programmed Homelink�buttons be erased for security purposes, refer to
Programmingin this section.
Programming
Do not program HomeLink�with the vehicle parked in the garage.
Note:Your vehicle may require the ignition switch to be turned to the
ACC position for programming and/or operation of the HomeLink�.Itis
also recommended that a new battery be placed in the hand-held
transmitter of the device being programmed to HomeLink�for quicker
training and accurate transmission of the radio-frequency signal.
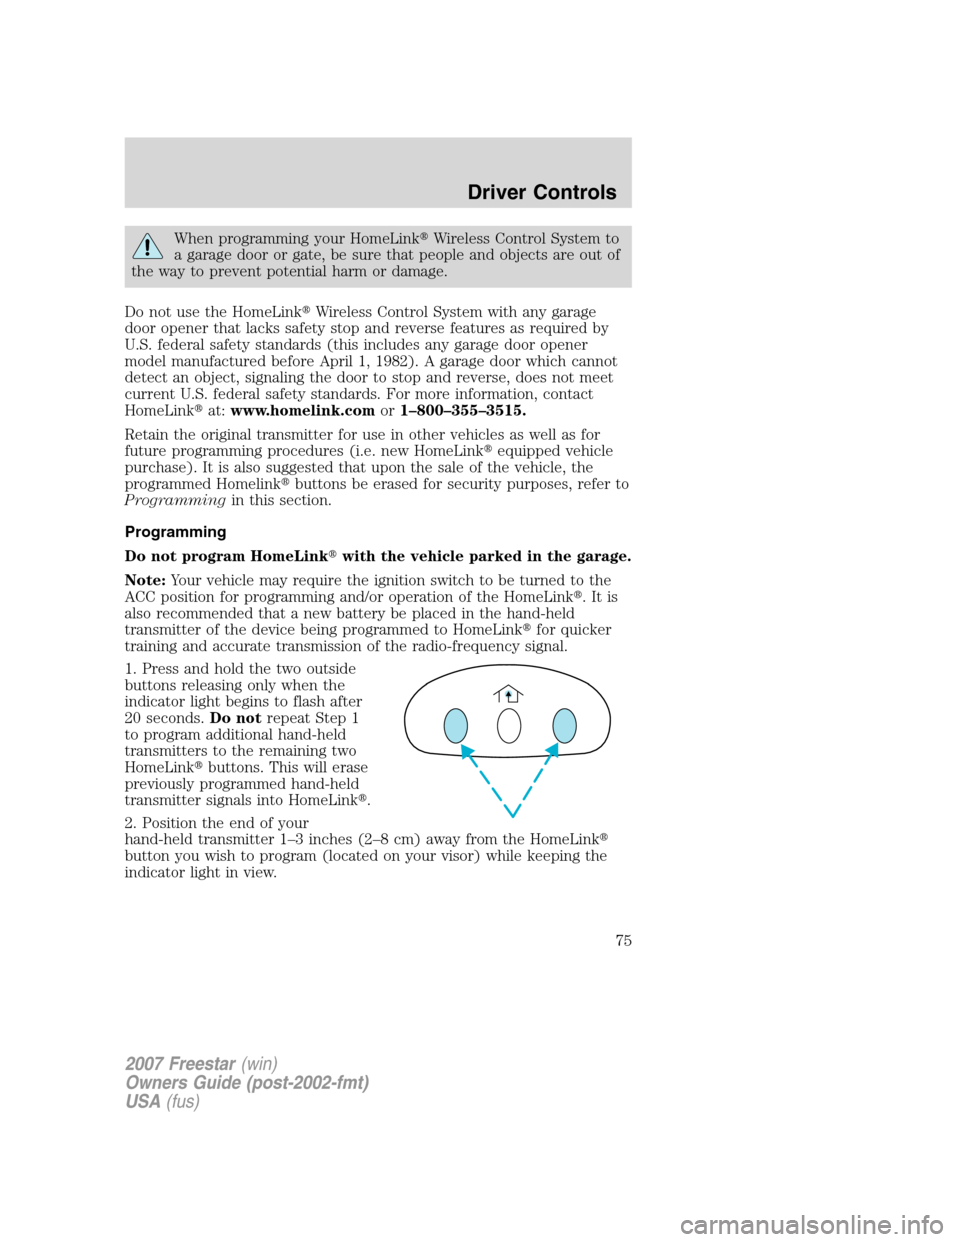
1. Press and hold the two outside
buttons releasing only when the
indicator light begins to flash after
20 seconds.Do notrepeat Step 1
to program additional hand-held
transmitters to the remaining two
HomeLink�buttons. This will erase
previously programmed hand-held
transmitter signals into HomeLink�.
2. Position the end of your
hand-held transmitter 1–3 inches (2–8 cm) away from the HomeLink�
button you wish to program (located on your visor) while keeping the
indicator light in view.
2007 Freestar(win)
Owners Guide (post-2002-fmt)
USA(fus)
Driver Controls
75
Page 76 of 312

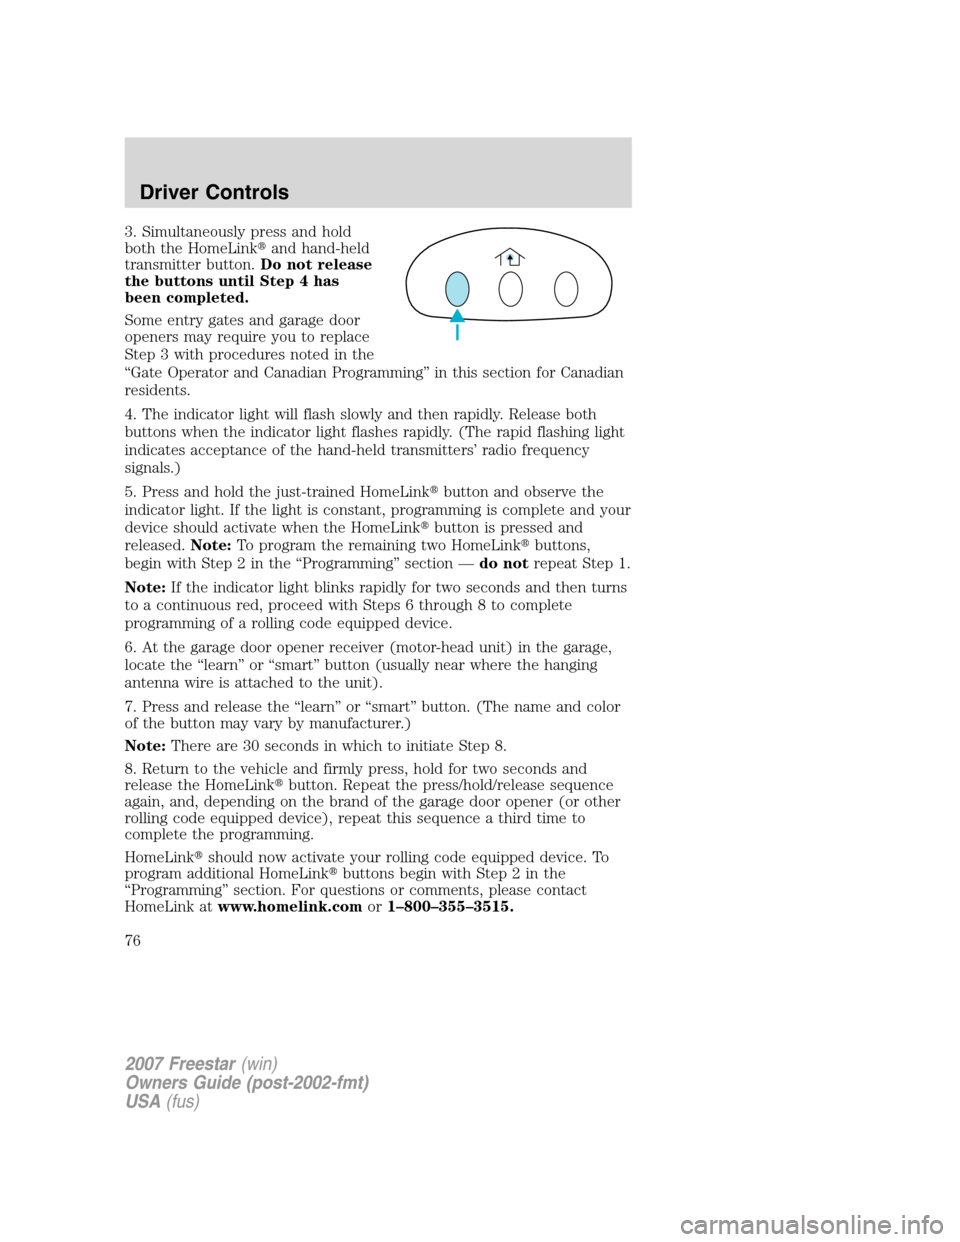
3. Simultaneously press and hold
both the HomeLink�and hand-held
transmitter button.Do not release
the buttons until Step 4 has
been completed.
Some entry gates and garage door
openers may require you to replace
Step 3 with procedures noted in the
“Gate Operator and Canadian Programming” in this section for Canadian
residents.
4. The indicator light will flash slowly and then rapidly. Release both
buttons when the indicator light flashes rapidly. (The rapid flashing light
indicates acceptance of the hand-held transmitters’ radio frequency
signals.)
5. Press and hold the just-trained HomeLink�button and observe the
indicator light. If the light is constant, programming is complete and your
device should activate when the HomeLink�button is pressed and
released.Note:To program the remaining two HomeLink�buttons,
begin with Step 2 in the “Programming” section —do notrepeat Step 1.
Note:If the indicator light blinks rapidly for two seconds and then turns
to a continuous red, proceed with Steps 6 through 8 to complete
programming of a rolling code equipped device.
6. At the garage door opener receiver (motor-head unit) in the garage,
locate the “learn” or “smart” button (usually near where the hanging
antenna wire is attached to the unit).
7. Press and release the “learn” or “smart” button. (The name and color
of the button may vary by manufacturer.)
Note:There are 30 seconds in which to initiate Step 8.
8. Return to the vehicle and firmly press, hold for two seconds and
release the HomeLink�button. Repeat the press/hold/release sequence
again, and, depending on the brand of the garage door opener (or other
rolling code equipped device), repeat this sequence a third time to
complete the programming.
HomeLink�should now activate your rolling code equipped device. To
program additional HomeLink�buttons begin with Step 2 in the
“Programming” section. For questions or comments, please contact
HomeLink atwww.homelink.comor1–800–355–3515.
2007 Freestar(win)
Owners Guide (post-2002-fmt)
USA(fus)
Driver Controls
76