Page 146 of 344

The front passenger sensing system will disable (will not inflate) the
front passenger’s frontal airbag if:
•the front passenger seat is unoccupied, or has small/medium objects in
the front seat,
•the system determines that an infant is present in a rear-facing infant
seat that is installed according to the manufacturer’s instructions,
•the system determines that a small child is present in a forward-facing
child restraint that is installed according to the manufacturer’s
instructions,
•the system determines that a small child is present in a booster seat,
•a front passenger takes his/her weight off of the seat for a period of
time,
•a child or a small person occupies the front passenger seat.
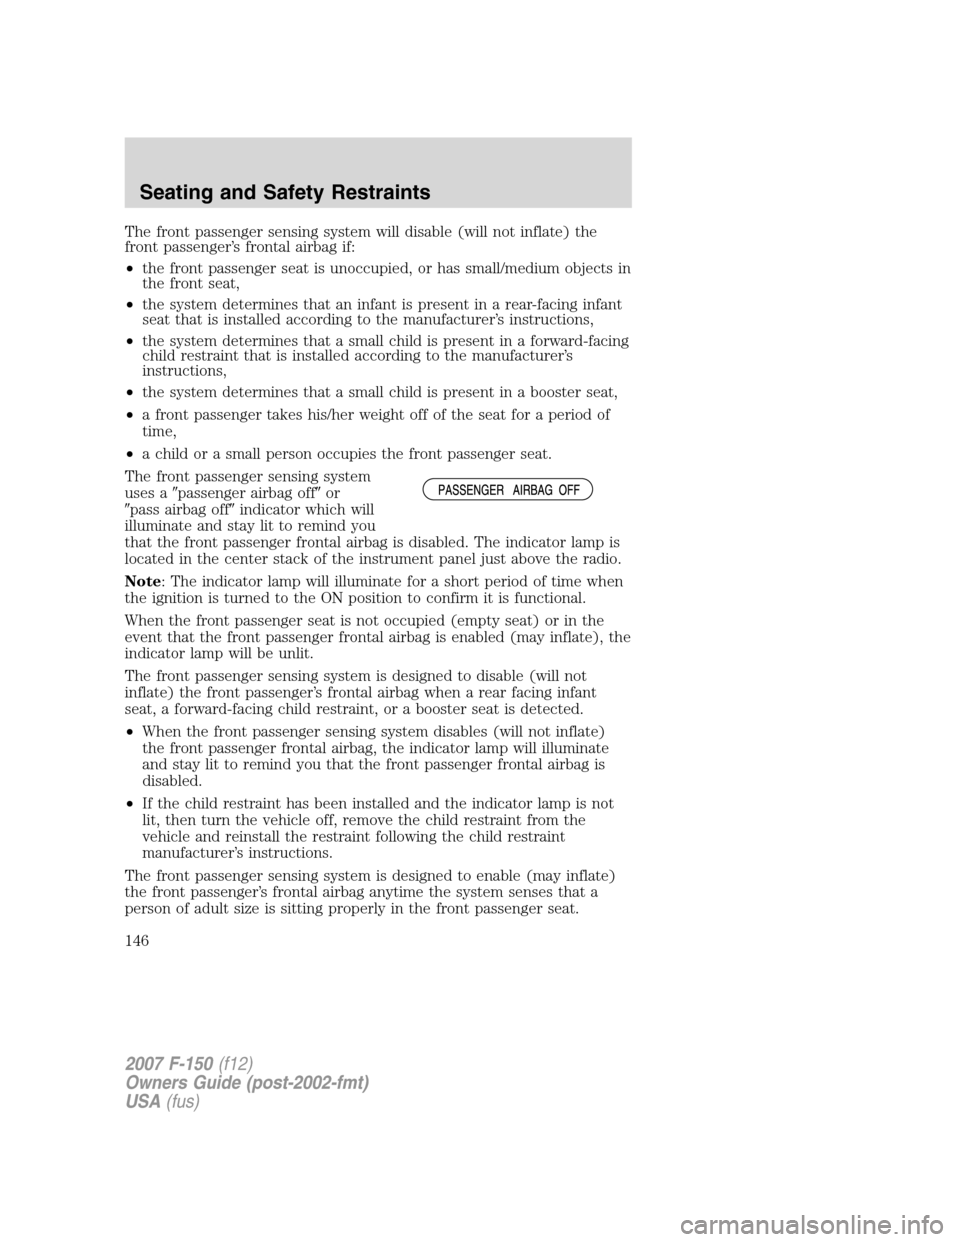
The front passenger sensing system
uses a�passenger airbag off�or
�pass airbag off�indicator which will
illuminate and stay lit to remind you
that the front passenger frontal airbag is disabled. The indicator lamp is
located in the center stack of the instrument panel just above the radio.
Note: The indicator lamp will illuminate for a short period of time when
the ignition is turned to the ON position to confirm it is functional.
When the front passenger seat is not occupied (empty seat) or in the
event that the front passenger frontal airbag is enabled (may inflate), the
indicator lamp will be unlit.
The front passenger sensing system is designed to disable (will not
inflate) the front passenger’s frontal airbag when a rear facing infant
seat, a forward-facing child restraint, or a booster seat is detected.
•When the front passenger sensing system disables (will not inflate)
the front passenger frontal airbag, the indicator lamp will illuminate
and stay lit to remind you that the front passenger frontal airbag is
disabled.
•If the child restraint has been installed and the indicator lamp is not
lit, then turn the vehicle off, remove the child restraint from the
vehicle and reinstall the restraint following the child restraint
manufacturer’s instructions.
The front passenger sensing system is designed to enable (may inflate)
the front passenger’s frontal airbag anytime the system senses that a
person of adult size is sitting properly in the front passenger seat.
2007 F-150(f12)
Owners Guide (post-2002-fmt)
USA(fus)
Seating and Safety Restraints
146
Page 245 of 344

Standard fuse amperage rating and color
COLOR
Fuse
ratingMini
fusesStandard
fusesMaxi
fusesCartridge
maxi
fusesFuse link
cartridge
2A Grey Grey — — —
3A Violet Violet — — —
4A Pink Pink — — —
5A Tan Tan — — —
7.5A Brown Brown — — —
10A Red Red — — —
15A Blue Blue — — —
20A Yellow Yellow Yellow Blue Blue
25A Natural Natural — — —
30A Green Green Green Pink Pink
40A — — Orange Green Green
50A — — Red Red Red
60A — — Blue — Yellow
70A — — Tan — Brown
80A — — Natural — Black
Passenger compartment fuse panel / power distribution box
The fuse panel is located under the right-hand side of the instrument
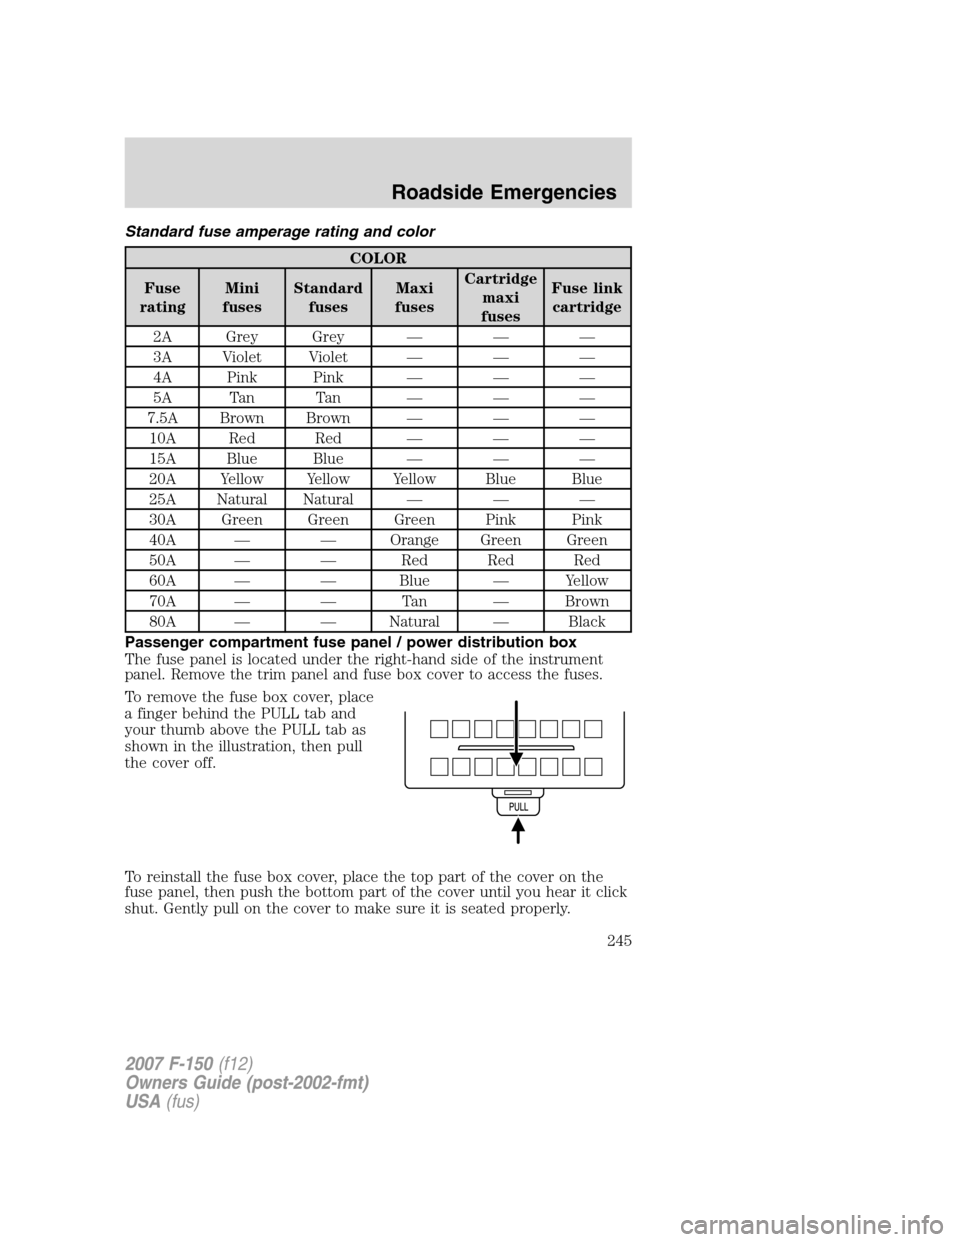
panel. Remove the trim panel and fuse box cover to access the fuses.
To remove the fuse box cover, place
a finger behind the PULL tab and
your thumb above the PULL tab as
shown in the illustration, then pull
the cover off.
To reinstall the fuse box cover, place the top part of the cover on the
fuse panel, then push the bottom part of the cover until you hear it click
shut. Gently pull on the cover to make sure it is seated properly.
2007 F-150(f12)
Owners Guide (post-2002-fmt)
USA(fus)
Roadside Emergencies
245
Page 247 of 344
The fuses are coded as follows.
Fuse/Relay
LocationFuse Amp
RatingPassenger Compartment Fuse
Panel Description
1 10A* Run/Accessory - Wipers,
Instrument cluster, Audio for
XL/STX
2 20A* Stop/Turn lamps, Brake on/off
switch, Hazard flashers
3 7.5A* Power mirrors, Memory seats and
pedals, Driver power seat
4 10A* DVD battery power, Power fold
mirror
5 7.5A* Keep alive memory for Powertrain
Control Module (PCM) and
climate control module
6 15A* Parklamps, BSM, Instrument
panel illumination
7 5A* Radio (start signal)
8 10A* Heated mirrors, Switch indicator
9 20A* Fuel pump relay, Fuel injectors,
Intake manifold runner control
(4.2L)
10 20A* Trailer tow back-up lamps relay
(PCB1), Trailer tow parklamp
relay (R201)
11 10A* A/C clutch, 4x4 solenoid
12 5A* PCM relay coil
13 10A* Climate control module power,
Flasher relay
2007 F-150(f12)
Owners Guide (post-2002-fmt)
USA(fus)
Roadside Emergencies
247
Page 249 of 344

Fuse/Relay
LocationFuse Amp
RatingPassenger Compartment Fuse
Panel Description
29 15A* PCM 4x4 power
30 15A* PCM 4x4 power
31 20A* Radio power, Satellite radio
module
32 15A* Vapor Management Valve (VMV),
A/C clutch relay, Canister vent,
Heated Exhaust Gas Oxygen
(HEGO) sensors #11 and #21,
CMCV, Mass Air Flow (MAF)
sensor, VCT, Heated Positive
Crankcase Ventilation (PCV) valve
(4.2L engine), CID sensor (4.2L
engine), 4.6L/4.2L EGR ,
Electronic fan clutch (4.6L/5.4L
engines)
33 15A* Shift solenoid, CMS #12 and #22,
Ignition coils
34 15A* PCM power
35 20A* Instrument cluster high beam
indicator, High beam headlamps
36 10A* Trailer tow right turn/stop lamps
37 20A* Rear power point, Center console
power point
38 25A* Subwoofer power
39 20A* Instrument panel power point
40 20A* Low beam headlamps, DRL
41 20A* Cigar lighter, Diagnostic connector
power
42 10A* Trailer tow left turn/stop lamps
101 30A** Starter solenoid
102 20A** Ignition switch feed
103 20A** ABS valves
2007 F-150(f12)
Owners Guide (post-2002-fmt)
USA(fus)
Roadside Emergencies
249
Page 277 of 344

•The wiper blades can be cleaned with isopropyl (rubbing) alcohol or
Motorcraft Premium Windshield Washer Concentrate (ZC-32–A),
available from your authorized dealer. This washer fluid contains
special solution in addition to alcohol which helps to remove the hot
wax deposited on the wiper blade and windshield from automated car
wash facilities. Be sure to replace wiper blades when they appear
worn or do not function properly.
•Do not use abrasives, as they may cause scratches.
•Do not use fuel, kerosene, or paint thinner to clean any parts.
If you cannot remove those streaks after cleaning with the glass cleaner
or if the wipers chatter and move in a jerky motion, clean the outer
surface of the windshield and the wiper blades using a sponge or soft
cloth with a neutral detergent or mild-abrasive cleaning solution. After
cleaning, rinse the windshield and wiper blades with clean water. The
windshield is clean if beads do not form when you rinse the windshield
with water.
Do not use sharp objects, such as a razor blade, to clean the
inside of the rear window or to remove decals, as it may cause
damage to the rear window defroster’s heated grid lines (if
equipped).
INSTRUMENT PANEL
Clean the instrument panel with a damp cloth, then with a clean, dry
cloth, or use Motorcraft Dash & Vinyl Cleaner (ZC-38-A).
•Avoid cleaners or polish that increase the gloss of the upper portion of
the instrument panel. The dull finish in this area helps protect the
driver from undesirable windshield reflection.
Do not use chemical solvents or strong detergents when cleaning
the steering wheel or instrument panel to avoid contamination of
the airbag system.
•Be certain to wash or wipe your hands clean if you have been in
contact with certain products such as insect repellent and suntan
lotion in order to avoid possible damage to the interior painted
surfaces.
2007 F-150(f12)
Owners Guide (post-2002-fmt)
USA(fus)
Cleaning
277
Page 278 of 344

INSTRUMENT PANEL AND CONSOLE (HARLEY-DAVIDSON
EDITION ONLY)
Your vehicle’s instrument panel and console are uniquely painted with
both high and low gloss paints that require special care. The high gloss
area is similar to that of the vehicle’s exterior; the low gloss area is
designed to help protect the driver from undesirable windshield
reflection.
High gloss paint area
In order to maintain the finish of the instrument panel and console, the
high gloss areas should be treated similar to the that of exterior paint or
glossy plastic surfaces. When cleaning the high gloss areas:
•Do not usepaper towels or newspaper.
•Do not usesilicone or Teflon-based products.
Dust the high gloss areas with a clean, dry cloth, or use Motorcraft
Dusting Cloth (ZC-24 or ZC-25) or Motorcraft Dusting Cloth Mitts
(ZC-47).
For general cleaning, use mild, soapy water and a soft, damp cloth, then
dry with a clean, dry cloth, or use or use Motorcraft Dash & Vinyl
Cleaner (ZC-38-A) or Motorcraft Ultra-Clear Spray Glass Cleaner
(ZC-23).
For removal of fine scuffs and scratches, use Scotch-Brite�Microfiber
Cloth or cheese cloth along with Motorcraft Premium Liquid Wax
(ZC-53-A), Motorcraft Paint Sealant (ZC-45), or Motorcraft Custom Clear
Coat Polish (ZC-8-A).Note:Removal of deep scuffs and scratches
should be performed by an authorized dealer or an experienced repair
facility.
Low gloss paint area
The low gloss area of the instrument panel’s upper dash should be
cleaned with mild, soapy water and a soft, damp cloth, or Motorcraft
Dash & Vinyl Cleaner (ZC-38-A), then dried with a clean, dry cloth.
When cleaning the low gloss areas:
•Do not usepaper towels or newspaper.
•Do not usesilicone or Teflon-based products.
•Do not useexterior paint waxes or sealants.
Dust the low gloss areas with a clean, dry cloth, or use Motorcraft
Dusting Cloth (ZC-24 or ZC-25) or Motorcraft Dusting Cloth Mitts
(ZC-47).
2007 F-150(f12)
Owners Guide (post-2002-fmt)
USA(fus)
Cleaning
278
Page 284 of 344
To reduce the risk of vehicle damage and/or personal burn
injuries do not start your engine with the air cleaner removed
and do not remove it while the engine is running.
OPENING THE HOOD
1. Inside the vehicle, pull the hood
release handle located under the
bottom of the instrument panel.
2. Go to the front of the vehicle and release the auxiliary latch that is
located on the front bumper under the grill.
3. Lift the hood until the lift cylinders hold it open.
2007 F-150(f12)
Owners Guide (post-2002-fmt)
USA(fus)
Maintenance and Specifications
284
Page 330 of 344
Vehicle identification number (VIN)
The vehicle identification number is
located on the driver side
instrument panel.
Please note that in the graphic,
XXXX is representative of your
vehicle identification number.
The Vehicle Identification Number (VIN) contains the following
information:
1. World manufacturer identifier
2. Brake system / Gross Vehicle
Weight Rating (GVWR) / Restraint
System
3. Vehicle line, series, body type
4. Engine type
5. Check digit
6. Model year
7. Assembly plant
8. Production sequence number
XXXXXXXXXXXXXXXXX
2007 F-150(f12)
Owners Guide (post-2002-fmt)
USA(fus)
Maintenance and Specifications
330