Page 21 of 568

4. Release both buttons at the same time.
5. This will allow you to unlock all doors on the first
press of the UNLOCK button.
To lock the doors:
Press and release the LOCK button on the transmitter to
lock all doors. If the ignition is OFF, when the doors are
locked, the parking lights will flash on once and the horn
will chirp once.
The horn chirp feature will be shipped from the assembly
plants activated. If desired this feature can be disabled by
using the following procedure:
1. Perform this operation while standing outside the
vehicle.
2. Press and hold the LOCK button on a programmed
(i.e. functional) key fob.3. Continue to hold the LOCK button, wait at least 4
seconds, but no longer than 10 seconds, then press and
hold the PANIC button. Release both buttons at the same
time.
4. To reactivate this feature, repeat the above steps.
Vehicles will be shipped from the assembly plants with
the park lamp flash feature activated. If desired, this
feature can be disabled by using the following procedure:
1. Perform this operation while standing outside the
vehicle.
2. Press and hold the UNLOCK button on a programmed
(i.e. functional) key fob.
3. Continue to hold the UNLOCK button, wait at least 4
seconds, but no longer than 10 seconds, then press and
hold the LOCK button. Release both buttons at the same
time.
THINGS TO KNOW BEFORE STARTING YOUR VEHICLE 21
2
Page 23 of 568

2. Closeness to a radio transmitter such as a radio station
tower, airport transmitter, and some mobile or CB radios.
Transmitter Battery Service
The recommended replacement battery is a 3V lithium
2016 cell. This transmitter requires two batteries.NOTE:Do not touch the battery terminals that are on
the back housing or the printed circuit board.
1. With transmitter buttons facing down, use a flat blade
or dime to pry the two halves of the transmitter apart.
Make sure not to damage the rubber gasket during
removal.
2. Remove and replace the batteries. Be careful not to
disturb the metal terminal near the batteries. Install the
batteries with the positive terminal up, reference the note
�+ SIDE UP�on the inside of the bottom half of the
transmitter case. Avoid touching the new batteries with
your fingers. Skin oils may cause battery deterioration. If
you touch a battery, clean it with rubbing alcohol.
3. To reassemble the transmitter case snap the two halves
together. Make sure there is an even gap between the two
halves. Test transmitter operation.
Transmitter Battery Replacement
THINGS TO KNOW BEFORE STARTING YOUR VEHICLE 23
2
Page 118 of 568

▫Recalibrating The Compass..............184
▫Outside Temperature...................186
�Garage Door Opener — If Equipped.........186
▫Programming HomeLink................188
▫Canadian Programming/Gate Programming . . 190
▫Using HomeLink.....................191
▫Erasing HomeLink Buttons..............192
▫Reprogramming a Single HomeLink Button . . . 192
▫Security............................192
�Power Sunroof — If Equipped.............193
▫Open Sunroof - Express Mode............194
▫Comfort Stop........................194
▫Closing Sunroof - Express...............194▫Pinch Protect Feature...................194
▫Pinch Protect Override.................195
▫Venting Sunroof - Express...............195
▫Sunshade Operation...................195
▫Wind Buffeting.......................195
▫Sunroof Maintenance...................196
▫Sunroof Fully Closed...................196
�Electrical Power Outlets..................196
�Cigar Lighter And Ash Receiver............198
�Cupholders...........................199
▫Front Instrument Panel Cupholders
(40–20–40 Seats) — Automatic Transmission . . 199
▫Front Instrument Panel Cupholders
(Bucket Seats) — Automatic Transmission....201
118 UNDERSTANDING THE FEATURES OF YOUR VEHICLE
Page 126 of 568
 —
IF EQUIPPED
UConnect™ is a voice-activated, hands-free, in- vehicle
communications system. UConnect™ allows you to dial
a phone number with your cellul")
HANDS–FREE COMMUNICATION (UConnect™) —
IF EQUIPPED
UConnect™ is a voice-activated, hands-free, in- vehicle
communications system. UConnect™ allows you to dial
a phone number with your cellular phone using simple
voice commands (e.g.,�Call”�“Mike”�”Work�or�Dial”
�“248-555-1212�). Your cellular phone’s audio is trans-
mitted through your vehicle’s audio system; the system
will automatically mute your radio when using the
UConnect™ system.
NOTE:The UConnect™ system use requires a cellular
phone equipped with the Bluetooth�Hands-Free Profile,�
version 0.96 or higher. See www.chrysler.com/uconnect
for supported phones.
UConnect™ allows you to transfer calls between the
system and your cellular phone as you enter or exit your
vehicle, and enables you to mute the system’s micro-
phone for private conversation.The UConnect™ phonebook enables you to store up to 32
names and four numbers per name. Each language has a
separate 32-name phonebook accessible only in that
language. This system is driven through your Blue-
tooth™ Hands-Free profile cellular phone. UConnect™
features Bluetooth™ technology - the global standard
that enables different electronic devices to connect to
each other without wires or a docking station, so UCon-
nect works no matter where you stow your cellular
phone (be it your purse, pocket, or briefcase), as long as
your phone is turned on and has been paired to the
vehicle’s UConnect™ system. The UConnect™ system
allows up to seven cellular phones to be linked to system.
Only one linked (or paired) cellular phone can be used
with the system at a time. The system is available in
English, Spanish, or French languages (as equipped).
The rearview mirror contains the microphone for the
system and the control buttons that will enable you to
access the system.
126 UNDERSTANDING THE FEATURES OF YOUR VEHICLE
Page 187 of 568
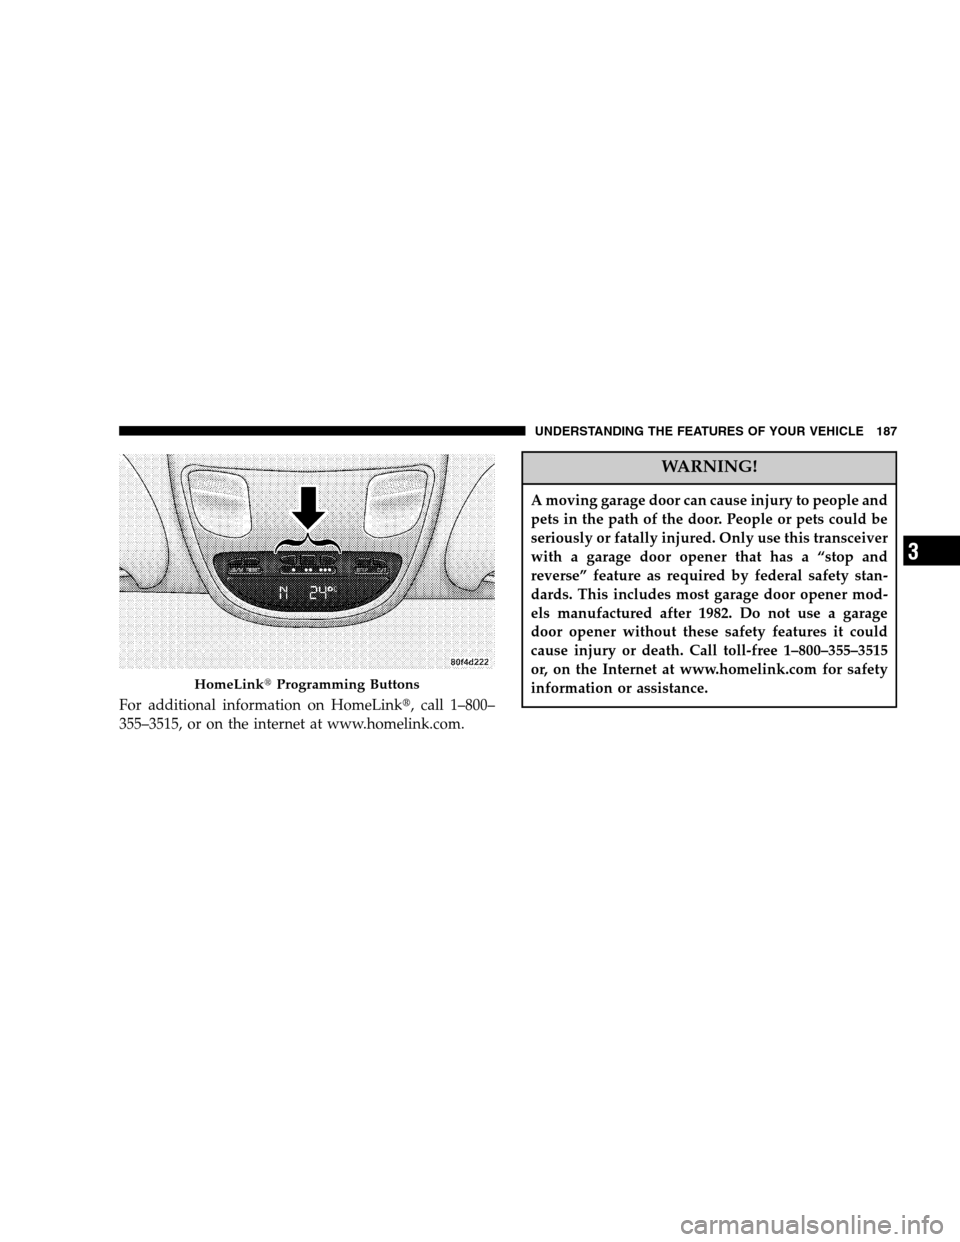
For additional information on HomeLink�, call 1–800–
355–3515, or on the internet at www.homelink.com.
WARNING!
A moving garage door can cause injury to people and
pets in the path of the door. People or pets could be
seriously or fatally injured. Only use this transceiver
with a garage door opener that has a “stop and
reverse” feature as required by federal safety stan-
dards. This includes most garage door opener mod-
els manufactured after 1982. Do not use a garage
door opener without these safety features it could
cause injury or death. Call toll-free 1–800–355–3515
or, on the Internet at www.homelink.com for safety
information or assistance.
HomeLink�Programming Buttons
UNDERSTANDING THE FEATURES OF YOUR VEHICLE 187
3
Page 188 of 568

WARNING!
Vehicle exhaust contains carbon monoxide, a danger-
ous gas. Do not run the vehicle’s exhaust while
training the transceiver. Exhaust gas can cause seri-
ous injury or death.
WARNING!
Your motorized door or gate will open and close
while you are training the Universal Transceiver. Do
not train the transceiver if people or pets are in the
path of the door or gate. A moving door or gate can
cause serious injury or death to people and pets or
damage to objects.
Programming HomeLink
NOTE:When programming a garage door opener, it is
advised to park outside the garage. It is also recom-
mended that a new battery be placed in the hand-held
transmitter of the device being programmed to
HomeLink for quicker training and accurate transmis-
sion of the radio-frequency signal.
1. Press and hold the two outer HomeLink buttons, and
release only when the indicator light begins to flash (after
20 seconds).Do nothold the buttons for longer than 30
seconds anddo notrepeat step one to program a second
and/or third hand-held transmitter to the remaining two
HomeLink buttons.
188 UNDERSTANDING THE FEATURES OF YOUR VEHICLE
Page 189 of 568
 away from the HomeLink buttons while
keeping the indicator light in view.3. Simultaneously press and hold both the HomeLink
button")
2. Position the end of your hand-held transmitter 1-3
inches (3-8 cm) away from the HomeLink buttons while
keeping the indicator light in view.3. Simultaneously press and hold both the HomeLink
button that you want to train and the hand-held trans-
mitter buttons.Do not release the buttons until step 4
has been completed.
NOTE:Some gate operators and garage door openers
may require you to replace this Programming Step 3 with
procedures noted in the�Gate Operator/Canadian Pro-
gramming�section.
4. The HomeLink indicator light will flash slowly and
then rapidly after HomeLink successfully receives the
frequency signal from the hand-held transmitter. Release
both buttons after the indicator light changes from the
slow to the rapid flash.
5. Press and hold the just trained HomeLink button and
observe the indicator light. If the indicator lightstays on
constantly, programming is completeand your device
should activate when the HomeLink button is pressed
and released.
Outer HomeLink buttons
UNDERSTANDING THE FEATURES OF YOUR VEHICLE 189
3
Page 192 of 568
, follow the step noted:
•Press and hold the two outer")
Erasing HomeLink Buttons
To erase programming from the three buttons (individual
buttons cannot be erased but can be�reprogrammed�-
note below), follow the step noted:
•Press and hold the two outer HomeLink buttons until
the indicator light begins to flash-after 20 seconds.
Release both buttons. Do not hold for longer that 30
seconds. HomeLink is now in the train (or learning)
mode and can be programmed at any time beginning
with�Programming�- step 2.
Reprogramming a Single HomeLink Button
To program a device to HomeLink using a HomeLink
button previously trained, follow these steps:
1. Press and hold the desired HomeLink button.DO
NOTrelease the button.
2. The indicator light will begin to flash after 20 seconds.
Without releasing the HomeLink button, proceed with
�Programming�step 2For questions or comments, contact HomeLink at:
www.homelink.com or 1-800-355-3515.
Security
If you sell your vehicle, be sure to erase the frequencies.
To erase all of the previously trained frequencies, hold
down both outside buttons until the green light begins to
flash.
This device complies with part 15 of FCC rules and with
RSS-210 of Industry Canada. Operation is subject to the
following conditions:
•This device may not cause harmful interference.
•This device must accept any interference that may be
received including interference that may cause undes-
ired operation.
192 UNDERSTANDING THE FEATURES OF YOUR VEHICLE