Page 189 of 384
Control Setting Suggestions for Various Weather Conditions
UNDERSTANDING YOUR INSTRUMENT PANEL 189
4
Page 190 of 384
REAR WINDOW FEATURES
Electric Rear Window Defroster
The electric Rear Window Defroster Control is
located on the climate control. Press this button to
turn on the rear window defroster and the heated side
mirrors (if equipped). An LED in the button will illumi-
nate when the rear window defroster is ON. The de-
froster automatically turns off after approximately 10
minutes of operation for the first push of the button, and
will turn off after approximately 5 minutes for the second
push of the button.
CAUTION!
To avoid damaging the electrical conductors of the
rear window defroster, do not use scrapers, sharp
instruments, or abrasive window cleaners on the
interior surface of the window.
Labels can be peeled off after soaking with warm
water.
190 UNDERSTANDING YOUR INSTRUMENT PANEL
Page 202 of 384

The following indicators should be used to ensure that
you have engaged the selector lever into the P (Park)
position:
•When shifting into P (Park) move the lever all the way
forward until it stops, and is fully seated.
•Look at the shift indicator display on the instrument
panel to ensure it is in the P (Park) position.
CAUTION!
Damage to the shifter could result if the selector
lever is moved out of P (Park) before the ignition is
turned from the LOCK to ON position.
R (Reverse)
For moving the vehicle rearward. Always stop before
moving the lever to R (Reverse), except when rocking
the vehicle.
N (Neutral)
Engine may be started in this range.
CAUTION!
Coasting the vehicle, or driving for any other reason
with selector lever in NEUTRAL can result in trans-
mission damage.
WARNING!
Do not coast in N (Neutral) and never turn off the
ignition to coast down a hill. These are unsafe
practices that limit your response to changing traffic
or road conditions. You might lose control of the
vehicle and have an accident.
D (Overdrive)
This range should be used for most city and highway
driving. It provides the smoothest up shifts and down
shifts, and the best fuel economy. Select the “3” range
when frequent transmission shifting occurs when us-
ing the Overdrive range, such as when operating the
202 STARTING AND OPERATING
Page 206 of 384

When parking on a flat surface, place the gear selector in
the P (Park) position first, and then apply the parking
brake.
When parking on a hill, it is important to set the parking
brake before placing the gear selector in P (Park), other-
wise the load on the transmission locking mechanism
may make it difficult to move the selector out of park. As
an added precaution, turn the front wheels toward the
curb on a downhill grade and away from the curb on an
uphill grade.
WARNING!
Never use Park position on an automatic transmis-
sion as a substitute for the parking brake. Always
apply parking brake fully when parked to guard
against vehicle movement and possible injury or
damage.
The following indicators should be used to ensure that
you have engaged the selector lever into the P (Park)
position:
•When shifting into P (Park) move the lever all the way
forward until it stops, and is fully seated.
•Look at the shift indicator display on the instrument
panel to ensure it is in the P (Park) position.
CAUTION!
Damage to the shifter could result if the selector
lever is moved out of P (Park) before the ignition is
turned from the LOCK to ON position.
R (Reverse)
Shift into R (Reverse) gear only when the vehicle is
completely stopped.
N (Neutral)
No power is transmitted from the engine to the drive
axle. When the brakes are released, the vehicle can be
moved freely (pushed or towed). Do not engage N
(Neutral) position while driving except to coast when
the vehicle is in danger of skidding (e.g., on icy roads).
206 STARTING AND OPERATING
Page 213 of 384

PARKING BRAKE
The parking brake should always be applied when the
driver is not in the vehicle.
WARNING!
Never use Park position on an automatic transmis-
sion as a substitute for the parking brake. Always
apply parking brake fully when parked to guard
against vehicle movement and possible injury or
damage.
When parking on a flat surface, place the gear selector in
the P (Park) position first, and then apply the parking
brake.
When parking on a hill, it is important to apply the
parking brake before placing the gear selector in P (Park),
otherwise the load on the transmission locking mecha-
nism may make it difficult to move the selector out of
park. As an added precaution, turn the front wheels
toward the curb on a downhill grade and away from the
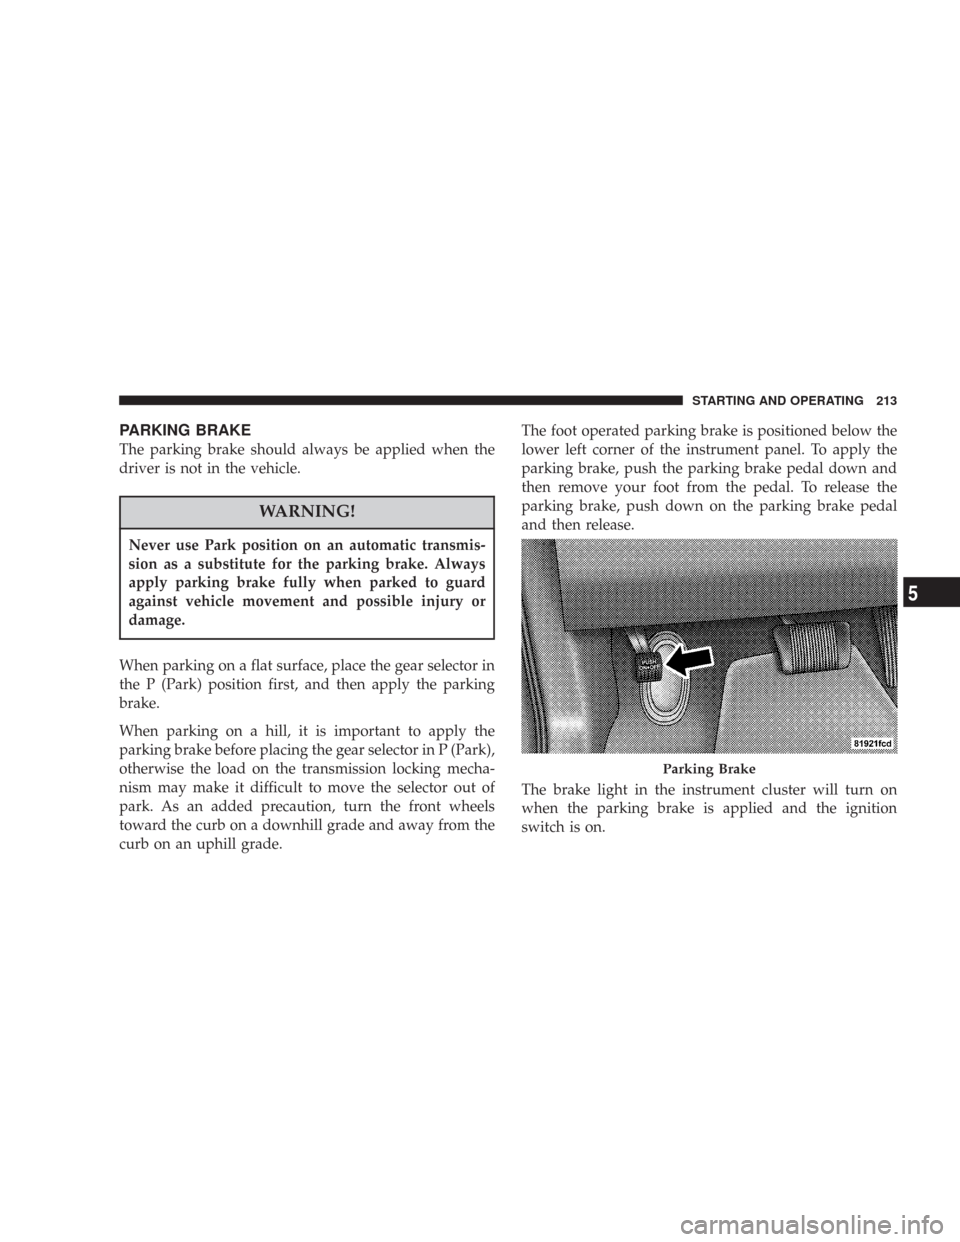
curb on an uphill grade.The foot operated parking brake is positioned below the
lower left corner of the instrument panel. To apply the
parking brake, push the parking brake pedal down and
then remove your foot from the pedal. To release the
parking brake, push down on the parking brake pedal
and then release.
The brake light in the instrument cluster will turn on
when the parking brake is applied and the ignition
switch is on.
Parking Brake
STARTING AND OPERATING 213
5
Page 219 of 384

acceleration, ease up on the accelerator and apply as little
throttle as possible. Be sure to adapt your speed and
driving to the prevailing road conditions.
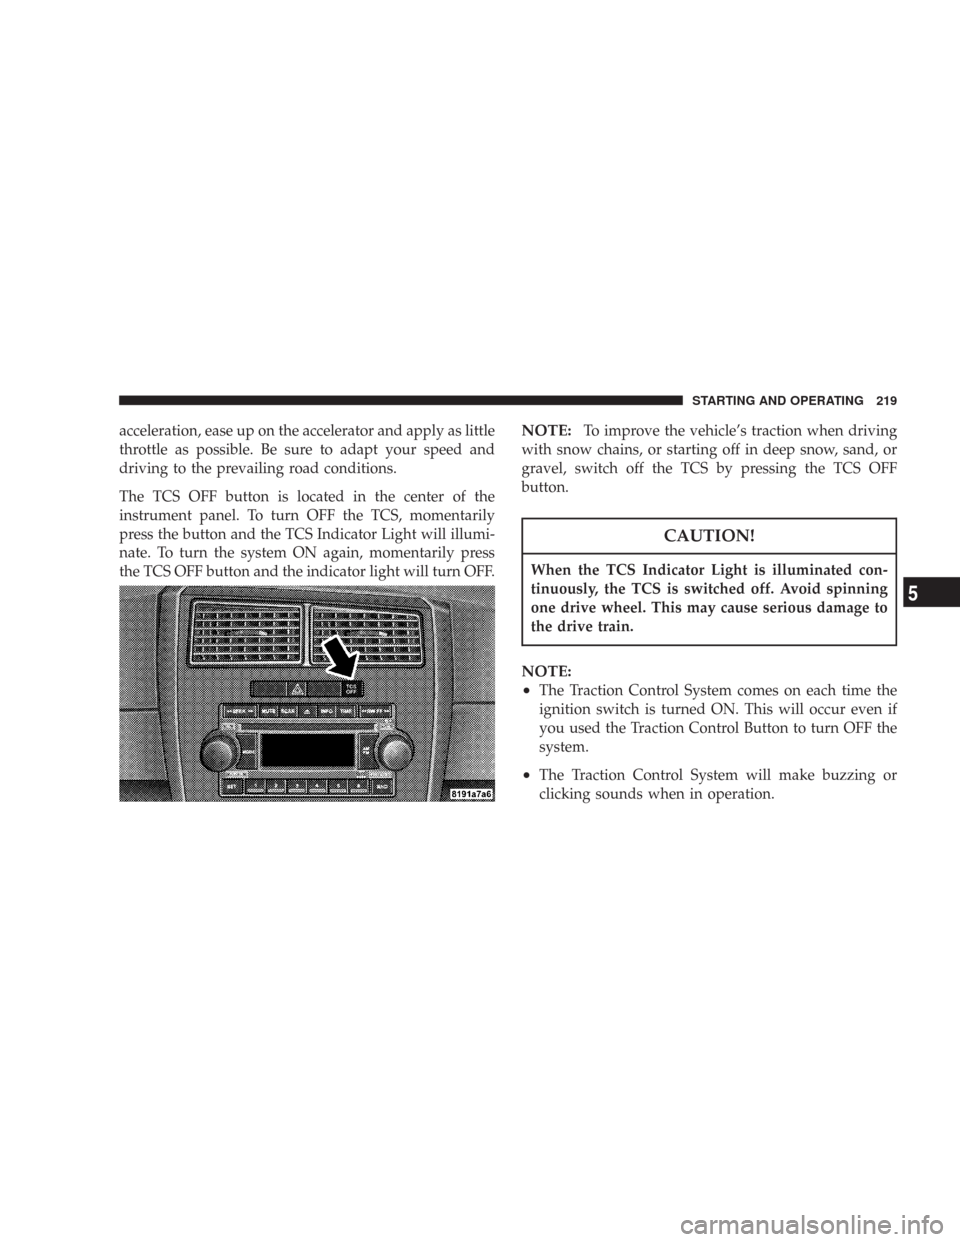
The TCS OFF button is located in the center of the
instrument panel. To turn OFF the TCS, momentarily
press the button and the TCS Indicator Light will illumi-
nate. To turn the system ON again, momentarily press
the TCS OFF button and the indicator light will turn OFF.NOTE:To improve the vehicle’s traction when driving
with snow chains, or starting off in deep snow, sand, or
gravel, switch off the TCS by pressing the TCS OFF
button.
CAUTION!
When the TCS Indicator Light is illuminated con-
tinuously, the TCS is switched off. Avoid spinning
one drive wheel. This may cause serious damage to
the drive train.
NOTE:
•
The Traction Control System comes on each time the
ignition switch is turned ON. This will occur even if
you used the Traction Control Button to turn OFF the
system.
•The Traction Control System will make buzzing or
clicking sounds when in operation.
STARTING AND OPERATING 219
5
Page 222 of 384

The ESP OFF button is located in the center of the
instrument panel. To turn OFF the ESP, momentarily
press the ESP OFF button and the ESP/TCS Indicator
Light will illuminate. To turn the system ON again,
momentarily press the ESP OFF button and the indicator
light will turn OFF.
NOTE:To improve the vehicle’s traction when driving
with snow chains, or starting off in deep snow, sand, or
gravel, switch off the ESP by pressing the ESP OFF
button.When ESP is switched off, the engine torque reduction
feature is cancelled. Therefore, the enhanced vehicle
stability offered by ESP is unavailable. However, a fea-
ture of the system remains active. This feature controls
wheel spin across an axle quite similarly to a limited slip
differential. If one wheel on an axle is spinning faster
than the other, the system will apply the brake of the
spinning wheel and allow more engine torque to be
applied to the wheel that is not spinning. This wheel slip
control is active at vehicle speeds between approximately
24 mph (40 km/h) and 50 mph (80 km/h).
CAUTION!
When the ESP/TCS Indicator Light is illuminated
continuously, the ESP is switched off. Avoid spin-
ning one drive wheel. This may cause serious dam-
age to the drive train.
222 STARTING AND OPERATING
Page 272 of 384

HAZARD WARNING FLASHER
The hazard flasher switch is located in the center of the
instrument panel below the center air outlets.
To engage the Hazard Warning Flashers, depress the
switch on the instrument panel. When the Hazard Warn-
ing Switch is activated, all directional turn signals will
flash on and off to warn oncoming traffic of an emer-
gency. Push the switch a second time to turn off the
flashers.This is an emergency warning system and it should not
be used when the vehicle is in motion. Use it when your
vehicle is disabled and it is creating a safety hazard for
other motorists.
When you must leave the vehicle to seek assistance, the
Hazard Warning Flashers will continue to operate even
though the ignition switch is OFF.
NOTE:With extended use, the Hazard Warning Flash-
ers may wear down your battery.
IF YOUR ENGINE OVERHEATS
In any of the following situations, you can reduce the
potential for overheating by taking the appropriate ac-
tion.
•On the highways — Slow down.
•In city traffic — While stopped, put transmission in
neutral, but do not increase engine idle speed.
Hazard Flasher Switch
272 WHAT TO DO IN EMERGENCIES