2007 DODGE CALIBER warning
[x] Cancel search: warningPage 130 of 360

Tonneau cover — If Equipped
The cargo area trim panels include two notches for
mounting the available tonneau cover that accommo-
dates the reclining rear seat.
WARNING!
In an accident a cargo cover loose in the vehicle
could cause injury. It could fly around in a sudden
stop and strike someone in the vehicle. Do not store
the cargo cover on the cargo floor or in the passenger
compartment. Remove the cover from the vehicle
when taken from its mounting. Do not store in the
vehicle.
Removable Load Floor
The cargo area load floor is removable and can be
washed with mild soap and water.
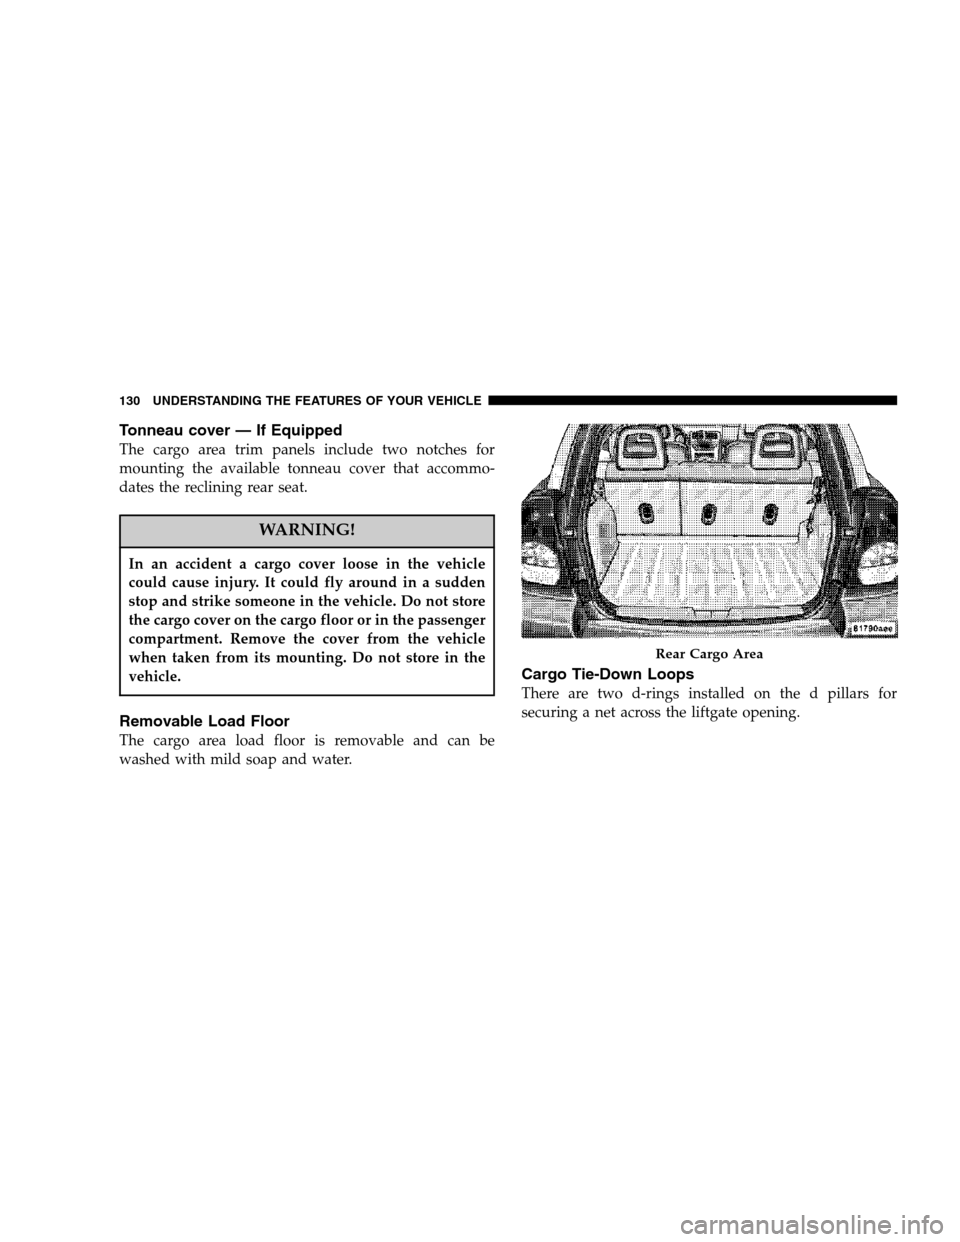
Cargo Tie-Down Loops
There are two d-rings installed on the d pillars for
securing a net across the liftgate opening.
Rear Cargo Area
130 UNDERSTANDING THE FEATURES OF YOUR VEHICLE
Page 131 of 360

WARNING!
•Cargo tie-down Loops are not safe anchors for a
child seat tether strap. In a sudden stop or colli-
sion a loop could pull loose and allow the child
seat to come loose. A child could be badly injured.
Use only the anchors provided for child seat
tethers.
•The weight and position of cargo and passengers
can change the vehicle center of gravity and
vehicle handling. To avoid loss of control result-
ing in personal injury, follow these guidelines for
loading your vehicle:
•Always place cargo evenly on the cargo floor. Put
heavier objects as low and as far forward as possible.
•Place as much cargo as possible in front of the rear
axle. Too much weight or improperly placed weight
over or behind the rear axle can cause the rear of the
vehicle to sway.
•Do not pile luggage or cargo higher than the top of the
seatback. This could impair visibility or become a
dangerous projectile in a sudden stop or collision.
WARNING!
To help protect against personal injury, passengers
should not be seated in the rear cargo area. The rear
cargo space is intended for load carrying purposes
only, not for passengers, who should sit in seats and
use seat belts.
UNDERSTANDING THE FEATURES OF YOUR VEHICLE 131
3
Page 146 of 360

12. Engine Temperature Warning Light
This light warns of an overheated engine con-
dition. If the engine is critically hot, a warning
chime will sound 10 times. After the chime
turns off, the engine will still be critically hot until the
light goes out. Refer to “Temperature Gauge’ later in
this section for steps that you can take to slow down
an impending overheat condition.
13. Transmission Range Indicator
This display indicator shows the automatic transmission
gear selection.
14. Tire Pressure Monitor Light — If Equipped
Each tire, including the spare (if provided),
should be checked monthly when cold and
inflated to the inflation pressure recom-
mended by the vehicle manufacturer on the
vehicle placard or tire inflation pressure label. (If your
vehicle has tires of a different size than the size
indicated on the vehicle placard or tire inflation pres-
sure label, you should determine the proper tire
inflation pressure for those tires.)
As an added safety feature, your vehicle has been
equipped with a tire pressure monitoring system (TPMS)
that illuminates a low tire pressure telltale when one or
more of your tires are significantly under-inflated. Ac-
cordingly, when the low tire pressure telltale illuminates,
you should stop and check your tires as soon as possible,
and inflate them to the proper pressure. Driving on a
significantly under-inflated tire causes the tire to over-
heat and can lead to tire failure. Under-inflation also
reduces fuel efficiency and tire tread life, and may affect
the vehicle’s handling and stopping ability.
Please note that the TPMS is not a substitute for proper
tire maintenance, and it is the driver ’s responsibility to
maintain correct tire pressure, even if under-inflation has
not reached the level to trigger illumination of the TPMS
low tire pressure telltale.
The Tire Pressure Monitoring Telltale Lamp will illumi-
nate in the instrument cluster, and an audible chime will
be activated when one or more tire pressures is low. The
Tire Pressure Monitoring Telltale Lamp will flash on and
146 UNDERSTANDING YOUR INSTRUMENT PANEL
Page 147 of 360

off for 60 seconds when a system fault is detected. The
flash cycle will repeat every ten minutes or until the fault
condition is removed and reset.
If this indicator comes on, the entire PRNDL/odometer
display will brighten to FULL DAYTIME INTENSITY
and will not be dimmable.
CAUTION!
The TPMS has been optimized for the original
equipment tires and wheels. TPMS pressures and
warning have been established for the tire size
equipped on your vehicle. Undesirable system op-
eration or sensor damage may result when using
replacement equipment that is not of the same size,
type, and/or style. Aftermarket wheels can cause
sensor damage. Do not use tire sealant from a can, or
balance beads if your vehicle is equipped with a
TPMS, as damage to the sensors may result.
15. Odometer/Trip Odometer
A vacuum fluorescent display indicates the total distance
the vehicle has been driven. Also, the cluster will display,
replacing the odometer/trip odometer, vehicle warning
messages such as: door/gate ajar and loose gas cap.
Loose gas cap will be displayed from the Odometer/Trip
Odometer on all models.
NOTE:If vehicle is equipped with the optional Elec-
tronic Vehicle Information Center (EVIC) in the instru-
ment cluster, all warnings including “door”, and “gATE”
will only be displayed in the EVIC display. For additional
information, refer to “Electronic Vehicle Information Cen-
ter — If Equipped” in Section 3.
U.S. federal regulations require that upon transfer of
vehicle ownership, the seller certify to the purchaser the
correct mileage that the vehicle has been driven. There-
fore, if the odometer reading is changed during repair or
replacement, be sure to keep a record of the reading
before and after the service so that the correct mileage can
be determined.
UNDERSTANDING YOUR INSTRUMENT PANEL 147
4
Page 149 of 360

The light will come on when the ignition switch is first
turned on and remain on briefly as a bulb check. This is
normal. If the light does not come on during starting,
have the system checked by an authorized dealer.
20. Electronic Stability Program (ESP) Indicator
Light/Traction Control System (TCS) Indicator Light
— If Equipped
If this indicator light flashes during accelera-
tion, apply as little throttle as possible. While
driving, ease up on the accelerator. Adapt
your speed and driving to the prevailing
road conditions, and do not switch off the ESP, or TCS
— if equipped.
21. Turn Signal Indicators
The arrows will flash in unison with the exterior
turn signal, when using the turn signal lever.
22. Front Fog Light Indicator — If Equipped
This light shows when the front fog lights are
ON.23. Electronic Stability Program (ESP) Indicator
Light
The malfunction lamp for the ESP is com-
bined with BAS. The yellow “ESP/BAS
Warning Lamp” comes on when the ignition
switch is turned to the “ON” position. They
should go out with the engine running. If the “ESP/
BAS Warning Lamp” comes on continuously with the
engine running, a malfunction has been detected in
either the ESP or the BAS system. If this light remains
on after several ignition cycles, and the vehicle has
been driven several miles at speeds greater than 30
mph (48 km/h), see your authorized dealer as soon as
possible.
24. All-Wheel-Drive Failure Indicator Light
This light monitors the All-Wheel-Drive
(AWD) system. The light will come on, for a
bulb check, when the ignition key is turned
to the ON position and may stay on for as
long as 3 seconds.
UNDERSTANDING YOUR INSTRUMENT PANEL 149
4
Page 150 of 360

When lit solid:There is an AWD system fault. AWD
performance will be at a reduced level. Service the AWD
system soon.
When blinking:The AWD system is temporarily dis-
abled due to overload condition.
25. Anti-Lock Warning Light (ABS) — If Equipped
This light monitors the Anti-Lock Brake Sys-
tem (ABS) described elsewhere in this
manual. This light will come on when the
ignition key is turned to the ON position and
may stay on for as long as four seconds.
If the ABS light remains on or comes on during driving,
it indicates that the Anti-Lock portion of the brake system
is not functioning and that service is required, however,
the conventional brake system will continue to operate
normally provided that the BRAKE warning light is not
on.
If the ABS light is on, the brake system should be serviced
as soon as possible to restore the benefit of Anti-Lock
Brakes.The warning light should be checked frequently to assure
that it is operating properly. Turn the ignition key to the
on position, but do not start the vehicle. The light should
come on. If the light does not come on, have the system
checked by an authorized dealer.
26. High Beam Indicator
This light shows that the headlights are on high
beam. Push the turn signal lever away from the
steering wheel to switch the headlights from high or
low beam.
27. Brake System Warning Light
This light monitors various brake functions,
including brake fluid level and parking brake
application. If the brake light turns on, it may indicate
that the parking brake is applied, there is a low brake
fluid level or there is a problem with the anti-lock
brake system.
The dual brake system provides a reserve braking capac-
ity in the event of a failure to a portion of the hydraulic
system. Failure of either half of the dual brake system is
150 UNDERSTANDING YOUR INSTRUMENT PANEL
Page 151 of 360

indicated by the Brake Warning Light which will turn on
when the brake fluid level in the master cylinder has
dropped below a specified level.
The light will remain on until the cause is corrected.
NOTE:The light may flash momentarily during sharp
cornering maneuvers which change fluid level condi-
tions. The vehicle should have service performed, and
the brake fluid level checked.
If brake failure is indicated, immediate repair is neces-
sary.
WARNING!
Driving a vehicle with the brake light on is danger-
ous. Part of the brake system may have failed. It will
take longer to stop the vehicle. You could have an
accident. Have the vehicle checked immediately.
Vehicles equipped with Anti-Lock brakes (ABS), are also
equipped with Electronic Brake Force Distribution (EBD).In the event of an EBD failure, the Brake Warning Light
will turn on along with the ABS Light. Immediate repair
to the ABS system is required.
The operation of the Brake Warning Light can be checked
by turning the ignition switch from the OFF position to
the ON position. The light should illuminate for approxi-
mately two seconds. The light should then turn off unless
the parking brake is applied or a brake fault is detected.
If the light does not illuminate, have the light inspected
by an authorized dealer.
The light also will turn on when the parking brake is
applied with the ignition switch in the ON position.
NOTE:This light shows only that the parking brake is
applied. It does not show the degree of brake application.
28. Electronic Vehicle Information Center (EVIC)
Button—If Equipped
Pushing this button will switch between the different
EVIC functions.
UNDERSTANDING YOUR INSTRUMENT PANEL 151
4
Page 153 of 360

The Electronic Vehicle Information Center (EVIC) fea-
tures a driver-interactive display. It is located in the lower
left part of the cluster below the fuel and engine tem-
perature gauge. The EVIC consists of the following:
•System Status
•Vehicle information warning message displays
•Personal Settings (customer programmable features)
•Compass heading
•Outside temperature display
•Trip computer functions
•UConnect™ hands-free communication system dis-
plays — If Equipped
•Audio mode display
•Tire Pressure Monitor (TPM)
When the appropriate conditions exist, the Electronic
Vehicle Information Center (EVIC) displays the following
messages.
•Turn Signal On (with a continuous warning chime)
•Left Front Turn Signal Lamp Out (with a single chime)
•Left Rear Turn Signal Lamp Out (with a single chime)
•Right Front Turn Signal Lamp Out (with a single
chime)
•Right Rear Turn Signal Lamp Out (with a single
chime)
•RKE Battery Low (with a single chime)
•Personal Settings Not Available – Vehicle Not in Park
(automatic transmissions) or vehicle is in motion
(manual transmissions).
•Left/Right Front Door Ajar (one or more, with a single
chime if speed is above 1 mph)
•Left/Right Rear Door Ajar (one or more, with a single
chime if speed is above 1 mph)
•Door (S) Ajar (with a single chime if vehicle is in
motion)
•Gate Ajar (with a single chime)
•Low Washer Fluid (with a single chime)
UNDERSTANDING YOUR INSTRUMENT PANEL 153
4