2007 CHEVROLET SILVERADO light
[x] Cancel search: lightPage 132 of 684

PASS-Key®III+ Operation
Your vehicle has PASS-Key®III+ (Personalized
Automotive Security System) theft-deterrent
system. PASS-Key
®III+ is a passive
theft-deterrent system. This means you do not
have to do anything special to arm or disarm the
system. It works when you transition the key
to RUN, ACCESSORY or START from the OFF
position.
When the PASS-Key
®III+ system senses that
someone is using the wrong key, it prevents the
vehicle from starting. Anyone using a
trial-and-error method to start the vehicle will be
discouraged because of the high number of
electrical key codes.
If the engine does not start and the security light
on the instrument panel cluster comes on
when trying to start the vehicle, the key may have
a damaged transponder. Turn the ignition off
and try again.If the engine still does not start, and the key
appears to be undamaged, try another ignition
key. At this time, you may also want to check the
fuse, seeFuses and Circuit Breakers on
page 612. If the engine still does not start with the
other key, your vehicle needs service. If your
vehicle does start, the �rst key may be faulty. See
your dealer who can service the PASS-Key
®III+
to have a new key made. In an emergency,
contact Roadside Assistance.
It is possible for the PASS-Key
®III+ decoder to
learn the transponder value of a new or
replacement key. Up to nine additional keys may
be programmed for the vehicle. The following
procedure is for programming additional keys only.
If all the currently programmed keys are lost or
do not operate, you must see your dealer or
a locksmith who can service PASS-Key
®III+ to
have keys made and programmed to the system.
132
Page 133 of 684
See your dealer or a locksmith who can service
PASS-Key®III+ to get a new key blank that is cut
exactly as the ignition key that operates the
system.
To program the new additional key do the
following:
1. Verify that the new key has a
1stamped on it.
2. Insert the original, already programmed, key
in the ignition and start the engine. If the
engine will not start, see your dealer
for service.
3. After the engine has started, turn the key to
OFF, and remove the key.
4. Insert the new key to be programmed
and turn it to the RUN position within
�ve seconds of removing the original key.5. The security light will turn off once the key
has been programmed.
6. Repeat Steps 1 through 5 if additional keys
are to be programmed.
If you are driving and the security light comes on
and stays on, you may be able to restart your
engine. Your PASS-Key®III+ system, however,
may not be working properly and must be serviced
by your dealer.
If you lose or damage your PASS-Key
®III+ key,
see your dealer or a locksmith who can service
PASS-Key
®III+ to have a new key made.
133
Page 147 of 684
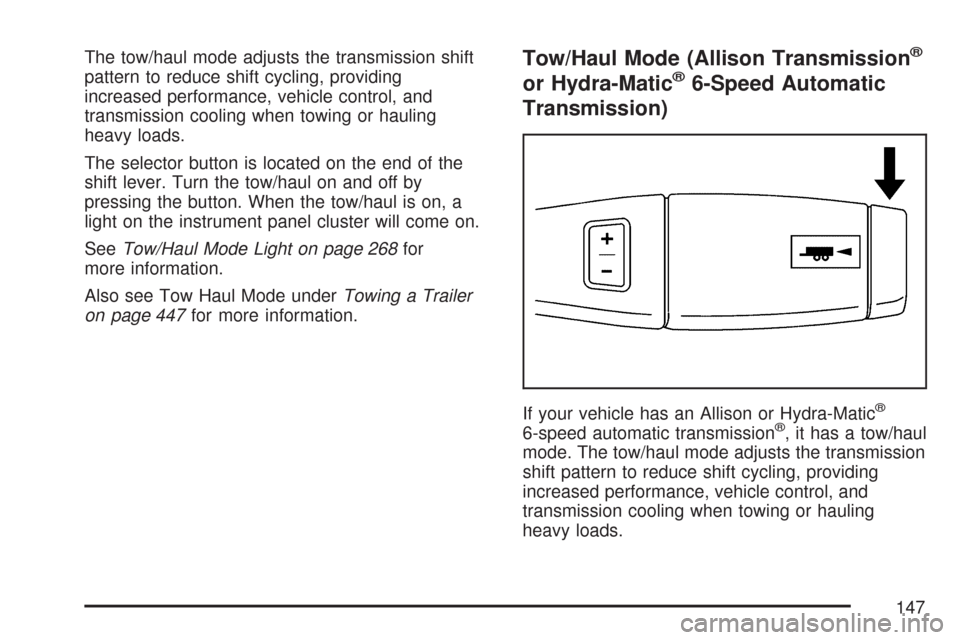
The tow/haul mode adjusts the transmission shift
pattern to reduce shift cycling, providing
increased performance, vehicle control, and
transmission cooling when towing or hauling
heavy loads.
The selector button is located on the end of the
shift lever. Turn the tow/haul on and off by
pressing the button. When the tow/haul is on, a
light on the instrument panel cluster will come on.
SeeTow/Haul Mode Light on page 268for
more information.
Also see Tow Haul Mode underTowing a Trailer
on page 447for more information.Tow/Haul Mode (Allison Transmission®
or Hydra-Matic®6-Speed Automatic
Transmission)
If your vehicle has an Allison or Hydra-Matic®
6-speed automatic transmission®, it has a tow/haul
mode. The tow/haul mode adjusts the transmission
shift pattern to reduce shift cycling, providing
increased performance, vehicle control, and
transmission cooling when towing or hauling
heavy loads.
147
Page 148 of 684
Turn the tow/haul mode on and off by pressing the
button, located on the end of the shift lever.
When the tow/haul is on, a light on the instrument
panel cluster will come on.
SeeTow/Haul Mode Light on page 268for more
information.
Also see “Tow Haul Mode” underTowing a Trailer
on page 447for more information.
Grade Braking (Allison Transmission®
or Hydra-Matic®6-Speed Automatic
Transmission)
The Grade Braking shift modes can be activated
by pressing the button on the end of the shift
control lever. While in Range Selection Mode,
Grade Braking is deactivated allowing the driver to
select a desired range of gears.Grade Braking is only active while the Tow/Haul
Mode is selected and you are not in the Range
Selection Mode. See “Tow/Haul Mode listed
previously andAutomatic Transmission Operation
on page 140for more information on the Range
Slection Mode. Grade Braking assists in
maintaining desired vehicle speeds when driving
on downhill grades by automatically implementing
a shift schedule that utilizes the engine and
transmission to slow the vehicle. This reduces
wear on the braking system and increases control
of the vehicle. Grade Braking monitors vehicle
speed, acceleration, engine torque and brake
pedal usage. Using this information, it detects
when the truck is on a downhill grade and
the driver desires to slow the vehicle by pressing
the brake. See the diesel supplement for
information on Cruise Grade Braking.
Also seeTowing a Trailer on page 447for more
information.
148
Page 150 of 684
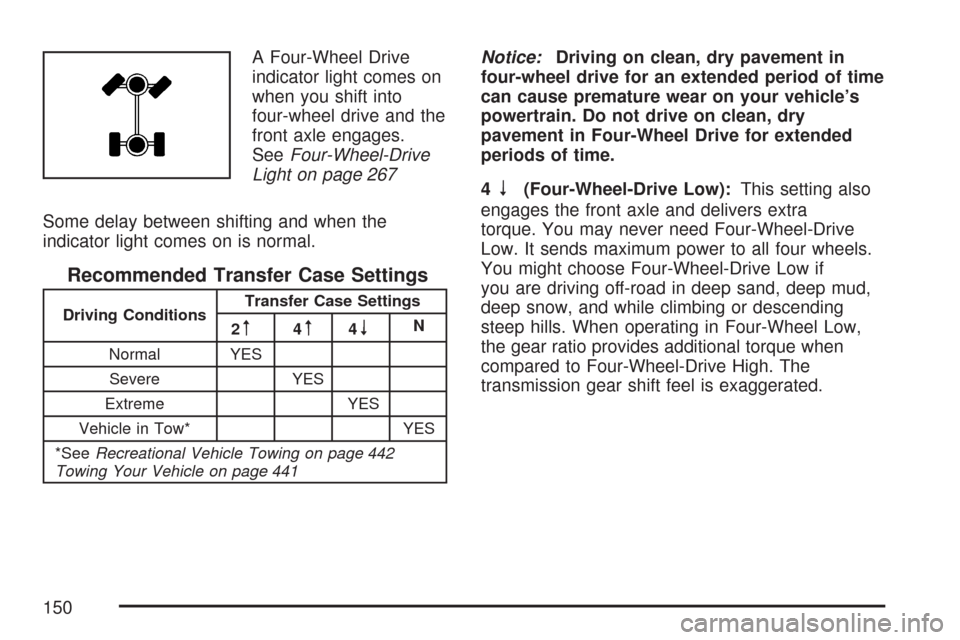
A Four-Wheel Drive
indicator light comes on
when you shift into
four-wheel drive and the
front axle engages.
SeeFour-Wheel-Drive
Light on page 267
Some delay between shifting and when the
indicator light comes on is normal.
Recommended Transfer Case Settings
Driving ConditionsTransfer Case Settings
2m4m4nN
Normal YES
Severe YES
Extreme YES
Vehicle in Tow* YES
*SeeRecreational Vehicle Towing on page 442
Towing Your Vehicle on page 441
Notice:Driving on clean, dry pavement in
four-wheel drive for an extended period of time
can cause premature wear on your vehicle’s
powertrain. Do not drive on clean, dry
pavement in Four-Wheel Drive for extended
periods of time.
4
n(Four-Wheel-Drive Low):This setting also
engages the front axle and delivers extra
torque. You may never need Four-Wheel-Drive
Low. It sends maximum power to all four wheels.
You might choose Four-Wheel-Drive Low if
you are driving off-road in deep sand, deep mud,
deep snow, and while climbing or descending
steep hills. When operating in Four-Wheel Low,
the gear ratio provides additional torque when
compared to Four-Wheel-Drive High. The
transmission gear shift feel is exaggerated.
150
Page 153 of 684
Shifting In or Out of Four-Wheel-Drive Low
Notice:Shifting the transfer case into
Four-Wheel-Drive Low while moving at speeds
faster than 3 mph (5 km/h) may cause
premature wear to the transfer case, and may
cause the gears to grind. To avoid causing
premature wear, and grinding the gears, do not
shift the transfer case into Four-Wheel-Drive
Low while the vehicle is moving faster than
3 mph (5 km/h).
Shifting into Four-Wheel-Drive Low should be done,
if possible, with the vehicle at a slight roll, 3 mph
(5 km/h) or less.
Shift the transmission into NEUTRAL (N).
{CAUTION:
Shifting the transfer case to NEUTRAL can
cause your vehicle to roll even if the
transmission is in PARK (P). You or
someone else could be seriously injured.
Be sure to set the parking brake before
placing the transfer case in NEUTRAL. See
Parking Brake on page 164.
Shifting into Four-Wheel-Drive Low with
the vehicle at a stop may be more difficult.
You may be unable to complete the shift to
Four-Wheel-Drive Low, and will end up in
NEUTRAL. This is normal, and is a function of
the gear teeth aligning in your transfer case.
When this happens, make sure the engine is
on, shift your transmission momentarily to
drive and back to NEUTRAL, and then
complete the shift.
Shift the transfer case shift lever in one
continuous motion into the Four-Wheel-Drive
Low position.
When Four-Wheel-Drive Low do not drive
faster than 45 mph. This will reduce wear and
extend the life of your transfer case.
Shifting In or Out of NEUTRAL
1. With the vehicle running and the engine at an
idle set the parking brake.
2. Place the transmission into NEUTRAL (N).
Shift the transfer case in one continuous motion
into or out of the NEUTRAL position.
153
Page 154 of 684
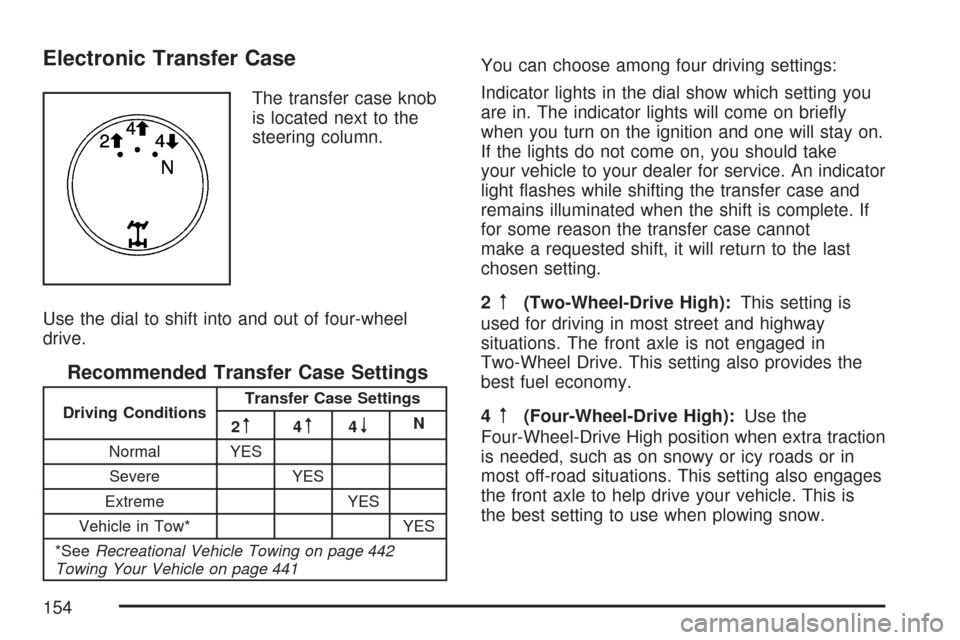
Electronic Transfer Case
The transfer case knob
is located next to the
steering column.
Use the dial to shift into and out of four-wheel
drive.
Recommended Transfer Case Settings
Driving ConditionsTransfer Case Settings
2m4m4nN
Normal YES
Severe YES
Extreme YES
Vehicle in Tow* YES
*SeeRecreational Vehicle Towing on page 442
Towing Your Vehicle on page 441
You can choose among four driving settings:
Indicator lights in the dial show which setting you
are in. The indicator lights will come on brie�y
when you turn on the ignition and one will stay on.
If the lights do not come on, you should take
your vehicle to your dealer for service. An indicator
light �ashes while shifting the transfer case and
remains illuminated when the shift is complete. If
for some reason the transfer case cannot
make a requested shift, it will return to the last
chosen setting.
2
m(Two-Wheel-Drive High):This setting is
used for driving in most street and highway
situations. The front axle is not engaged in
Two-Wheel Drive. This setting also provides the
best fuel economy.
4
m(Four-Wheel-Drive High):Use the
Four-Wheel-Drive High position when extra traction
is needed, such as on snowy or icy roads or in
most off-road situations. This setting also engages
the front axle to help drive your vehicle. This is
the best setting to use when plowing snow.
154
Page 156 of 684
You must wait for the Four-Wheel-Drive Low
indicator light to stop �ashing and remain on before
shifting your transmission in gear.
Notice:Shifting the transmission into gear
before the requested mode indicator light has
stopped �ashing could damage the transfer
case. To help avoid damaging your vehicle,
always wait for the mode indicator lights
to stop �ashing before shifting the
transmission into gear.
It is typical for your vehicle to exhibit signi�cant
engagement noise and bump when shifting
between Four-Wheel-Drive Low and
Four-Wheel-Drive High ranges or from NEUTRAL
with the engine running.
If the knob is turned to the Four-Wheel-Drive Low
position when your vehicle is in gear and/or
moving, the Four-Wheel-Drive Low indicator light
will �ash for 30 seconds and not complete the
shift unless your vehicle is moving less than 3 mph
(5 km/h) and the transmission is in NEUTRAL (N).
After 30 seconds the transfer case will shift to
Four-Wheel-Drive High mode.Shifting Out of Four-Wheel-Drive Low
To shift from Four-Wheel-Drive Low to
Four-Wheel-Drive High, or Two-Wheel-Drive High,
your vehicle must be stopped or moving less
than 3 mph (5 km/h) with the transmission
in NEUTRAL (N) and the ignition in RUN. The
preferred method for shifting out of
Four-Wheel-Drive Low is to have your vehicle
moving 1 to 2 mph (1.6 to 3.2 km/h). Turn the knob
to the Four-Wheel-Drive High, or Two-Wheel-Drive
High position. You must wait for the
Four-Wheel-Drive High, or Two-Wheel-Drive High
indicator light to stop �ashing and remain on
before shifting the transmission into gear.
Notice:Shifting the transmission into gear
before the requested mode indicator light has
stopped �ashing could damage the transfer
case. To help avoid damaging your vehicle,
always wait for the mode indicator lights
to stop �ashing before shifting the
transmission into gear.
It is typical for your vehicle to exhibit signi�cant
engagement noise and bump when shifting
between Four-Wheel-Drive Low and
Four-Wheel-Drive High ranges or from NEUTRAL
with the engine running.
156