2007 CHEVROLET MALIBU transmission
[x] Cancel search: transmissionPage 150 of 510
Read the instructions completely before attempting
to program the Universal Home Remote.
Because of the steps involved, it may be helpful
to have another person available to assist you
in the programming steps.
Keep the original hand-held transmitter for use in
other vehicles as well as for future Universal Home
Remote programming. It is also recommended
that upon the sale of the vehicle, the programmed
Universal Home Remote buttons should be erased
for security purposes. See “Erasing Universal
Home Remote Buttons” later in section.
When programming a garage door, it is advised
to park outside of the garage. Be sure that people
and objects are clear of the garage door or
gate operator you are programming.
It is recommended that a new battery be installed in
your hand-held transmitter for quicker and more
accurate transmission of the radio-frequency signal.Programming the Universal Home
Remote System
Follow these steps to program up to three devices:
1. Press and hold down the two outside
Universal Home Remote buttons, releasing
only when the Universal Home Remote
indicator light begins to �ash, after
20 seconds. Do not hold down the buttons
for longer than 30 seconds and do not
repeat this step to program a second and/or
third hand-held transmitter to the remaining
two Universal Home Remote buttons.
2. Hold the end of your hand-held transmitter
about 1 to 3 inches (3 to 8 cm) away from
the Universal Home Remote buttons
while keeping the indicator light in view.
3. At the same time, press and hold both the
desired Universal Home Remote button and
the hand-held transmitter button. Do not
release the buttons until Step 4 has been
completed.
Some entry gates and garage door openers
may require you to substitute Step 3 with
the procedure noted in “Gate Operator and
Canadian Programming” later in this section.
150
Page 152 of 510
Gate Operator and Canadian
Programming
Canadian radio-frequency laws require transmitter
signals to time out or quit after several seconds
of transmission. This may not be long enough
for Universal Home Remote to pick up the signal
during programming. Similarly, some U.S. gate
operators are manufactured to time out in
the same manner.
If you live in Canada, or you are having difficulty
programming a gate operator or garage door
opener by using the “Programming Universal
Home Remote” procedures, regardless of where
you live, replace Step 3 under “Programming
Universal Home Remote” with the following:
Continue to press and hold the Universal Home
Remote button while you press and release every
two seconds (cycle) the hand-held transmitter
button until the frequency signal has been
successfully accepted by the Universal Home
Remote. The Universal Home Remote indicator
light will �ash slowly at �rst and then rapidly.
Proceed with Step 4 under “Programming
Universal Home Remote” to complete.
Using Universal Home Remote
Press and hold the appropriate Universal Home
Remote button for at least half of a second.
The indicator light will come on while the signal
is being transmitted.
Erasing Universal Home Remote
Buttons
To erase programming from the three Universal
Home Remote buttons do the following:
1. Press and hold down the two outside buttons
until the indicator light begins to �ash, after
20 seconds. Do not hold the two outside
buttons for longer than 30 seconds.
2. Release both buttons.
The Universal Home Remote is now in the training
(learning) mode and can be programmed at any
time beginning with Step 2 under “Programming
Universal Home Remote” shown earlier in
this section.
Individual buttons cannot be erased, but they
can be reprogrammed. See “Reprogramming a
Single Universal Home Remote Button” following
this section.
152
Page 295 of 510
Braking in Emergencies
At some time, nearly every driver gets into a
situation that requires hard braking.
If you have ABS, you can steer and brake at the
same time. However, if you do not have ABS,
your �rst reaction — to hit the brake pedal
hard and hold it down — might be the wrong thing
to do. Your wheels can stop rolling. Once they
do, the vehicle cannot respond to your steering.
Momentum will carry it in whatever direction it
was headed when the wheels stopped rolling.
That could be off the road, into the very thing you
were trying to avoid, or into traffic.
If you do not have ABS, use a “squeeze” braking
technique. This will give you maximum braking
while maintaining steering control. You can do
this by pushing on the brake pedal with steadily
increasing pressure.In an emergency, you will probably want to
squeeze the brakes hard without locking the
wheels. If you hear or feel the wheels sliding,
ease off the brake pedal. This will help you
retain steering control. If you do have ABS, it is
different. SeeAnti-Lock Brake System (ABS)
on page 293.
In many emergencies, steering can help you
more than even the very best braking.
Traction Control System (TCS)
Your vehicle may have a Traction Control System
(TCS) that limits wheel spin. This is especially
useful in slippery road conditions. The system
operates only if it senses that one or both of
the front wheels are spinning or beginning to
lose traction. When this happens, the system
reduces engine power and may also upshift
the transmission to limit wheel spin. Also, the
traction control system activates the appropriate
corner brakes to gain even quicker control to
limit wheel spin.
295
Page 296 of 510
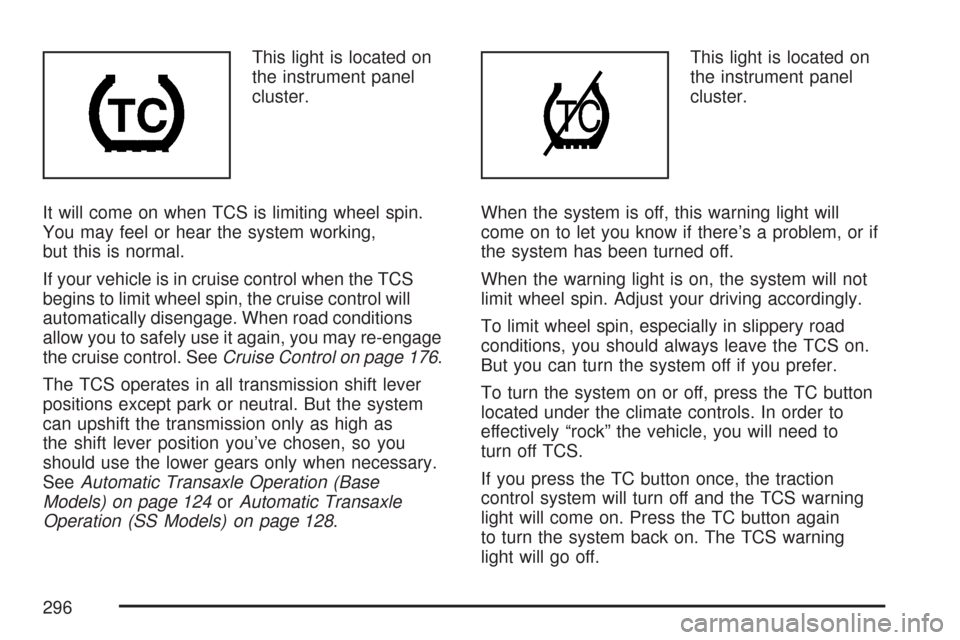
This light is located on
the instrument panel
cluster.
It will come on when TCS is limiting wheel spin.
You may feel or hear the system working,
but this is normal.
If your vehicle is in cruise control when the TCS
begins to limit wheel spin, the cruise control will
automatically disengage. When road conditions
allow you to safely use it again, you may re-engage
the cruise control. SeeCruise Control on page 176.
The TCS operates in all transmission shift lever
positions except park or neutral. But the system
can upshift the transmission only as high as
the shift lever position you’ve chosen, so you
should use the lower gears only when necessary.
SeeAutomatic Transaxle Operation (Base
Models) on page 124orAutomatic Transaxle
Operation (SS Models) on page 128.This light is located on
the instrument panel
cluster.
When the system is off, this warning light will
come on to let you know if there’s a problem, or if
the system has been turned off.
When the warning light is on, the system will not
limit wheel spin. Adjust your driving accordingly.
To limit wheel spin, especially in slippery road
conditions, you should always leave the TCS on.
But you can turn the system off if you prefer.
To turn the system on or off, press the TC button
located under the climate controls. In order to
effectively “rock” the vehicle, you will need to
turn off TCS.
If you press the TC button once, the traction
control system will turn off and the TCS warning
light will come on. Press the TC button again
to turn the system back on. The TCS warning
light will go off.
296
Page 297 of 510
When you turn the system off, the TCS warning
light will come on and stay on. If the TCS is
limiting wheel spin when you press the button to
turn the system off, the warning light will come
on – but the system won’t turn off right away.
It will wait until there’s no longer a current need
to limit wheel spin.
Adding non-dealer/non-retailer accessories can
affect your vehicle’s performance. SeeAccessories
and Modi�cations on page 344for more
information.
Enhanced Traction System (ETS)
Your vehicle may have an Enhanced Traction
System (ETS) that limits wheel spin. This is
especially useful in slippery road conditions. The
system operates only if it senses that one or
both of the front wheels are spinning or beginning
to lose traction. When this happens, the system
reduces engine power and may also upshift
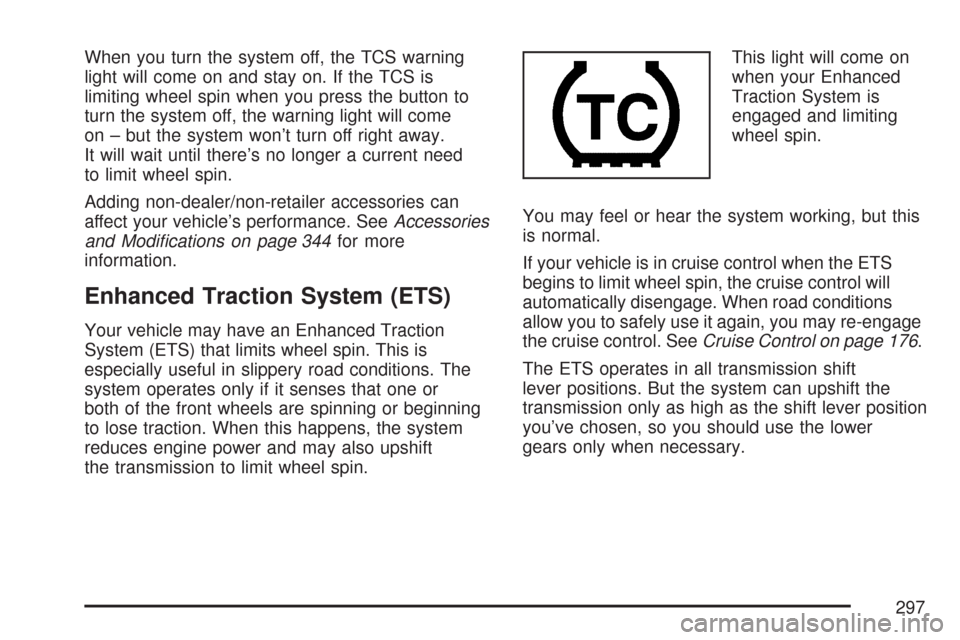
the transmission to limit wheel spin.This light will come on
when your Enhanced
Traction System is
engaged and limiting
wheel spin.
You may feel or hear the system working, but this
is normal.
If your vehicle is in cruise control when the ETS
begins to limit wheel spin, the cruise control will
automatically disengage. When road conditions
allow you to safely use it again, you may re-engage
the cruise control. SeeCruise Control on page 176.
The ETS operates in all transmission shift
lever positions. But the system can upshift the
transmission only as high as the shift lever position
you’ve chosen, so you should use the lower
gears only when necessary.
297
Page 331 of 510
Dinghy Towing
The Malibu Sedan SS and Maxx SS cannot be
dinghy towed.
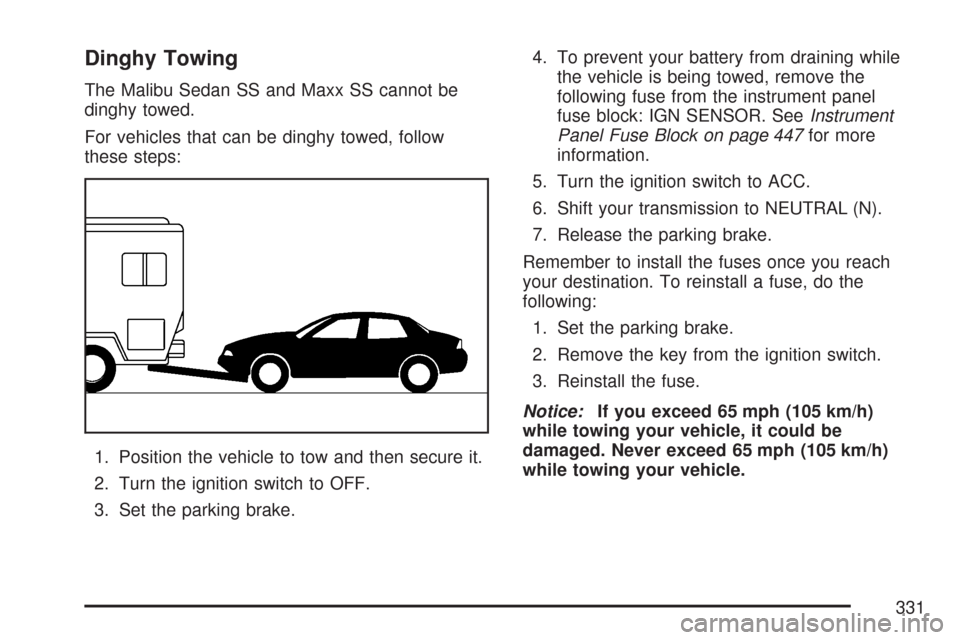
For vehicles that can be dinghy towed, follow
these steps:
1. Position the vehicle to tow and then secure it.
2. Turn the ignition switch to OFF.
3. Set the parking brake.4. To prevent your battery from draining while
the vehicle is being towed, remove the
following fuse from the instrument panel
fuse block: IGN SENSOR. SeeInstrument
Panel Fuse Block on page 447for more
information.
5. Turn the ignition switch to ACC.
6. Shift your transmission to NEUTRAL (N).
7. Release the parking brake.
Remember to install the fuses once you reach
your destination. To reinstall a fuse, do the
following:
1. Set the parking brake.
2. Remove the key from the ignition switch.
3. Reinstall the fuse.
Notice:If you exceed 65 mph (105 km/h)
while towing your vehicle, it could be
damaged. Never exceed 65 mph (105 km/h)
while towing your vehicle.
331
Page 333 of 510
Towing a Trailer
{CAUTION:
If you do not use the correct equipment
and drive properly, you can lose control
when you pull a trailer. For example, if the
trailer is too heavy, the brakes may not
work well — or even at all. You and your
passengers could be seriously injured.
You may also damage your vehicle; the
resulting repairs would not be covered by
your warranty. Pull a trailer only if you
have followed all the steps in this section.
Ask your dealer/retailer for advice and
information about towing a trailer with
your vehicle.
If you have a Malibu Sedan SS or a Maxx SS,
trailer towing is not recommended. Your vehicle
was neither designed nor intended to tow a trailer.Your vehicle can tow a trailer if it is equipped with
a 3.5L V6 engine and the proper trailer towing
equipment.
To identify the trailering capacity of your vehicle,
you should read the information in “Weight of
the Trailer” that appears later in this section.
Trailering is different than just driving your vehicle
by itself. Trailering means changes in handling,
durability and fuel economy. Successful, safe
trailering takes correct equipment, and it has to
be used properly.
That’s the reason for this part. In it are many
time-tested, important trailering tips and safety
rules. Many of these are important for your safety
and that of your passengers. So please read
this section carefully before you pull a trailer.
Load-pulling components such as the engine,
transmission, wheel assemblies and tires
are forced to work harder against the drag of the
added weight. The engine is required to operate
at relatively higher speeds and under greater
loads, generating extra heat. What’s more,
the trailer adds considerably to wind resistance,
increasing the pulling requirements.
333
Page 340 of 510
When You Are Ready to Leave After
Parking on a Hill
1. Apply your regular brakes and hold the
pedal down while you:
start your engine,
shift into a gear, and
release the parking brake.
2. Let up on the brake pedal.
3. Drive slowly until the trailer is clear
of the chocks.
4. Stop and have someone pick up and
store the chocks.
Maintenance When Trailer Towing
Your vehicle will need service more often when
you’re pulling a trailer. Things that are especially
important in trailer operation are automatic
transmission �uid (don’t over�ll), engine oil,
drive belt, cooling system and brake system.
Each of these is covered in this manual, and
the Index will help you �nd them quickly.
If you’re trailering, it’s a good idea to review
this information before you start your trip.
Check periodically to see that all hitch nuts
and bolts are tight.
Engine Cooling When Trailer Towing
Your cooling system may temporarily overheat
during severe operating conditions. See
Engine Overheating on page 371.
340