Page 116 of 460

How long should you keep the coolant heater
plugged in? The answer depends on the outside
temperature, the kind of oil you have, and
some other things. Instead of trying to list
everything here, we ask that you contact your
dealer in the area where you will be parking your
vehicle. The dealer/retailer can give you the
best advice for that particular area.
Active Fuel Management™
(3.9L V6 and 5.3L V8 Engines)
Your vehicle’s engine may be equipped with
Active Fuel Management™. This system allows
the engine to operate on either all or half of
its cylinders, depending on your driving conditions.
When less power is required, such as cruising
at a constant vehicle speed, the system will
operate in the half cylinder mode, allowing your
vehicle to achieve better fuel economy. When
greater power demands are required, such
as accelerating from a stop, passing, or merging
onto a freeway, the system will maintain
full-cylinder operation.
Automatic Transaxle Operation
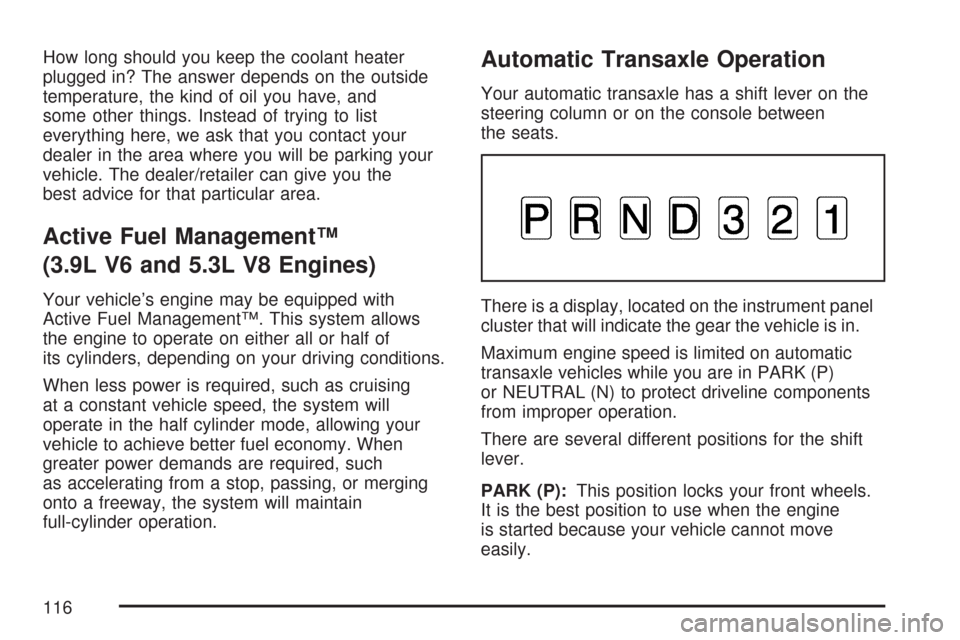
Your automatic transaxle has a shift lever on the
steering column or on the console between
the seats.
There is a display, located on the instrument panel
cluster that will indicate the gear the vehicle is in.
Maximum engine speed is limited on automatic
transaxle vehicles while you are in PARK (P)
or NEUTRAL (N) to protect driveline components
from improper operation.
There are several different positions for the shift
lever.
PARK (P):This position locks your front wheels.
It is the best position to use when the engine
is started because your vehicle cannot move
easily.
116
Page 120 of 460
Parking Brake
The parking brake is
located to the left of the
brake pedal, near the
driver’s door.
To set the parking brake, hold the brake pedal
down with your right foot. Push down the parking
brake pedal with your left foot.To release the parking brake, hold the brake pedal
down with your right foot and push the parking
brake pedal with your left foot. When you lift your
left foot, the parking brake pedal will follow it
to the released position.
A warning chime will sound and a brake warning
light located on the instrument panel cluster
will come on, if the parking brake is set, the ignition
is on and the vehicle speed is greater than
5 mph (8 km/h).
Notice:Driving with the parking brake on can
overheat the brake system and cause premature
wear or damage to brake system parts. Verify
that the parking brake is fully released and the
brake warning light is off before driving.
If you are towing a trailer and parking on any hill,
seeTowing a Trailer on page 284.
120
Page 147 of 460

Instrument Panel Overview........................ 150
Hazard Warning Flashers.......................... 152
Other Warning Devices............................. 152
Horn.......................................................... 152
Tilt Wheel.................................................. 153
Turn Signal/Multifunction Lever.................. 153
Turn and Lane-Change Signals................. 154
Headlamp High/Low-Beam Changer.......... 155
Flash-to-Pass............................................ 155
Windshield Wipers..................................... 155
Windshield Washer.................................... 156
Cruise Control........................................... 157
Exterior Lamps.......................................... 160
Delayed Headlamps.................................. 162
Daytime Running Lamps (DRL)/
Automatic Headlamp System.................. 162
Fog Lamps................................................ 163
Instrument Panel Brightness...................... 163
Courtesy Lamps........................................ 163
Dome Lamp.............................................. 164
Entry Lighting............................................ 164
Delayed Entry Lighting.............................. 164
Delayed Exit Lighting................................. 165
Parade Dimming........................................ 165
Reading Lamps......................................... 165Electric Power Management...................... 165
Battery Run-Down Protection..................... 166
Accessory Power Outlet(s)........................ 167
Ashtray(s) and Cigarette Lighter................ 168
Climate Controls......................................... 168
Climate Control System............................. 168
Outlet Adjustment...................................... 172
Passenger Compartment Air Filter............. 173
Warning Lights, Gages, and Indicators..... 174
Instrument Panel Cluster........................... 175
Speedometer and Odometer...................... 176
Tachometer............................................... 176
Safety Belt Reminder Light........................ 177
Passenger Safety Belt Reminder Light....... 177
Airbag Readiness Light............................. 178
Passenger Airbag Status Indicator............. 179
Charging System Light.............................. 181
Brake System Warning Light..................... 181
Anti-Lock Brake System Warning Light...... 182
Traction Control System (TCS)
Warning Light........................................ 183
Engine Coolant Temperature
Warning Light........................................ 183
Engine Coolant Temperature Gage............ 184
Section 3 Instrument Panel
147
Page 148 of 460

Tire Pressure Light.................................... 184
Malfunction Indicator Lamp........................ 185
Oil Pressure Light..................................... 188
Security Light............................................ 189
Fog Lamp Light......................................... 189
Cruise Control Light.................................. 189
Highbeam On Light................................... 189
Fuel Gage................................................. 190
Driver Information Center (DIC).................. 190
DIC Operation and Displays...................... 191
DIC Compass............................................ 197
DIC Warnings and Messages.................... 199
DIC Vehicle Customization........................ 208Audio System(s)......................................... 215
Setting the Time........................................ 216
Radio with CD (Base)............................... 219
Radio with CD (MP3)................................ 225
Using an MP3........................................... 236
XM Radio Messages................................. 241
Theft-Deterrent Feature............................. 243
Audio Steering Wheel Controls.................. 243
Radio Reception........................................ 244
Care of Your CDs..................................... 245
Care of the CD Player.............................. 245
Backglass Antenna.................................... 246
XM™ Satellite Radio Antenna System....... 246
Section 3 Instrument Panel
148
Page 150 of 460
Instrument Panel Overview
150
Page 151 of 460

The main components of your instrument panel are listed here:
A. Air Vent. SeeOutlet Adjustment on page 172.
B. Remote Trunk Release Button. See “Remote
Trunk Release” underTrunk on page 102.
C. Multifunction Lever. SeeTurn
Signal/Multifunction Lever on page 153.
D. Instrument Panel Cluster. SeeInstrument Panel
Cluster on page 175.
E. Hazard Warning Flasher Button. SeeHazard
Warning Flashers on page 152.
F. Driver Information Center. SeeDriver
Information Center (DIC) on page 190.
G. Passenger Air Bag status Indicator. See
Passenger Airbag Status Indicator on page 179.
H. Audio System. SeeAudio System(s) on
page 215.
I. Exterior Lamps Control. SeeExterior Lamps on
page 160.
J. Instrument Panel Brightness. SeeInstrument
Panel Brightness on page 163.
K. Traction Control On/Off Button (If Equipped).
SeeTraction Control System (TCS) on
page 256.L. Tilt Steering Wheel Lever. SeeTilt Wheel on
page 153.
M. Steering Wheel Cruise Control. SeeCruise
Control on page 157.
N. Hood Release. SeeHood Release on
page 305.
O. Horn. SeeHorn on page 152.
P. Audio Steering Wheel Controls (If Equipped).
SeeAudio Steering Wheel Controls on
page 243.
Q. Ignition Switch. SeeIgnition Positions on
page 112.
R. Climate Controls. SeeClimate Control System
on page 168.
S. Accessory Power Outlets. SeeAccessory
Power Outlet(s) on page 167.
T. Center Console Shift Lever (If Equipped).
See “Console Shift Lever” underShifting Into
Park (P) on page 121.
U. Glove Box. SeeGlove Box on page 144.
151
Page 154 of 460

Turn and Lane-Change Signals
The turn signal has two upward (for right) and
two downward (for left) positions. These positions
allow you to signal a turn or a lane change.
To signal a turn, move the lever all the way up or
down. When the turn is �nished, the lever will
return automatically.
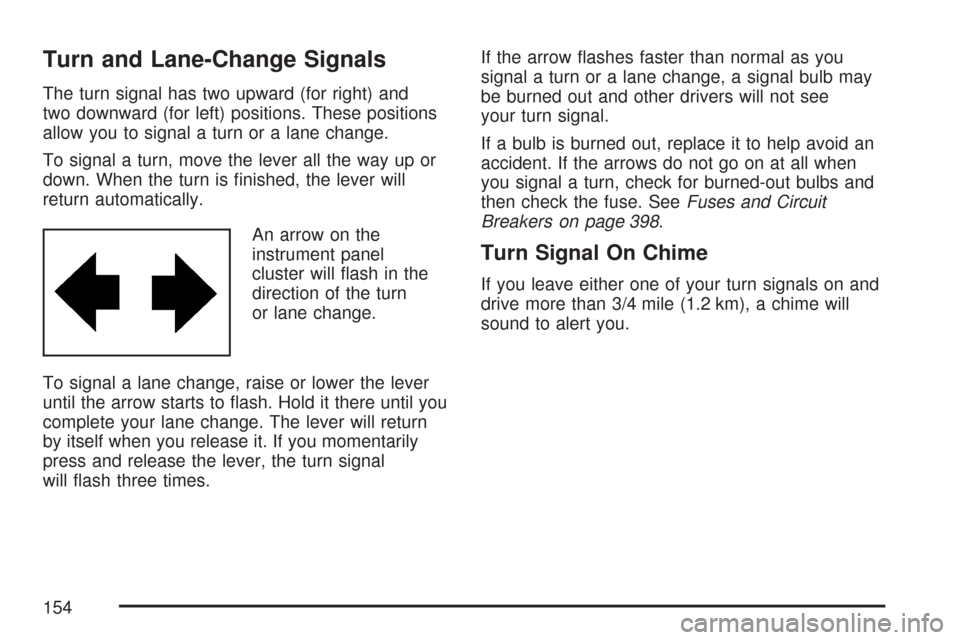
An arrow on the
instrument panel
cluster will �ash in the
direction of the turn
or lane change.
To signal a lane change, raise or lower the lever
until the arrow starts to �ash. Hold it there until you
complete your lane change. The lever will return
by itself when you release it. If you momentarily
press and release the lever, the turn signal
will �ash three times.If the arrow �ashes faster than normal as you
signal a turn or a lane change, a signal bulb may
be burned out and other drivers will not see
your turn signal.
If a bulb is burned out, replace it to help avoid an
accident. If the arrows do not go on at all when
you signal a turn, check for burned-out bulbs and
then check the fuse. SeeFuses and Circuit
Breakers on page 398.
Turn Signal On Chime
If you leave either one of your turn signals on and
drive more than 3/4 mile (1.2 km), a chime will
sound to alert you.
154
Page 155 of 460

Headlamp High/Low-Beam Changer
To change the headlamps from low beam to
high beam, push the turn signal/multifunction lever
toward the front of the vehicle.
This light on the
instrument panel
cluster comes on if
the high beam lamps
are turned on while
the ignition is on.
To change the headlamps from high beam to low
beam, pull the turn signal lever toward the rear
of the vehicle.
Flash-to-Pass
With the turn signal lever in the low-beam position,
pull the lever toward you momentarily to switch
to high-beam (to signal that you are going to pass).
If the headlamps are on, they will return to
low-beam when the lever is released.
This feature operates even when the headlamps
are off.
Windshield Wipers
Be sure to clear ice and snow from the wiper
blades before using them. If they are frozen to the
windshield, gently loosen or thaw them. Damaged
wiper blades may not clear the windshield well,
making it harder to see and drive safely. If the
blades do become damaged, install new blades or
blade inserts. For more information, seeWindshield
Wiper Blade Replacement on page 349.
Heavy snow or ice can overload the wiper motor.
A circuit breaker will stop the motor until it
cools down. Clear away snow or ice to prevent
an overload.
The windshield wipers are controlled by turning
the band with the wiper symbol.
8(Mist):Turn the band to mist for a single
wiping cycle. Hold it there until the wipers start.
Then let go. The wipers will stop after one wipe.
Hold the band on mist longer, for more wipe cycles.
9(Off):To stop the wipers, move the band
to off.
155