2007 CHEVROLET EXPRESS PASSANGER brake light
[x] Cancel search: brake lightPage 237 of 458

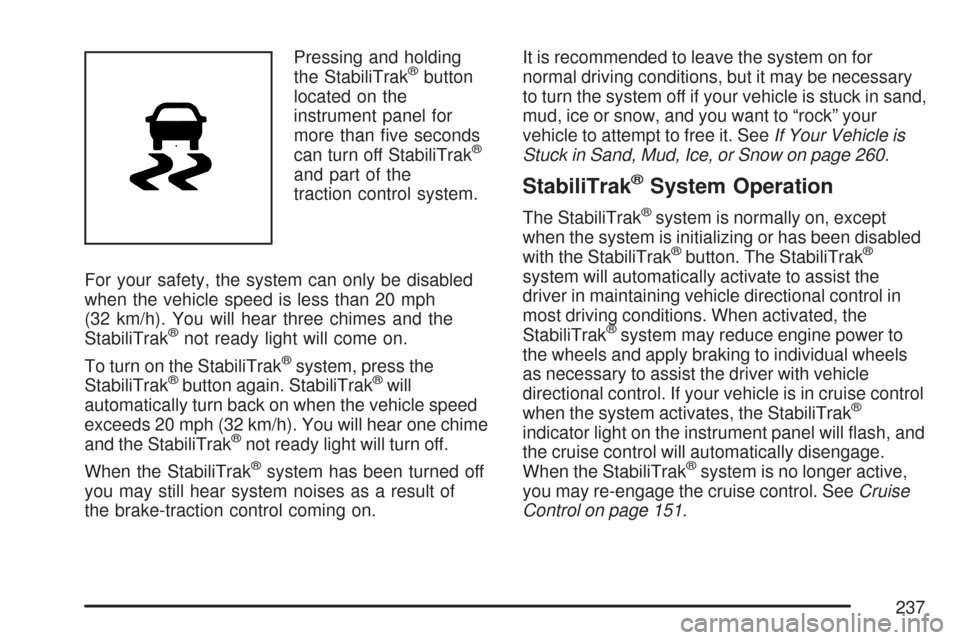
Pressing and holding
the StabiliTrak®button
located on the
instrument panel for
more than five seconds
can turn off StabiliTrak
®
and part of the
traction control system.
For your safety, the system can only be disabled
when the vehicle speed is less than 20 mph
(32 km/h). You will hear three chimes and the
StabiliTrak
®not ready light will come on.
To turn on the StabiliTrak
®system, press the
StabiliTrak®button again. StabiliTrak®will
automatically turn back on when the vehicle speed
exceeds 20 mph (32 km/h). You will hear one chime
and the StabiliTrak
®not ready light will turn off.
When the StabiliTrak
®system has been turned off
you may still hear system noises as a result of
the brake-traction control coming on.It is recommended to leave the system on for
normal driving conditions, but it may be necessary
to turn the system off if your vehicle is stuck in sand,
mud, ice or snow, and you want to “rock” your
vehicle to attempt to free it. SeeIf Your Vehicle is
Stuck in Sand, Mud, Ice, or Snow on page 260.
StabiliTrak®System Operation
The StabiliTrak®system is normally on, except
when the system is initializing or has been disabled
with the StabiliTrak
®button. The StabiliTrak®
system will automatically activate to assist the
driver in maintaining vehicle directional control in
most driving conditions. When activated, the
StabiliTrak
®system may reduce engine power to
the wheels and apply braking to individual wheels
as necessary to assist the driver with vehicle
directional control. If your vehicle is in cruise control
when the system activates, the StabiliTrak
®
indicator light on the instrument panel will flash, and
the cruise control will automatically disengage.
When the StabiliTrak
®system is no longer active,
you may re-engage the cruise control. SeeCruise
Control on page 151.
237
Page 244 of 458

Of course, traction is reduced when water, snow,
ice, gravel, or other material is on the road. For
safety, you want to slow down and adjust your
driving to these conditions. It is important to slow
down on slippery surfaces because stopping
distance is longer and vehicle control more limited.
While driving on a surface with reduced traction, try
your best to avoid sudden steering, acceleration, or
braking, including reducing vehicle speed by
shifting to a lower gear. Any sudden changes could
cause the tires to slide. You might not realize the
surface is slippery until your vehicle is skidding.
Learn to recognize warning clues — such as
enough water, ice, or packed snow on the road to
make a mirrored surface — and slow down when
you have any doubt.
Remember: Any Anti-Lock Brake System (ABS)
helps avoid only the braking skid.Driving at Night
Night driving is more dangerous than day driving.
One reason is that some drivers are likely to
be impaired — by alcohol or drugs, with night
vision problems, or by fatigue.
Here are some tips on night driving.
•Drive defensively.
•Do not drink and drive.
•Adjust the inside rearview mirror to reduce the
glare from headlamps behind you.
•Since you cannot see as well, slow down and
keep more space between you and other
vehicles.
•Slow down, especially on higher speed roads.
Your vehicle’s headlamps can light up only so
much road ahead.
•In remote areas, watch for animals.
•If you are tired, pull off the road in a safe
place and rest.
244
Page 247 of 458

{CAUTION:
Wet brakes can cause accidents. They
may not work as well in a quick stop and
may cause pulling to one side. You could
lose control of the vehicle.
After driving through a large puddle of
water or a car wash, apply the brake pedal
lightly until the brakes work normally.
Driving too fast through large water puddles
or even going through some car washes can
cause problems, too. The water may affect your
brakes. Try to avoid puddles. But if you cannot,
try to slow down before you hit them.
Hydroplaning
Hydroplaning is dangerous. So much water can
build up under your tires that they can actually ride
on the water. This can happen if the road is wet
enough and you are going fast enough. When your
vehicle is hydroplaning, it has little or no contact
with the road.
Hydroplaning does not happen often. But it can
if your tires do not have much tread or if the
pressure in one or more is low. It can happen if
a lot of water is standing on the road. If you
can see reflections from trees, telephone poles, or
other vehicles, and raindrops dimple the water’s
surface, there could be hydroplaning.
Hydroplaning usually happens at higher speeds.
There just is not a hard and fast rule about
hydroplaning. The best advice is to slow down
when it is raining.
247
Page 286 of 458

Maintenance When Trailer Towing
Your vehicle will need service more often when
you’re pulling a trailer. See the Maintenance
Schedule for more on this. Things that are
especially important in trailer operation are
automatic transmission fluid (don’t overfill), engine
oil, axle lubricant, belt, cooling system and
brake system. Each of these is covered in this
manual, and the Index will help you find them
quickly. If you’re trailering, it’s a good idea
to review these sections before you start your trip.
Check periodically to see that all hitch nuts and
bolts are tight.
Trailer Wiring Harness
The optional heavy-duty trailer wiring package
includes a seven-wire harness assembly at the rear
of the vehicle and a four-wire harness assembly
under the left hand side of the instrument panel.
The seven-wire harness assembly is taped together
and located in a frame pocket at the driver side rear
left corner of the frame. The seven-wire harness
includes a 30-amp feed wire.Both harnesses come without connectors and
should be wired by a qualified electrical technician.
The technician can use the following color code
chart when connecting the wiring harness to your
trailer and trailer brake controller.
Seven-Wire Harness
•Light Green: Back-up lamps
•Brown: Parking lamps
•Yellow: Left stoplamp and turn signal
•Dark Green: Right stoplamp and turn signal
•Dark Blue: Use for electric trailer brakes
•Red/Black Stripe: Trailer accessory
•White (heavy gage): Ground wire
Four-Wire Harness (Trailer Brake Controller)
•Black: Ground
•Red/White Stripe: Fused Battery
•Dark Blue: Trailer Brake Feed
•Light Blue: Fused Stoplamp/CHMSL
286
Page 328 of 458

Brake Wear
Your vehicle has four-wheel disc brakes.
Disc brake pads have built-in wear indicators that
make a high-pitched warning sound when the
brake pads are worn and new pads are needed.
The sound can come and go or be heard all
the time your vehicle is moving, except when you
are pushing on the brake pedal firmly.
{CAUTION:
The brake wear warning sound means that
soon the brakes will not work well. That
could lead to an accident. When you hear
the brake wear warning sound, have your
vehicle serviced.
Notice:Continuing to drive with worn-out
brake pads could result in costly brake repair.Some driving conditions or climates can cause a
brake squeal when the brakes are first applied
or lightly applied. This does not mean something
is wrong with the brakes.
Properly torqued wheel nuts are necessary to help
prevent brake pulsation. When tires are rotated,
inspect brake pads for wear and evenly tighten
wheel nuts in the proper sequence to torque
specifications inCapacities and Speci�cations
on page 398.
Brake linings should always be replaced as
complete axle sets.Brake Pedal Travel
See your dealer/retailer if the brake pedal does
not return to normal height, or if there is a
rapid increase in pedal travel. This could be a
sign that brake service might be required.
Brake Adjustment
Every time you make a brake stop, the disc
brakes adjust for wear.
328
Page 331 of 458

Notice:Ignoring these steps could result in
costly damage to your vehicle that would
not be covered by your warranty.
Trying to start your vehicle by pushing or
pulling it will not work, and it could damage
your vehicle.
1. Check the other vehicle. It must have a
12-volt battery with a negative ground system.
Notice:If the other vehicle’s system is not
a 12-volt system with a negative ground, both
vehicles can be damaged. Only use vehicles
with 12-volt systems with negative grounds to
jump start your vehicle.
2. Get the vehicles close enough so the jumper
cables can reach, but be sure the vehicles are
not touching each other. If they are, it could
cause a ground connection you do not
want. You would not be able to start your
vehicle, and the bad grounding could damage
the electrical systems.To avoid the possibility of the vehicles rolling,
set the parking brake firmly on both vehicles
involved in the jump start procedure. Put
an automatic transmission in PARK (P) or a
manual transmission in NEUTRAL before
setting the parking brake.
Notice:If you leave your radio or other
accessories on during the jump starting
procedure, they could be damaged. The
repairs would not be covered by your
warranty. Always turn off your radio and
other accessories when jump starting
your vehicle.
3. Turn off the ignition on both vehicles.
Unplug unnecessary accessories plugged
into the cigarette lighter or the accessory
power outlet. Turn off the radio and all
lamps that are not needed. This will avoid
sparks and help save both batteries.
And it could save the radio!
331
Page 396 of 458

Fuse Usage
5 Back-up Lamps Trailer Wiring
6 Ignition 0
7 Stoplamp
8 Rear Defogger/Heated Mirror
9Right Daytime Running
Lamp/Turn Signal
10Left Daytime Running
Lamp/Turn Signal
11 Truck Body Control Module 4
12 Fuel Pump
13 Trailer
14 Hazard Flashers
15 Horn
16 Truck Body Control Module 3
17 Trailer Stop/Turn Signal
18 Truck Body Control Module 2
19 Truck Body Control Module
20 Remote Function Actuator
21 Engine 2 (Gas), Spare (Diesel)
22 Ignition EFuse Usage
23 Engine 1
24Truck Body Control Module
Ignition 1
25 Spare (Gas), Fuel Heater (Diesel)
26 Inside Rearview Mirror
27 Crankcase
28Brake Transmission Shift
Interlock System
29 Auxiliary Power Outlets
30 Cigarette Lighter
31 Instrument Panel Cluster
32 Air Conditioning
33Spare (Gas), Engine Control
Module (Diesel)
34Canister Vent Solenoid (Gas),
Rear Fog Lamps (Diesel)
35 SPARE
36Brake Transmission Shift
Interlock, Vehicle Back-Up
37 Airbag
396
Page 406 of 458

MaintenanceI— Use MaintenanceIif the
change engine oil light comes on within 10 months
since the vehicle was purchased or MaintenanceII
was performed.MaintenanceII— Use MaintenanceIIif the
previous service performed was MaintenanceI.
Always use MaintenanceIIwhenever the message
comes on 10 months or more since the last
service or if the message has not come on at
all for one year.
Scheduled Maintenance
Service MaintenanceIMaintenanceII
Change engine oil and filter. SeeEngine Oil (Gasoline Engine) on page 303.
Reset oil life system. SeeEngine Oil Life System (Gasoline Engine) on
page 306.An Emission Control Service.••
Lubricate chassis components.See footnote #.••
Visually check for any leaks or damage.See footnote (j).••
Inspect engine air cleaner filter. If necessary, replace filter. SeeEngine
Air Cleaner/Filter on page 308.See footnote (l).•
Rotate tires and check inflation pressures and wear. SeeTire Inspection and
Rotation on page 356and “Tire Wear Inspection” inAt Least Once a Month
on page 412.••
Inspect brake system.See footnote (a).••
406