2007 CHEVROLET EXPRESS CARGO VAN wiring
[x] Cancel search: wiringPage 97 of 458
Adding Equipment to Your
Airbag-Equipped Vehicle
Q:Is there anything I might add to the
exterior of the vehicle that could keep
the airbags from working properly?
A:Yes. If you add things that change your
vehicle’s frame, bumper system, height,
front end or side sheet metal, they may keep
the airbag system from working properly.
Also, the airbag system may not work properly
if you relocate any of the airbag sensors.
If you have any questions about this,
you should contact Customer Assistance
before you modify your vehicle. The phone
numbers and addresses for Customer
Assistance are in Step Two of the Customer
Satisfaction Procedure in this manual.
SeeCustomer Satisfaction Procedure
on page 424.
Q:Because I have a disability, I have to get
my vehicle modi�ed. How can I �nd out
whether this will affect my airbag system?
A:Changing or moving any parts of the
front seats, safety belts, the airbag sensing
and diagnostic module, steering wheel,
the instrument panel, or airbag wiring can
affect the operation of the airbag system.
If you have questions, call Customer
Assistance. The phone numbers and
addresses for Customer Assistance are
in Step Two of the Customer Satisfaction
Procedure in this manual. SeeCustomer
Satisfaction Procedure on page 424.
Your dealer/retailer and the service manual
have information about the location of the airbag
sensors, sensing and diagnostic module and
airbag wiring.
97
Page 156 of 458
5(Headlamps):Turn the control to this position
to turn on the headlamps together with the parking
lamps and turn off the daytime running lamps.
You can switch your headlamps from high to
low-beam by pulling the turn signal/high-beam
lever toward you.
A circuit breaker protects your headlamps. If you
have an electrical overload, your headlamps
will flicker on and off. Have your headlamp wiring
checked right away if this happens.
Headlamps on Reminder
A reminder chime will sound when your control is
turned to the headlamps or parking lamps position,
your key is out of the ignition, and your driver’s door
is open. To disable the chime, turn the control to the
Daytime Running Lamp (DRL) position and then
back to the parking lamps or headlamps position.
Daytime Running Lamps (DRL)
Daytime Running Lamps (DRL) can make it easier
for others to see the front of your vehicle during
the day. DRL can be helpful in many different
driving conditions, but they can be especially
helpful in the short periods after dawn and before
sunset. Fully functional daytime running lamps
are required on all vehicles first sold in Canada.
The DRL system will come on when the following
conditions are met:
•The ignition is on.
•The exterior lamps control is in DRL mode
and not in the defeat position.
When the DRL are on, only the parking lamps will
be on. The other lamps will not be on. The
instrument panel will be lit.
When you turn the headlamp switch off, the
headlamps will go off, and your DRL lamps
(parking lamps) will illuminate.
To turn off the DRL, turn the exterior lamp control
to the off position or shift into PARK (P). The
DRL will stay off until the control is toggled again
or the vehicle is shifted out of PARK (P).
This procedure applies only to vehicles first sold in
the United States.
156
Page 169 of 458
Passenger Safety Belt
Reminder Light
If your vehicle has this feature, several seconds
after the key is turned to RUN or START, a chime
will sound for several seconds to remind the front
passenger to buckle their safety belt. This would
only occur if the passenger airbag is enabled. See
Passenger Sensing System on page 89for more
information. The passenger safety belt light will also
come on and stay on for several seconds, then it
will flash for several more.
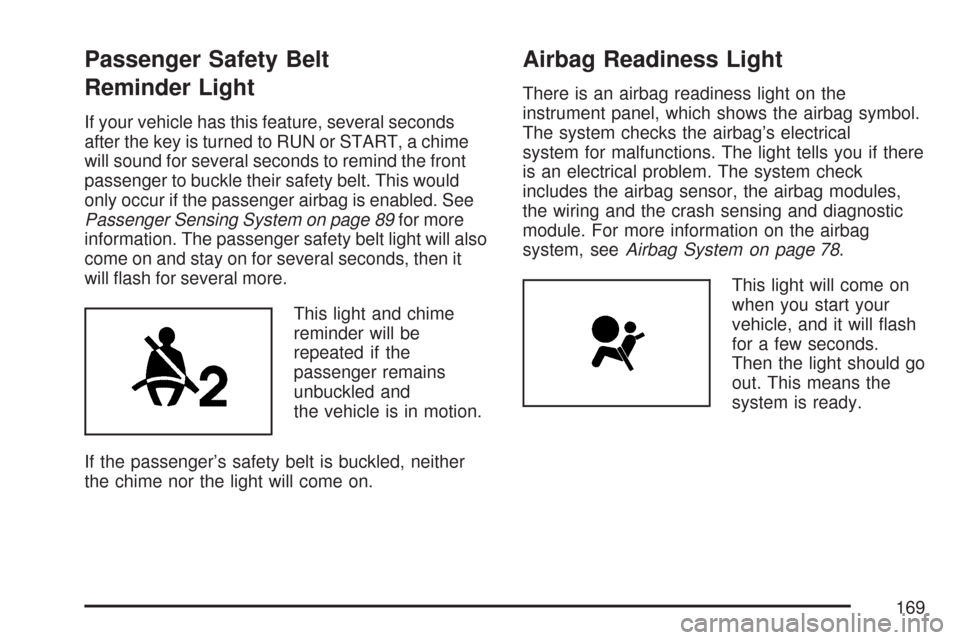
This light and chime
reminder will be
repeated if the
passenger remains
unbuckled and
the vehicle is in motion.
If the passenger’s safety belt is buckled, neither
the chime nor the light will come on.
Airbag Readiness Light
There is an airbag readiness light on the
instrument panel, which shows the airbag symbol.
The system checks the airbag’s electrical
system for malfunctions. The light tells you if there
is an electrical problem. The system check
includes the airbag sensor, the airbag modules,
the wiring and the crash sensing and diagnostic
module. For more information on the airbag
system, seeAirbag System on page 78.
This light will come on
when you start your
vehicle, and it will flash
for a few seconds.
Then the light should go
out. This means the
system is ready.
169
Page 187 of 458
Audio System(s)
If your vehicle came without a radio, the wiring
provisions for a radio and an antenna were
installed at the assembly plant, so that if you want,
a radio can be installed at the dealer/retailer.
Determine which radio your vehicle has and then
read the pages following to familiarize yourself
with its features.
Driving without distraction is a necessity for a
safer driving experience. SeeDefensive Driving on
page 228. By taking a few moments to read this
manual and get familiar with your vehicle’s
audio system, you can use it with less effort, as
well as take advantage of its features. While your
vehicle is parked, set up your audio system by
presetting your favorite radio stations, setting the
tone and adjusting the speakers. Then, when
driving conditions permit, you can tune to
your favorite stations using the presets and
steering wheel controls if the vehicle has them.{CAUTION:
This system provides you with a far greater
access to audio stations and song listings.
Giving extended attention to entertainment
tasks while driving can cause a crash and
you or others can be injured or killed.
Always keep your eyes on the road and
your mind on the drive — avoid engaging
in extended searching while driving.
Keeping your mind on the drive is important for
safe driving. Here are some ways in which you can
help avoid distraction while driving.
187
Page 281 of 458
If you’ll be pulling a trailer that, when loaded, will
weigh more than 5,000 lbs (2 270 kg), be sure
to use a properly mounted weight-distributing hitch
and sway control of the proper size. This
equipment is very important for proper vehicle
loading and good handling when you’re driving.
You should always use a sway control if your
trailer will weigh more than these limits. You can
ask a hitch dealer/retailer about sway controls.
Will you have to make any holes in the body
of your vehicle when you install a trailer hitch?
If you’re using the wiring provided with the
factory-installed trailering package, you should not
need to make any holes in the body of your vehicle.
However, if you have an aftermarket hitch installed,
you may need to make holes in the body.
If you do, then be sure to seal the holes later
when you remove the hitch. If you don’t seal them,
deadly carbon monoxide (CO) from your exhaust
can get into your vehicle as well as dirt and water.
See “Carbon Monoxide” underEngine Exhaust
on page 132.Safety Chains
You should always attach chains between your
vehicle and your trailer. Cross the safety
chains under the tongue of the trailer to help
prevent the tongue from contacting the road if it
becomes separated from the hitch. Instructions
about safety chains may be provided by the hitch
manufacturer or by the trailer manufacturer.
Follow the manufacturer’s recommendation for
attaching safety chains and do not attach them to
the bumper. Always leave just enough slack so
you can turn with your rig. Never allow safety
chains to drag on the ground.
Trailer Brakes
If your trailer weighs more than 1,000 lbs (450 kg)
loaded, then it needs its own brakes – and they
must be adequate. Be sure to read and follow the
instructions for the trailer brakes so you’ll be
able to install, adjust and maintain them properly.
If your vehicle has StabiliTrak
®, your trailer
brake system cannot tap into the vehicle’s
hydraulic brake system.
281
Page 284 of 458
Turn Signals When Towing a Trailer
When you tow a trailer, your vehicle has to have
extra wiring and a heavy-duty turn signal
flasher (included in the optional trailering package).
The arrows on your instrument panel will flash
whenever you signal a turn or lane change.
Properly hooked up, the trailer lamps will also
flash, telling other drivers you’re about to
turn, change lanes or stop.
When towing a trailer, the arrows on your
instrument panel will flash for turns even if the bulbs
on the trailer are burned out. Thus, you may think
drivers behind you are seeing your signal when
they are not. It’s important to check occasionally to
be sure the trailer bulbs are still working.
Driving On Grades
Reduce speed and shift to a lower gearbefore
you start down a long or steep downgrade. If you
don’t shift down, you might have to use your
brakes so much that they would get hot and no
longer work well.
You can tow in DRIVE (D). You may want to shift
the transmission to THIRD (3) or a lower gear
under heavy loads and/or hilly conditions.
When towing at high altitude on steep uphill
grades, consider the following: Engine coolant will
boil at a lower temperature than at normal
altitudes. If you turn your engine off immediately
after towing at high altitude on steep uphill grades,
your vehicle may show signs similar to engine
overheating. To avoid this, let the engine run while
parked (preferably on level ground) with the
automatic transmission in PARK (P) for a few
minutes before turning the engine off. If you do get
the overheat warning, seeEngine Overheating
on page 315.
284
Page 286 of 458
Maintenance When Trailer Towing
Your vehicle will need service more often when
you’re pulling a trailer. See the Maintenance
Schedule for more on this. Things that are
especially important in trailer operation are
automatic transmission fluid (don’t overfill), engine
oil, axle lubricant, belt, cooling system and
brake system. Each of these is covered in this
manual, and the Index will help you find them
quickly. If you’re trailering, it’s a good idea
to review these sections before you start your trip.
Check periodically to see that all hitch nuts and
bolts are tight.
Trailer Wiring Harness
The optional heavy-duty trailer wiring package
includes a seven-wire harness assembly at the rear
of the vehicle and a four-wire harness assembly
under the left hand side of the instrument panel.
The seven-wire harness assembly is taped together
and located in a frame pocket at the driver side rear
left corner of the frame. The seven-wire harness
includes a 30-amp feed wire.Both harnesses come without connectors and
should be wired by a qualified electrical technician.
The technician can use the following color code
chart when connecting the wiring harness to your
trailer and trailer brake controller.
Seven-Wire Harness
•Light Green: Back-up lamps
•Brown: Parking lamps
•Yellow: Left stoplamp and turn signal
•Dark Green: Right stoplamp and turn signal
•Dark Blue: Use for electric trailer brakes
•Red/Black Stripe: Trailer accessory
•White (heavy gage): Ground wire
Four-Wire Harness (Trailer Brake Controller)
•Black: Ground
•Red/White Stripe: Fused Battery
•Dark Blue: Trailer Brake Feed
•Light Blue: Fused Stoplamp/CHMSL
286
Page 289 of 458
Electrical System........................................ 393
Add-On Electrical Equipment..................... 393
Headlamp Wiring....................................... 393
Windshield Wiper Fuses............................ 393Fuses and Circuit Breakers....................... 393
Floor Console Fuse Block......................... 394
Engine Compartment Fuse Block............... 395
Capacities and Speci�cations.................... 398
Section 5 Service and Appearance Care
289