2007 CHEVROLET EXPRESS CARGO VAN change wheel
[x] Cancel search: change wheelPage 97 of 458
Adding Equipment to Your
Airbag-Equipped Vehicle
Q:Is there anything I might add to the
exterior of the vehicle that could keep
the airbags from working properly?
A:Yes. If you add things that change your
vehicle’s frame, bumper system, height,
front end or side sheet metal, they may keep
the airbag system from working properly.
Also, the airbag system may not work properly
if you relocate any of the airbag sensors.
If you have any questions about this,
you should contact Customer Assistance
before you modify your vehicle. The phone
numbers and addresses for Customer
Assistance are in Step Two of the Customer
Satisfaction Procedure in this manual.
SeeCustomer Satisfaction Procedure
on page 424.
Q:Because I have a disability, I have to get
my vehicle modi�ed. How can I �nd out
whether this will affect my airbag system?
A:Changing or moving any parts of the
front seats, safety belts, the airbag sensing
and diagnostic module, steering wheel,
the instrument panel, or airbag wiring can
affect the operation of the airbag system.
If you have questions, call Customer
Assistance. The phone numbers and
addresses for Customer Assistance are
in Step Two of the Customer Satisfaction
Procedure in this manual. SeeCustomer
Satisfaction Procedure on page 424.
Your dealer/retailer and the service manual
have information about the location of the airbag
sensors, sensing and diagnostic module and
airbag wiring.
97
Page 141 of 458
Instrument Panel Overview........................ 144
Hazard Warning Flashers.......................... 146
Other Warning Devices............................. 146
Horn.......................................................... 146
Tilt Wheel.................................................. 147
Turn Signal/Multifunction Lever.................. 147
Turn and Lane-Change Signals................. 148
Headlamp High/Low-Beam Changer.......... 149
Flash-to-Pass............................................ 149
Windshield Wipers..................................... 150
Windshield Washer.................................... 151
Cruise Control........................................... 151
Exterior Lamps.......................................... 155
Headlamps on Reminder........................... 156
Daytime Running Lamps (DRL)................. 156
Instrument Panel Brightness...................... 157
Dome Lamps............................................. 157
Dome Lamp Override................................ 157
Entry Lighting............................................ 158
Exit Lighting.............................................. 158
Reading Lamps......................................... 158Battery Run-Down Protection..................... 158
Accessory Power Outlet(s)........................ 158
Ashtray(s) and Cigarette Lighter................ 159
Climate Controls......................................... 160
Climate Control System............................. 160
Outlet Adjustment...................................... 162
Rear Heating System................................ 163
Rear Air Conditioning and Heating
System.................................................. 164
Warning Lights, Gages, and Indicators..... 166
Instrument Panel Cluster........................... 167
Speedometer and Odometer...................... 168
Trip Odometer........................................... 168
Safety Belt Reminder Light........................ 168
Passenger Safety Belt Reminder Light....... 169
Airbag Readiness Light............................. 169
Airbag Off Light......................................... 170
Passenger Airbag Status Indicator............. 172
Charging System Light.............................. 174
Voltmeter Gage......................................... 175
Section 3 Instrument Panel
141
Page 147 of 458
Tilt Wheel
A tilt steering wheel allows you to adjust the
steering wheel before you drive. You can also
raise it to the highest level to give your legs more
room when you enter and exit the vehicle.
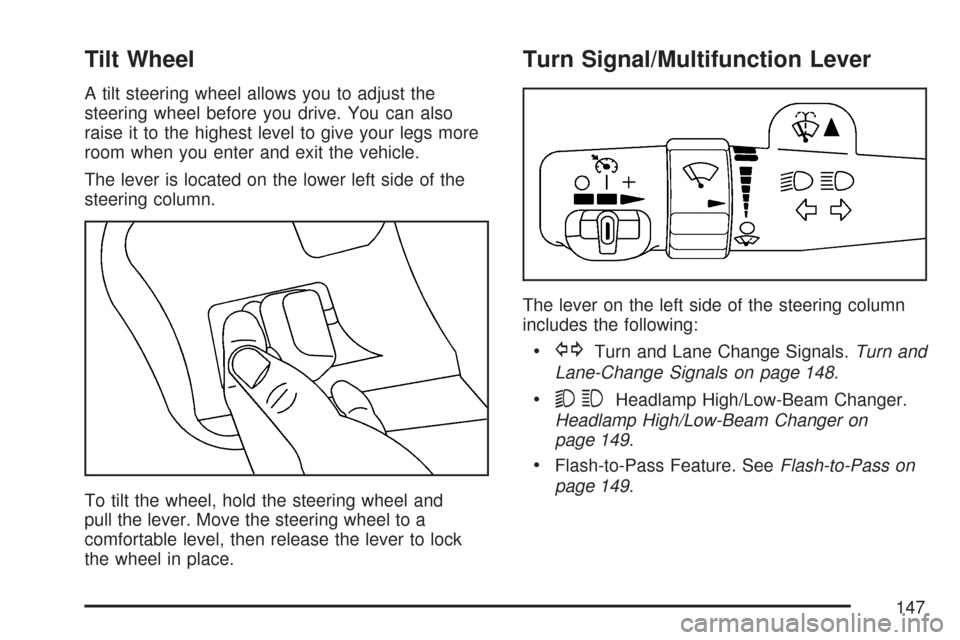
The lever is located on the lower left side of the
steering column.
To tilt the wheel, hold the steering wheel and
pull the lever. Move the steering wheel to a
comfortable level, then release the lever to lock
the wheel in place.
Turn Signal/Multifunction Lever
The lever on the left side of the steering column
includes the following:
•GTurn and Lane Change Signals.Turn and
Lane-Change Signals on page 148.
•53Headlamp High/Low-Beam Changer.
Headlamp High/Low-Beam Changer on
page 149.
•Flash-to-Pass Feature. SeeFlash-to-Pass on
page 149.
147
Page 151 of 458
Windshield Washer
L(Washer Fluid):There is a paddle marked
with the windshield washer symbol at the top of the
multifunction lever. To spray washer fluid on the
windshield, push the paddle. The wipers will
clear the window and then either stop or return to
your preset speed.
{CAUTION:
In freezing weather, do not use your
washer until the windshield is warmed.
Otherwise the washer �uid can form ice
on the windshield, blocking your vision.
Cruise Control
If your vehicle has cruise control, you can maintain
a speed of about 25 mph (40 km/h) or more without
keeping your foot on the accelerator. This can really
help on long trips. Cruise control does not work at
speeds below about 25 mph (40 km/h).
If you apply your brakes, the cruise control will
disengage.
{CAUTION:
Cruise control can be dangerous where
you cannot drive safely at a steady speed.
So, do not use your cruise control on
winding roads or in heavy traffic.
Cruise control can be dangerous on
slippery roads. On such roads, fast
changes in tire traction can cause
excessive wheel slip, and you could lose
control. Do not use cruise control on
slippery roads.
151
Page 234 of 458
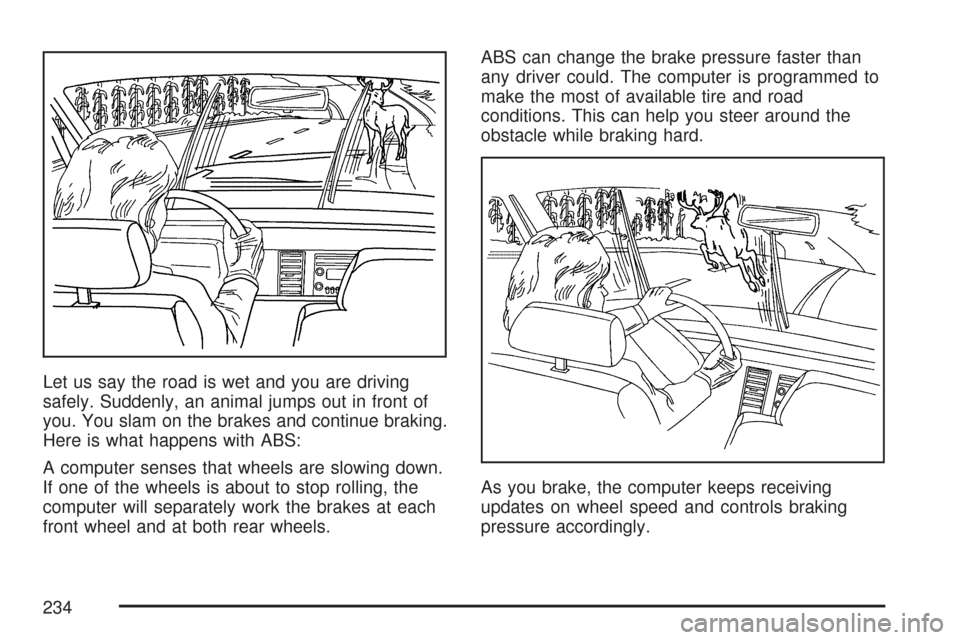
Let us say the road is wet and you are driving
safely. Suddenly, an animal jumps out in front of
you. You slam on the brakes and continue braking.
Here is what happens with ABS:
A computer senses that wheels are slowing down.
If one of the wheels is about to stop rolling, the
computer will separately work the brakes at each
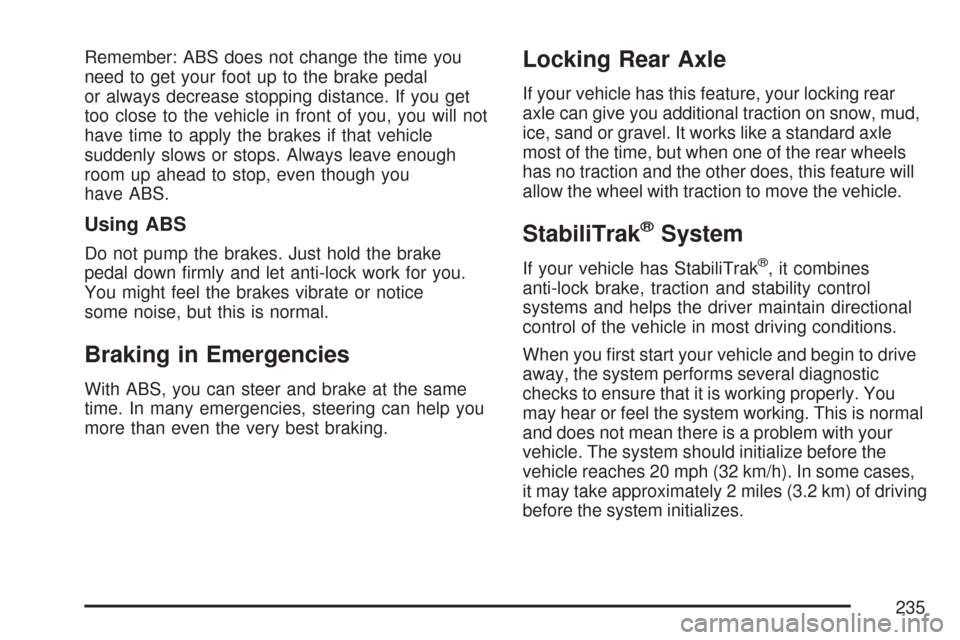
front wheel and at both rear wheels.ABS can change the brake pressure faster than
any driver could. The computer is programmed to
make the most of available tire and road
conditions. This can help you steer around the
obstacle while braking hard.
As you brake, the computer keeps receiving
updates on wheel speed and controls braking
pressure accordingly.
234
Page 235 of 458
Remember: ABS does not change the time you
need to get your foot up to the brake pedal
or always decrease stopping distance. If you get
too close to the vehicle in front of you, you will not
have time to apply the brakes if that vehicle
suddenly slows or stops. Always leave enough
room up ahead to stop, even though you
have ABS.
Using ABS
Do not pump the brakes. Just hold the brake
pedal down firmly and let anti-lock work for you.
You might feel the brakes vibrate or notice
some noise, but this is normal.
Braking in Emergencies
With ABS, you can steer and brake at the same
time. In many emergencies, steering can help you
more than even the very best braking.
Locking Rear Axle
If your vehicle has this feature, your locking rear
axle can give you additional traction on snow, mud,
ice, sand or gravel. It works like a standard axle
most of the time, but when one of the rear wheels
has no traction and the other does, this feature will
allow the wheel with traction to move the vehicle.
StabiliTrak®System
If your vehicle has StabiliTrak®, it combines
anti-lock brake, traction and stability control
systems and helps the driver maintain directional
control of the vehicle in most driving conditions.
When you first start your vehicle and begin to drive
away, the system performs several diagnostic
checks to ensure that it is working properly. You
may hear or feel the system working. This is normal
and does not mean there is a problem with your
vehicle. The system should initialize before the
vehicle reaches 20 mph (32 km/h). In some cases,
it may take approximately 2 miles (3.2 km) of driving
before the system initializes.
235
Page 239 of 458
Steering
Power Steering
If you lose power steering assist because the
engine stops or the system is not functioning, you
can steer but it will take much more effort.
Steering Tips
It is important to take curves at a reasonable speed.
A lot of the “driver lost control” accidents
mentioned on the news happen on curves.
Here is why:
Experienced driver or beginner, each of us is
subject to the same laws of physics when driving on
curves. The traction of the tires against the road
surface makes it possible for the vehicle to change
its path when you turn the front wheels. If there is
no traction, inertia will keep the vehicle going in the
same direction. If you have ever tried to steer a
vehicle on wet ice, you will understand this.
The traction you can get in a curve depends on
the condition of the tires and the road surface, the
angle at which the curve is banked, and your
speed. While you are in a curve, speed is the
one factor you can control.Suppose you are steering through a sharp curve.
Then you suddenly accelerate. Both control
systems — steering and acceleration — have to
do their work where the tires meet the road.
Adding the sudden acceleration can demand too
much of those places. You can lose control.
What should you do if this ever happens? Ease up
on the accelerator pedal, steer the vehicle the
way you want it to go, and slow down.
Speed limit signs near curves warn that you
should adjust your speed. Of course, the posted
speeds are based on good weather and road
conditions. Under less favorable conditions you will
want to go slower.
If you need to reduce your speed as you approach
a curve, do it before you enter the curve, while
the front wheels are straight ahead.
Try to adjust your speed so you can “drive”
through the curve. Maintain a reasonable, steady
speed. Wait to accelerate until you are out of
the curve, and then accelerate gently into
the straightaway.
Adding non-dealer/non-retailer accessories can
affect your vehicle’s performance. SeeAccessories
and Modi�cations on page 290.
239
Page 357 of 458
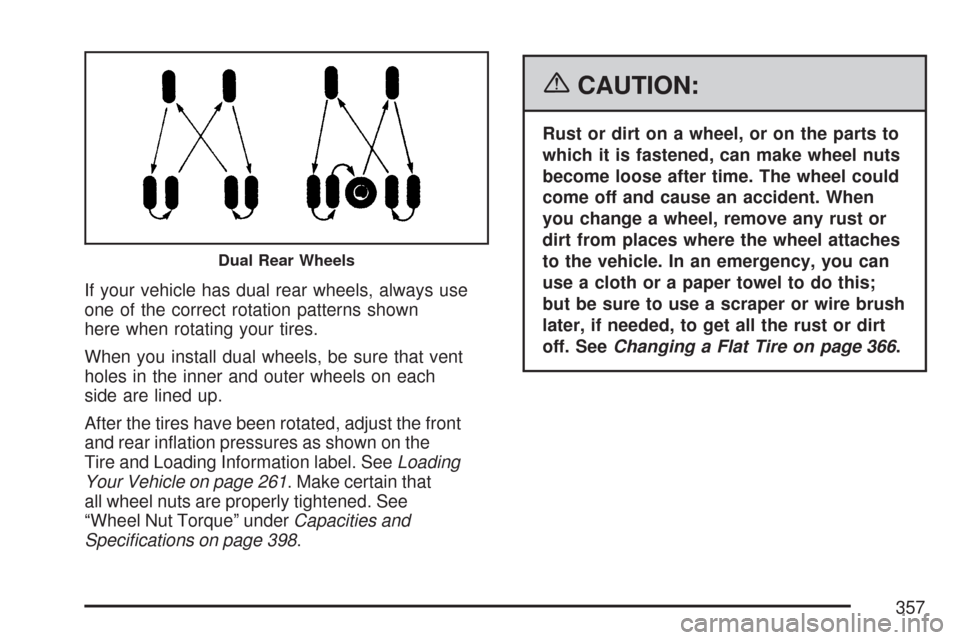
If your vehicle has dual rear wheels, always use
one of the correct rotation patterns shown
here when rotating your tires.
When you install dual wheels, be sure that vent
holes in the inner and outer wheels on each
side are lined up.
After the tires have been rotated, adjust the front
and rear inflation pressures as shown on the
Tire and Loading Information label. SeeLoading
Your Vehicle on page 261. Make certain that
all wheel nuts are properly tightened. See
“Wheel Nut Torque” underCapacities and
Speci�cations on page 398.
{CAUTION:
Rust or dirt on a wheel, or on the parts to
which it is fastened, can make wheel nuts
become loose after time. The wheel could
come off and cause an accident. When
you change a wheel, remove any rust or
dirt from places where the wheel attaches
to the vehicle. In an emergency, you can
use a cloth or a paper towel to do this;
but be sure to use a scraper or wire brush
later, if needed, to get all the rust or dirt
off. SeeChanging a Flat Tire on page 366.
Dual Rear Wheels
357