2007 CHEVROLET COLORADO instrument cluster
[x] Cancel search: instrument clusterPage 165 of 496

Headlamp High/Low-Beam Changer
53(Headlamp High/Low Beam Changer):
To change the headlamps from low to high beam,
push the lever toward the instrument panel.
To return to low-beam headlamps, pull the
multifunction lever toward you. Then release it.
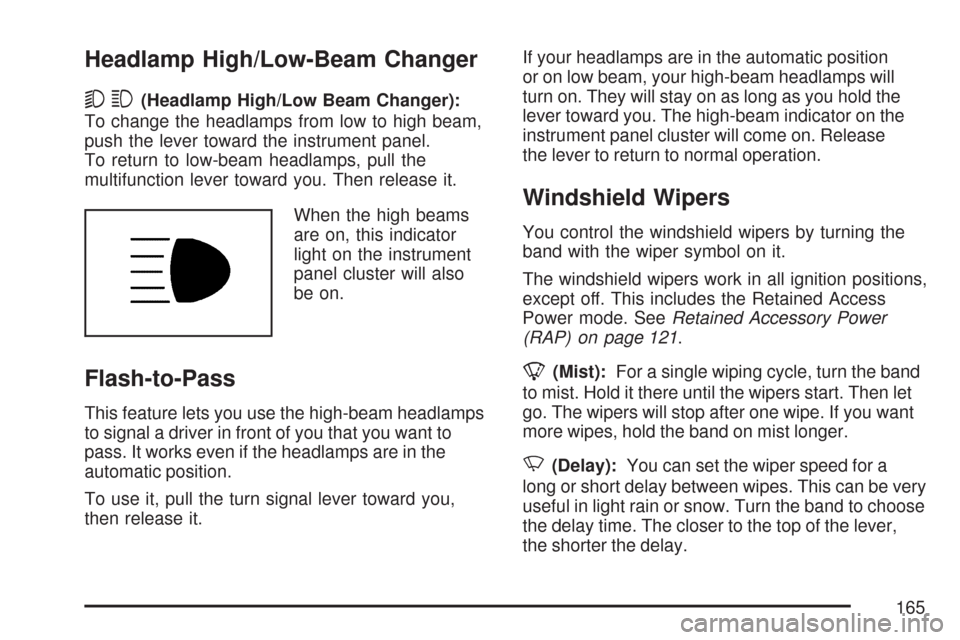
When the high beams
are on, this indicator
light on the instrument
panel cluster will also
be on.
Flash-to-Pass
This feature lets you use the high-beam headlamps
to signal a driver in front of you that you want to
pass. It works even if the headlamps are in the
automatic position.
To use it, pull the turn signal lever toward you,
then release it.If your headlamps are in the automatic position
or on low beam, your high-beam headlamps will
turn on. They will stay on as long as you hold the
lever toward you. The high-beam indicator on the
instrument panel cluster will come on. Release
the lever to return to normal operation.
Windshield Wipers
You control the windshield wipers by turning the
band with the wiper symbol on it.
The windshield wipers work in all ignition positions,
except off. This includes the Retained Access
Power mode. SeeRetained Accessory Power
(RAP) on page 121.
8(Mist):For a single wiping cycle, turn the band
to mist. Hold it there until the wipers start. Then let
go. The wipers will stop after one wipe. If you want
more wipes, hold the band on mist longer.
N(Delay):You can set the wiper speed for a
long or short delay between wipes. This can be very
useful in light rain or snow. Turn the band to choose
the delay time. The closer to the top of the lever,
the shorter the delay.
165
Page 173 of 496

There is a delay in the transition between
the daytime and nighttime operation of the
Daytime Running Lamps (DRL) and the automatic
headlamp system so that driving under bridges
or bright overhead street lights does not affect
the system. The DRL and automatic headlamp
system will only be affected when the light sensor
detects a change in lighting lasting longer than
the delay.
If you start your vehicle in a dark garage, the
automatic headlamp system will come on
immediately. Once you leave the garage, it will
take about one minute for the automatic headlamp
system to change to DRL if it is light outside.
During that delay, the instrument panel cluster
may not be as bright as usual. Make sure
the instrument panel brightness control is in
the full bright position. SeeInstrument Panel
Brightness on page 174.Fog Lamps
If your vehicle has fog lamps, you can use them
for better vision in foggy or misty conditions.
Your parking lamps and/or low-beam headlamps
must be on for your fog lamps to work.
The fog lamp button is
located near the exterior
lamps control.
Press the button to turn the fog lamps on while
the headlamps or parking lamps are on. Press the
button again to turn them off. An indicator light
will glow in the button when the fog lamps are on.
Remember, fog lamps alone will not give off as
much light as your headlamps. Never use your fog
lamps in the dark without turning on the headlamps.
The fog lamps will go off whenever your
high-beam headlamps come on. When the high
beams go off, the fog lamps will come on again.
Some localities have laws that require the
headlamps to be on along with the fog lamps.
173
Page 174 of 496

Exterior Cargo Lamps
The cargo lamps can be used if more light is
needed in the cargo area of the vehicle or in the
top-box storage units.
Press this button,
located on the
driver side of the
instrument panel
near the exterior
lamp control, to
turn the cargo
lamps on and off.
The dome lamps must be on for the cargo lamps
to come on. SeeDome Lamp on page 174.
Interior Lamps
The thumbwheel for the interior lamps is located
next to the exterior lamps control. SeeExterior
Lamps on page 170for additional information
on location.
Instrument Panel Brightness
D(Instrument Panel Lights):Turn the
thumbwheel up or down to brighten or dim the
instrument panel lights and the radio display.
The instrument panel lights, cluster, and radio
display do not dim to complete darkness.
The instrument panel light brightness control
will only work if the headlamps or parking lamps
are on. SeeExterior Lamps on page 170.
Dome Lamp
The dome lamp will come on when a door is
opened. They will shut off several seconds after
all doors are closed.
You can also turn the dome lamp on manually
by turning the interior lamps thumbwheel all
the way up. In this position, the dome lamp will
remain on whether a door is opened or closed.
SeeInterior Lamps on page 174for additional
information on location.
174
Page 182 of 496

Instrument Panel Cluster
Your instrument panel cluster is designed to let you know at a glance how your vehicle is running.
You will know how fast you are going, about how much fuel you have used, and many other things
you will need to know to drive safely and economically.
United States automatic transmission version shown, Canada similar
182
Page 198 of 496

Driver Information Center (DIC)
The Driver Information Center (DIC) displays
information such as the trip odometer,
personalization features, and warning messages.
The DIC display is located on the instrument
panel cluster.
DIC Controls and Displays
The Driver Information Center (DIC) comes on
when the ignition is on.
If a problem is detected, a warning message
appears on the display. Pressing and releasing
the trip odometer reset stem on the DIC
acknowledges some current warnings or service
messages. Some messages only clear after
the required action has been taken.
The DIC has different modes which can be
accessed by pressing the trip odometer reset stem
on the DIC. These modes are explained in the
following section. The DIC trip odometer reset stem
is located on the instrument panel cluster next to
the DIC display. To scroll through the available
functions, press and release the reset stem.
Trip Information
Odometer
The odometer is automatically displayed on the
DIC when you start the vehicle. The odometer
shows the total distance the vehicle has
been driven in either miles for the United States
or kilometers for Canada.
Trip Odometer
Press and release the reset stem until TRIP
appears on the DIC display. The trip odometer
shows the current distance traveled since the last
reset of the trip odometer in either miles for the
United States or kilometers for Canada.
To reset the trip odometer, press and hold the
reset stem until the display returns to zero.
198
Page 203 of 496

SeeBrakes on page 357andBrake System
Warning Light on page 189for more information.
Press and release the reset stem to acknowledge
the message and clear it from the display.
CHANGE OIL
This message displays when the oil needs to be
changed. Check the oil in your vehicle as soon
as possible and have your vehicle serviced by
your dealer. SeeEngine Oil on page 333
andScheduled Maintenance on page 442for
more information. Press and release the reset
stem to acknowledge the message and clear
it from the display.
DOORS
This message displays when one or more of
the doors is ajar. Check all the doors on your
vehicle to make sure they are closed. The
message clears from the display after all of
the doors are closed.
ENG (Engine) HOT
This message displays when the engine
coolant temperature is hot. Check the
engine coolant temperature gage.SeeEngine Coolant Temperature Gage on
page 191. Have your vehicle serviced by your
dealer as soon as possible if you suspect
the engine is overheating. SeeEngine
Overheating on page 348for more information.
FLUID
This message displays if the brake �uid is low.
Check the brake �uid as soon as possible
and have your vehicle serviced by your dealer.
SeeBrakes on page 357for more information.
Press and release the reset stem to acknowledge
the message and clear it from the display.
FUEL CAP
This message displays if the vehicle’s fuel cap is
either off or loose. Pull over as soon as possible
and check to see if the fuel cap is secure. You may
also see the check engine light on the instrument
panel cluster. If the check engine light does
come on when the fuel cap was loose, it may
take a few driving trips before the light turns off.
SeeMalfunction Indicator Lamp on page 192
for more information if the light still remains on.
Press and release the reset stem to acknowledge
the message and clear it from the display.
203
Page 205 of 496

Anytime this message stays on, the vehicle
should be taken to your dealer for service as
soon as possible. Press and release the reset
stem to acknowledge the message and clear
it from the display.
SERV (Service) 4WD
(Four-Wheel Drive)
This message displays when there is a problem
with the transfer case control system. Check the
transfer case on your vehicle and have it serviced
by your dealer. SeeFour-Wheel Drive on page 129
for more information about the transfer case. Press
and release the reset stem to acknowledge the
message and clear it from the display.
SERV (Service) TPM
(Tire Pressure Monitor)
This message displays if any of the tire monitor
sensors have malfunctioned, if the tire monitor
sensors have not been programmed, or if
the recommended tire pressures are not
programmed. The tire pressure light also �ashes
for one minute and then turns on solid until
the condition goes away or the system is serviced.SeeTire Pressure Light on page 191. Press and
release the reset stem to acknowledge the
message and clear it from the display. This
message appears at each ignition cycle until the
system is serviced. See your dealer for service.
SeeTire Pressure Monitor System on page 385for
more information.
SERV (Service) VEH (Vehicle)
This message displays if your vehicle needs
service. Have your vehicle serviced by your
dealer as soon as possible.
SERVICE CHARG (Charge)
SYS (System)
This message displays if there is a problem with
the battery charging system. Under certain
conditions, the battery warning light may also turn
on in the instrument panel cluster. SeeBattery
Warning Light on page 188. The battery will not be
charging at an optimal rate and the vehicle will
lose the ability to enter the fuel economy mode.
The vehicle is safe to drive, however have
the electrical system checked by your dealer.
Press and release the reset stem to acknowledge
the message and clear it from the display.
205
Page 329 of 496

{CAUTION:
Fuel can spray out on you if you open the
fuel cap too quickly. If you spill fuel and
then something ignites it, you could be
badly burned. This spray can happen if
your tank is nearly full, and is more likely
in hot weather. Open the fuel cap slowly
and wait for any hiss noise to stop. Then
unscrew the cap all the way.
Be careful not to spill fuel. Do not top off or over�ll
the tank and wait a few seconds after you have
�nished pumping before removing the nozzle.
Clean fuel from painted surfaces as soon as
possible. SeeWashing Your Vehicle on page 426.
When replacing the fuel cap, turn it clockwise
until it clicks. Make sure the cap is fully installed.
The diagnostic system can determine if the
fuel cap has been left off or improperly installed.
This would allow fuel to evaporate into the
atmosphere. If the fuel cap is not properly installed,the FUEL CAP message will appear on the Driver
Information Center (DIC) and the check engine
light will be lit on the instrument panel cluster.
SeeDIC Warnings and Messages on page 202
andMalfunction Indicator Lamp on page 192
for more information.
{CAUTION:
If a �re starts while you are refueling,
do not remove the nozzle. Shut off the
�ow of fuel by shutting off the pump
or by notifying the station attendant.
Leave the area immediately.
Notice:If you need a new fuel cap, be sure
to get the right type. Your dealer/retailer
can get one for you. If you get the wrong type,
it may not �t properly. This may cause your
malfunction indicator lamp to light and
may damage your fuel tank and emissions
system. SeeMalfunction Indicator Lamp
on page 192.
329