Page 285 of 512
Navigation Audio System
Notice:Before adding any sound equipment
to your vehicle, such as an audio system,
CD player, CB radio, mobile telephone,
or two-way radio, make sure that it can be
added by checking with your dealer. Also,
check federal rules covering mobile radio and
telephone units. If sound equipment can be
added, it is very important to do it properly.
Added sound equipment may interfere with the
operation of your vehicle’s engine, radio, or
other systems, and even damage them.
Your vehicle’s systems may interfere with the
operation of sound equipment that has
been added.
Your vehicle has a feature called Retained
Accessory Power (RAP). With RAP, the audio
system can be played even after the ignition
is turned off. SeeRetained Accessory Power
(RAP) on page 89for more information.
The audio system is operated using navigation
system menus. The audio menus are explained in
this section.
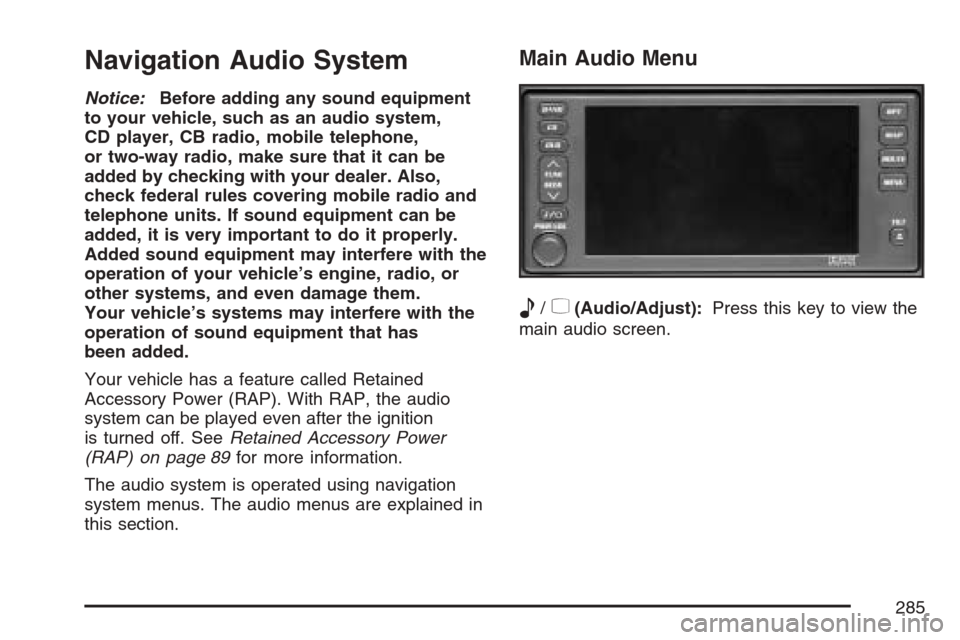
Main Audio Menu
e
/z(Audio/Adjust):Press this key to view the
main audio screen.
285
Page 293 of 512
Adjusting the Speakers
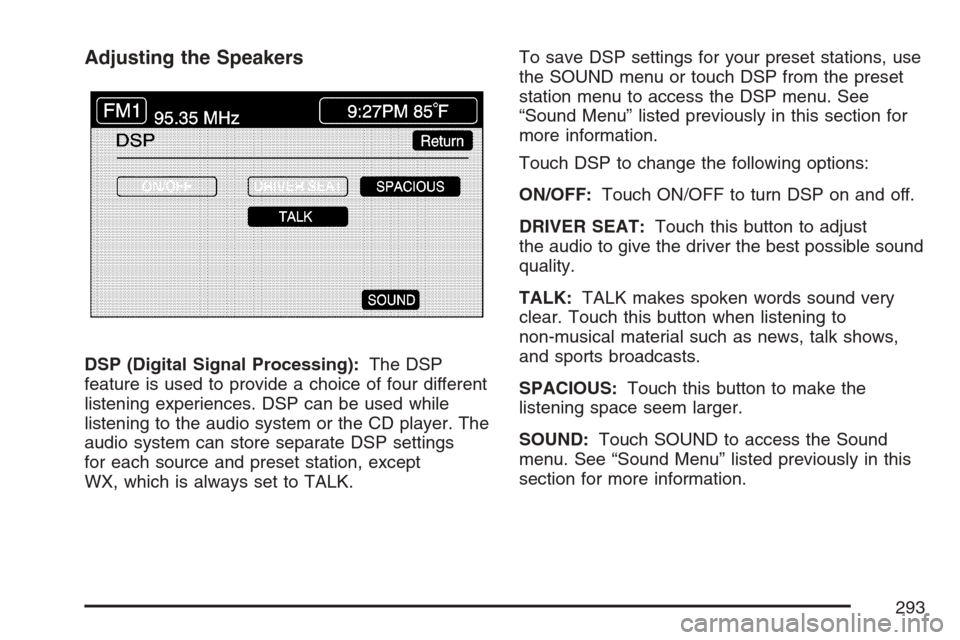
DSP (Digital Signal Processing):The DSP
feature is used to provide a choice of four different
listening experiences. DSP can be used while
listening to the audio system or the CD player. The
audio system can store separate DSP settings
for each source and preset station, except
WX, which is always set to TALK.To save DSP settings for your preset stations, use
the SOUND menu or touch DSP from the preset
station menu to access the DSP menu. See
“Sound Menu” listed previously in this section for
more information.
Touch DSP to change the following options:
ON/OFF:Touch ON/OFF to turn DSP on and off.
DRIVER SEAT:Touch this button to adjust
the audio to give the driver the best possible sound
quality.
TALK:TALK makes spoken words sound very
clear. Touch this button when listening to
non-musical material such as news, talk shows,
and sports broadcasts.
SPACIOUS:Touch this button to make the
listening space seem larger.
SOUND:Touch SOUND to access the Sound
menu. See “Sound Menu” listed previously in this
section for more information.
293
Page 296 of 512
When a traffic announcement comes on the
current radio station or a related network station,
you will hear it even if the volume is muted or
a CD is playing. If the audio system tunes
to a related network station for a traffic
announcement, it will return to the original station
when the announcement is �nished. If the CD
player was being used, the CD will stay in
the player and resume play at the point where it
stopped.
Touch RDS followed by TA again to turn TA off.
MSG (Message):When RDS is on, if the
current station has a message, MSG will appear
on the display. Touch MSG from the preset
menu to view the message. If the whole message
does not appear on the display, parts of the
message will appear every three seconds until the
message is completed. Once the complete
message has been displayed, MSG will disappear
from the display until another new message is
received. MSG will remain available to allow you
to display the entire message again.PTY:PTY allows you to seek only stations with
types of programs you want to listen to. This
button is used to turn on and off Program Type
(PTY) features.
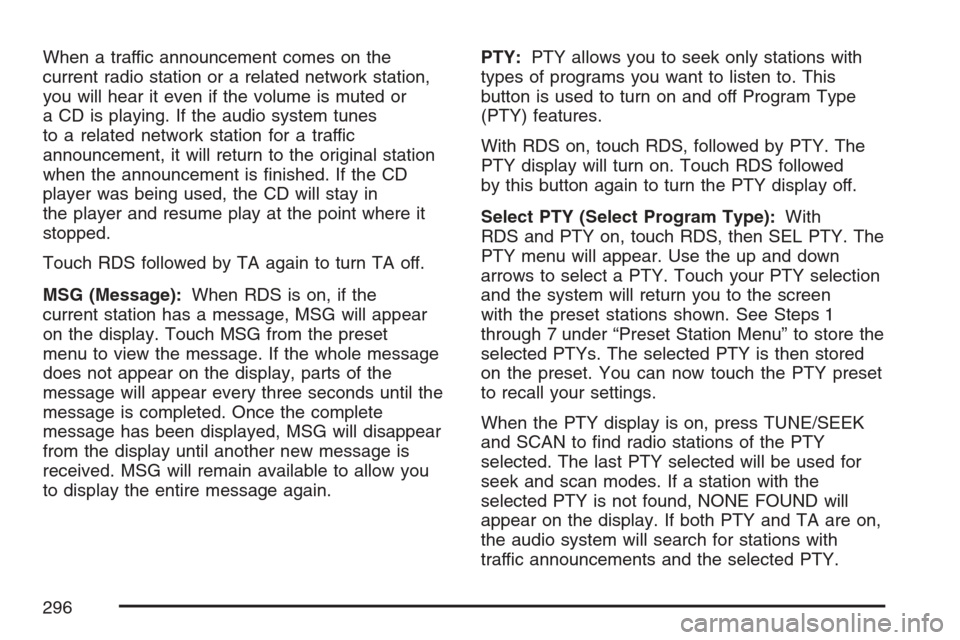
With RDS on, touch RDS, followed by PTY. The
PTY display will turn on. Touch RDS followed
by this button again to turn the PTY display off.
Select PTY (Select Program Type):With
RDS and PTY on, touch RDS, then SEL PTY. The
PTY menu will appear. Use the up and down
arrows to select a PTY. Touch your PTY selection
and the system will return you to the screen
with the preset stations shown. See Steps 1
through 7 under “Preset Station Menu” to store the
selected PTYs. The selected PTY is then stored
on the preset. You can now touch the PTY preset
to recall your settings.
When the PTY display is on, press TUNE/SEEK
and SCAN to �nd radio stations of the PTY
selected. The last PTY selected will be used for
seek and scan modes. If a station with the
selected PTY is not found, NONE FOUND will
appear on the display. If both PTY and TA are on,
the audio system will search for stations with
traffic announcements and the selected PTY.
296
Page 297 of 512
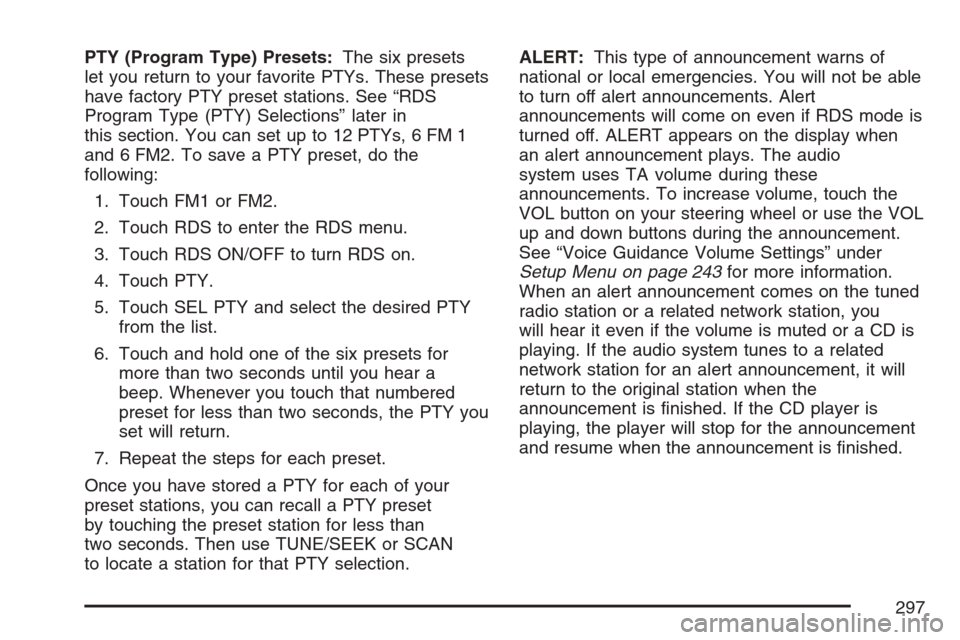
PTY (Program Type) Presets:The six presets
let you return to your favorite PTYs. These presets
have factory PTY preset stations. See “RDS
Program Type (PTY) Selections” later in
this section. You can set up to 12 PTYs, 6 FM 1
and 6 FM2. To save a PTY preset, do the
following:
1. Touch FM1 or FM2.
2. Touch RDS to enter the RDS menu.
3. Touch RDS ON/OFF to turn RDS on.
4. Touch PTY.
5. Touch SEL PTY and select the desired PTY
from the list.
6. Touch and hold one of the six presets for
more than two seconds until you hear a
beep. Whenever you touch that numbered
preset for less than two seconds, the PTY you
set will return.
7. Repeat the steps for each preset.
Once you have stored a PTY for each of your
preset stations, you can recall a PTY preset
by touching the preset station for less than
two seconds. Then use TUNE/SEEK or SCAN
to locate a station for that PTY selection.ALERT:This type of announcement warns of
national or local emergencies. You will not be able
to turn off alert announcements. Alert
announcements will come on even if RDS mode is
turned off. ALERT appears on the display when
an alert announcement plays. The audio
system uses TA volume during these
announcements. To increase volume, touch the
VOL button on your steering wheel or use the VOL
up and down buttons during the announcement.
See “Voice Guidance Volume Settings” under
Setup Menu on page 243for more information.
When an alert announcement comes on the tuned
radio station or a related network station, you
will hear it even if the volume is muted or a CD is
playing. If the audio system tunes to a related
network station for an alert announcement, it will
return to the original station when the
announcement is �nished. If the CD player is
playing, the player will stop for the announcement
and resume when the announcement is �nished.
297
Page 302 of 512
Six-Disc CD Changer
With the compact disc changer, you can play up
to six normal size discs continuously.
When the radio is turned on, the changer will
begin checking for discs. This will continue for up
to one and a half minutes, depending on the
number of discs loaded. You may hear noise, but
this is normal. The CD changer is initializing.
Press the CD hard key to access the six-disc CD
changer screen. You can also use the system’s
DVD player for single CD play once the map DVD
is removed. SeeCD/DVD Player on page 305
for more information.
If no CD is loaded in the CD/DVD Player and you
press the CD hard key, the message “No CD
Loaded” will appear on the display.Once you access the CD changer screen, you can
select one of the numbered buttons to go from
one compact disc to another among those loaded
in the CD changer and use the arrows to rewind
or fast forward through the disc selected.
CD Changer Screen
302
Page 303 of 512
The following features are also available from this
screen:
LOAD
EJECT
SCAN THE DISCS or SCAN THE TRACKS
and RANDOM ALL or RANDOM DISC.
The numbered buttons (1 through 6) represent the
order of the discs loaded in the changer. If
there are only two CDs loaded, buttons 1 and 2
will only be available to choose from.
LOAD:Touch this button once each time you
wish to load a CD into the changer. It may take up
to 10 seconds for the changer to accept the CD
into the slot depending on the changer initializing.
Repeat this procedure for loading up to six
discs. Press and hold the LOAD button until a
beep is heard to put the changer in LOAD
ALL mode. Once the Insert CD message is
displayed, you can load all six discs, one after the
other.
r(Play):Touch this button to begin playing
a CD.RANDOM DISC:Touch this button to hear the
tracks in random, rather than sequential, order on
the disc selected. Press the TUNE/SEEK hard
key to randomly seek through the tracks on
this disc. Touch RANDOM DISC again to turn off
random play mode.
SCAN TRACKS:Touch this button to hear the
�rst 10 seconds of each track on the selected disc.
Touch this button again to stop scanning. The
CD will mute while scanning.
r(Rewind):Touch this button to rewind quickly
through a track selection.
EJECT:Touch this button once to eject the
chosen CD. The chosen CD may be selected by
�rst touching one of the numbered buttons
from 1 to 6. Repeat this procedure for ejecting up
to six discs from the changer. If you press and
hold the EJECT button until a beep is heard, The
system will begin to eject all of the discs from
the player. Once the CD is removed the next will
come out until they are all ejected.
303
Page 305 of 512
CD Changer Errors
CDX ERROR could be displayed for the following:
The road is too rough. The disc should play
when the road is smoother.
The disc is dirty, scratched, wet or not loaded
label side up.
The air is very humid. If so, wait about an
hour and try again.
If any error occurs repeatedly or if an error cannot
be corrected, please contact your GM dealer. If
your audio system displays an error number, write
it down and provide this information to your
dealer when reporting the error.
CD/DVD Player
The player that is used for the navigation map
DVD can also be used as a single music CD
player or a video DVD player.
CD Player
To use the player as a single music CD player,
you must �rst remove the navigation map
DVD. While playing a CD in the CD/DVD Player,
the navigation system is not available. The
message “The disc installed is not a map DVD”
will appear on the display if any of the navigation
hard keys are pressed.
To remove the navigation map DVD and load a
music CD, use the following steps:
1. Start the vehicle.
2. Press the TILT hard key until you hear a
beep. This will open the faceplate of the
system.
3. If one is loaded, the navigation map DVD will
eject from the slot.
4. Gently remove the navigation map DVD from
the slot and return it to its case.
305
Page 306 of 512
5. Insert the music CD into the slot. The system
will pull the CD into the player.
6. Press and release the TILT hard key to close
the faceplate.
Notice:Shifting out of PARK (P) with the
system’s faceplate open will cause the
faceplate to close automatically. This could
cause damage to a CD, DVD or the system if it
is partially loaded. Before shifting out of
PARK (P), make sure that the DVD or CD is
loaded properly. The vehicle must be shifted
back into PARK (P) to close the faceplate.
Once a music CD is loaded, the CD player menu
will appear on the display. When using the
system as a single CD player, the CD hard key
will alternate between the CD player and the
six-disc CD changer if CDs are loaded.
CD Player Screen
306