Page 35 of 166

ASC interventionGeneral warning light quick-
flashes yellow.
ASC symbol appears on
the display.
The ASC has detected a degree
of instability at the rear wheel
and has intervened to reduce
torque. The warning light flashes
for longer than ASC intervention
lasts. This affords the rider visual
feedback on control intervention
even after the critical situation
has been dealt with.
Self-diagnosis not completed ASC symbol flashes.
Self-diagnosis did not complete,
so the ASC function is not avail-
able. The engine must be run-
ning and the motorcycle must
reach a speed of at least 5 km/h
in order for ASC self-diagnosis to
complete. Pull away slowly. Bear in mind
that the ASC function is not
available until self-diagnosis has
completed.
ASC switched off ASC symbol appears on
the display.
The rider has switched off the
ASC system.
with OE Automatic Stability
Control (ASC): Activate the ASC function
( 56)
ASC fault General warning light shows
yellow.
ASC symbol appears on
the display.
The ASC control unit has detec-
ted a fault. The ASC function is
not available. You can continue to ride. Bear
in mind that the ASC function is not available. Bear in mind
the more detailed information
on situations that can lead to
an ASC fault ( 83).
Have the fault rectified as
quickly as possible by a
specialist workshop, preferably
an authorised BMW Motorrad
dealer.
RDC warnings
OE
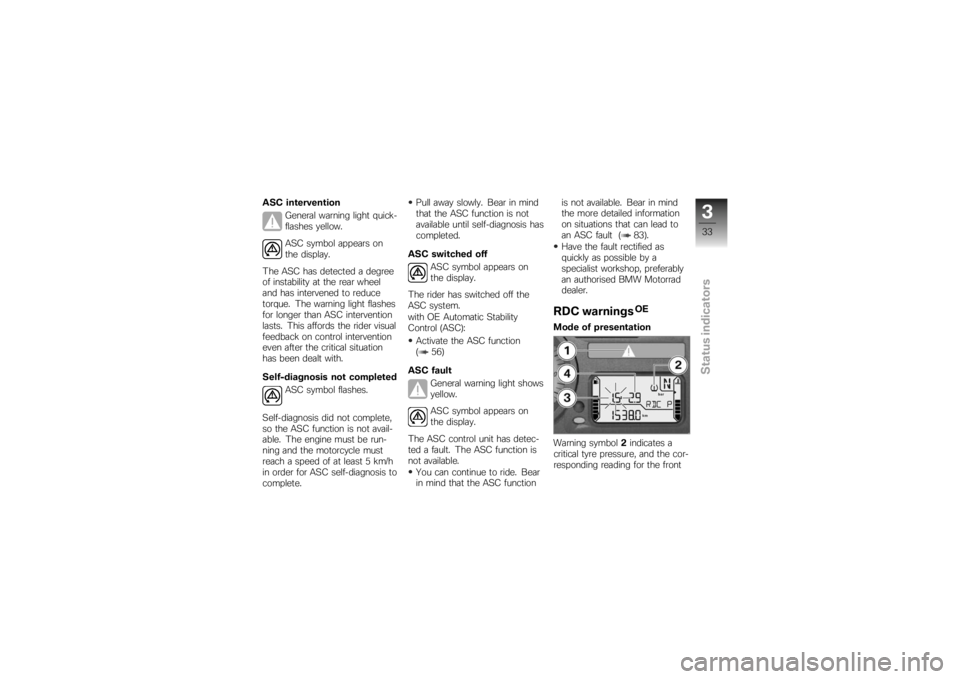
Mode of presentation
Warning symbol 2indicates a
critical tyre pressure, and the cor-
responding reading for the front
333zStatus indicators
Page 84 of 166

exceptional riding conditions can
lead to a fault message being
issued.
Exceptional riding
conditions:Heating up with the motorcycle
on the centre stand or an auxil-
iary stand, engine idling or with
a gear engaged.
Rear wheel locked by the en-
gine brake for a lengthy period,
for example while descending
off-road.
If a fault message is issued on
account of exceptional riding
conditions as outlined above, you
can reactivate the ABS function
by switching the ignition off and
on again.
What significance
devolves on regular
maintenance?
Invariably, a technical sys-
tem cannot perform beyond
the abilities dictated by its level
of maintenance.
In order to ensure that the BMW
Motorrad ABS is always main-
tained in optimum condition, it
is essential for you to comply
strictly with the specified inspec-
tion intervals.
Reserves for safetyThe potentially shorter braking
distances which BMW Motorrad
Integral ABS permits must not be
used as an excuse for careless
riding. ABS is primarily a means
of ensuring a safety margin in
genuine emergencies.
Take care when cornering. When
you apply the brakes on a corner,
the motorcycle's weight and momentum take over and even
BMW Motorrad Integral ABS is
unable to counteract their effects.
Electronic engine
management with BMW
Motorrad ASC
OE
How does ASC work?The BMW Motorrad ASC com-
pares the speed of rotation of the
front wheel and the rear wheel.
The differential is used to com-
pute slip as a measure of the
reserves of stability available at
the rear wheel. If slip exceeds a
certain limit the electronic engine
management system intervenes,
adapting engine torque accord-
ingly.
682zEngineering details
Page 86 of 166

If the front wheel lifts clear of the
ground under severe accelera-
tion, the ASC reduces engine
torque until the front wheel re-
gains contact with the ground.
Under these circumstances,
BMW Motorrad recommends
rolling the throttle slightly closed
so as to restore stability with the
least possible delay.
When riding on a slippery sur-
face, never snap the throttle
twistgrip fully closed without
pulling the clutch at the same
time. Engine braking torque can
cause the rear wheel to lock, with
a corresponding loss of stability.
The BWM Motorrad ASC is un-
able to control a situation of this
nature.
Tyre pressure
monitoring RDC
OE
FunctionA sensor integrated into each
tyre measures the air temperat-
ure and the air pressure inside
the tyre and transmits this in-
formation to the control unit.
Each sensor has a centrifugal-
force tripswitch that does not
enable transmission of the meas-
ured values until the motorcycle
has accelerated to about 30 km/
h. The display shows
--
for
each tyre until the tyre-pressure
signal is received for the first
time. The sensors continue to
transmit the measured-value sig-
nals for approximately 15 minutes
after the motorcycle comes to a
stop.
The control unit can adminis-
trate four sensors, so two dif-
ferent sets of wheels with RDC
sensors can be alternated on the motorcycle. An error mes-
sage is issued if wheels without
sensors are fitted to a motorcycle
equipped with an RDC control
unit.
Temperature
compensationThe tyre-pressure readings
shown by the multifunction
display are temperature-
compensated; the reference tyre
temperature for these readings
is always 20 °C. The air lines
available to the public in petrol
stations and motorway service
areas almost invariably show
temperature-dependent tyre
pressures, so in most instances
these gauge readings will not
tally with the readings shown by
the multifunction display.
684zEngineering details
Page 110 of 166

correct sensor ring is installed.
Install only the sensor ring that
matches the motorcycle's con-
struction status.Threaded fasteners not
tightened to the specified
torque can work loose or their
threads can suffer damage.
Always have the security of the
fasteners checked by a specialist
workshop, preferably an author-
ised BMW Motorrad dealer.
The front wheel must be
installed right way round to
rotate in the correct direction.
Note the direction-of-rotation ar-
rows on the tyre or the wheel
rim.
There is a risk of damaging
parts of the front brake,
particularly the BMW Motorrad
Integral ABS, in the course of the
procedure described below.
Take care not to damage the
brake system, in particular the ABS sensor with cable and the
ABS sensor ring.
Roll the front wheel into posi-
tion between the front forks.
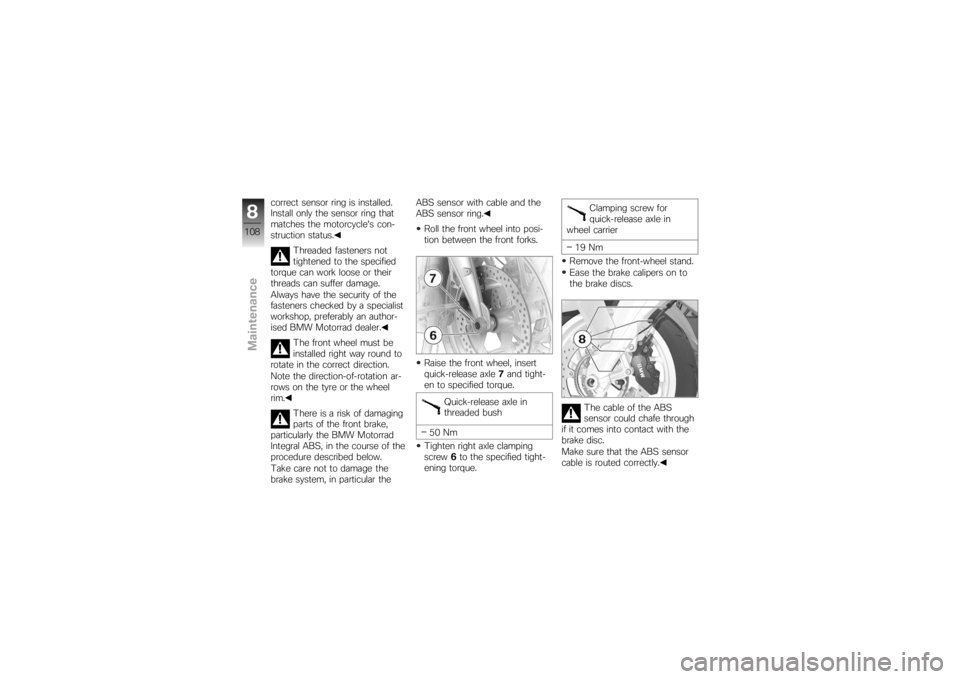
Raise the front wheel, insert
quick-release axle 7and tight-
en to specified torque.
Quick-release axle in
threaded bush
50 Nm
Tighten right axle clamping
screw 6to the specified tight-
ening torque. Clamping screw for
quick-release axle in
wheel carrier
19 Nm
Remove the front-wheel stand.
Ease the brake calipers on to
the brake discs.
The cable of the ABS
sensor could chafe through
if it comes into contact with the
brake disc.
Make sure that the ABS sensor
cable is routed correctly.
8108zMaintenance
Page 111 of 166
Carefully route the ABS sensor
cable. Make sure that the ABS
sensor cable is clipped into
holders8.
Install securing screws 3on
left and right and tighten to
specified tightening torque.
Front brake caliper to
wheel carrier
30 Nm
Remove the adhesive tape
from the wheel rim.
Firmly pull the handbrake lever
until the pressure point is per- ceptible, and repeat this opera-
tion several times.
Install the front mudguard and
install screws
1on left and
right.
Remove the rear wheel stand,
if installed beforehand.
Removing rear wheelPlace the motorcycle on an
auxiliary stand; BMW Motorrad
recommends the BMW Motor-
rad rear-wheel stand.
Install the rear-wheel stand
( 114) with OA Centre stand:
Make sure the ground is level
and firm and place the motor-
cycle on its centre stand.
Remove screw 1from silencer
cover 2.
Pull the cover to the rear to
remove.
8109zMaintenance
Page 113 of 166
Installing rear wheelIf you are using the BMW Mo-
torrad rear-wheel stand: re-
move the retaining disc.
Roll the rear wheel into position
in the rear-wheel adapter.
Seat the rear wheel on the
rear-wheel adapter.
If you are using the BMW Mo-
torrad rear-wheel stand: rein-
stall the retaining disc.Threaded fasteners not
tightened to the specified
torque can work loose or their
threads can suffer damage.
Always have the security of the fasteners checked by a specialist
workshop, preferably an author-
ised BMW Motorrad dealer.
Install wheel studs 5and tight-
en to the specified torque in
diagonally opposite sequence.
Rear wheel to wheel
flange
Tightening sequence: tight-
en in diagonally opposite se-
quence
60 Nm
Turn the silencer to its initial
position. Install screw
4for the brack-
et of the silencer in the rear
footrest, but do not tighten it at
this point.
8111zMaintenance
Page 114 of 166
Align clamp3on the silencer
with mark A(arrow) on oxygen
sensor B.
Tighten clamp 3on the silen-
cer to the specified tightening
torque.
Silencer to manifold
35 Nm If the gap between the rear
wheel and the silencer is
too small, the rear wheel can
overheat.
The gap between the rear wheel
and the silencer must be at least
10 mm.
Tighten screw 4for the brack-
et of the silencer in the rear
footrest to the specified torque.
Silencer to rear footrest
22 Nm Push silencer cover
2with
guides Ainto retainers B.
Install screw 1in silencer cov-
er 2.
Remove the rear wheel stand,
if installed beforehand.
8112zMaintenance
Page 143 of 166
Rear-wheel driveType of final driveShaft drive with bevel gears
Type of rear suspension BMW EVO Paralever; cast light-alloy single
swinging arm with two joints and torque reaction
link
Gear ratio of final drive 2.82Running gearType of front suspension Double leading link
Spring travel, front 125 mm, At wheel
Type of rear suspension Central spring strut pivoted to lever system with
coil spring and single-tube gas-filled shock ab-
sorber. Spring preload steplessly hydraulically ad-
justable, rebound stage damping steplessly ad-
justable.
with OE Electronic Suspension Adjustment
(ESA): Central spring strut pivoted to lever system with
coil spring and single-tube gas-filled shock ab-
sorber. Spring basic setting three-way adjustable,
compression and rebound stages each three-way
adjustable
Spring travel, rear 135 mm, At wheel
10141zTechnical data