2007 BMW M6 COUPE oil
[x] Cancel search: oilPage 8 of 256

Notes
6
For your own safety
Maintenance and repairs
Advanced technology, e.g. the use of
modern materials and high-performance
electronics, requires specially adapted mainte-
nance and repair methods. Have corresponding
work on your BMW performed only by your
BMW center or a workshop that works accord-
ing to BMW repair procedures with appropri-
ately trained personnel. If this work is not car-
ried out properly, there is a danger of
subsequent damage and related safety haz-
ards.<
California Proposition 65 Warning
California law requires us to issue the following
warning:
Engine exhaust and a wide variety of
automobile components and parts,
including components found in the interior fur-
nishings in a vehicle, contain or emit chemicals
known to the State of California to cause cancer
and birth defects and reproductive harm. In
addition, certain fluids contained in vehicles and
certain products of component wear contain or
emit chemicals known to the State of California
to cause cancer and birth defects or other
reproductive harm.
Battery posts, terminals and related accesso-
ries contain lead and lead compounds. Wash
your hands after handling.
Used engine oil contains chemicals that have
caused cancer in laboratory animals. Always
protect your skin by washing thoroughly with
soap and water.<
Parts and accessories
For your own safety, use genuine parts
and accessories approved by BMW.
When you purchase accessories tested and
approved by BMW and Genuine BMW Parts,
you simultaneously acquire the assurance that
they have been thoroughly tested by BMW to
ensure optimum performance when installed
on your vehicle.
BMW warrants these parts to be free from
defects in material and workmanship.
BMW will not accept any liability for damage
resulting from installation of parts and accesso-
ries not approved by BMW.
BMW cannot test every product made by other
manufacturers to verify if it can be used on a
BMW safely and without risk to either the vehi-
cle, its operation, or its occupants.
Genuine BMW Parts, BMW Accessories and
other products approved by BMW, together
with professional advice on using these items,
are available from all BMW centers.
Installation and operation of non-BMW
approved accessories such as alarms, radios,
amplifiers, radar detectors, wheels, suspension
components, brake dust shields, telephones,
including operation of any mobile phone from
within the vehicle without using an externally
mounted antenna, or transceiver equipment, for
instance, CBs, walkie-talkies, ham radios or
similar accessories, may cause extensive dam-
age to the vehicle, compromise its safety, inter-
fere with the vehicle's electrical system or affect
the validity of the BMW Limited Warranty. See
your BMW center for additional information.<
Maintenance, replacement, or repair of
the emission control devices and sys-
tems may be performed by any automotive
repair establishment or individual using any cer-
tified automotive part.<
Page 14 of 256

Cockpit
12
Instrument cluster
1Indicator lamps for turn signals
2Speedometer
3Indicator and warning lamps13
4Tachometer68
5Engine oil thermometer69
6Display for
>Computer69
Engine oil level203
>Indicator and warning lamps73
>Speed of cruise control677Display for
>Sequential Manual Transmission with
Drivelogic62
>Engine oil level for manual
transmission203
> Check Control message present73
>Odometer and trip odometer68
>Date and remaining distance to be
driven for service requirements71
8Fuel gauge69
9Resetting trip odometer68
Page 71 of 256

Controls
69Reference
At a glance
Driving tips
Communications
Navigation
Entertainment
Mobility
Engine oil temperature gauge
The general operating temperature lies
between 1757/806 and 2507/1206. Do
not exceed a value of approx. 2657/1306.
If the engine oil temperature is too high, the per-
missible engine speed, and with it the available
engine output is reduced.
Fuel gauge
Fuel tank capacity: approx. 18.5 US gal/
70 liters. You can find information on refueling
on page194.
If the tilt of the vehicle varies for a longer period,
when you are driving in mountainous areas, for
example, the indicator may fluctuate slightly.
Reserve
After the reserve quantity has been reached, a
message briefly appears on the Control Display;
the cruising range is shown in the computer.
Below a range of approx. 30 miles/50 km, the
message remains on the Control Display.
Refuel as soon as possible once your
cruising range falls below 30 miles/
50 km, otherwise engine functions are not
ensured and damage can occur.<
Computer
Displays in instrument cluster
To display the information, press the BC button
in the turn signal lever.
The following information is displayed in the
specified order:
>Time and outside temperature
>Cruising range
>Average fuel consumption
>Oil level, refer to Checking engine oil level
on page203
Manual transmission:
The range, average consumption and
fluid level are shown in the lower display in place
of the gear indicator.
It is possible to change between the time and
date display by pressing the CHECK button.<
Time
To set the time, refer to page76.
Outside temperature warning
If the display drops to +377/+36, a signal
sounds and a warning lamp lights up. A mes-
sage appears on the Control Display. There is
an increased danger of ice.
Ice can form even at temperatures above
+377/+36. Drive carefully, especially
on bridges and shaded roadways; otherwise,
your risk of accident increases.<
You can set the unit of measure 7 or 6 on the
Control Display, refer to Units of measure on
page78.
Page 73 of 256

Controls
71Reference
At a glance
Driving tips
Communications
Navigation
Entertainment
Mobility
2.Turn the controller to select the distance
to your destination. If necessary, hold it
against a slight resistance to enter a greater
difference.
3.Press the controller to apply the setting.
The distance is automatically predetermined
during the destination guidance of the naviga-
tion system
*.
Trip computer
The trip computer is suitable for a vacation trip,
for example.
1.Open the start menu.
2.Open "Navigation".
Without navigation system
*: open "Car
Data".
3.Select "Car Data" and press the controller.
4.Select "Trip computer" and press the con-
troller.
>Departure time
>Driving time
>Distance traveled
>Average speed
>Average fuel consumption
Switching trip computer on/off and resetting
all values:
1.Select "Set" and press the controller.
2.Select the desired menu item and press the
controller.
Display options
You can display the computer or the trip com-
puter in the assistance window.1.Move the controller to the right to change to
the assistance window and press the con-
troller.
2.Select a menu item:
>"Onboard info"
>"Trip computer".
3.Press the controller.
Service requirements
The remaining driving distance and the date for
the next maintenance are displayed briefly with
the ignition switched on.
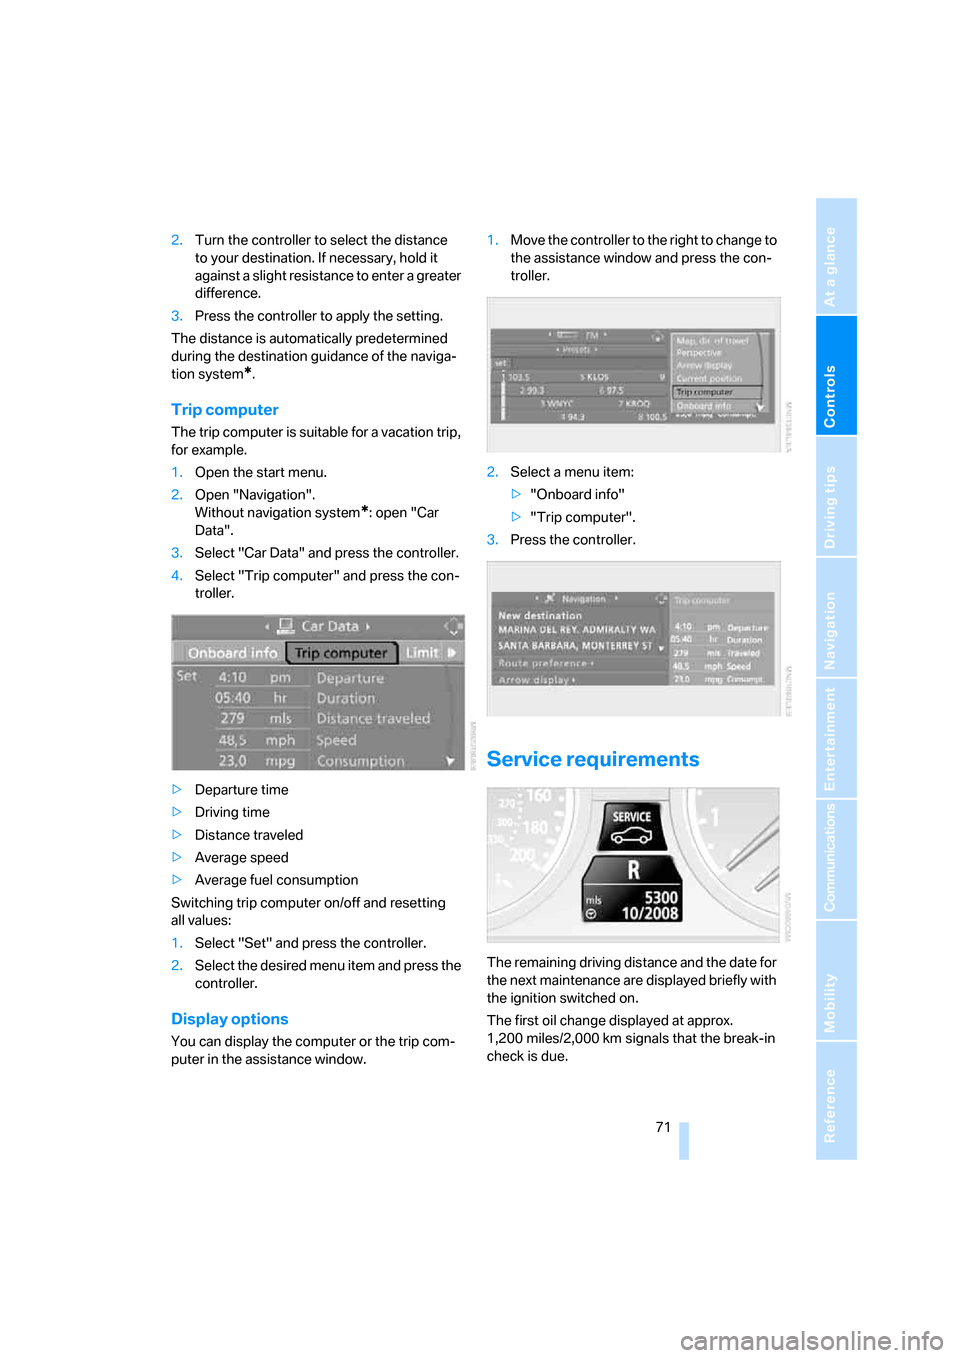
The first oil change displayed at approx.
1,200 miles/2,000 km signals that the break-in
check is due.
Page 120 of 256

Things to remember when driving
118
Securing cargo
>Use the luggage net* or securing straps to
hold down small and lightweight luggage
and cargo.
>Heavy-duty cargo straps
* for securing
larger and heavier objects are available at
your BMW center. Four lashing eyes
mounted in the luggage compartment are
used to secure these heavy-duty cargo
straps, refer to arrows.
>Please observe the special instructions
supplied with the heavy-duty cargo straps.
Position and secure the cargo as
described above, so that it cannot endan-
ger the vehicle's occupants, for example if sud-
den braking or evasive maneuvers are neces-
sary.
When fastening lashings, use only the lashing
eyes, refer to illustration; otherwise, the lash-
ings could come loose or you could damage the
vehicle.
Never exceed the approved gross vehicle
weight or either of the approved axle loads, refer
to page228, as excessive loads can pose a
safety hazard, and may also put you in violation
of freeway safety laws.
You should never transport unsecured heavy or
hard objects in the passenger compartment, as
they could fly around and pose a safety hazard
to the vehicle's occupants during abrupt brak-
ing or evasive maneuvers.<
Pad on base of luggage compartment
You can use the pad as needed, for example to
transport soiled objects. The rubberized side is
washable and has an anti-skid effect.
Page 203 of 256

Mobility
201Reference
At a glance
Controls
Driving tips
Communications
Navigation
Entertainment
After changing wheels/tires
After changing tires or wheels, the slip detec-
tion of the Sequential Manual Transmission
must become familiar with the changed state.
Reinitialize the system for this purpose:
1.Move the selector lever into the idling
position N on a straight stretch of road at a
speed between 20 mph/30 km/h and
90 mph/150 km/h.
2.Pull both shift paddles for approx. 2 sec-
onds.
If you do not carry out initialization, the system
will automatically learn the changed state grad-
ually during driving. This may be noticeable
from the clutch opening and closing briefly.
Storage
Store wheels and tires in a cool, dry place with
as little exposure to light as possible. Always
protect tires against all contact with oil, grease
and fuels. Do not exceed the maximum tire
inflation pressure indicated on the side wall of
the tire.
Rotating wheels between axles
BMW does not recommend moving the front
wheels to the rear or vice versa, as otherwise
the handling characteristics may be impaired.
Snow chains*
BMW only tests certain fine-link snow chains,
classifies them as road-safe and recommends
them. Consult your BMW center for more infor-
mation.
Use is only permitted in pairs, with winter tires
of the size 245/45 R 18 on the rear wheels.
Observe the manufacturer's instructions when
mounting snow chains. Do not exceed a speed
of 30 mph/50 km/h with the chains mounted.
Make sure that the snow chains are always suf-
ficiently tensioned. Retension in accordance
with the chain manufacturer's specifications if
necessary.Do not initialize the Flat Tire Monitor after
installing snow chains as this could cause
the Flat Tire Monitor to malfunction.
After mounting or removing snow chains, the
slip detection of the Sequential Manual Trans-
mission must become familiar with the altered
state. To do this, reinitialize the system, refer to
After changing wheels/tires.<
Page 205 of 256

Mobility
203Reference
At a glance
Controls
Driving tips
Communications
Navigation
Entertainment
Engine compartment
1Filler neck for engine oil, refer to Adding
engine oil
2Expansion tank for coolant, refer to
page205
3Jump-starting terminal, refer to page2204Body ground/negative terminal
5Filler neck for washer fluid of the headlamp
and windshield cleaning systems, refer to
page66
Engine oil
Engine oil consumption depends on driving
style and driving conditions.
Checking engine oil level
Your vehicle is equipped with an electronic oil
level check. You can display the oil level in the
instrument cluster.
1Oil level
2Maximum marking
3Minimum marking
Press the BC button in the turn signal lever
repeatedly until the oil level display is shown in
the instrument cluster. The displayed numeric
value indicates the current oil level in liters
above Minimum.
Page 206 of 256

Under the hood
204 After starting the engine, the last determined
value is displayed.
The oil level must be between the two marks.
Manual transmission: the fluid level will be
shown in the lower display.<
Exact measurement
The oil level is measured continuously while
driving or when stopped with the engine run-
ning.
The determination of a new value can take
30 minutes or longer.
If only dashes are shown in the display,
it was not possible to determine a new
value. This can, for example, be the case when
driving short distances or with a sporty driving
style.<
Fast measurement
In addition to the continuous measurement, you
can also quickly determine the current oil level,
e.g. after adding engine oil, however with a low
measuring accuracy.
1.With the engine at operating temperature,
i.e. after at least 6 miles/10 km of uninter-
rupted driving, park the vehicle in a horizon-
tal position.
2.Allow the engine to run at idle.
3.Press the BC button in the turn signal lever
repeatedly until the oil level display is
shown in the instrument cluster.
4.Press the BC button in the turn signal lever
for at least 2 seconds.
The oil level is determined. A clock symbol
is displayed during the measurement.
5.After approx. 1 minute the current oil level is
displayed.
If not all measuring conditions are met,
e.g. with the engine cold, "-.-" is dis-
played. The requested measurement is carried
out as soon as possible.<
Possible displays
1Oil level OK
2Oil level at minimum:
Add a maximum of 1 US quart/1 liter of
engine oil at the next opportunity, refer to
Adding engine oil below
3Oil level is too high
Have the vehicle checked immedi-
ately; otherwise, engine damage may
result if too much oil has been added.<
4Oil level at maximum
5Fast measurement running: oil level is being
determined
6No value can be determined at this time
Adding engine oil
Do not add oil until a value slightly above the
minimum of 0.0 US quarts/liters is displayed by
the oil level measurement. In this area a mes-
sage is also shown on the Control Display.
Add oil within the next 125 miles/200 km,
otherwise the engine could be damaged.
Add a maximum of 1 US quart/1 liter of oil, oth-
erwise the engine may be damaged by adding
too much oil.