2007 BMW 760I spare wheel
[x] Cancel search: spare wheelPage 33 of 254

Controls
31Reference
At a glance
Driving tips
Communications
Navigation
Entertainment
Mobility
Adapter for spare key
You will need the adapter to activate the ignition
and to start the vehicle with the spare key.
Take the adapter from the onboard tool kit, refer
to page213.
Press lock button1, slide the cover open and
insert the spare key2 into the adapter. Close
the cover and insert the adapter into the ignition
lock.
Key Memory
The concept
You can set a number of functions of your BMW
individually according to your preferences. Key
Memory ensures that most of these settings are
stored for the remote control currently in use
without you having to do anything. When the
vehicle is unlocked, the corresponding remote
control is detected and the settings stored for it
are called up and carried out.
This means that your BMW will return to your
personal settings even if it has in the meantime
been driven by another person with his/her own
remote control and settings. The individual set-
tings are stored for a maximum of four remote
controls.
Key Memory
>Personal temperature distribution for seat
heating
*, refer to page49.
>Personal setting for the programmable but-
ton on the steering wheel, refer to page52.
>Personal setting of PDC Park Distance
Control
*, refer to page86.>Air distribution, temperature, and intensity
of the Automatic climate control, refer to
page105.
>Settings for the displays on the Control Dis-
play:
>Units of measure for fuel consumption,
distance traveled, distances to go, tem-
perature, and pressure, refer to page84.
>Language on Control Display, refer to
page84.
>Display format of date and time, refer to
page84.
>Brightness of Control Display, refer to
page85.
>Personal settings for volume and tone of
the Entertainment sound output, refer to
page153.
>Personal settings for the stored stations of
the radio, refer to page158.
>Personal settings for the volume of the
hands-free telephone operation, refer to
page179.
Central locking system
The concept
The central locking system is ready for opera-
tion whenever the driver's door is closed. This
simultaneously engages and releases the locks
on the following:
>Doors
>Luggage compartment lid
>Fuel filler door
The central locking system can be operated
from the outside:
>via the remote control
>via the driver's door lock
>with Comfort Access
* via the door handles
and from inside via the button for the central
locking system.
When the system is locked from inside, the fuel
filler door remains unlocked. Refer to page34.
Page 95 of 254

Controls
93Reference
At a glance
Driving tips
Communications
Navigation
Entertainment
Mobility
ing driving. The tires are displayed in green on
the Control Display.
If a flat tire is detected during the reset-
ting and adoption of the tire inflation pres-
sures, all tires are shown in yellow on the Con-
trol Display. The message "Status: Tire low!" is
displayed.<
Low tire pressure message
The warning lamp lights up yellow. A
message appears on the Control Dis-
play. In addition, a signal sounds. A flat
tire or a major air loss has occurred.
1.Reduce speed and stop the vehicle care-
fully. Avoid sudden braking and steering
maneuvers.
2.Check whether your vehicle is equipped
with standard tires or run-flat tires.
You will recognize run-flat tires by a
circular symbol containing the letters
RSC on the side of the tire, refer to
page205.<
Standard tires
1.If all four wheels are shown in yellow, iden-
tify the damaged tire on the vehicle.
2.Replace the damaged wheel or wheels,
refer to Changing wheels on page215.
The spare wheel is equipped with the neces-
sary TPM electronics and when mounted, will
also be monitored once the system has been
reset.
Have the tire replaced by a BMW center or a
workshop that is familiar with handling TPM and
works according to BMW repair procedures
with correspondingly trained personnel.
Run-flat tires*
1.Cautiously reduce speed to below 50 mph/
80 km/h. Avoid hard braking and steering
maneuvers and do not exceed 50 mph/
80 km/h.
If the vehicle is not equipped with run-
flat tires, refer to page205, do not
continue to drive. Continued driving after a
flat tire can result in serious accidents.<2.In the event of complete tire pressure loss,
0 psi/0 kPa, you can estimate the possible
distance for continued driving on the basis
of the following guide values:
>With a light load:
1 to 2 persons without luggage:
approx. 155 miles/250 km
>With a medium load:
2 persons, luggage compartment full, or
4 persons without luggage:
approx. 95 miles/150 km
>With a full load:
4 or more persons, luggage compart-
ment full:
approx. 30 miles/50 km
Drive reservedly and do not exceed a
speed of 50 mph/80 km/h. In the event of
pressure loss, vehicle handling changes. This
includes reduced tracking stability in braking,
extended braking distance and altered natural
steering characteristics.
If unusual vibrations occur while the vehicle is
being driven, this can indicate final failure of the
damaged tire. Reduce speed and stop as soon
as possible; otherwise, pieces of the tire could
come loose and cause an accident. Do not con-
tinue driving, contact your BMW center.<
Malfunction
The yellow warning light flashes and
then lights up continuously. The tires
are shown in gray on the Control Dis-
play and a message is displayed. No flat tire can
be detected. Have system checked.
A message like this is displayed in the following
situations:
>When a malfunction is occurring.
Have the system checked.
>When a wheel without TPM electronics is
mounted.
>When TPM is experiencing temporary inter-
ference from other systems or devices that
use the same radio frequency.
Page 96 of 254

Technology for comfort, convenience and safety
94
Declaration according to NHTSA/
FMVSS 138 Tire Pressure Monitoring
Systems
Each tire, including the spare, should be
checked monthly when cold and inflated to the
inflation pressure recommended by the vehicle
manufacturer on the vehicle placard or tire infla-
tion pressure label. If your vehicle has tires of a
different size than the size indicated on the
vehicle placard or tire inflation pressure label,
you should determine the proper tire inflation
pressure for those tires. As an added safety fea-
ture, your vehicle has been equipped with a tire
pressure monitoring system TPMS that illumi-
nates a low tire pressure indicator lamp when
one or more of your tires are significantly
under-inflated. Accordingly, when the low tire
pressure indicator lamp comes on, you should
stop and check your tires as soon as possible,
and inflate them to the proper pressure. Driving
on a significantly under-inflated tire causes the
tire to overheat and can lead to tire failure.
Underinflation also reduces fuel efficiency and
tire tread life, and may affect the vehicle's han-
dling and stopping ability. Please note that the
TPMS is not a substitute for proper tire mainte-
nance, and it is the driver's responsibility to
maintain correct tire pressure, even if underin-
flation has not reached the level to trigger illumi-
nation of the TPMS low tire pressure indicator
lamp.
The TPMS malfunction indicator is combined
with the low tire pressure indicator lamp. When
the system detects a malfunction, the indicator
lamp will flash for approximately one minute and
then remain continuously lit. This sequence will
continue upon subsequent vehicle startups as
long as the malfunction exists. When the mal-
function indicator is illuminated, the system
may not be able to detect or signal low tire pres-
sure as intended. TPMS malfunctions may
occur for a variety of reasons, including the
installation of replacement or alternate tires or
wheels on the vehicle that prevent the TPMS
from functioning properly. Always check the
TPMS malfunction indicator lamp after replac-
ing one or more tires or wheels on your vehicle
to ensure that the replacement or alternate tires and wheels allow the TPMS to continue to func-
tion properly.Brake force display
Left: normal braking.
Right: heavy braking.
Page 202 of 254

Wheels and tires
200
Wheels and tires
Tire inflation pressure
Information for your safety
The condition of the tires and the maintenance
of the specified tire pressure are crucial not only
to the tire's service life, but also to driving com-
fort and most importantly, driving safety.
Checking pressure
Only check tire inflation pressure when the tires
are cold. This means after a maximum of
1,25 miles/2 km driving or when the vehicle has
been parked for at least 2 hours. When tires are
warm, the tire inflation pressure increases.
Check the tire inflation pressure regularly
and correct it as needed, including the
spare wheel: at least twice a month and before
starting long trips. If you fail to take this precau-
tion, you may be driving on tires with incorrect
tire pressures, a condition that can not only
compromise your vehicle's driving stability, but
also lead to tire damage and the risk of an acci-
dent. Do not drive with deflated, i.e. flat tires,
except run-flat tires. A flat tire will seriously
impair your vehicle's handling and braking
response. Attempts to drive on a flat tire can
lead to loss of control over the vehicle.<
After correcting the tire inflation pressure,
reinitialize the Flat Tire Monitor, refer to
page90, or reset the Tire Pressure Monitor,
refer to page92.<
Pressure specifications
The tables below provide all the correct inflation
pressures for the specified tire sizes at ambient
temperature.
The inflation pressures apply to the tire
sizes and tire brands respectively
approved and recommended by BMW; a list of
these is available from your BMW center.<
For correct identification of the right inflation
pressure for your tires, pay attention to the fol-
lowing:>Tire sizes for your vehicle
>Load conditions
>Maximum allowable driving speed
Tire inflation pressures for driving
up to 100 mph/160 km/h
For normal driving up to 100 mph/160 km/h
adjust pressures to the respective tire inflation
pressures listed on the following pages in the
column for traveling speeds up to a max. of
100 mph/160 km/h to achieve optimum driving
comfort.
These pressure specifications can be found on
the door post when you open the driver's door.
The permissible top speed for these tire
inflation pressures is 100 mph/160 km/h.
Do not exceed this speed; otherwise, tire dam-
age and accidents may result.<
Tire inflation pressures for driving
above 100 mph/160 km/h
In order to drive at maximum speeds in
excess of 100 mph/160 km/h, please
consult the relevant table on the following
pages and adjust tire pressures as necessary to
the specified pressures for speeds exceeding
100 mph/150 km/h. Otherwise, tire damage
and accidents could occur.<
Observe all national and local maximum speed
limits; otherwise, violations of the law could
occur.
Page 208 of 254

Wheels and tires
206
Recommended tire sizes and brands
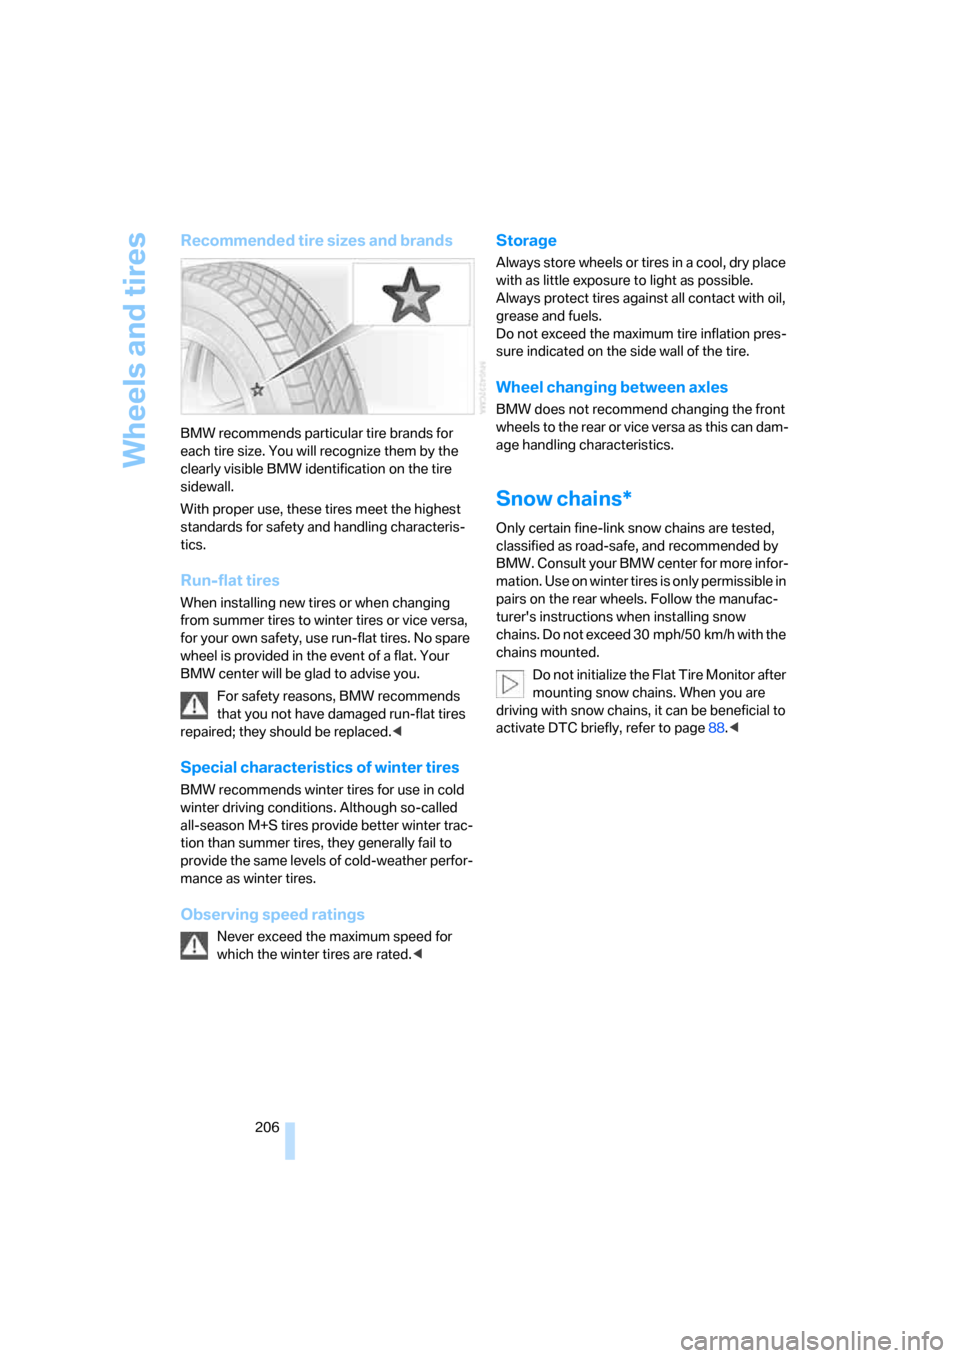
BMW recommends particular tire brands for
each tire size. You will recognize them by the
clearly visible BMW identification on the tire
sidewall.
With proper use, these tires meet the highest
standards for safety and handling characteris-
tics.
Run-flat tires
When installing new tires or when changing
from summer tires to winter tires or vice versa,
for your own safety, use run-flat tires. No spare
wheel is provided in the event of a flat. Your
BMW center will be glad to advise you.
For safety reasons, BMW recommends
that you not have damaged run-flat tires
repaired; they should be replaced.<
Special characteristics of winter tires
BMW recommends winter tires for use in cold
winter driving conditions. Although so-called
all-season M+S tires provide better winter trac-
tion than summer tires, they generally fail to
provide the same levels of cold-weather perfor-
mance as winter tires.
Observing speed ratings
Never exceed the maximum speed for
which the winter tires are rated.<
Storage
Always store wheels or tires in a cool, dry place
with as little exposure to light as possible.
Always protect tires against all contact with oil,
grease and fuels.
Do not exceed the maximum tire inflation pres-
sure indicated on the side wall of the tire.
Wheel changing between axles
BMW does not recommend changing the front
wheels to the rear or vice versa as this can dam-
age handling characteristics.
Snow chains*
Only certain fine-link snow chains are tested,
classified as road-safe, and recommended by
BMW. Consult your BMW center for more infor-
mation. Use on winter tires is only permissible in
pairs on the rear wheels. Follow the manufac-
turer's instructions when installing snow
chains. Do not exceed 30 mph/50 km/h with the
chains mounted.
Do not initialize the Flat Tire Monitor after
mounting snow chains. When you are
driving with snow chains, it can be beneficial to
activate DTC briefly, refer to page88.<
Page 217 of 254

Mobility
215Reference
At a glance
Controls
Driving tips
Communications
Navigation
Entertainment
3.Apply gentle pressure to the bulb while
turning it to the left for removal and replace-
ment.
Lamps in luggage compartment lid
1Backup lamp
The illustration shows the left luggage com-
partment lid cutout.
Remove the trim panel from the luggage com-
partment lid.
Backup lamp
16-watt bulb, W16W
1.Pull the bulb holder out.
2.Extract the bulb for replacement.
Changing wheels
Safety precautions to take in the event of
a flat and during all tire changes:
Park the vehicle as far as possible from passing
traffic. Park on a firm, flat, surface. Switch on the
hazard warning flashers.
Engage the parking brake and shift the trans-
mission selector lever into P.
Have all vehicle occupants get out of the vehicle
and ensure that they remain outside the imme-diate area in a safe place, such as behind a
guardrail.
If a warning triangle
* or portable hazard warning
lamp
* is r e q u ir e d , s et i t up o n t h e ro a d s id e a t a n
appropriate distance from the rear of the vehi-
cle. Comply with all safety guidelines and regu-
lations.
Change the wheel only on a level, firm surface
which is not slippery. The vehicle or the jack
could slip to the side if you attempt to raise the
vehicle on a soft or slippery surface such as
snow, ice, tile, etc.
Position the jack on a firm support surface.
Do not use a wooden block or similar object as a
support base for the jack, as this would prevent
it from extending to its full support height and
reduce its load-carrying capacity.
To avoid serious or fatal injury, never lie under
the vehicle and never start the engine while it is
supported by the jack.<
What you will need
To avoid rattling noises, note the positions of
the tools before removing them, then return
them to their initial positions after completing
work.
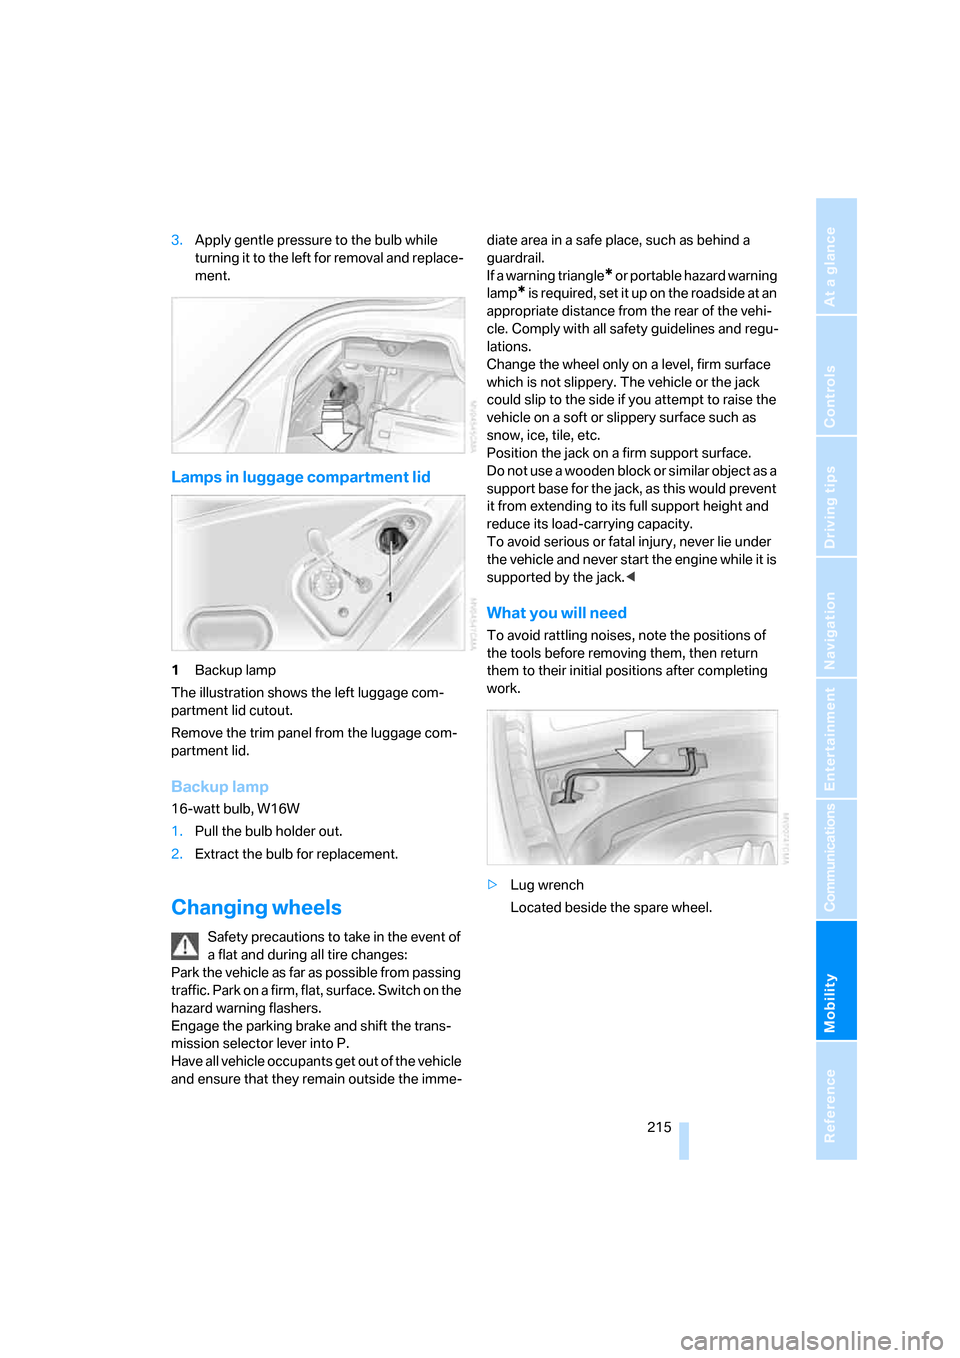
>Lug wrench
Located beside the spare wheel.
Page 218 of 254

Replacing components
216 >Wheel chock
Located next to the spare wheel, or behind
the trim panel on the left side of the luggage
compartment on vehicles equipped with a
trailer coupling.
Remove the floor mat and the cover above
the spare tire.
Unscrew the wingnut and remove the wheel
chock.
>Vehicle jack
Located in the luggage compartment
behind the right-hand side panel.
Grasp the handle in the upper panel and fold
it down.
Loosen the wingnut and remove the jack.
After use, screw the jack all the way back
down and snap the handle back into place.
Spare tire
1.Loosen the wing nut 1.
2.Remove the washer 2 from the side.
3.Completely unscrew the threaded rod 3.
4.Remove the spare tire.
Preparing for a wheel change
1.Read carefully and comply with the safety
precautions on page215.
2.Secure the vehicle to prevent it from rolling:
Place the wheel chock against the rear sur-
face of the front tire on the side opposite the
side being raised. If the vehicle is parked on
a downward slope, place the wheel chock
securely in front of the tire. On a steep
grade, take additional precautions to secure
the vehicle against rolling.
3.Loosen the lug bolts a half turn.
Lifting vehicle
1.Position the jack at the jacking point closest
to the wheel so that the entire jack base
makes contact vertically under the jacking
point.
The vehicle jack is designed for
changing wheels only. Do not attempt
to raise another vehicle model with it or to
raise any load of any kind. To do so could
cause accidents and personal injury.<
Page 219 of 254

Mobility
217Reference
At a glance
Controls
Driving tips
Communications
Navigation
Entertainment
2.Guide the jack head into the rectangular
recess of the jacking point when cranking
up the jack, refer to section of illustration.
3.Jack the vehicle up until the wheel you are
changing is raised from the ground.
Mounting a wheel
1.Unscrew the lug bolts and remove the
wheel.
2.Remove accumulations of mud or dirt from
the mounting surfaces of the wheel and
hub. Clean the lug bolts.
3.Position the new wheel or spare tire on the
hub and screw in at least two bolts diago-
nally.
When you mount wheels other than Genu-
ine BMW light-alloy wheels, different lug
bolts may also be required.
4.Screw in the remaining lug bolts. Tighten all
the bolts securely in a diagonal pattern.
5.Lower the vehicle and remove the jack from
beneath the vehicle.
After mounting
1.Tighten the lug bolts in a diagonal pattern.
To ensure safety, always have the
lug bolts checked with a calibrated
torque wrench as soon as possible to
ensure that they are tightened to the speci-
fied torque. The tightening torque is
100lbft/140Nm.<
2.Reverse the removal sequence when stor-
ing the wheel and tools in the vehicle.3.Check and correct the tire inflation pressure
at the earliest opportunity.
Use valve stem seal caps to protect
valve stems from dirt and contamina-
tion. Dirt in valve stems is a frequent source
of gradual air loss.<
4.Reinitialize the Flat Tire Monitor, refer to
page90, or reset the Tire Pressure Monitor,
refer to page92.
5.Replace the damaged tire as soon as possi-
ble and have the new wheel/tire balanced.
Driving with spare tire
On certain wheel-tire combinations, the
size of the spare tire differs from that of
the rest of the tires. The spare tire is fully capa-
ble of running in all load and speed ranges.
However, to recreate the original conditions,
the tire should be replaced as soon as possi-
ble.<
Vehicle battery
Maintenance
The battery is 100 % maintenance-free, i.e., the
electrolyte will last for the life of the battery
when the vehicle is operated in a temperate cli-
mate. Your BMW center will be happy to advise
you on all questions concerning the battery.
Charging battery
Charge the battery in the vehicle only via the
terminals in the engine compartment and with
the engine off. Connections, refer to Jump
starting on page220.