2007 BMW 650I CONVERTIBLE page 38
[x] Cancel search: page 38Page 140 of 254
Destination entry
138
Storing home address
You can store your current position or the cur-
rent destination as a home address in the
address book. This entry is in the second posi-
tion in the address book.
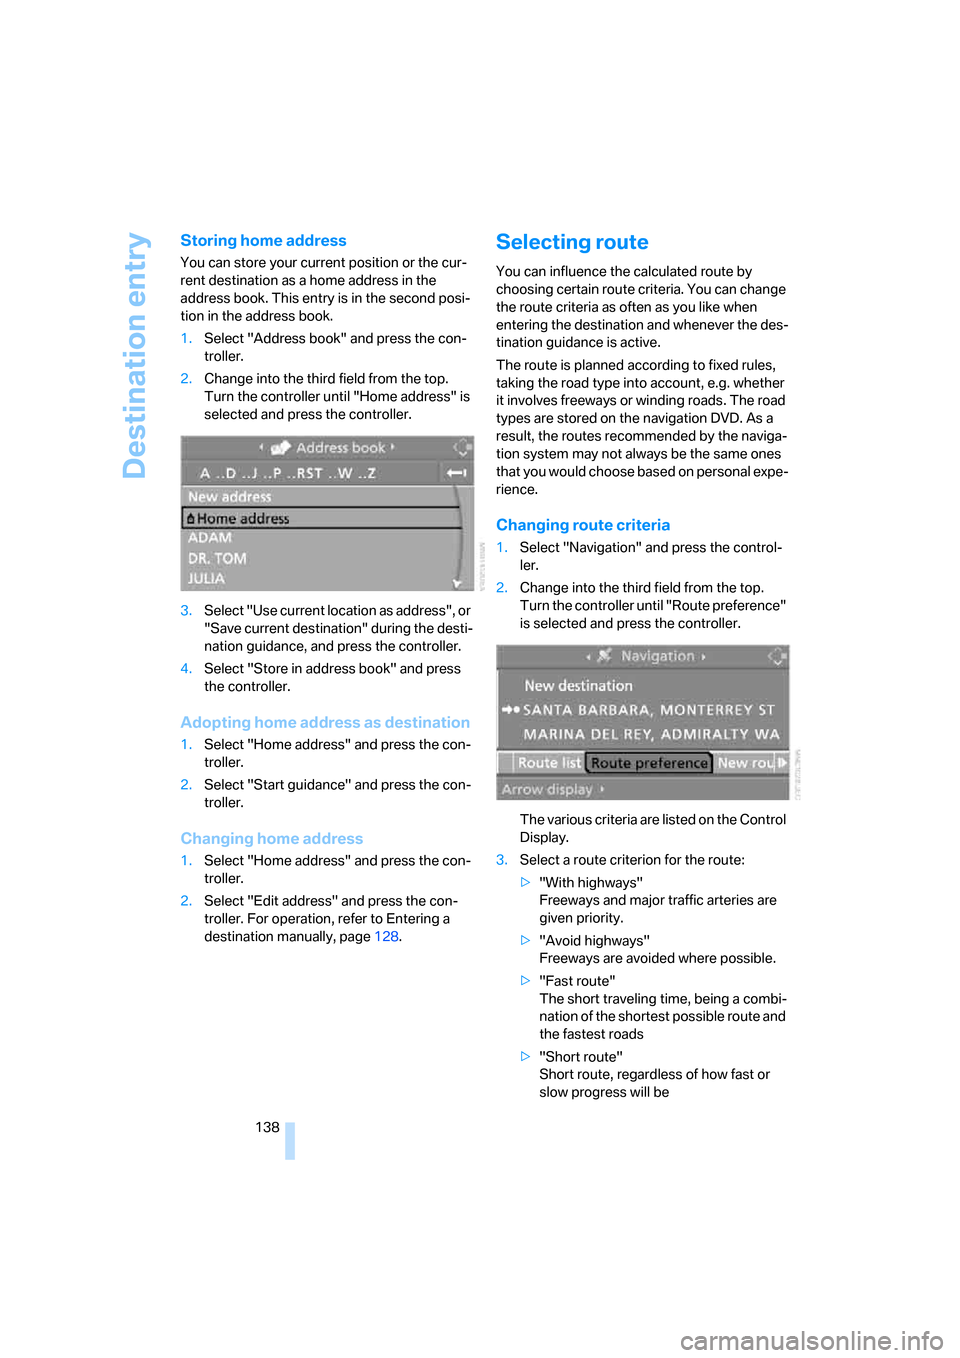
1.Select "Address book" and press the con-
troller.
2.Change into the third field from the top.
Turn the controller until "Home address" is
selected and press the controller.
3.Select "Use current location as address", or
"Save current destination" during the desti-
nation guidance, and press the controller.
4.Select "Store in address book" and press
the controller.
Adopting home address as destination
1.Select "Home address" and press the con-
troller.
2.Select "Start guidance" and press the con-
troller.
Changing home address
1.Select "Home address" and press the con-
troller.
2.Select "Edit address" and press the con-
troller. For operation, refer to Entering a
destination manually, page128.
Selecting route
You can influence the calculated route by
choosing certain route criteria. You can change
the route criteria as often as you like when
entering the destination and whenever the des-
tination guidance is active.
The route is planned according to fixed rules,
taking the road type into account, e.g. whether
it involves freeways or winding roads. The road
types are stored on the navigation DVD. As a
result, the routes recommended by the naviga-
tion system may not always be the same ones
that you would choose based on personal expe-
rience.
Changing route criteria
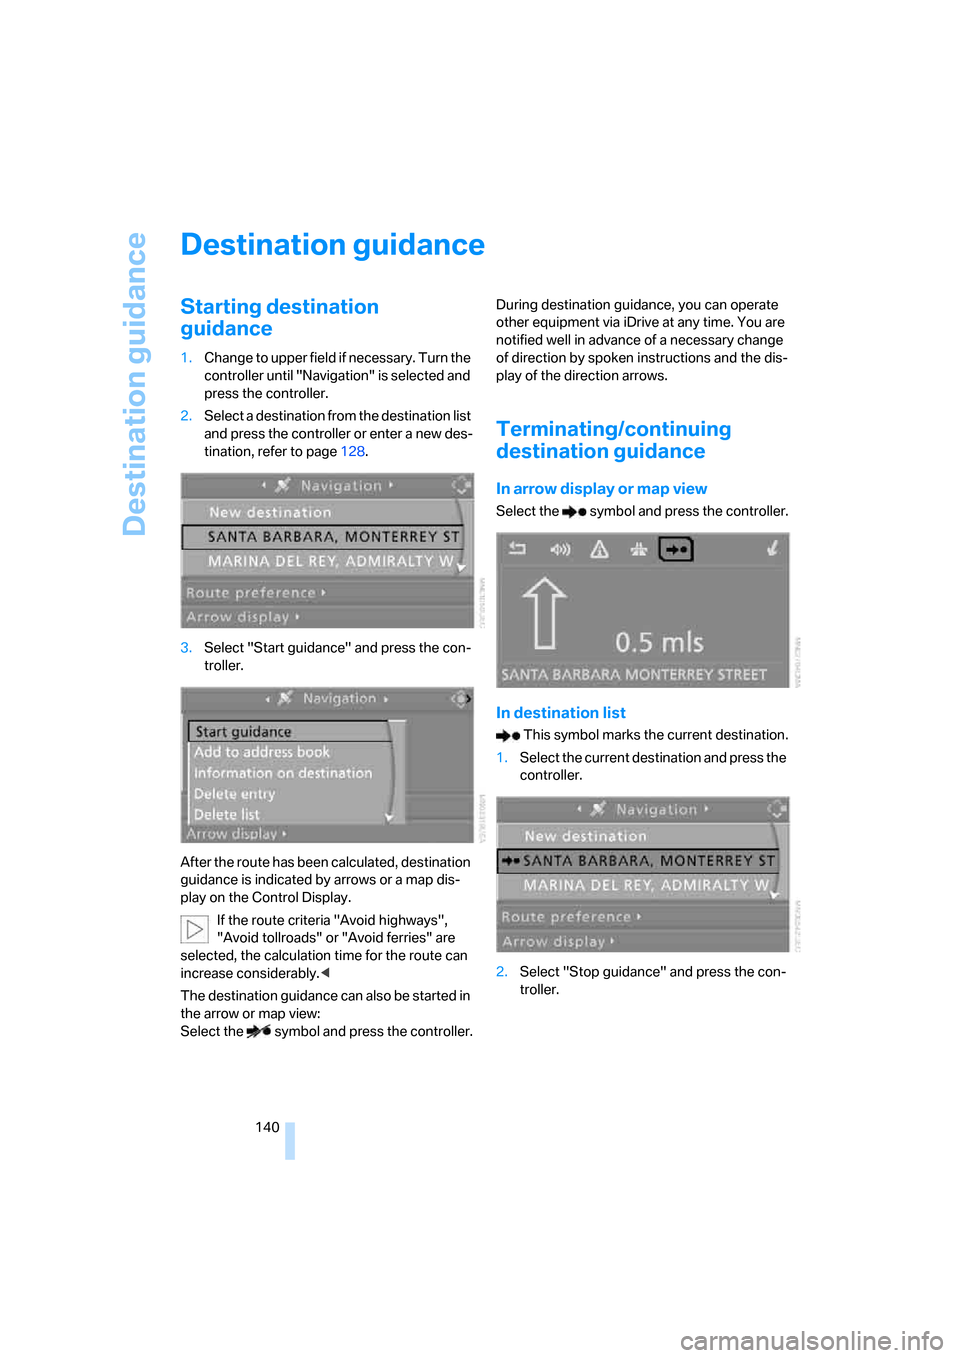
1.Select "Navigation" and press the control-
ler.
2.Change into the third field from the top.
Turn the controller until "Route preference"
is selected and press the controller.
The various criteria are listed on the Control
Display.
3.Select a route criterion for the route:
>"With highways"
Freeways and major traffic arteries are
given priority.
>"Avoid highways"
Freeways are avoided where possible.
>"Fast route"
The short traveling time, being a combi-
nation of the shortest possible route and
the fastest roads
>"Short route"
Short route, regardless of how fast or
slow progress will be
Page 142 of 254
Destination guidance
140
Destination guidance
Starting destination
guidance
1.Change to upper field if necessary. Turn the
controller until "Navigation" is selected and
press the controller.
2.Select a destination from the destination list
and press the controller or enter a new des-
tination, refer to page128.
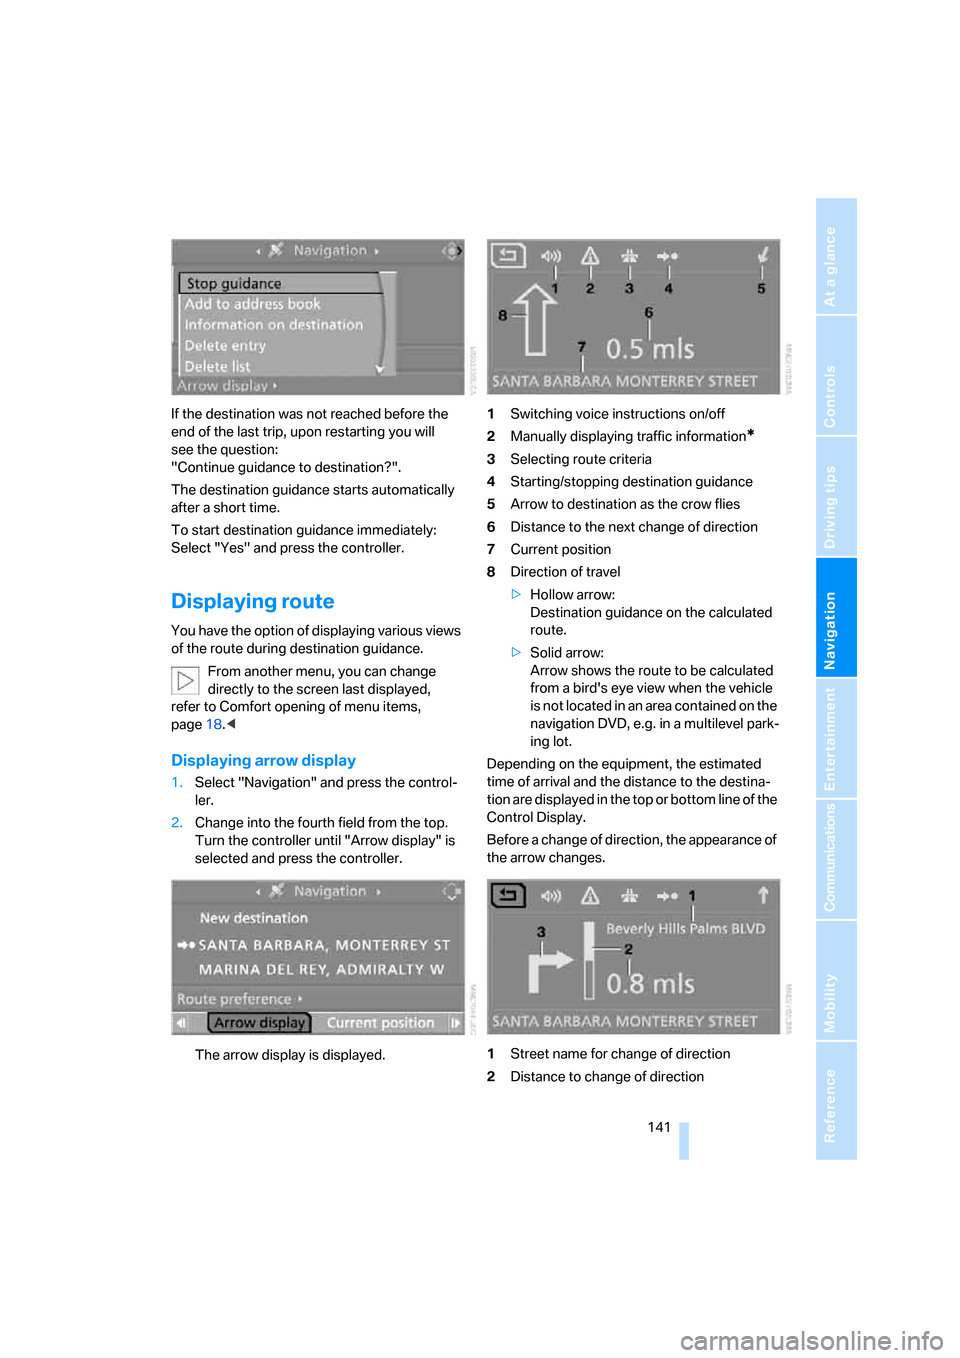
3.Select "Start guidance" and press the con-
troller.
After the route has been calculated, destination
guidance is indicated by arrows or a map dis-
play on the Control Display.
If the route criteria "Avoid highways",
"Avoid tollroads" or "Avoid ferries" are
selected, the calculation time for the route can
increase considerably.<
The destination guidance can also be started in
the arrow or map view:
Select the symbol and press the controller.During destination guidance, you can operate
other equipment via iDrive at any time. You are
notified well in advance of a necessary change
of direction by spoken instructions and the dis-
play of the direction arrows.
Terminating/continuing
destination guidance
In arrow display or map view
Select the symbol and press the controller.
In destination list
This symbol marks the current destination.
1.Select the current destination and press the
controller.
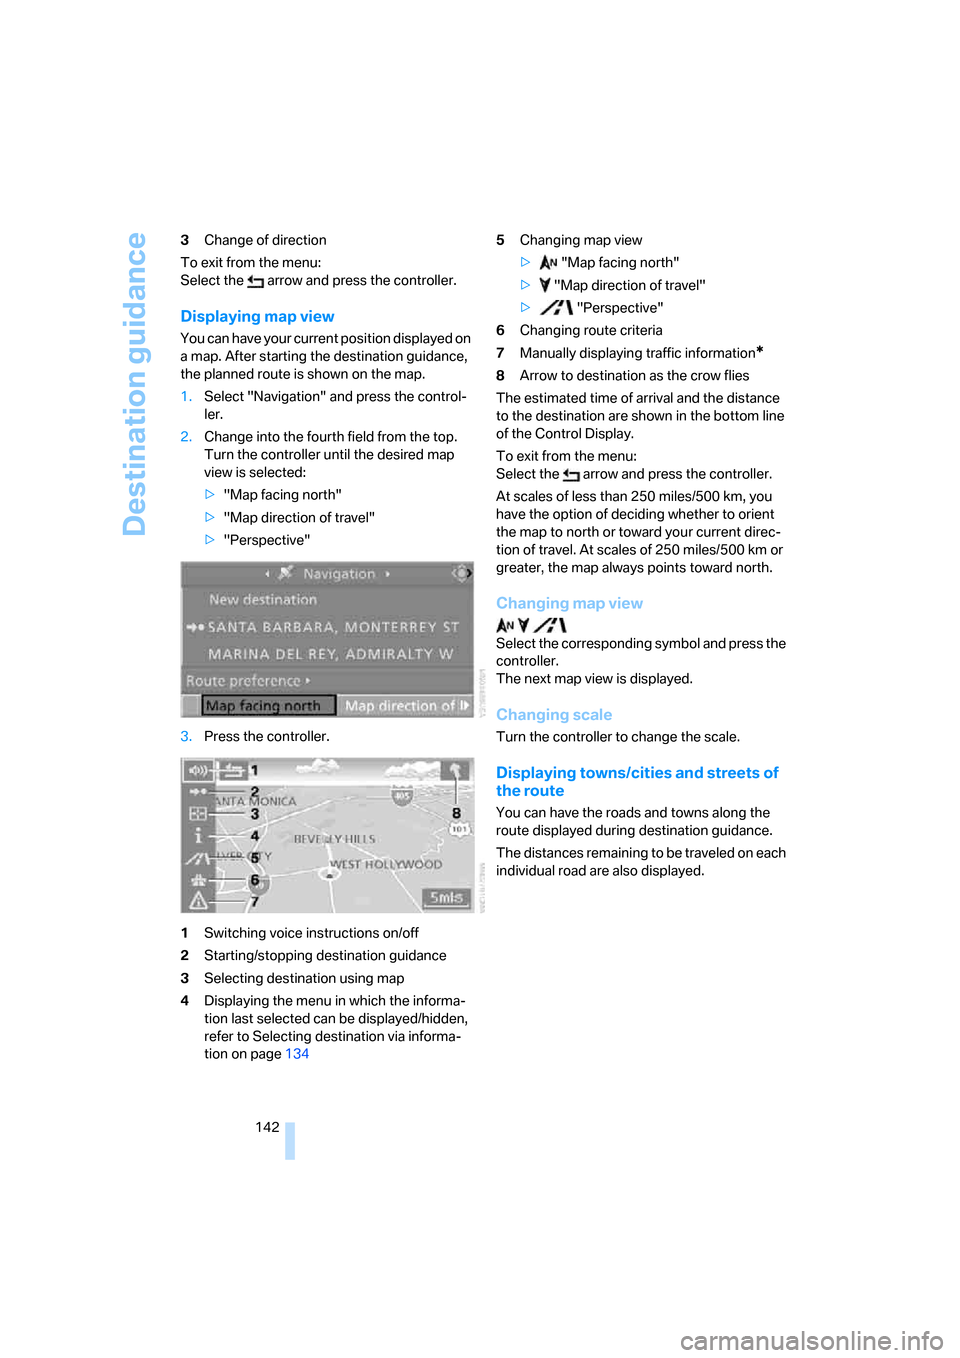
2.Select "Stop guidance" and press the con-
troller.
Page 143 of 254
Navigation
Driving tips
141Reference
At a glance
Controls
Communications
Entertainment
Mobility
If the destination was not reached before the
end of the last trip, upon restarting you will
see the question:
"Continue guidance to destination?".
The destination guidance starts automatically
after a short time.
To start destination guidance immediately:
Select "Yes" and press the controller.
Displaying route
You have the option of displaying various views
of the route during destination guidance.
From another menu, you can change
directly to the screen last displayed,
refer to Comfort opening of menu items,
page18.<
Displaying arrow display
1.Select "Navigation" and press the control-
ler.
2.Change into the fourth field from the top.
Turn the controller until "Arrow display" is
selected and press the controller.
The arrow display is displayed.1Switching voice instructions on/off
2Manually displaying traffic information
*
3Selecting route criteria
4Starting/stopping destination guidance
5Arrow to destination as the crow flies
6Distance to the next change of direction
7Current position
8Direction of travel
>Hollow arrow:
Destination guidance on the calculated
route.
>Solid arrow:
Arrow shows the route to be calculated
from a bird's eye view when the vehicle
is not located in an area contained on the
navigation DVD, e.g. in a multilevel park-
ing lot.
Depending on the equipment, the estimated
time of arrival and the distance to the destina-
tion are displayed in the top or bottom line of the
Control Display.
Before a change of direction, the appearance of
the arrow changes.
1Street name for change of direction
2Distance to change of direction
Page 144 of 254
Destination guidance
142 3Change of direction
To exit from the menu:
Select the arrow and press the controller.
Displaying map view
You can have your current position displayed on
a map. After starting the destination guidance,
the planned route is shown on the map.
1.Select "Navigation" and press the control-
ler.
2.Change into the fourth field from the top.
Turn the controller until the desired map
view is selected:
>"Map facing north"
>"Map direction of travel"
>"Perspective"
3.Press the controller.
1Switching voice instructions on/off
2Starting/stopping destination guidance
3Selecting destination using map
4Displaying the menu in which the informa-
tion last selected can be displayed/hidden,
refer to Selecting destination via informa-
tion on page1345Changing map view
> "Map facing north"
> "Map direction of travel"
> "Perspective"
6Changing route criteria
7Manually displaying traffic information*
8Arrow to destination as the crow flies
The estimated time of arrival and the distance
to the destination are shown in the bottom line
of the Control Display.
To exit from the menu:
Select the arrow and press the controller.
At scales of less than 250 miles/500 km, you
have the option of deciding whether to orient
the map to north or toward your current direc-
tion of travel. At scales of 250 miles/500 km or
greater, the map always points toward north.
Changing map view
Select the corresponding symbol and press the
controller.
The next map view is displayed.
Changing scale
Turn the controller to change the scale.
Displaying towns/cities and streets of
the route
You can have the roads and towns along the
route displayed during destination guidance.
The distances remaining to be traveled on each
individual road are also displayed.
Page 146 of 254
Destination guidance
144
Repeating and canceling voice
instructions
With the programmable buttons on the steering
wheel you can also make the following settings,
refer to page55:
>Repeat the voice instruction:
Press the button.
>Switch voice instructions on/off:
Press button longer.
Setting volume of voice instructions
The volume can only be adjusted during a voice
instruction.
1.Repeat the last voice instruction, if required.
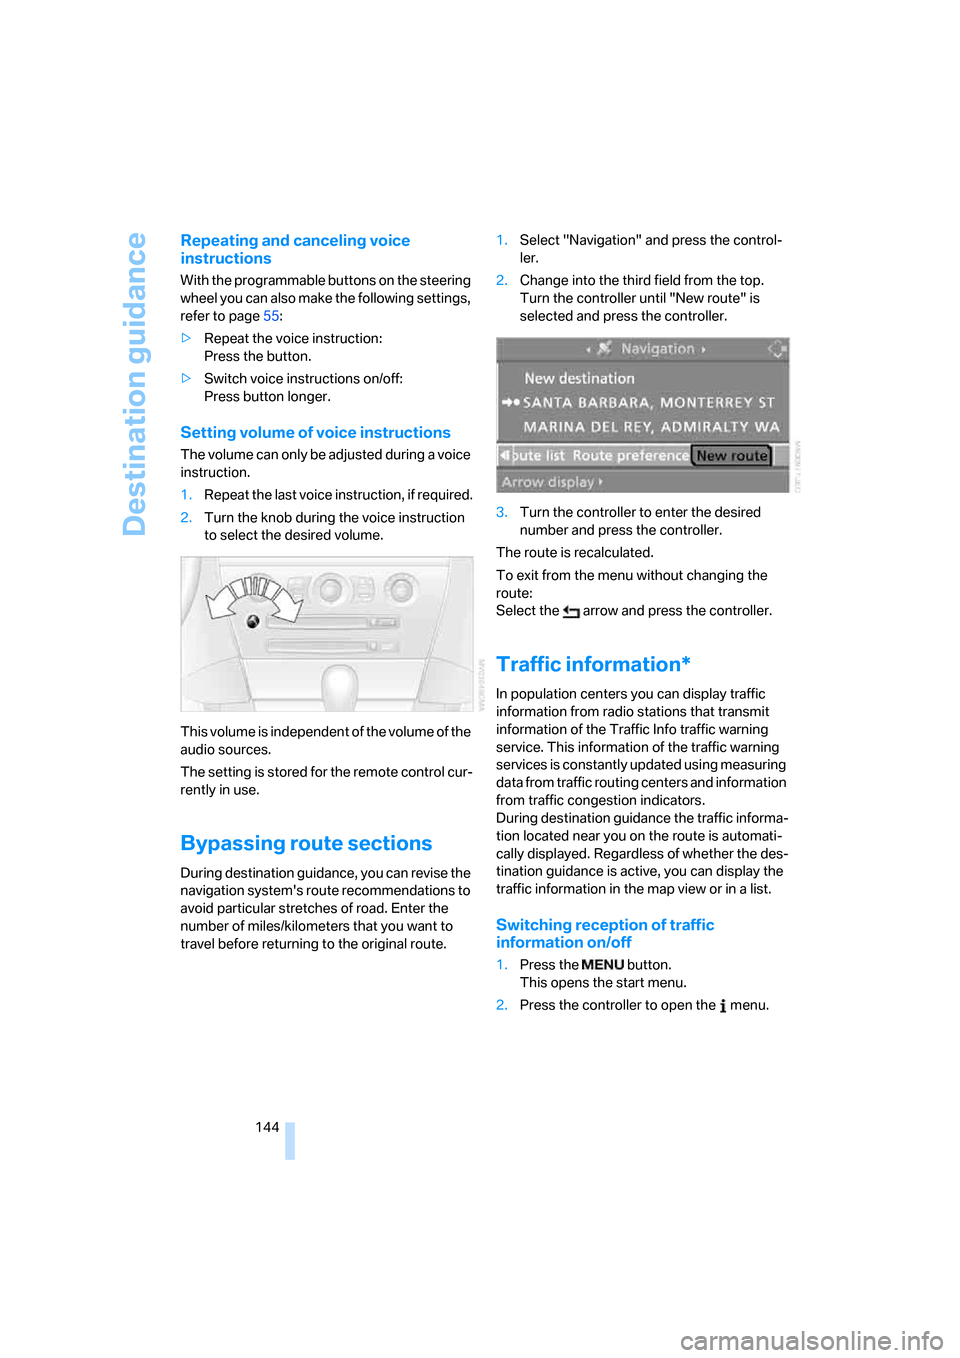
2.Turn the knob during the voice instruction
to select the desired volume.
This volume is independent of the volume of the
audio sources.
The setting is stored for the remote control cur-
rently in use.
Bypassing route sections
During destination guidance, you can revise the
navigation system's route recommendations to
avoid particular stretches of road. Enter the
number of miles/kilometers that you want to
travel before returning to the original route.1.Select "Navigation" and press the control-
ler.
2.Change into the third field from the top.
Turn the controller until "New route" is
selected and press the controller.
3.Turn the controller to enter the desired
number and press the controller.
The route is recalculated.
To exit from the menu without changing the
route:
Select the arrow and press the controller.
Traffic information*
In population centers you can display traffic
information from radio stations that transmit
information of the Traffic Info traffic warning
service. This information of the traffic warning
services is constantly updated using measuring
data from traffic routing centers and information
from traffic congestion indicators.
During destination guidance the traffic informa-
tion located near you on the route is automati-
cally displayed. Regardless of whether the des-
tination guidance is active, you can display the
traffic information in the map view or in a list.
Switching reception of traffic
information on/off
1.Press the button.
This opens the start menu.
2.Press the controller to open the menu.
Page 150 of 254
Destination guidance
148
Displaying current position
You can also display your current position with
the destination guidance switched off.
1.Select "Navigation" and press the control-
ler.
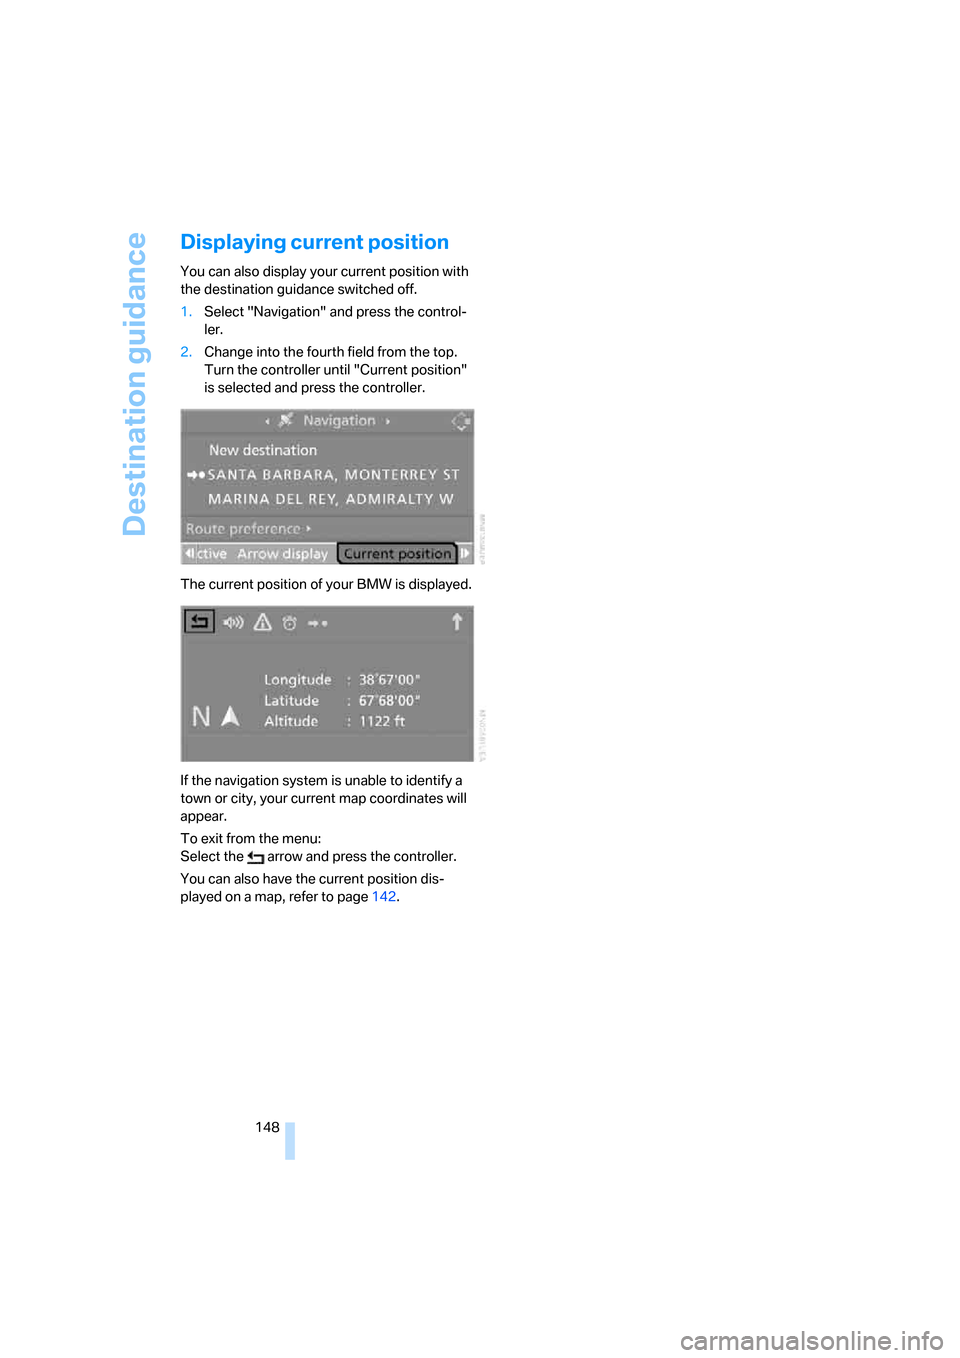
2.Change into the fourth field from the top.
Turn the controller until "Current position"
is selected and press the controller.
The current position of your BMW is displayed.
If the navigation system is unable to identify a
town or city, your current map coordinates will
appear.
To exit from the menu:
Select the arrow and press the controller.
You can also have the current position dis-
played on a map, refer to page142.
Page 154 of 254
On/off and tone
152
On/off and tone
The following audio sources have shared con-
trols and setting options:
>Professional
* radio or
Business radio
>CD player
>CD changer
*
Controls
The audio sources can be operated using:
>Buttons near CD player
>iDrive
>Buttons on steering wheel, refer to page11
Buttons near CD player
The layout of the buttons can vary depending
on your vehicle's equipment.
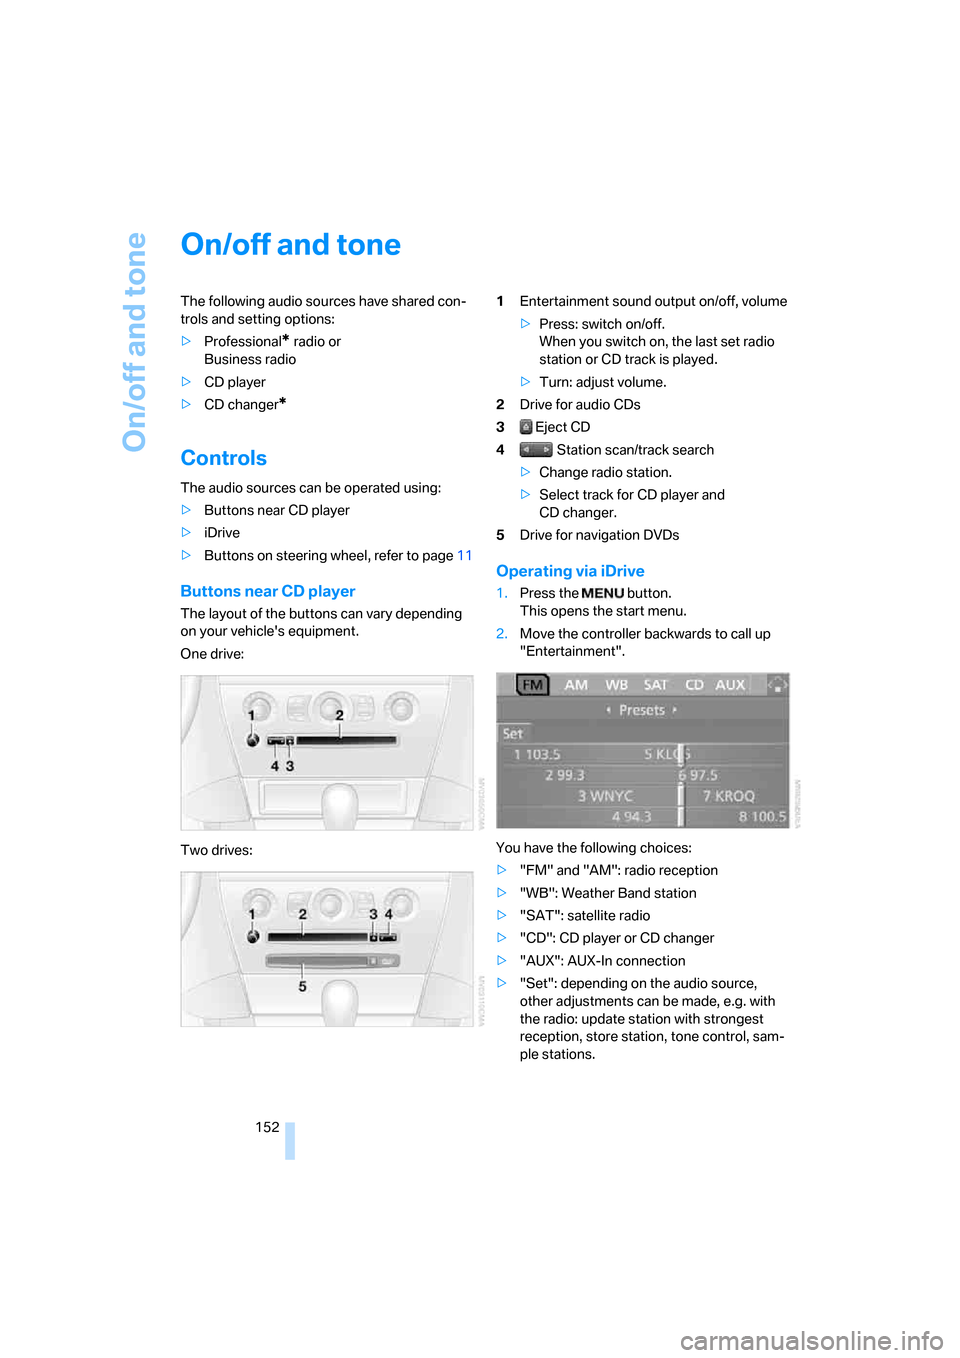
One drive:
Two drives:1Entertainment sound output on/off, volume
>Press: switch on/off.
When you switch on, the last set radio
station or CD track is played.
>Turn: adjust volume.
2Drive for audio CDs
3 Eject CD
4 Station scan/track search
>Change radio station.
>Select track for CD player and
CD changer.
5Drive for navigation DVDs
Operating via iDrive
1.Press the button.
This opens the start menu.
2.Move the controller backwards to call up
"Entertainment".
You have the following choices:
>"FM" and "AM": radio reception
>"WB": Weather Band station
>"SAT": satellite radio
>"CD": CD player or CD changer
>"AUX": AUX-In connection
>"Set": depending on the audio source,
other adjustments can be made, e.g. with
the radio: update station with strongest
reception, store station, tone control, sam-
ple stations.
Page 155 of 254

Navigation
Entertainment
Driving tips
153Reference
At a glance
Controls
Communications
Mobility
From another menu, you can change
directly to the screen last displayed,
refer to Comfort opening of menu items,
page18.<
With the ignition key in radio-ready position or
higher, the selected audio source is stored for
the remote control currently in use.
Switching on/off
To switch the Entertainment sound output on/
off:
Press knob1 next to the CD player.
This symbol on the Control Display indi-
cates that sound output is switched off.
For a single drive, the sound output is available
for approx. 20 minutes with the ignition
switched off.
To do so, switch the sound output on again.
Adjusting volume
Turn knob1 next to the CD player until the
desired volume is set.
You can also adjust the volume with the buttons
on the steering wheel, refer to page11.
From radio readiness, the setting for the remote
control used at the moment is saved.
Tone control
You can alter various tone settings, e. g. treble
and bass, or the speed-dependent volume
increase.
The sound settings are globally adjusted for all
audio sources.
From radio readiness, the settings are saved for
the remote control used at the moment.
Changing tone settings
1.Press the button.
This opens the start menu.
2.Press the controller to open the menu.3.Turn the controller until "Settings" is
selected and press the controller.
4.Select "Audio" and press the controller.
The tone settings can also be selected when
you have opened "Entertainment" in the start
menu:
Select "Set" and then "Tone", and press the
controller.
Treble and bass
1.Change to upper field if necessary. Turn the
controller until "Treble / Bass" is selected
and press the controller.
2.Move the controller to the left or right to
select "Treble" or "Bass".
3.Turn the controller until the desired setting
is selected.