Page 299 of 491

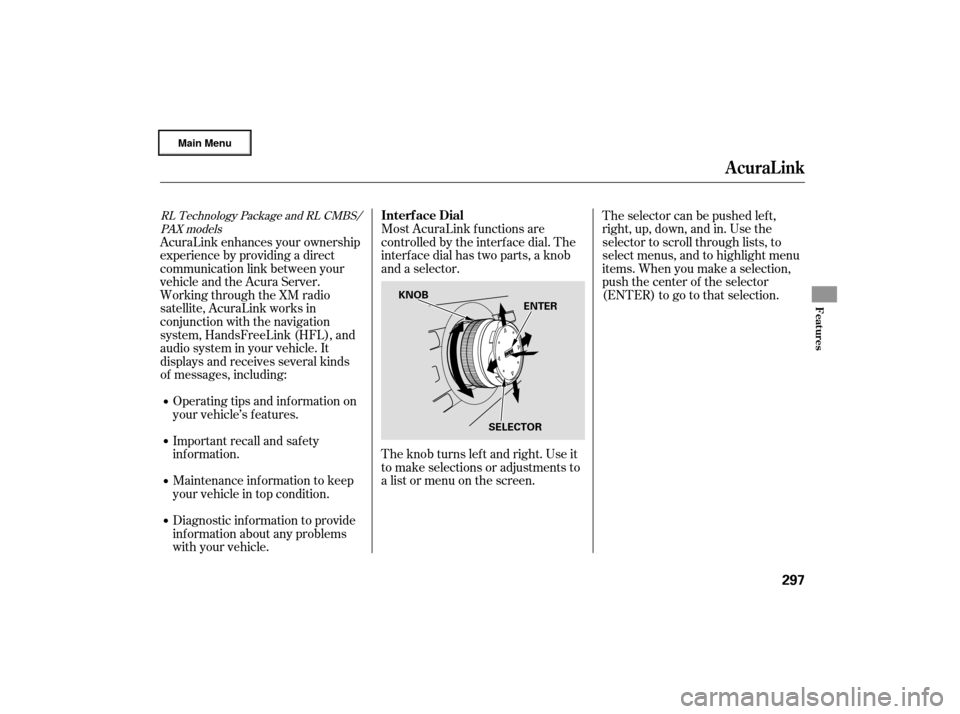
Most AcuraLink f unctions are
controlled by the interf ace dial. The
interface dial has two parts, a knob
and a selector.
The knob turns lef t and right. Use it
to make selections or adjustments to
a list or menu on the screen.The selector can be pushed lef t,
right, up, down, and in. Use the
selector to scroll through lists, to
select menus, and to highlight menu
items. When you make a selection,
push the center of the selector
(ENTER)togotothatselection.
AcuraLink enhances your ownership
experience by providing a direct
communication link between your
vehicleandtheAcuraServer.
Working through the XM radio
satellite, AcuraLink works in
conjunction with the navigation
system, HandsFreeLink (HFL), and
audio system in your vehicle. It
displays and receives several kinds
of messages, including:
Operating tips and inf ormation on
your vehicle’s f eatures.
Important recall and safety
inf ormation.
Maintenance inf ormation to keep
your vehicle in top condition.
Diagnostic inf ormation to provide
inf ormation about any problems
with your vehicle.
RL Technology Package and RL CMBS/PAX modelsInterf ace Dial
AcuraLink
Features
297
ENTER
SELECTOR
KNOB
�����—�����—�
���y�
�������������y���
�(�����������y���������y
Page 301 of 491

Diagnostic inf o and recall/
campaign messages can only be
deleted by your dealer.
To delete a single message: Press the INFO button to bring up
the Information screen.
Scroll to the Messages option,
then select it by pressing ENTER
on the interf ace selector.
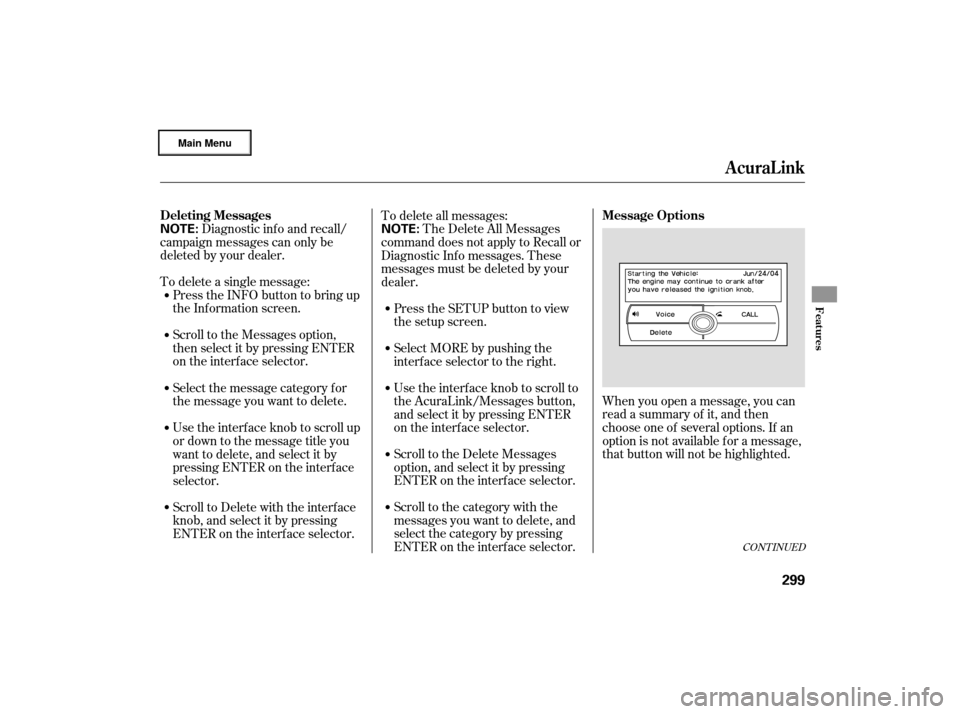
When you open a message, you can
read a summary of it, and then
choose one of several options. If an
option is not available f or a message,
that button will not be highlighted.
Scroll to the category with the
messages you want to delete, and
selectthecategorybypressing
ENTER on the interf ace selector. Scroll to the Delete Messages
option, and select it by pressing
ENTER on the interf ace selector. Usetheinterfaceknobtoscrollto
the AcuraLink/Messages button,
and select it by pressing ENTER
on the interf ace selector. Select MORE by pushing the
interface selector to the right. Press the SETUP button to view
the setup screen. The Delete All Messages
command does not apply to Recall or
Diagnostic Inf o messages. These
messages must be deleted by your
dealer. To delete all messages:
Usetheinterfaceknobtoscrollup
or down to the message title you
want to delete, and select it by
pressing ENTER on the interf ace
selector. Select the message category f or
the message you want to delete.
Scroll to Delete with the interface
knob, and select it by pressing
ENTER on the interf ace selector.
CONT INUED
Deleting Messages Message Options
AcuraLink
Features
299
NOTE:NOTE:
�����—�����—�
���y�
���������
���y���
�(�����������y���������y
Page 331 of 491

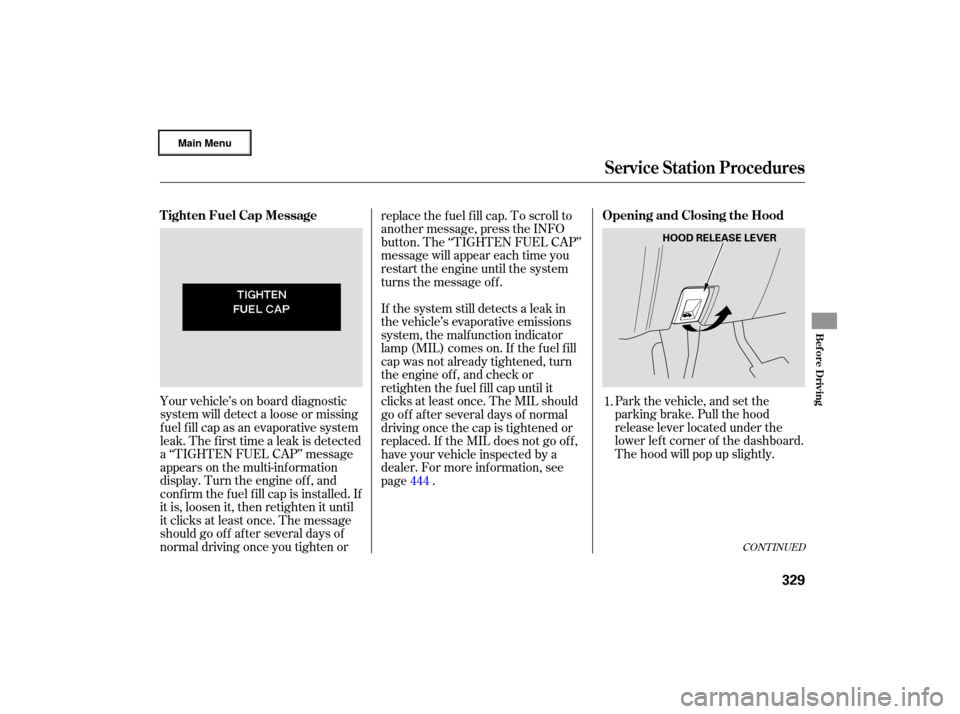
Park the vehicle, and set the
parking brake. Pull the hood
release lever located under the
lower left corner of the dashboard.
The hood will pop up slightly.
Your
vehicle’s on board diagnostic
system will detect a loose or missing
fuel fill cap as an evaporative system
leak. The first time a leak is detected
a ‘‘TIGHTEN FUEL CAP’’ message
appears on the multi-info rmation
display. Turn the engine off, and
confirm the fuel fill cap is installed. If
it is, loosen it, then retighten it until
it clicks at least once. The message
should go off after several days of
normal driving once you tighten or replace
the fuel fill cap. To scroll to
another message, press the INFO
button. The ‘‘TIGHTEN FUEL CAP’’
message will appear each time you
restart the engine until the system
turns the message off.
If the system still detects a leak in
the vehicle’s evaporative emissions
system, the malfunction indicator
lamp (MIL) comes on. If the fuel fill
cap was not already tightened, turn
the engine off, and check or
retighten the fuel fill cap until it
clicks at least once. The MIL should
go off after several days of normal
driving once the cap is tightened or
replaced. If the MIL does not go of f ,
have your vehicle inspected by a
dealer. For more inf ormation, see
page . 1.
444
CONT INUED
Opening and Closing the Hood
Tighten Fuel Cap Message
Service Station Procedures
Bef ore Driving
329
HOOD RELEASE LEVER
�����—�����—�
���y�
�������������y���
�(�����������y���������y
Page 335 of 491

When properly installed, cellular
phones, alarms, two-way radios, and
low-powered audio systems should
not interfere with your vehicle’s
computer controlled systems, such
as your airbags and anti-lock brakes. Before
installing any accessory:
Make sure the accessory does not
obscure any lights, or interfere
with proper vehicle operation or
performance.
Modifying
your vehicle, or installing
some non-Acura accessories, can
make your vehicle unsafe. Before
you make any modifi cations or add
anyaccessories,besuretoreadthe
following information.
Your dealer has Acura accessories
that allow you to personalize your
vehicle. These accessories have
been designed and approved for your
vehicle, and are covered by warranty.
Before installing any electronic
accessory, have the installer
contact your dealer. If possible,
have your dealer inspect the final
installation. Be sure electronic accessories do
not overload electrical circuits
(see page ) or interf ere with
the proper operation of your
vehicle.
Do not install accessories on the
side pillars or across the rear
windows. In these areas,
accessories may interf ere with
proper operation of the side
curtain airbags.
Although non-Acura accessories may
f it on your vehicle, they may not
meet f actory specif ications, and
could adversely af f ect your vehicle’s
handling and stability.
447
A ccessories
A ccessories and Modif ications
Bef ore Driving
333
Improper accessories or
modifications can affect your
vehicle’s handling, stability, and
performance, and cause a
crash in which you can be hurt
or killed.
Follow all instructions in this
owner’s manual regarding
accessories and modifications.
�����—�����—�
���y�
�������������y���
�(�����������y���������y
Page 340 of 491
The cargo f loor hooks can also be
used to tie down and secure items on
the f loor.
There are hooks on the f loor and
both sides of the trunk. They can be
used to install the cargo net f or
securing items. The side cargo
hooks are designed to hold light
items (maximum load: 6 lbs or 3 kgs
for each hook). Heavy objects may
damage the side hooks. Cargo Hooks
Carrying Cargo
338
SIDE CARGO HOOKS
CARGO FLOOR HOOKS
�����—�����—�
���y�
�������������y���
�(�����������y���������y
Page 342 of 491

Make sure all windows, mirrors,
and outside lights are clean and
unobstructed. Remove frost, snow,
or ice.
Check that the hood is fully closed.
Check that any items you may be
carrying are stored properly or
fastened down securely. Check
the seat adjustment (see
page ).
Check the steering wheel
adjustment (see page ).
Make sure the doors and the
trunk are securely closed and
locked.
Fasten your seat belt. Check that
your passengers have fastened
their seat belts (see page ).
Youshoulddothefollowingchecks
and
adjustmen ts before you drive
your vehicle.
When you start the engine, check
the gauges and indicato rs in the
instrument panel, and the
messages on the multi-inform ation
display (see pages , and ).
Visually
check the tires. If a tire
looks low, use a gauge to check its
pressure (see page ). Check
the adjustment of the
inside and outside mirrors (see
page ).
1.
2.
3.
4. 5.
6.
7.
8.
9.
10. 17
78 155
158 147
415
61 70
Preparing to Drive
340
�����—�����—�
���y�
�������������y���
�(�����������y���������y
Page 352 of 491

Each torque indicator is displayed
as a bar graph divided into 5
segments. The number of
segments represents the amount
of torque distributed to each
wheel.
The SH-AWD torque distribution
monitor on the multi-inf ormation
display shows you the amount of
torque being sent to the wheels.
Each wheel: right f ront (RF), lef t
front(LF),rightrear(RR),andleft
rear (LR), has its own torque
indicator. When cruise control is on while
driving, the torque distribution
monitor is not shown.
The SH-AWD system is a full time
all-wheel-drive system that
automatically controls and transfers
varying amounts of engine torque to
all wheels independently, according
to the driving conditions.
When there is only a slight change in
torque distribution while driving,
such as cruising on level roads at the
same speed, the torque distribution
monitor may stop displaying the
amount of torque. This is not a
system problem. The monitor will
show the amount if the system
senses any change in torque
distribution.
While the SH-AWD system helps to
enhance the vehicle’s driving
stability in all situations, it is still
your responsibility to drive and
corner at reasonable speeds and to
leave a sufficient margin of safety.
SH-AWD T orque Distribution
Monitor
SH-A WD System
350
TORQUE INDICATOR
TORQUE INDICATOR
�����—�����—�
���y�
���������
���y���
�(�����������y���������y
Page 353 of 491

If the SH-AWD indicator on the
instrument panel stays on, and the
multi-inf ormation display shows an
SH-AWD message, there is a
problem with the system. Your
vehicle still has normal f ront-wheel
drive with vehicle stability assist
(VSA), but does not have the
advantages of SH-AWD. Have your
vehicle checked by a dealer as soon
as possible.Check the indicator on the
instrument panel to verif y that the
security system is set. If the vehicle is f acing downhill,
turn the front wheels toward the
curb. If the vehicle is f acing uphill, turn
the front wheels away from the
curb. Never park over dry leaves, tall
grass, or other f lammable
materials. The hot three way
catalytic converter could cause
these materials to catch on fire.
Make sure the parking brake is
f ully released bef ore driving away.
Driving with the parking brake
partially set can overheat or
damage the rear brakes.
Always use the parking brake when
you park your vehicle. Make sure
the parking brake is set f irmly, or
your vehicle may roll if it is parked
on an incline.
Set the parking brake bef ore you put
the transmission in Park. This keeps
the vehicle from moving and putting
pressure on the parking mechanism
in the transmission.
Make sure the moonroof and the
windows are closed.
Turn of f the lights.
Place any packages, valuables, etc.,
in the trunk or take them with you.
Lock the doors.
SH-A WD System, Parking
Parking
Parking T ips
Driving
351
�����—�����—�
���y�
�������������y���
�(�����������y���������y