Page 17 of 390
 OPERATION ...........................................6-1
Starting a cold engine ...........................6-3
Starting a warm engine .........................6-9
Warming up...........................")
OPERATION ...........................................6-1
Starting a cold engine ...........................6-3
Starting a warm engine .........................6-9
Warming up...........................................6-9
Drive select lever operation and
reverse driving ..................................6-11
Engine break-in ...................................6-15
Parking ................................................6-17
Parking on a slope ..............................6-19
Accessories and loading .....................6-21
RIDING YOUR ATV..................................7-1
Getting to know your ATV .....................7-3
Ride with care and good judgement .....7-5
Be careful where you ride ...................7-27
Turning your ATV ................................7-39
Climbing uphill.....................................7-45
Riding downhill ....................................7-55
Crossing a slope .................................7-59
Crossing through shallow water ..........7-63
Riding over rough terrain ....................7-69
Sliding and skidding ............................7-71
What to do if ........................................7-75
What to do...........................................7-75
67
PERIODIC MAINTENANCE AND
ADJUSTMENT ........................................ 8-1
Owner’s manual and tool kit ................. 8-3
Periodic maintenance/lubrication.......... 8-7
Panel removal and installation............ 8-17
Engine oil and oil filter cartridge ......... 8-21
Final gear oil ....................................... 8-31
Spark plug inspection ......................... 8-39
Air filter element cleaning ................... 8-45
V-belt cooling duct check hose ........... 8-53
V-belt case drain plug ......................... 8-53
Carburetor adjustment ........................ 8-55
Idle speed adjustment ........................ 8-57
Valve clearance adjustment ............... 8-59
Select lever safety system cable
adjustment ........................................ 8-59
Throttle lever adjustment .................... 8-61
Front brake pad check ........................ 8-63
Rear brake shoe inspection ................ 8-63
Brake fluid level check ........................ 8-65
Brake fluid replacement ...................... 8-69
Front brake lever free play.................. 8-71
Rear brake pedal and lever
adjustment ........................................ 8-73
Adjusting the rear brake light
switch ............................................... 8-79
Cable inspection and lubrication......... 8-81
8
EE.book Page 2 Friday, April 1, 2005 9:57 AM
Page 56 of 390
3-1
EBU00032
DESCRIPTION AND MACHINE
IDENTIFICATION1. Rear shock absorber
assembly spring preload
adjusting ring
2. Storage box and tool kit
3. Spark plug
4. Front shock absorber
assembly spring preload
adjusting ring
5. Brake pedal
6. V-belt case
7. Fuel cock
8. Air filter case
9. Fuses
10. Tail/brake light11. V-belt cooling duct check
hose
12. Oil filter cartridge
13. Engine oil dipstick
14. Rear brake lever
15. Left handlebar switches
16. Starter (choke)
17. Horn switch
18. Drive select lever
19. Speedometer
20. Main switch
21. Fuel tank cap
22. Throttle lever
23. Front brake leverNOTE:The machine you have purchased may differ
slightly from those shown in the figures of this
manual.
EE.book Page 1 Friday, April 1, 2005 9:57 AM
Page 253 of 390
 8-8
Engine oil
Replace. (Warm engine before draining.)Engine oil filter cartridge
Replace.Final gear oilCheck oil level/oil leakage.
Replace every 12 months.Front brake*Check operation/fluid lea")
8-8
Engine oil
Replace. (Warm engine before draining.)Engine oil filter cartridge
Replace.Final gear oilCheck oil level/oil leakage.
Replace every 12 months.Front brake*Check operation/fluid leakage. (See NOTE page 8-9.)
Correct if necessary.Rear brakeCheck operation.
Adjust if necessary.Select lever safety system
cable*Check operation.
Adjust if necessary.V-belt*Check operation.
Check for cracks or damage.Wheels*Check balance/damage/runout.
Repair if necessary.Wheel bearing*Check bearing assemblies for looseness/damage.
Replace if damaged.Front and rear
suspension*Check operation.
Correct if necessary.Steering system*Check operation./Replace if damaged.
Check toe-in./Adjust if necessary.Drive shaft universal
joint*Lubricate with lithium-soap-based grease.Fittings and fasteners*Check all chassis fittings and fasteners.
Correct if necessary.Lights and switches*Check operation.
Adjust headlight beams.
ITEM ROUTINEWhichever
comes firstINITIAL EVERY
month136612
km
(mi)320
(200)1,200
(750)2,400
(1,500)2,400
(1,500)4,800
(3,000)
hours 20 75 150 150 300
EE.book Page 8 Friday, April 1, 2005 9:57 AM
Page 266 of 390
 8-21 1. Engine oil filler cap
1. Bouchon de remplissage d’huile de moteur
1. Tapa de relleno de aceite de motor
1. Maximum level mark 2. Minimum level mark
1. Repère de niveau maximum 2. Repère de")
8-21 1. Engine oil filler cap
1. Bouchon de remplissage d’huile de moteur
1. Tapa de relleno de aceite de motor
1. Maximum level mark 2. Minimum level mark
1. Repère de niveau maximum 2. Repère de niveau minimum
1. Marca de nivel máximo 2. Marca de nivel mínimo
EBU14540
Engine oil and oil filter cartridge
The engine oil level should be checked before
each ride. In addition, the oil must be changed and
the oil filter cartridge replaced at the intervals
specified in the periodic maintenance and lubrica-
tion chart.
To check the engine oil level
1. Place the ATV on a level surface.
2. Start the engine, warm it up for several min-
utes, and then turn it off.
3. Wait a few minutes until the oil settles.
4. Remove the engine oil filler cap and wipe off
the dipstick with a clean rag.
5. Insert the dipstick in the oil filler hole (without
screwing it in), and then remove it again to
check the oil level.NOTE:_ The engine oil should be between the minimum
and maximum level marks. _
EE.book Page 21 Friday, April 1, 2005 9:57 AM
Page 270 of 390
8-25 1. Oil filter cartridge
1. Cartouche du filtre à huile
1. Cartucho del filtro de aceite
1. Oil filter wrench
1. Clé pour filtre à huile
1. Llave para filtros de aceite
NOTE:_ Skip steps 4–6 if the oil filter cartridge is not being
replaced. _4. Remove the oil filter cartridge with an oil filter
wrench.NOTE:_ An oil filter wrench is available at a nearby
Yamaha dealer. _
EE.book Page 25 Friday, April 1, 2005 9:57 AM
Page 272 of 390
8-27 1. O-ring
1. Joint torique
1. Junta tórica
1. Torque wrench
1. Clé dynamométrique
1. Llave de apriete
5. Apply a light coat of engine oil to the O-ring of
the new oil filter cartridge.NOTE:_ Make sure the O-ring is seated properly. _6. Install the new oil filter cartridge with an oil fil-
ter wrench, and then tighten it to the specified
torque with a torque wrench.
7. Install the engine oil drain bolt, and then tight-
en it to the specified torque. Tightening torque:
Oil filter cartridge:
17 Nm (1.7 m·kgf)
Tightening torque:
Engine oil drain bolt:
23 Nm (2.3 m·kgf)
EE.book Page 27 Friday, April 1, 2005 9:57 AM
Page 274 of 390
8-29
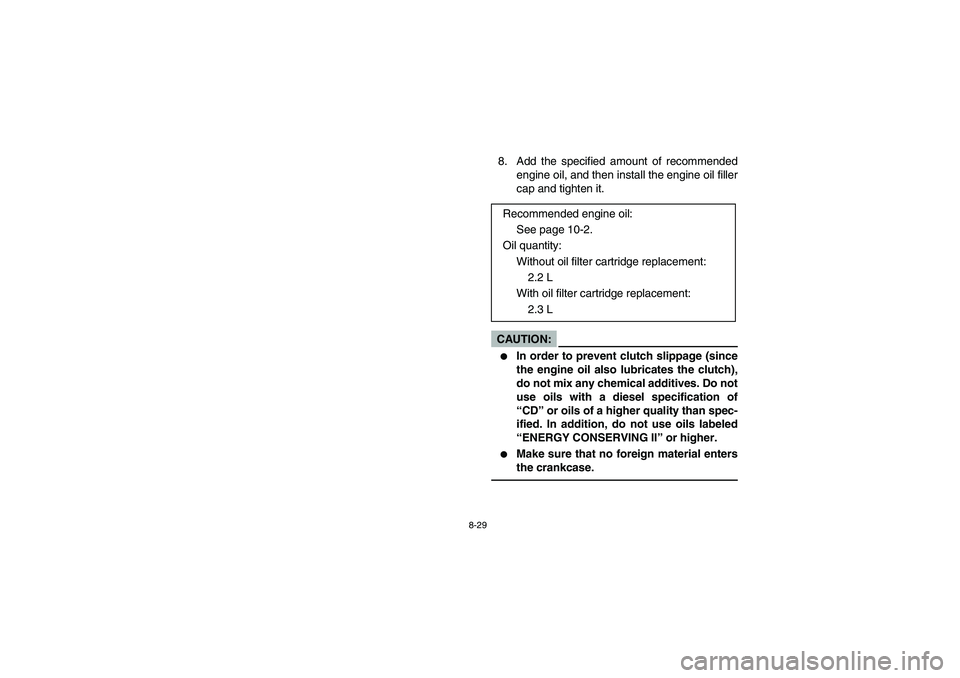
8. Add the specified amount of recommended
engine oil, and then install the engine oil filler
cap and tighten it.CAUTION:_ �
In order to prevent clutch slippage (since
the engine oil also lubricates the clutch),
do not mix any chemical additives. Do not
use oils with a diesel specification of
“CD” or oils of a higher quality than spec-
ified. In addition, do not use oils labeled
“ENERGY CONSERVING II” or higher.
�
Make sure that no foreign material enters
the crankcase.
_
Recommended engine oil:
See page 10-2.
Oil quantity:
Without oil filter cartridge replacement:
2.2 L
With oil filter cartridge replacement:
2.3 L
EE.book Page 29 Friday, April 1, 2005 9:57 AM
Page 294 of 390
8-49
6. Squeeze the excess solvent out of the air fil-
ter element and let it dry.CAUTION:_ Do not twist the air filter element when squeez-
ing it. _7. Inspect the air filter element and replace it if
damaged.
8. Apply foam air filter oil to the air filter element.NOTE:_ The air filter element should be wet but not drip-
ping. _9. Pull the air filter element over its frame, and
then install the lock plate.
10. Install the air filter element assembly.
11. Install the air filter case cover by hooking the
fasteners onto the air filter case.
12. Install the seat.
EE.book Page 49 Friday, April 1, 2005 9:57 AM
 3-1
EBU00032
DESCRIPTION AND MACHINE
IDENTIFICATION1. Rear shock absorber
assembly spring preload
adjusting ring
2. Storage box and tool kit
3. Spark plug
4. Front shock absorber
assembly spring p")
 8-25 1. Oil filter cartridge
1. Cartouche du filtre à huile
1. Cartucho del filtro de aceite
1. Oil filter wrench
1. Clé pour filtre à huile
1. Llave para filtros de aceite
NOTE:_ Skip steps 4–6")
 8-27 1. O-ring
1. Joint torique
1. Junta tórica
1. Torque wrench
1. Clé dynamométrique
1. Llave de apriete
5. Apply a light coat of engine oil to the O-ring of
the new oil filter cartridge.NOTE:_ M")
 8-49
6. Squeeze the excess solvent out of the air fil-
ter element and let it dry.CAUTION:_ Do not twist the air filter element when squeez-
ing it. _7. Inspect the air filter element and replace it i")