Page 245 of 455
245
1. Multi−information display screen*
(See page 248 for details.)
2. Ejecting a compact disc (See page 271 for details.)
3. Compact disc slot (See page 271 for details.)
4. Frequency tuning (See page 253 for details.)
5. Scan tuning (See page 255 for details.)
6. Compact disc mode button (See page 271 for details.)
7. Radio mode button (See page 252 for details.)
8. Radio mode: Seek tuning (See page 254 for
details.)
Compact disc
mode: Direct access to a desired program
(See page 272 for
details.)
9. Adjusting the volume (See page 247 for details.)
10. Turning the system on (See page 247 for details.)
11. Audio operation screen display button (See page 248 for details.)
*: In this manual, English version screens are shown as an example.
�
Ty p e 3
26p014e
Page 248 of 455
248
Ty p e 3
Push the “AM”, “AM·SAT”, “FM”,
“DISC” or “DISC·AUX” button to turn
on that mode. The selected mode turns
on directly.
Push these buttons if you want to switch
from one mode to another.
If the disc is not set, the compact disc
player does not turn on.
26p260
Radio (Type 1)
Radio (Type 2)
26p136a
Radio (Type 3)
Page 249 of 455
249
26p205c
Compact disc (Type 1)
Compact disc (Type 2)
26p138a
Compact disc (Type 3)
The switches for radio and compact
disc player operation are displayed on
the liquid crystal display. Touch them
lightly and directly on the screen.
The selected switch is highlighted in green
or orange.
26p206b
TONE AND BALANCE
Touching the “SOUND” switch on the
screen displays the sound adjustment
screen.
Page 251 of 455

(Type 1 and Type 2 only)
When the audio sound becomes difficult to
be heard due to road noise, wind noise,
etc. during driving, the system adjusts to
the optimum")
251
AUTOMATIC SOUND LEVELIZER (ASL)
(Type 1 and Type 2 only)
When the audio sound becomes difficult to
be heard due to road noise, wind noise,
etc. during driving, the system adjusts to
the optimum volume and tone quality ac-
cording to the noise level.
Vehicles with compact disc changer:
Touch the “ASL” switch.
When the system is on, the sound adjust-
ment level is displayed on the screen.
Vehicles without compact disc changer:
Touch the “DSP” switch to display the
“ASL” screen.
Touch “High”, “Mid” or “Low” and then
“OK”.
When you touch “High”, you can obtain
higher sensitivity of the sound levelizer.
When you touch “Low”, the sensitivity will
be lowered.
Touching “Off” turns the system off.YOUR RADIO ANTENNA
To remove an antenna on the roof, care-
fully turn it counterclockwise.
NOTICE
To prevent damage to the antenna,
make sure to remove it before driving
your Toyota through an automatic car
wash.
YOUR COMPACT DISC PLAYER
When you insert a disc, gently push it in
with the label side up.
The discs set in the player are played
continuously, starting with disc number 1.
The disc number of the disc currently be-
ing played, the track number and the time
from the beginning of the program appear
on the display.
Type 1 only:
When play of one disc ends, the first
track of the following disc starts. When
play of the final disc ends, play of the
first disc starts again.
The player will skip any empty disc num-
ber.
Page 252 of 455
252
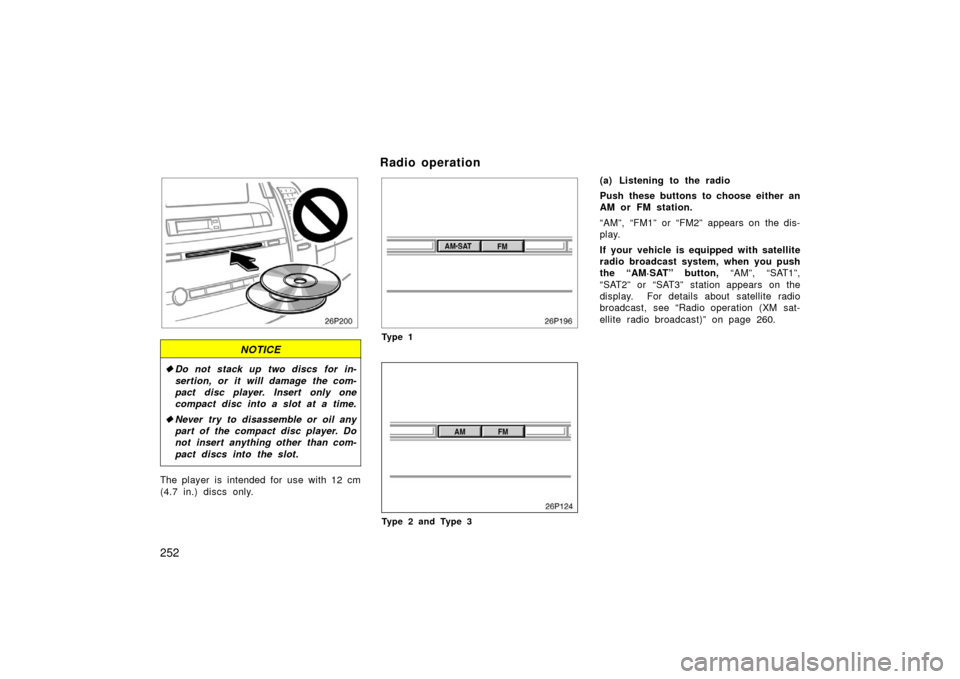
NOTICE
�Do not stack up two discs for in-
sertion, or it will damage the com-
pact disc player. Insert only one
compact disc into a slot at a time.
� Never try to disassemble or oil any
part of the compact disc player. Do
not insert anything other than com-
pact discs into the slot.
The player is intended for use with 12 cm
(4.7 in.) discs only.
Ty p e 1
26p124
Type 2 and Type 3
(a) Listening to the radio
Push these buttons to choose either an
AM or FM station.
“AM”, “FM1” or “FM2” appears on the dis-
play.
If your vehicle is equipped with satellite
radio broadcast system, when you push
the “AM·SAT” button, “AM”, “SAT1”,
“SAT2” or “SAT3” station appears on the
display. For details about satellite radio
broadcast, see “Radio operation (XM sat-
ellite radio broadcast)” on page 260.
Radio operation
Page 253 of 455
253
26P197
Type 1 and Type 2
26p125
Ty p e 3
Push and turn this knob to step up the
station band or to step down.
Your radio automatically changes to stereo
reception when a stereo broadcast is re-
ceived. “ST” appears on the display. If the
signal becomes weak, the radio reduces
the amount of channel separation to pre-
vent the weak signal from creating noise.
If the signal becomes extremely weak, the
radio switches from stereo to mono recep-
tion. In this case, “ST” disappears from
the display.
26p260
Ty p e 1
Ty p e 2
Page 254 of 455
 Presetting a station1. Tune in the desired station.
2. Touch one of the station selector switches (1�6) and hold it until a
beep is heard. This sets the station
to the switch")
254
26p141a
Ty p e 3
(b) Presetting a station1. Tune in the desired station.
2. Touch one of the station selector switches (1�6) and hold it until a
beep is heard. This sets the station
to the switch and the frequency ap-
pears on the switch.
Each switch can store FM1, FM2 and AM.
To change the preset station to a different
one, follow the same procedure.
The preset station memory is cancelled
when the power source is interrupted by
battery disconnection or a blown fuse. (c) Selecting a station
Tune in the desired station using one of
the following methods.
Preset tuning:
Touch the switch (1 −6) for
the station you want. The switch (1 −6) is
highlighted in green and station frequency
appears on the display.
Manual tuning: Turn the “TUNE·FILE” and
“TUNE” knob briefly. Each time you turn
the knob, the radio will step up or down
to another frequency.
Seek tuning: Push the “SEEK·TRACK”
button on either side. The radio will begin
seeking up or down for a station of the
nearest frequency and will stop on recep-
tion. Each time you push the button, the
stations will be searched out one after
another.
26p262
Ty p e 1
Ty p e 2
Page 255 of 455
255
26p126
Ty p e 3
Scan tuning: Push the “SCAN” button or
touch the “SCAN” switch (AM mode only)
briefly. “SCAN” appears on the display.
The radio will find the next station up or
down the band, stay there for a few se-
conds, and then scan again. To select a
station, push the “SCAN” button a second
time. Preset scan tuning:
Push the “SCAN”
button or touch the “SCAN” switch (AM
mode only) and hold it until you hear a
beep. “P. SCAN” appears on the display.
The radio will tune in the next preset sta-
tion up or down the band, stay there for
a few seconds, and then move to the next
preset station. To select a station, push
the “SCAN” button a second time.
26p263
Ty p e 1
Ty p e 2

2. Ejecting a compact disc (See page 271 for details.)
3. Compact disc slot (See page 271 for details.)
4. Frequency tuning (See")


Compact disc (Type 2)
26p138a
Compact disc (Type 3)
The switches for radio and compact
disc player operation are displayed on
the liquid crystal display. Touch them
l")


briefly. “SCAN” appears on the display.
The radio will find the next station up or
down th")