Page 284 of 365
Maintenance and service 11-5
3. Release the secondary hood release
located under the front grille by moving
the lever toward the left.
Lift up the hood, release the hood prop
from its retainer and put the end of the hood prop into the slot in the hood.
To close the hood:
1. Lift the hood slightly and remove the
hood prop from the slot in the hood and re-
turn the prop to its retainer.
2. Lower the hood until it approaches ap-
proximately
12 in (30 cm) from the closed
position and let it drop.
After closing the hood, be sure the hood is
securely locked.
If this does not close the hood, release it
from a slightly higher position. Do not
push the hood forcibly to close it. It could
deform the metal.
B00447
B00448
Always check that the hood is prop-
erly locked before you start driving.
If it is not, it might fly open while the
vehicle is moving and block your
view, which may cause an accident
and serious bodily injury.
Page 308 of 365

Maintenance and service 11-29
Breaking-in of new brake
pads and linings
When replacing the brake pad or lining,
use only genuine SUBARU parts. After re-
placement, the new parts must be broken
in as follows:
Brake pad and lining
While maintaining a speed of 30 to 40 mph
(50 to 65 km/h), step on the brake pedal
lightly. Repeat this five or more times.
Parking brake lining
1. Drive the vehicle at a speed of approx-
imately 22 mph (35 km/h).
2. With the parking brake release button
pushed in, pull the parking brake lever
SLOWLY and GENTLY. (Pulling with a
force of approximately 33 lbs [147 N, 15
kg].)
3. Drive the vehicle for approximately 220
yards (200 meters) in this condition.
4. Wait 5 to 10 minutes for the parking brake to cool down. Repeat this proce-
dure.
5. Check the parking brake stroke. If the
parking brake stroke is out of the specified
range, adjust it by turning the adjusting nut
located on the parking brake lever.
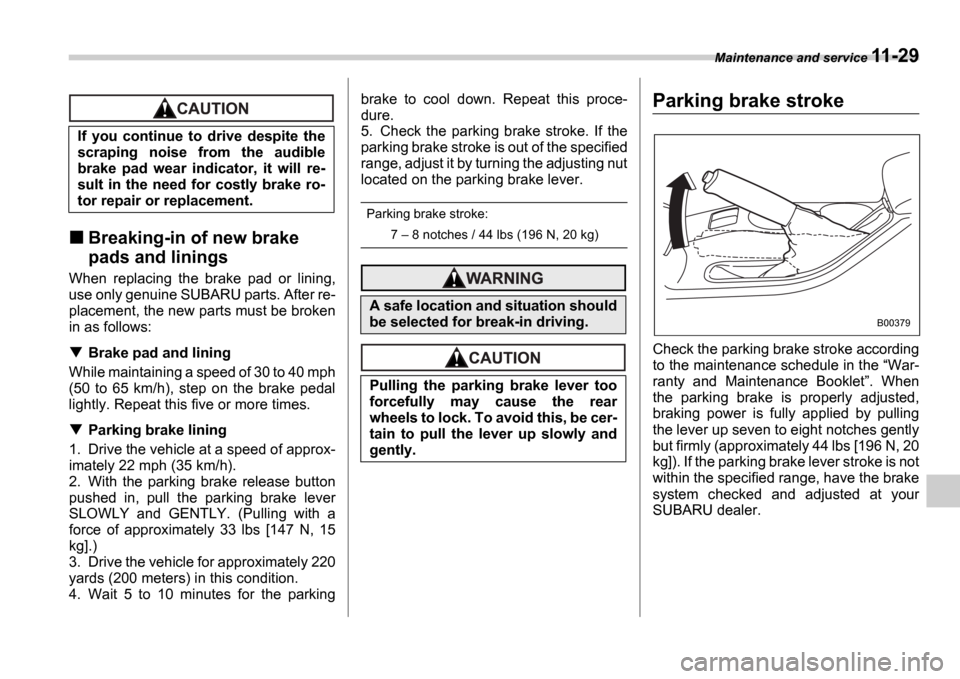
Parking brake stroke:
7
8 notches / 44 lbs (196 N, 20 kg)
Parking brake stroke
Check the parking brake stroke according
to the maintenance schedule in the War-
ranty and Maintenance Booklet . When
the parking brake is properly adjusted,
braking power is fully applied by pulling
the lever up seven to eight notches gently
but firmly (approximately 44 lbs [196 N, 20
kg]). If the parking brake lever stroke is not
within the specified range, have the brake
system checked and adjusted at your
SUBARU dealer.
If you continue to drive despite the
scraping noise from the audible
brake pad wear indicator, it will re-
sult in the need for costly brake ro-
tor repair or replacement.
A safe location and situation should
be selected for break-in driving.
Pulling the parking brake lever too
forcefully may cause the rear
wheels to lock. To avoid this, be cer-
tain to pull the lever up slowly and
gently.
B00379
Page 316 of 365

Maintenance and service 11-37
CONTINUED
used previously, purge the old fluid from
the piping between the reservoir tank and
washer nozzles by operating the washer
for a certain period of time. Otherwise, if
the concentration of the fluid remaining in
the piping is too low for the outside tem-
perature, it may freeze and block the noz-
zles.
Replacement of wiper blades
Grease, wax, insects, or other material on
the windshield or the wiper blade results in
jerky wiper operation and streaking on the
glass. If you cannot remove the streaks af-
ter operating the windshield washer or if
the wiper operation is jerky, clean the out-
er surface of the windshield (or rear win-
dow) and the wiper blades using a sponge
or soft cloth with a neutral detergent or
mild-abrasive cleaner. After cleaning,
rinse the windshield and wiper blades with
clean water. The windshield is clean if
beads do not form when you rinse the
windshield with water.
If you cannot eliminate the streaking even
after following this method, replace the
wiper blades using the following proce-
dures:
Windshield wiper blades as-
sembly
1. Raise the wiper arm off the windshield.
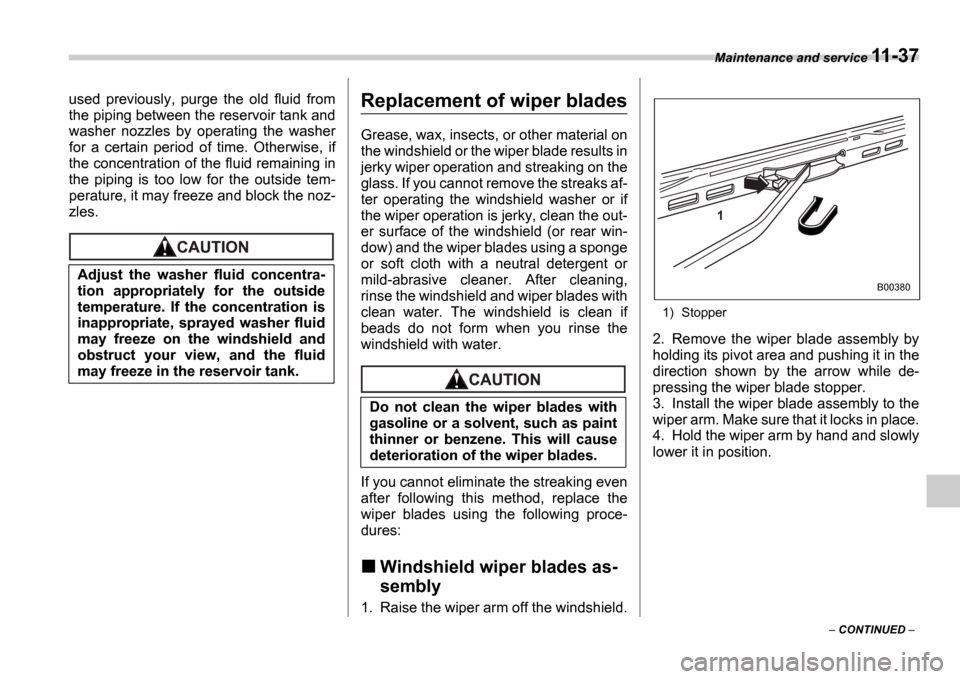
1) Stopper
2. Remove the wiper blade assembly by
holding its pivot area and pushing it in the
direction shown by the arrow while de-
pressing the wiper blade stopper.
3. Install the wiper blade assembly to the
wiper arm. Make sure that it locks in place.
4. Hold the wiper arm by hand and slowly
lower it in position.
Adjust the washer fluid concentra-
tion appropriately for the outside
temperature. If the concentration is
inappropriate, sprayed washer fluid
may freeze on the windshield and
obstruct your view, and the fluid
may freeze in the reservoir tank.
Do not clean the wiper blades with
gasoline or a solvent, such as paint
thinner or benzene. This will cause
deterioration of the wiper blades.
1
B00380
Page 317 of 365
11-38 Maintenance and service
Windshield wiper blade rub-
ber
0
1) Metal support
1. Grasp the locked end of the blade rub-
ber assembly and pull it firmly until the
stoppers on the rubber are free of the met-
al support.
1) Metal spines
2. If the new blade rubber is not provided
with two metal spines, remove the metal
spines from the old blade rubber and in-
stall them in the new blade rubber. 3. Align the claws of the metal support
with the grooves in the rubber and slide
the blade rubber assembly into the metal
support until it locks.
1) Stopper
4. Be sure to position the claws at the end
of the metal support between the stoppers
on the rubber as shown. If the rubber is
not retained properly, the wiper blade may
scratch the windshield.
Rear window wiper blade as-
sembly
1. Raise the wiper arm off the rear win-
dow.
1
B00330
B00504
1
B00059
1
B00332
Page 318 of 365
Maintenance and service 11-39
CONTINUED
2. Turn the wiper blade assembly coun-
terclockwise.
3. Pull the wiper blade assembly toward
you to remove it from the wiper arm.
Rear window wiper blade rub-
ber
1. Pull out the end of the blade rubber as-
sembly to unlock it from the plastic sup-
port.
2. Pull the blade rubber assembly out of
the plastic support.1) Metal spines
3. If the new blade rubber is not provided
with two metal spines, remove the metal
spines from the old blade rubber and in-
stall them in the new blade rubber.
B00061
B00062
700017
B00064
B00505
1
Page 319 of 365

11-40 Maintenance and service
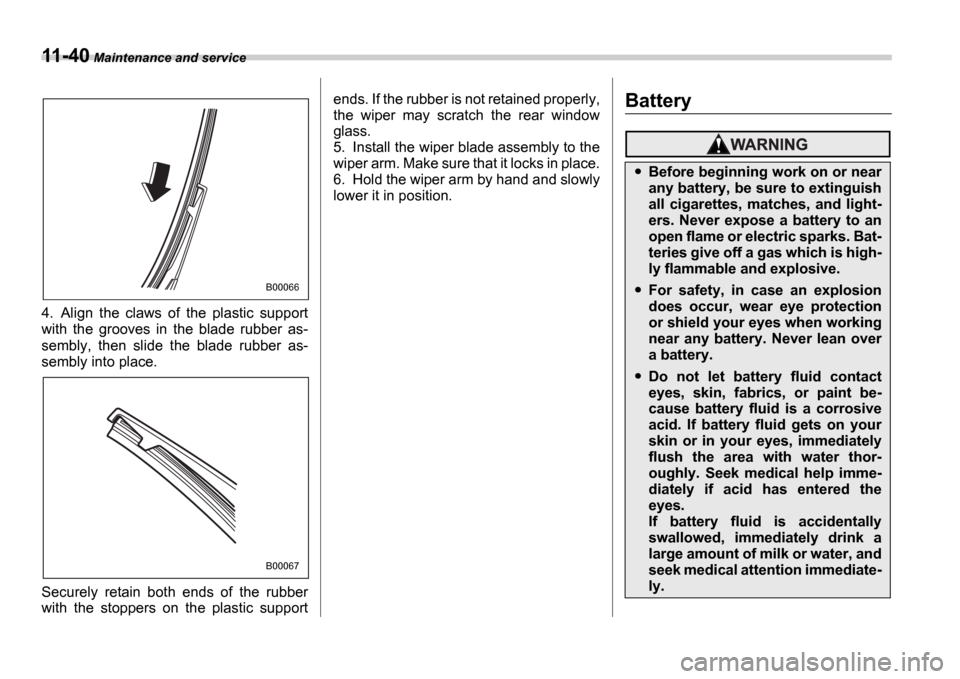
4. Align the claws of the plastic support
with the grooves in the blade rubber as-
sembly, then slide the blade rubber as-
sembly into place.
Securely retain both ends of the rubber
with the stoppers on the plastic support ends. If the rubber is not retained properly,
the wiper may scratch the rear window
glass.
5. Install the wiper blade assembly to the
wiper arm. Make sure that it locks in place.
6. Hold the wiper arm by hand and slowly
lower it in position.
Battery
B00066
B00067
Before beginning work on or near
any battery, be sure to extinguish
all cigarettes, matches, and light-
ers. Never expose a battery to an
open flame or electric sparks. Bat-
teries give off a gas which is high-
ly flammable and explosive.
For safety, in case an explosion
does occur, wear eye protection
or shield your eyes when working
near any battery. Never lean over
a battery.
Do not let battery fluid contact
eyes, skin, fabrics, or paint be-
cause battery fluid is a corrosive
acid. If battery fluid gets on your
skin or in your eyes, immediately
flush the area with water thor-
oughly. Seek medical help imme-
diately if acid has entered the
eyes.
If battery fluid is accidentally
swallowed, immediately drink a
large amount of milk or water, and
seek medical attention immediate-
ly.
Page 321 of 365
11-42 Maintenance and service
To remove the coin tray, open the cover
and pull the coin tray out.
The other one is housed in the engine
compartment.1) Fuse puller
2) Spare fuse
The spare fuses are stored in the main
fuse box cover in the engine compart-
ment. The fuse puller is stored in the main fuse
box in the engine compartment.1) Good
2) Blown
If any lights, accessories or other electri-
cal controls do not operate, inspect the
corresponding fuse. If a fuse has blown,
replace it.
1. Turn the ignition switch to the
LOCK
position and turn off all electrical accesso-
ries.
2. Remove the cover.
3. Determine which fuse may be blown.
The back side of each fuse box cover and
the Fuses and circuits section in chapter
12 in this manual show the circuit for each
fuse.
B00173
B00463
B00476
B00477
1 2
B00338
Page 326 of 365
Maintenance and service 11-47
CONTINUED
Right-hand low beam light bulbs
1. Remove the bulb cover, by turning it
counterclockwise.
2. Disconnect the electrical connector. 3. Remove the retainer spring.
4. Replace the bulb with a new one.
5. Set the retainer spring securely.
6. Reconnect the electrical connector.
7. Install the bulb cover.
Left-hand low beam light bulb
High beam light bulbs
1. Disconnect the electrical connector
from the bulb.
2. Remove the bulb from the headlight
assembly by turning it counterclockwise.
B00455
B00456
Replacement of the left-hand low
beam light bulb requires removal of
the battery and is thus dangerous. It
must be performed by a SUBARU
dealer.
B00457
700093
B00458