2006 PONTIAC TORRENT light
[x] Cancel search: lightPage 69 of 368

Replacing Restraint System Parts
After a Crash
{CAUTION:
A crash can damage the restraint systems
in your vehicle. A damaged restraint system
may not properly protect the person using it,
resulting in serious injury or even death in
a crash. To help make sure your restraint
systems are working properly after a crash,
have them inspected and any necessary
replacements made as soon as possible.
If you have had a crash, do you need new belts or
LATCH system parts?
After a very minor collision, nothing may be necessary.
But if the belts were stretched, as they would be if
worn during a more severe crash, then you need
new parts.If the LATCH system was being used during a more
severe crash, you may need new LATCH system parts.
If belts are cut or damaged, replace them. Collision
damage also may mean you will need to have LATCH
system, safety belt or seat parts repaired or replaced.
New parts and repairs may be necessary even if the belt
or LATCH system was not being used at the time of
the collision.
If an airbag in�ates, you will need to replace airbag
system parts. See the part on the airbag system earlier
in this section.
If the frontal airbags in�ate you will also need to replace
the driver and front passenger’s safety belt retractor
assembly. Be sure to do so. Then the new retractor
assembly will be there to help protect you in a collision.
After a crash you may need to replace the driver and
front passenger’s safety belt retractor assemblies, even
if the frontal airbags have not deployed. The driver
and front passenger’s safety belt retractor assemblies
contain the safety belt pretensioners. Have your
safety belt pretensioners checked if your vehicle has
been in a collision, or if your airbag readiness light stays
on after you start your vehicle or while you are driving.
SeeAirbag Readiness Light on page 3-26.
1-63
Page 74 of 368

Remote Keyless Entry System
Operation
With this feature, you can lock and unlock the doors
from about 26 feet (8 m) away using the remote keyless
entry transmitter supplied with your vehicle.
Q(Lock):Press this
button on the remote
keyless entry transmitter
one time to lock the doors.
The parking lamps will
�ash once. This also arms
the content theft-deterrent
system.
Pressing the lock button two times within three seconds
will lock the doors. The parking lamps will �ash twice
and the horn chirps.
K(Unlock): Press this button on the remote
keyless entry transmitter one time to unlock the
driver’s door. The parking lamps will �ash three times
and the headlamps and interior lamps will come on.
The interior lights will stay on for 20 seconds or until
the key is turned in the ignition. Press the button again
within �ve seconds to unlock the rest of the doors.
The unlock button also disarms the content
theft-deterrent system.
L(Panic Alarm):Press the button with the horn
symbol when the ignition is turned off. The horn
will sound and the parking lamps and dome lamp will
�ash for up to two minutes. To stop the panic alarm,
press this button again.
The remote keyless entry transmitter is used to
arm/disarm the content theft-deterrent system. Your
vehicle’s theft-deterrent system can be programmed
to three different modes. SeeContent Theft-Deterrent
on page 2-13
If you accidentally set off the alarm when entering
or exiting the vehicle, you can shut it off by pressing
the lock or unlock button once or the panic alarm
button twice.
2-4
Page 83 of 368

Theft-Deterrent Systems
Vehicle theft is big business, especially in some cities.
Although your vehicle has a number of theft-deterrent
features, we know that nothing we put on it can make
it impossible to steal.
Content Theft-Deterrent
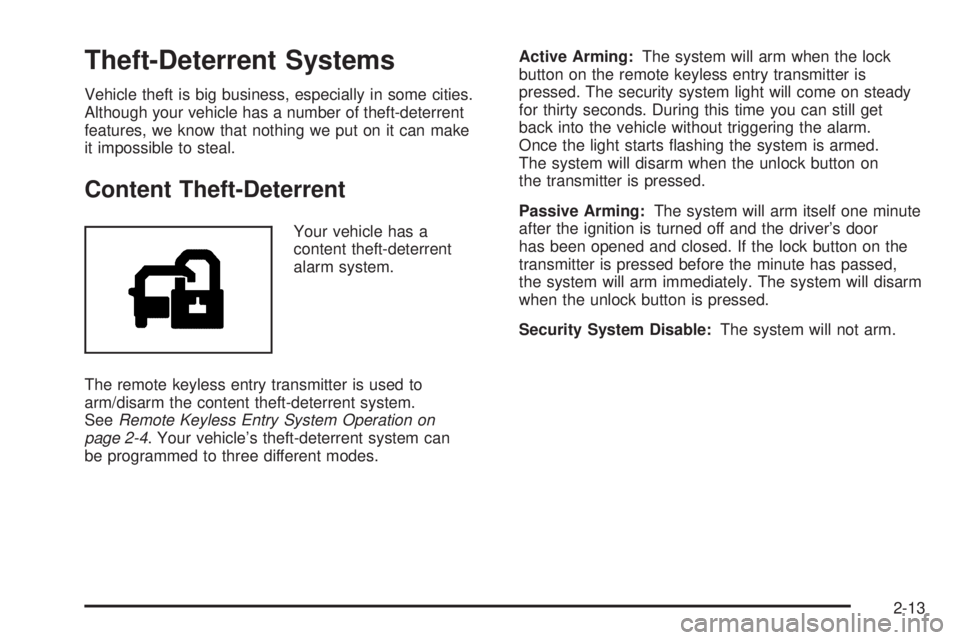
Your vehicle has a
content theft-deterrent
alarm system.
The remote keyless entry transmitter is used to
arm/disarm the content theft-deterrent system.
SeeRemote Keyless Entry System Operation on
page 2-4. Your vehicle’s theft-deterrent system can
be programmed to three different modes.Active Arming:The system will arm when the lock
button on the remote keyless entry transmitter is
pressed. The security system light will come on steady
for thirty seconds. During this time you can still get
back into the vehicle without triggering the alarm.
Once the light starts �ashing the system is armed.
The system will disarm when the unlock button on
the transmitter is pressed.
Passive Arming:The system will arm itself one minute
after the ignition is turned off and the driver’s door
has been opened and closed. If the lock button on the
transmitter is pressed before the minute has passed,
the system will arm immediately. The system will disarm
when the unlock button is pressed.
Security System Disable:The system will not arm.
2-13
Page 84 of 368

Content Theft-Deterrent Personalization
To change the mode that your vehicle is programmed to,
do the following:
1. Turn the ignition to RUN or ACC (Accessory).
2. Press the panic alarm button on the transmitter
slowly four times within �ve seconds.
3. You must complete one of the following within
three seconds to change the mode.
To select the active arming mode, press the
lock button on the transmitter once within
three seconds. A chime will sound two times
to acknowledge that the active arming mode
has been selected.
To select the passive arming mode, press the
lock button on the transmitter twice within
three seconds. A chime will sound three times
to acknowledge that the passive arming
mode has been selected.
To select the security system disable mode,
press the unlock button on the transmitter
once within three seconds. A chime will sound
one time to acknowledge that the security system
disabled mode has been selected.
If you accidentally set off the alarm when entering or
exiting the vehicle, you can shut it off by pressing either
the lock or unlock button once on the remote keyless
entry transmitter. The panic alarm button needs to
be pressed twice to turn off the alarm. There is a
ten second pre-alarm grace period indicated by a
rapid beeping. By pressing the transmitter buttons as
indicated above, you can disarm the system before
the horn begins to sound and the exterior lights begin
to �ash.
If you hear three horn chirps when you press the
unlock button on the transmitter, that means the
vehicle’s alarm was triggered while you were away.
2-14
Page 85 of 368

Passlock®
Your vehicle has the Passlock®theft-deterrent system.
This light will come
on for the theft-deterent
system and is located
on the instrument
panel cluster.
Passlock
®is a passive theft-deterrent system. Passlock®
enables fuel if the ignition lock cylinder is turned with
a valid key. If a correct key is not used or the ignition
lock cylinder is tampered with, fuel is disabled.
If the engine stalls and the security light �ashes, wait
until the light stops �ashing before trying to restart
the engine. Remember to release the key from START
as soon as the engine starts.
If the engine is running and the security light comes
on, you will be able to restart the engine if you turn
the engine off. However, your Passlock
®system is
not working properly and must be serviced by your
dealer. Your vehicle is not protected by Passlock
®at
this time. You may also want to check the fuses.
See your dealer for service.
Starting and Operating
Your Vehicle
New Vehicle Break-In
Notice:Your vehicle does not need an elaborate
break-in. But it will perform better in the long run
if you follow these guidelines:
Do not drive at any one constant speed,
fast or slow, for the �rst 500 miles (805 km).
Do not make full-throttle starts. Avoid
downshifting to brake, or slow, the vehicle.
Avoid making hard stops for the �rst
200 miles (322 km) or so. During this time
your new brake linings are not yet broken
in. Hard stops with new linings can mean
premature wear and earlier replacement.
Follow this breaking-in guideline every time
you get new brake linings.
Do not tow a trailer during break-in.
SeeTowing a Trailer on page 4-38for
the trailer towing capabilities of your
vehicle and more information.
Following break-in, engine speed and load
can be gradually increased.
2-15
Page 86 of 368

Ignition Positions
With the key in the ignition
switch, you can turn it to
four different positions.
A warning tone will sound
if you open the driver’s
door when the key has
not been removed from
the ignition.
Notice:Using a tool to force the key from the
ignition switch could cause damage or break the
key. Use the correct key and turn the key only with
your hand. Make sure the key is in all the way. If
none of this works, then your vehicle needs service.
9(LOCK):You will only be able to remove your key
when the ignition is turned to LOCK.
The ignition switch cannot be turned to LOCK unless
the shift lever is in PARK (P).
ACC (Accessory):This position operates some of your
electrical accessories.
R(RUN):This is the position the switch returns to
after you start your engine and release the switch.
The switch stays in the RUN position when the engine
is running. But even when the engine is not running,
you can use RUN to operate your electrical accessories
and to display some warning and indicator lights.
/(START):This position starts the engine. When the
engine starts, release the key. The ignition switch will
return to RUN for normal driving.
2-16
Page 91 of 368

AUTOMATIC OVERDRIVE (D):This position is for
normal driving with the automatic transaxle. If you
need more power for passing, and you are:
Going less than about 35 mph (55 km/h), push
your accelerator pedal about halfway down.
Going about 35 mph (55 km/h), push your
accelerator all the way down.
LOW FOUR (L4):This position is also used for
normal driving, however, it offers more power and lower
fuel economy than AUTOMATIC OVERDRIVE (D).
Here are some times you might choose LOW FOUR (L4)
instead of AUTOMATIC OVERDRIVE (D):
When driving on hilly, winding roads.
When going down a steep hill.
LOW TWO (L2):This position gives you more
power but lower fuel economy than AUTOMATIC
OVERDRIVE (D). You can use LOW TWO (L2) on
hills. It can help control your speed as you go down
steep mountain roads, but then you would also want
to use your brakes off and on.
Notice:Do not drive in LOW TWO (L2) for more
than 25 miles (40 km), or at speeds over 55 mph
(90 km/h), or you can damage your transaxle.Use AUTOMATIC OVERDRIVE (D) or LOW FOUR
(L4) as much as possible. Do not shift into
LOW TWO (L2) unless you are going slower than
65 mph (105 km/h) or you can damage your engine.
Notice:Spinning the tires or holding the vehicle
in one place on a hill using only the accelerator
pedal may damage the transaxle. If you are stuck,
do not spin the tires. When stopping on a hill,
use the brakes to hold the vehicle in place.
Transaxle Overheating
If the transaxle �uid temperature rises above
284°F (140°C) or rises rapidly, the Engine Coolant
Temperature Warning Light will �ash. SeeEngine
Coolant Temperature Warning Light on page 3-31for
more information. When the transaxle overheats it will go
into a protection mode and will default shift into �fth gear
if in the AUTOMATIC OVERDRIVE (D) position, or
second gear if in the LOW TWO (L2) position. Continue
driving the vehicle in either position depending on the
required vehicle speed and load. Once the �uid
temperature lowers to the normal temperature range,
the transaxle will return to the normal shift patterns.
Towing or driving on long hills can cause the transaxle
�uid temperature to be higher than normal. If the
transaxle �uid temperature will not cool, you may
need to pull over and check the transaxle �uid level.
You should also check the engine coolant temperature.
If it is hot, seeEngine Overheating on page 5-23.
2-21
Page 92 of 368

Parking Brake
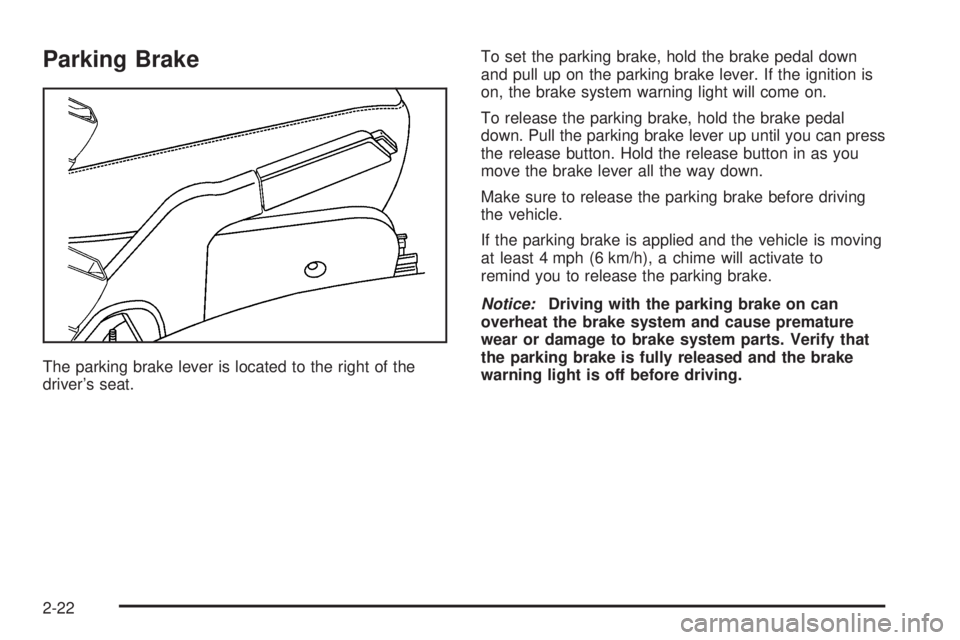
The parking brake lever is located to the right of the
driver’s seat.To set the parking brake, hold the brake pedal down
and pull up on the parking brake lever. If the ignition is
on, the brake system warning light will come on.
To release the parking brake, hold the brake pedal
down. Pull the parking brake lever up until you can press
the release button. Hold the release button in as you
move the brake lever all the way down.
Make sure to release the parking brake before driving
the vehicle.
If the parking brake is applied and the vehicle is moving
at least 4 mph (6 km/h), a chime will activate to
remind you to release the parking brake.
Notice:Driving with the parking brake on can
overheat the brake system and cause premature
wear or damage to brake system parts. Verify that
the parking brake is fully released and the brake
warning light is off before driving.
2-22