2006 PONTIAC GRAND PRIX display
[x] Cancel search: displayPage 257 of 472

Navigation/Radio System
Your vehicle may have a navigation radio system.
The navigation system has built-in features intended to
minimize driver distraction. Technology alone, no
matter how advanced, can never replace your own
judgment. See the navigation system manual for some
tips to help you reduce distractions while driving.
Theft-Deterrent Feature
THEFTLOCK®is designed to discourage theft of
your vehicle’s radio. The feature works automatically
by learning a portion of the Vehicle Identi�cation
Number (VIN). If the radio is moved to a different
vehicle, it will not operate and LOCKED will appear
on the display.
When the radio and vehicle are turned off, the blinking
red light indicates that THEFTLOCK
®is armed.
With THEFTLOCK
®activated, the radio will not
operate if stolen.
Audio Steering Wheel Controls
If your vehicle has this feature, some audio controls
can be adjusted at the steering wheel. They include
the following:
wtux(Seek):Press the up or the down arrow
to go to the next or previous station and stay there.
To scan stations, press and hold either arrow for
two seconds until FREQUENCY SCAN appears on the
display. The radio will go to a station, play for a few
seconds, then go to the next station. Press either arrow
again to stop scanning.
The sound will mute while seeking or scanning. The
radio will only seek or scan stations with a strong signal
that are in the selected band.
3-139
Page 259 of 472
XM™ Satellite Radio Service
XM™ Satellite Radio Service gives digital radio
reception from coast-to-coast in the 48 contiguous
United States, and in Canada (if available). Just as with
FM, tall buildings or hills can interfere with satellite
radio signals, causing the sound to fade in and out. In
addition, traveling or standing under heavy foliage,
bridges, garages, or tunnels may cause loss of the
XM™ signal for a period of time. The radio may display
NO SIGNAL to indicate interference.
Care of Your CDs
Handle CDs carefully. Store them in their original cases
or other protective cases and away from direct
sunlight and dust. The CD player scans the bottom
surface of the disc. If the surface of a CD is damaged,
such as cracked, broken, or scratched, the CD will
not play properly or not at all. If the surface of a CD is
soiled, take a soft, lint free cloth or dampen a clean, soft
cloth in a mild, neutral detergent solution mixed with
water, and clean it. Make sure the wiping process starts
from the center to the edge.
Do not touch the bottom side of a CD while handling it;
this could damage the surface. Pick up CDs by
grasping the outer edges or the edge of the hole and
the outer edge.
Care of the CD Player
The use of CD lens cleaners for CD players is not
advised, due to the risk of contaminating the internal
lens of the CD optics with lubricants.
Backglass Antenna
The AM-FM antenna is integrated with the rear window
defogger, located in the rear window. Be sure that the
inside surface of the rear window is not scratched and
that the lines on the glass are not damaged. If the inside
surface is damaged, it could interfere with radio
reception. Also, for proper radio reception, the antenna
connector at the top-center of the rear window needs to
be properly attached to the post on the glass.
Notice:Using a razor blade or sharp object to clear
the inside rear window may damage the rear window
antenna and/or the rear window defogger. Repairs
would not be covered by your warranty. Do not clear
the inside rear window with sharp objects.
Notice:Do not apply aftermarket glass tinting with
metallic �lm. The metallic �lm in some tinting
materials will interfere with or distort the incoming
radio reception. Any damage caused to your
backglass antenna due to metallic tinting materials
will not be covered by your warranty.
3-141
Page 260 of 472
Because this antenna is built into your rear window,
there is a reduced risk of damage caused by car washes
and vandals.
If you choose to add a cellular telephone to your
vehicle, and the antenna needs to be attached to the
glass, be sure that you do not damage the grid lines for
the AM-FM antenna. There is enough space between
the lines to attach a cellular telephone antenna
without interfering with radio reception.
Do not apply aftermarket glass tinting to the back glass.
The metallic �lm in some tinting materials will interfere
with or distort the incoming radio reception. Care
must be taken when cleaning the rear window because
it breaks in the resistive material heating element
and will adversely affect radio and defogger
performance. See your dealer for details.
XM™ Satellite Radio Antenna
System
The XM™ Satellite Radio antenna is located on the roof
of your vehicle. Keep this antenna clear of snow and
ice build up for clear radio reception.If your vehicle has a sunroof, the performance of the
XM™ system may be affected if the sunroof is open.
Loading items onto the roof of your vehicle can interfere
with the performance of the XM™ system. Make sure
the XM™ Satellite Radio antenna is not obstructed.
Chime Level Adjustment
The radio is used to adjust the vehicle’s chime level.
To change the volume level of the chime, press and hold
pushbutton 6 with the ignition on and the radio power
off. The volume level will change from the normal
level to loud, and LOUD will appear on the radio display.
To change back to the default or normal setting,
press and hold pushbutton 6 again. The volume level
will change from the loud level to normal, and NORMAL
will appear on the radio display. Each time the chime
volume is changed, three chimes will sound as an
example of the new volume selected. Removing the
radio and not replacing it with a factory radio or chime
module will disable vehicle chimes.
3-142
Page 270 of 472
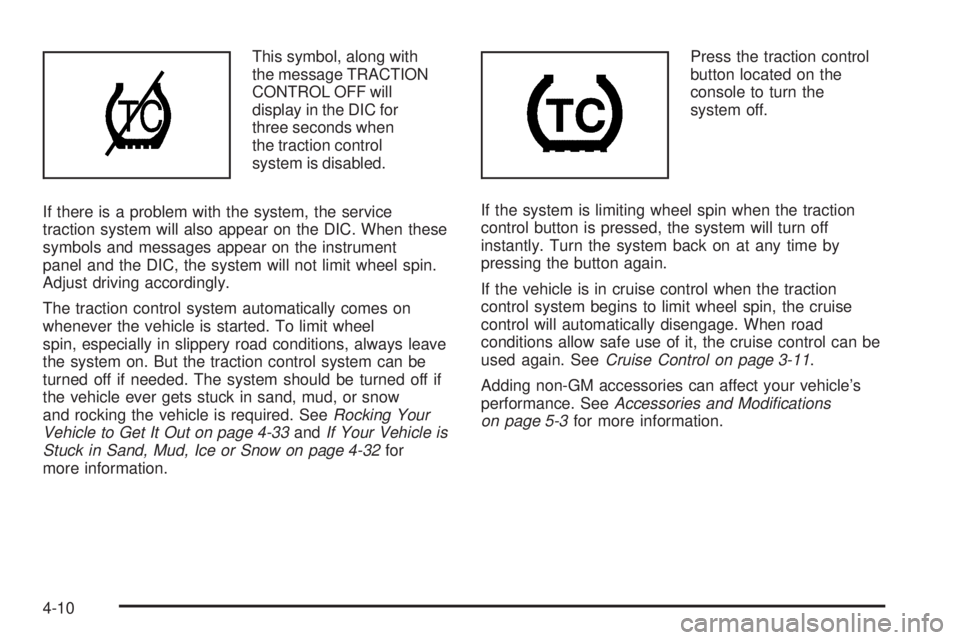
This symbol, along with
the message TRACTION
CONTROL OFF will
display in the DIC for
three seconds when
the traction control
system is disabled.
If there is a problem with the system, the service
traction system will also appear on the DIC. When these
symbols and messages appear on the instrument
panel and the DIC, the system will not limit wheel spin.
Adjust driving accordingly.
The traction control system automatically comes on
whenever the vehicle is started. To limit wheel
spin, especially in slippery road conditions, always leave
the system on. But the traction control system can be
turned off if needed. The system should be turned off if
the vehicle ever gets stuck in sand, mud, or snow
and rocking the vehicle is required. SeeRocking Your
Vehicle to Get It Out on page 4-33andIf Your Vehicle is
Stuck in Sand, Mud, Ice or Snow on page 4-32for
more information.Press the traction control
button located on the
console to turn the
system off.
If the system is limiting wheel spin when the traction
control button is pressed, the system will turn off
instantly. Turn the system back on at any time by
pressing the button again.
If the vehicle is in cruise control when the traction
control system begins to limit wheel spin, the cruise
control will automatically disengage. When road
conditions allow safe use of it, the cruise control can be
used again. SeeCruise Control on page 3-11.
Adding non-GM accessories can affect your vehicle’s
performance. SeeAccessories and Modi�cations
on page 5-3for more information.
4-10
Page 271 of 472
Enhanced Traction System (ETS)
If the vehicle has the 3800 V6 engine and anti-lock
brakes, it has an Enhanced Traction System (ETS) that
limits wheel spin. This is especially useful in slippery
road conditions. The system operates only if it senses
that one or both of the front wheels are spinning or
beginning to lose traction. When this happens,
the system reduces engine power and may also upshift
the transaxle to limit wheel spin.
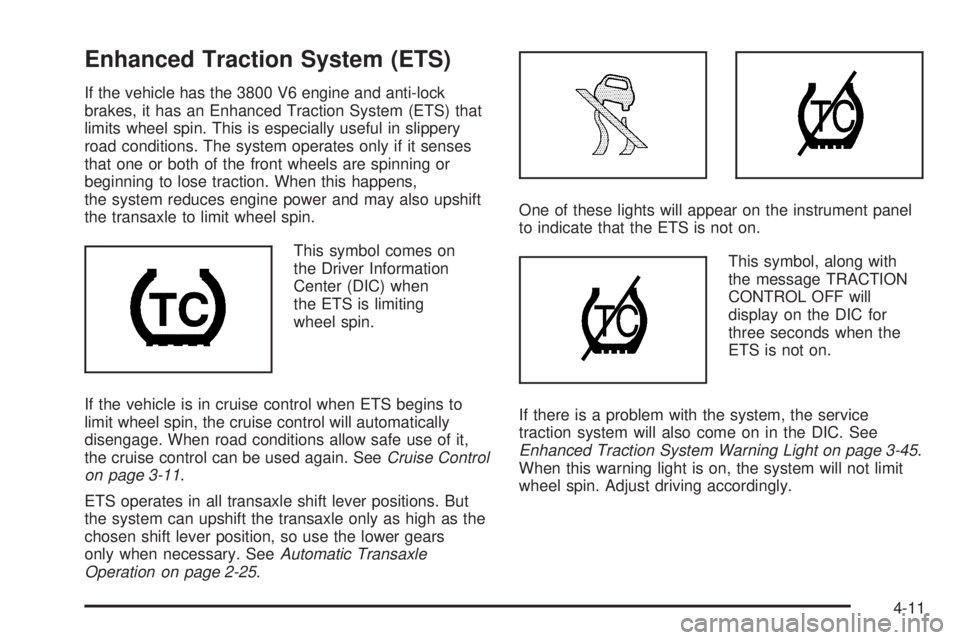
This symbol comes on
the Driver Information
Center (DIC) when
the ETS is limiting
wheel spin.
If the vehicle is in cruise control when ETS begins to
limit wheel spin, the cruise control will automatically
disengage. When road conditions allow safe use of it,
the cruise control can be used again. SeeCruise Control
on page 3-11.
ETS operates in all transaxle shift lever positions. But
the system can upshift the transaxle only as high as the
chosen shift lever position, so use the lower gears
only when necessary. SeeAutomatic Transaxle
Operation on page 2-25.One of these lights will appear on the instrument panel
to indicate that the ETS is not on.
This symbol, along with
the message TRACTION
CONTROL OFF will
display on the DIC for
three seconds when the
ETS is not on.
If there is a problem with the system, the service
traction system will also come on in the DIC. See
Enhanced Traction System Warning Light on page 3-45.
When this warning light is on, the system will not limit
wheel spin. Adjust driving accordingly.
4-11
Page 273 of 472
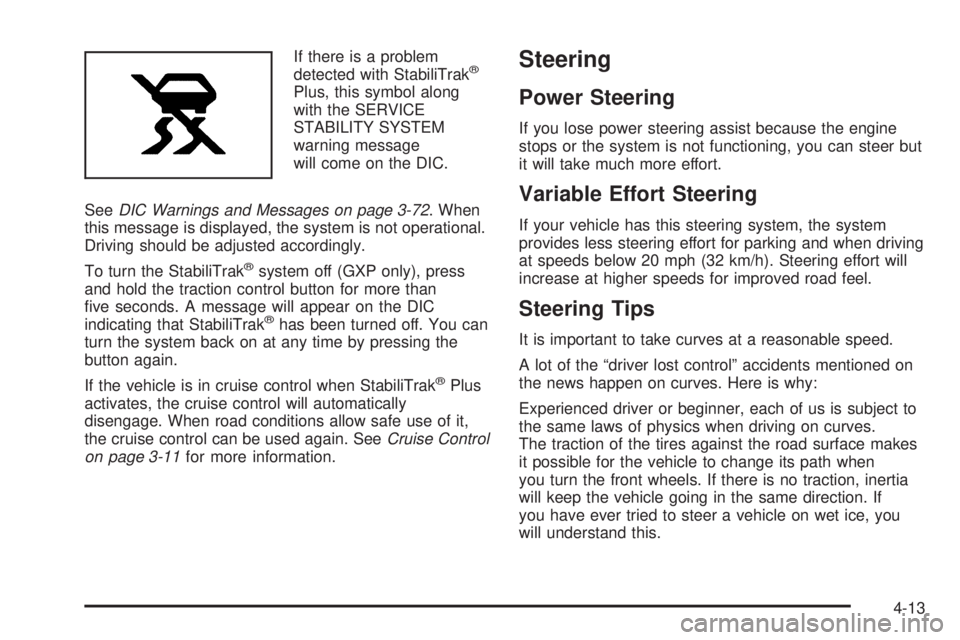
If there is a problem
detected with StabiliTrak®
Plus, this symbol along
with the SERVICE
STABILITY SYSTEM
warning message
will come on the DIC.
SeeDIC Warnings and Messages on page 3-72. When
this message is displayed, the system is not operational.
Driving should be adjusted accordingly.
To turn the StabiliTrak
®system off (GXP only), press
and hold the traction control button for more than
�ve seconds. A message will appear on the DIC
indicating that StabiliTrak
®has been turned off. You can
turn the system back on at any time by pressing the
button again.
If the vehicle is in cruise control when StabiliTrak
®Plus
activates, the cruise control will automatically
disengage. When road conditions allow safe use of it,
the cruise control can be used again. SeeCruise Control
on page 3-11for more information.
Steering
Power Steering
If you lose power steering assist because the engine
stops or the system is not functioning, you can steer but
it will take much more effort.
Variable Effort Steering
If your vehicle has this steering system, the system
provides less steering effort for parking and when driving
at speeds below 20 mph (32 km/h). Steering effort will
increase at higher speeds for improved road feel.
Steering Tips
It is important to take curves at a reasonable speed.
A lot of the “driver lost control” accidents mentioned on
the news happen on curves. Here is why:
Experienced driver or beginner, each of us is subject to
the same laws of physics when driving on curves.
The traction of the tires against the road surface makes
it possible for the vehicle to change its path when
you turn the front wheels. If there is no traction, inertia
will keep the vehicle going in the same direction. If
you have ever tried to steer a vehicle on wet ice, you
will understand this.
4-13
Page 315 of 472
The CHECK GAS CAP message will be displayed on
the Driver Information Center (DIC) if the fuel cap is not
properly installed. SeeDIC Warnings and Messages
on page 3-72for more information.
{CAUTION:
If a �re starts while you are refueling, do not
remove the nozzle. Shut off the �ow of fuel by
shutting off the pump or by notifying the
station attendant. Leave the area immediately.
Notice:If you need a new fuel cap, be sure to get
the right type. Your dealer can get one for you.
If you get the wrong type, it may not �t properly.
This may cause your malfunction indicator lamp to
light and may damage your fuel tank and emissions
system. SeeMalfunction Indicator Lamp on
page 3-47.
Filling a Portable Fuel Container
{CAUTION:
Never �ll a portable fuel container while it is in
your vehicle. Static electricity discharge from
the container can ignite the gasoline vapor.
You can be badly burned and your vehicle
damaged if this occurs. To help avoid injury to
you and others:
Dispense gasoline only into approved
containers.
Do not �ll a container while it is inside a
vehicle, in a vehicle’s trunk, pickup bed, or
on any surface other than the ground.
Bring the �ll nozzle in contact with the
inside of the �ll opening before operating
the nozzle. Contact should be maintained
until the �lling is complete.
Do not smoke while pumping gasoline.
5-9
Page 366 of 472
Windshield Replacement
If your vehicle is equipped with the Head-Up
Display (HUD) system, keep in mind that your
windshield is part of the HUD system. If you ever have
to get your windshield replaced, be sure to get one
that is designed for HUD or your HUD image may look
blurred or out of focus.
Windshield Wiper Blade
Replacement
Windshield wiper blades should be inspected for wear
or cracking. SeeScheduled Maintenance on page 6-4
for more information on wiper blade inspection.
Replacement blades come in different types and are
removed in different ways. For the proper type and
length, seeNormal Maintenance Replacement Parts on
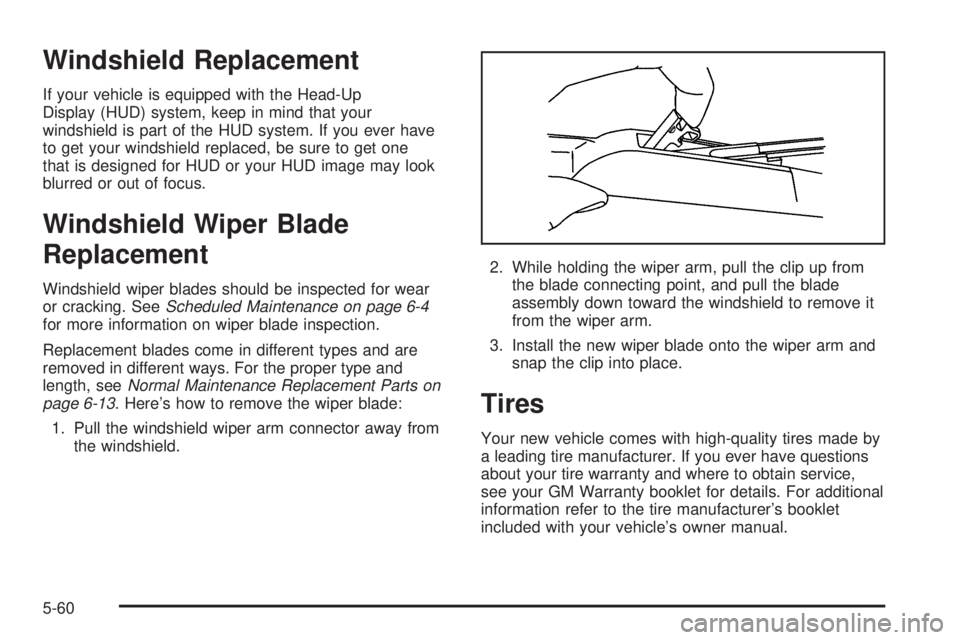
page 6-13. Here’s how to remove the wiper blade:
1. Pull the windshield wiper arm connector away from
the windshield.2. While holding the wiper arm, pull the clip up from
the blade connecting point, and pull the blade
assembly down toward the windshield to remove it
from the wiper arm.
3. Install the new wiper blade onto the wiper arm and
snap the clip into place.
Tires
Your new vehicle comes with high-quality tires made by
a leading tire manufacturer. If you ever have questions
about your tire warranty and where to obtain service,
see your GM Warranty booklet for details. For additional
information refer to the tire manufacturer’s booklet
included with your vehicle’s owner manual.
5-60