2006 NISSAN XTERRA brake
[x] Cancel search: brakePage 92 of 304

If the battery is removed or discharged, the ve-
hicle dynamic control system is disabled and the
VDC indicator light will not turn off after 2 sec-
onds when the ignition switch is turned to the ON
position. To reset the system, you must perform
the reset procedure. Refer to “Vehicle dynamic
control (VDC) system” in the “Starting and driv-
ing” section of this manual.
If the light does not go off after performing the
reset procedure, have the traction control system
checked by a NISSAN dealer.
While the vehicle dynamic control system is op-
erating, you might feel slight vibration or hear the
system working when starting the vehicle or ac-
celerating, but this is normal.
The VDC system will be disabled and the VDC
light will illuminate when the electronic locking
rear differential (E-lock) system switch (if so
equipped) is turned on and the E-lock system is
engaged. If the E-lock system disengages or the
switch is turned off, the VDC system will be
enabled and the VDC light will turn off.AUDIBLE REMINDERS
Brake pad wear warning
The disc brake pads have audible wear warnings.
When a disc brake pad requires replacement, it
makes a high pitched scraping sound when the
vehicle is in motion, whether or not the brake
pedal is depressed. Have the brakes checked as
soon as possible if the warning sound is heard.
Key reminder chime
A chime sounds if the driver’s door is opened
while the key is left in the ignition switch. Remove
the key and take it with you when leaving the
vehicle.
Light reminder chime
With the ignition switch in the OFF position, a
chime sounds when the driver’s door is opened if
the headlights or parking lights are on.
Turn the headlight control switch off before leav-
ing the vehicle.Your vehicle may have two types of security sys-
tems:
cVehicle security system (if so equipped)
cNISSAN Vehicle Immobilizer System (if so
equipped)
VEHICLE SECURITY SYSTEM (if so
equipped)
The vehicle security system provides visual and
audible alarm signals if someone opens the doors
when the system is armed. It is not, however, a
motion detection type system that activates when
a vehicle is moved or when a vibration occurs.
LIC0372
SECURITY SYSTEMS (if so equipped)
2-18Instruments and controls
ZREVIEW COPYÐ2006 Xterra(xtr)
Owners ManualÐUSA_English(nna)
08/01/05Ðdebbie
X
Page 98 of 304
Battery saver system
If the ignition switch is turned OFF while the
headlight switch is in theorposi-
tion, the headlights will turn off after 5 minutes.
After the headlights automatically turn off with the
headlight switch in the
orposition,
the headlights will illuminate again for 5 minutes if
the headlight switch is moved to the OFF position
and then turned to the
orposition.
CAUTION
Even though the battery saver feature au-
tomatically turns off the headlights after a
period of time, you should turn the head-
light switch to the OFF position when the
engine is not running to avoid discharging
the vehicle battery.
DAYTIME RUNNING LIGHT SYSTEM
(Canada only)
The headlights automatically illuminate at a re-
duced intensity when the engine is started with
the parking brake released. The daytime running
lights operate with the headlight switch in the
OFF position or in the
position. Turn the
headlight switch to theposition for full
illumination when driving at night.If the parking brake is applied before the engine is
started, the daytime running lights do not illumi-
nate. The daytime running lights illuminate when
the parking brake is released. The daytime run-
ning lights will remain on until the ignition switch
is turned off.
WARNING
When the daytime running light system is
active, tail lights on your vehicle are not
on. It is necessary at dusk to turn on your
headlights. Failure to do so could cause
an accident injuring yourself and others.
INSTRUMENT BRIGHTNESS
CONTROL
The instrument brightness control operates when
the headlight control switch is in the,
orposition.
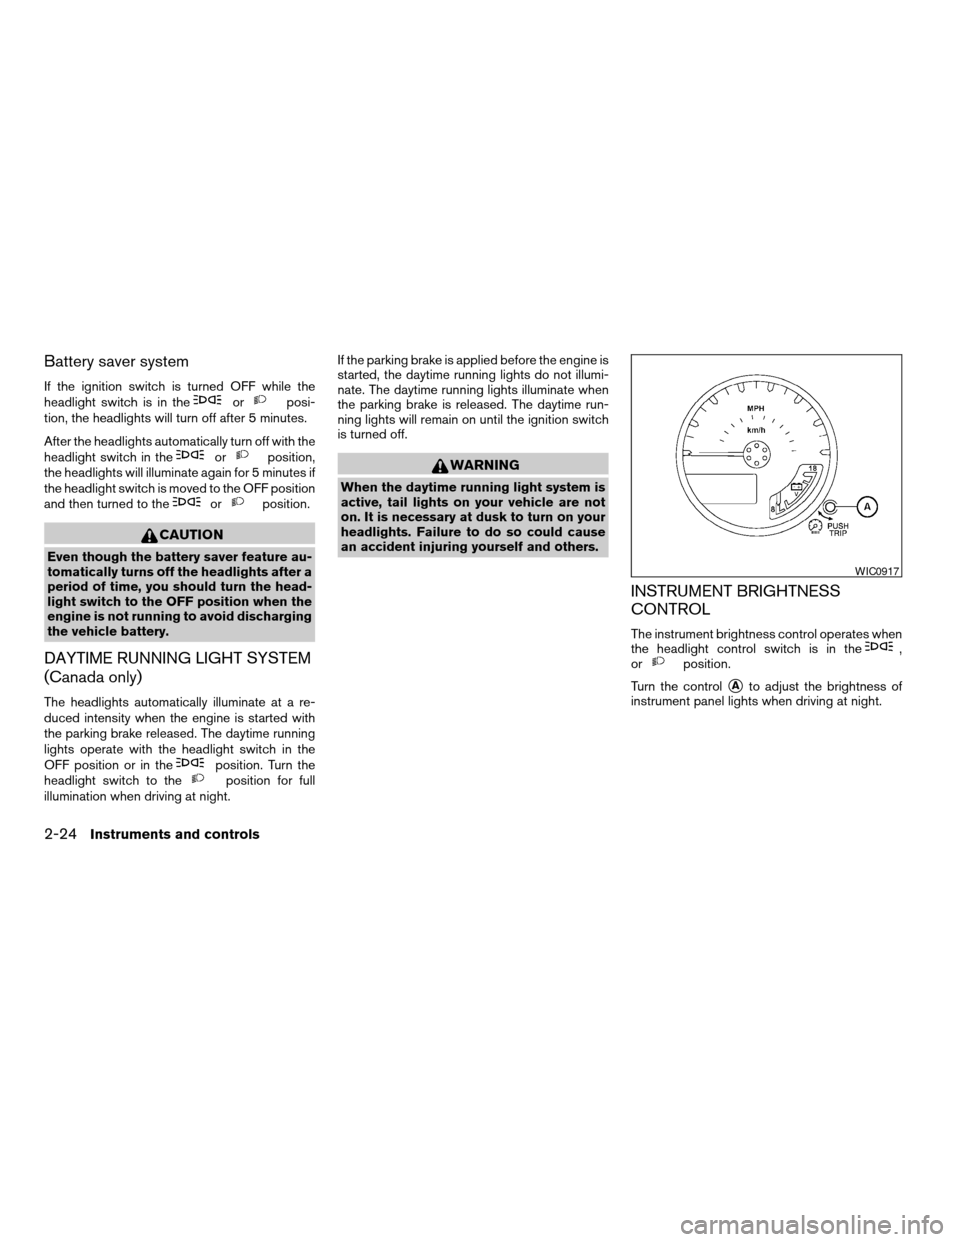
Turn the control
sAto adjust the brightness of
instrument panel lights when driving at night.
WIC0917
2-24Instruments and controls
ZREVIEW COPYÐ2006 Xterra(xtr)
Owners ManualÐUSA_English(nna)
08/01/05Ðdebbie
X
Page 101 of 304
WARNING
cNever rely solely on the hill descent
control system to control vehicle speed
when driving on steep downhill grades.
Always drive carefully when using the
hill descent control system and decel-
erate the vehicle speed by depressing
the brake pedal if necessary. Be espe-
cially careful when driving on frozen,
muddy or extremely steep downhill
roads. Failure to control vehicle speed
may result in a loss of control of the
vehicle and possible serious injury or
death.cThe hill descent control may not control
the vehicle speed on a hill under all load
or road conditions. Always be prepared
to depress the brake pedal to control
vehicle speed. Failure to do so may re-
sult in a collision or serious personal
injury.
CAUTION
When the hill descent control system op-
erates continuously for a long time, the
temperature of the brake pads may in-
crease and the hill descent control system
may be temporarily disabled (the indicator
light will blink) . If the indicator light does
not come on continuously after blinking,
stop using the system.
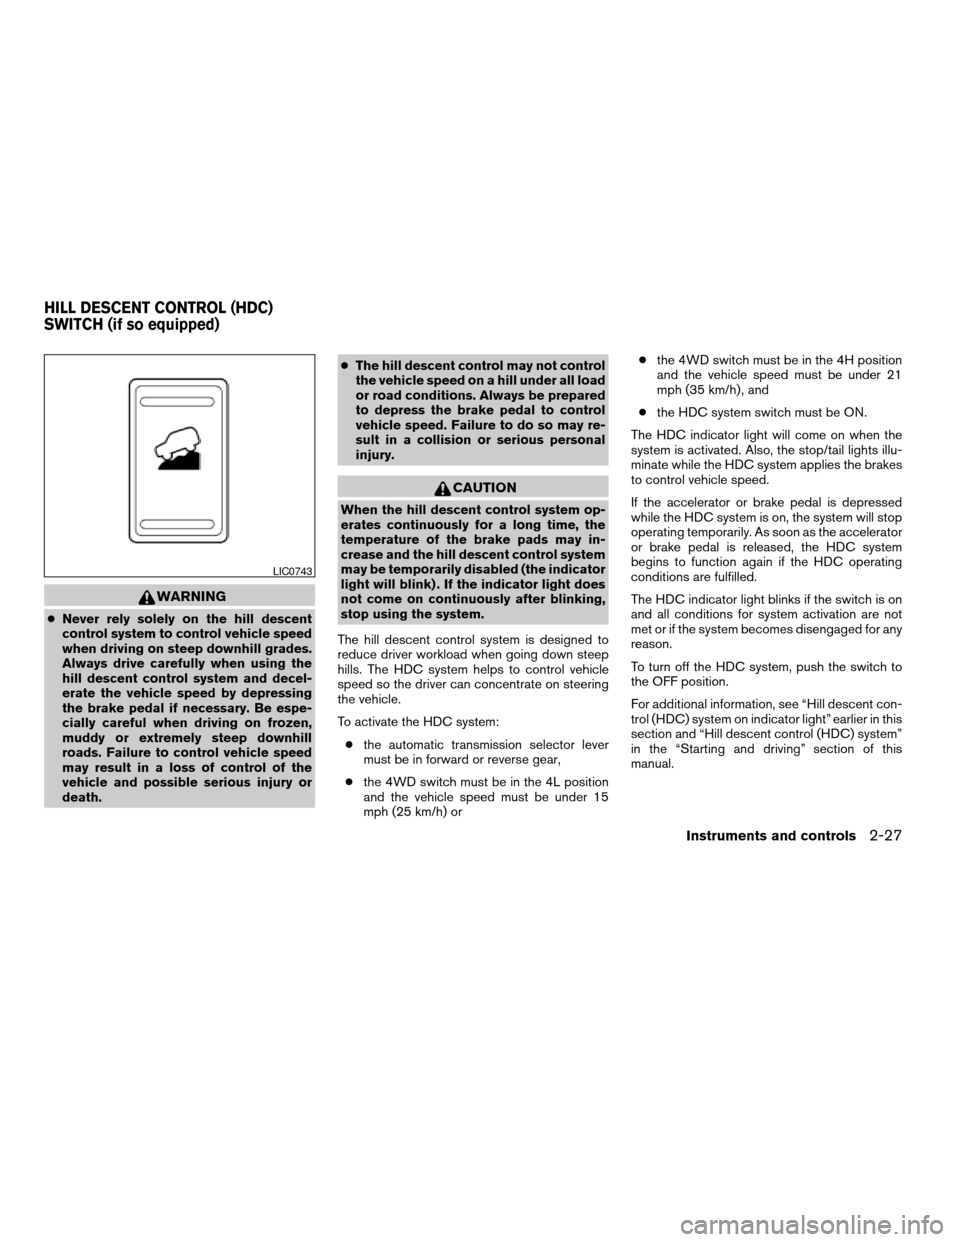
The hill descent control system is designed to
reduce driver workload when going down steep
hills. The HDC system helps to control vehicle
speed so the driver can concentrate on steering
the vehicle.
To activate the HDC system:
cthe automatic transmission selector lever
must be in forward or reverse gear,
cthe 4WD switch must be in the 4L position
and the vehicle speed must be under 15
mph (25 km/h) orcthe 4WD switch must be in the 4H position
and the vehicle speed must be under 21
mph (35 km/h) , and
cthe HDC system switch must be ON.
The HDC indicator light will come on when the
system is activated. Also, the stop/tail lights illu-
minate while the HDC system applies the brakes
to control vehicle speed.
If the accelerator or brake pedal is depressed
while the HDC system is on, the system will stop
operating temporarily. As soon as the accelerator
or brake pedal is released, the HDC system
begins to function again if the HDC operating
conditions are fulfilled.
The HDC indicator light blinks if the switch is on
and all conditions for system activation are not
met or if the system becomes disengaged for any
reason.
To turn off the HDC system, push the switch to
the OFF position.
For additional information, see “Hill descent con-
trol (HDC) system on indicator light” earlier in this
section and “Hill descent control (HDC) system”
in the “Starting and driving” section of this
manual.
LIC0743
HILL DESCENT CONTROL (HDC)
SWITCH (if so equipped)
Instruments and controls2-27
ZREVIEW COPYÐ2006 Xterra(xtr)
Owners ManualÐUSA_English(nna)
08/01/05Ðdebbie
X
Page 102 of 304
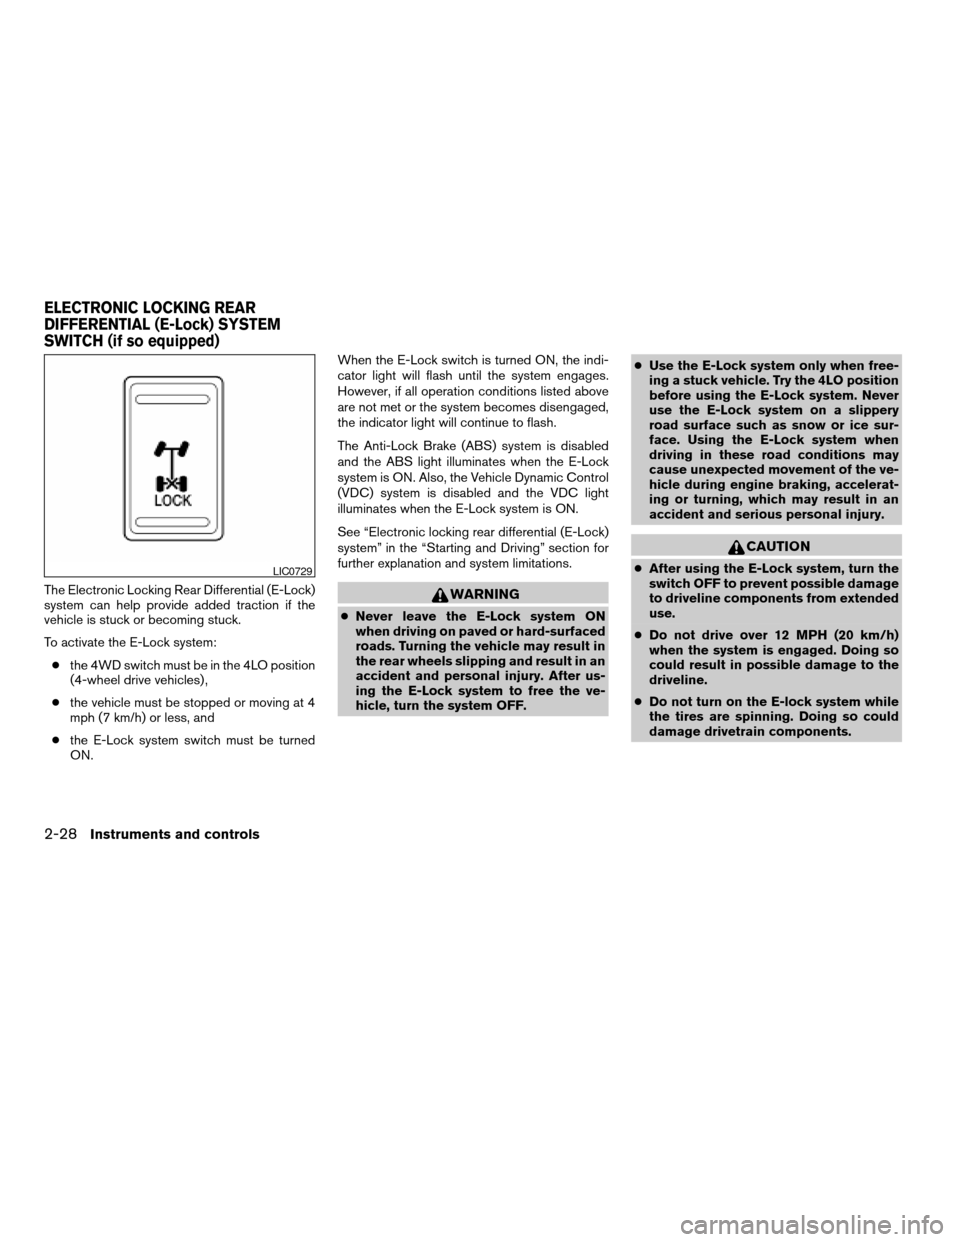
The Electronic Locking Rear Differential (E-Lock)
system can help provide added traction if the
vehicle is stuck or becoming stuck.
To activate the E-Lock system:
cthe 4WD switch must be in the 4LO position
(4-wheel drive vehicles) ,
cthe vehicle must be stopped or moving at 4
mph (7 km/h) or less, and
cthe E-Lock system switch must be turned
ON.When the E-Lock switch is turned ON, the indi-
cator light will flash until the system engages.
However, if all operation conditions listed above
are not met or the system becomes disengaged,
the indicator light will continue to flash.
The Anti-Lock Brake (ABS) system is disabled
and the ABS light illuminates when the E-Lock
system is ON. Also, the Vehicle Dynamic Control
(VDC) system is disabled and the VDC light
illuminates when the E-Lock system is ON.
See “Electronic locking rear differential (E-Lock)
system” in the “Starting and Driving” section for
further explanation and system limitations.WARNING
cNever leave the E-Lock system ON
when driving on paved or hard-surfaced
roads. Turning the vehicle may result in
the rear wheels slipping and result in an
accident and personal injury. After us-
ing the E-Lock system to free the ve-
hicle, turn the system OFF.cUse the E-Lock system only when free-
ing a stuck vehicle. Try the 4LO position
before using the E-Lock system. Never
use the E-Lock system on a slippery
road surface such as snow or ice sur-
face. Using the E-Lock system when
driving in these road conditions may
cause unexpected movement of the ve-
hicle during engine braking, accelerat-
ing or turning, which may result in an
accident and serious personal injury.
CAUTION
cAfter using the E-Lock system, turn the
switch OFF to prevent possible damage
to driveline components from extended
use.
cDo not drive over 12 MPH (20 km/h)
when the system is engaged. Doing so
could result in possible damage to the
driveline.
cDo not turn on the E-lock system while
the tires are spinning. Doing so could
damage drivetrain components.LIC0729
ELECTRONIC LOCKING REAR
DIFFERENTIAL (E-Lock) SYSTEM
SWITCH (if so equipped)
2-28Instruments and controls
ZREVIEW COPYÐ2006 Xterra(xtr)
Owners ManualÐUSA_English(nna)
08/01/05Ðdebbie
X
Page 103 of 304
WARNING
Pay special attention to your surround-
ings when using the clutch interlock
switch. The vehicle will move forward or
backward according to the gear selected.
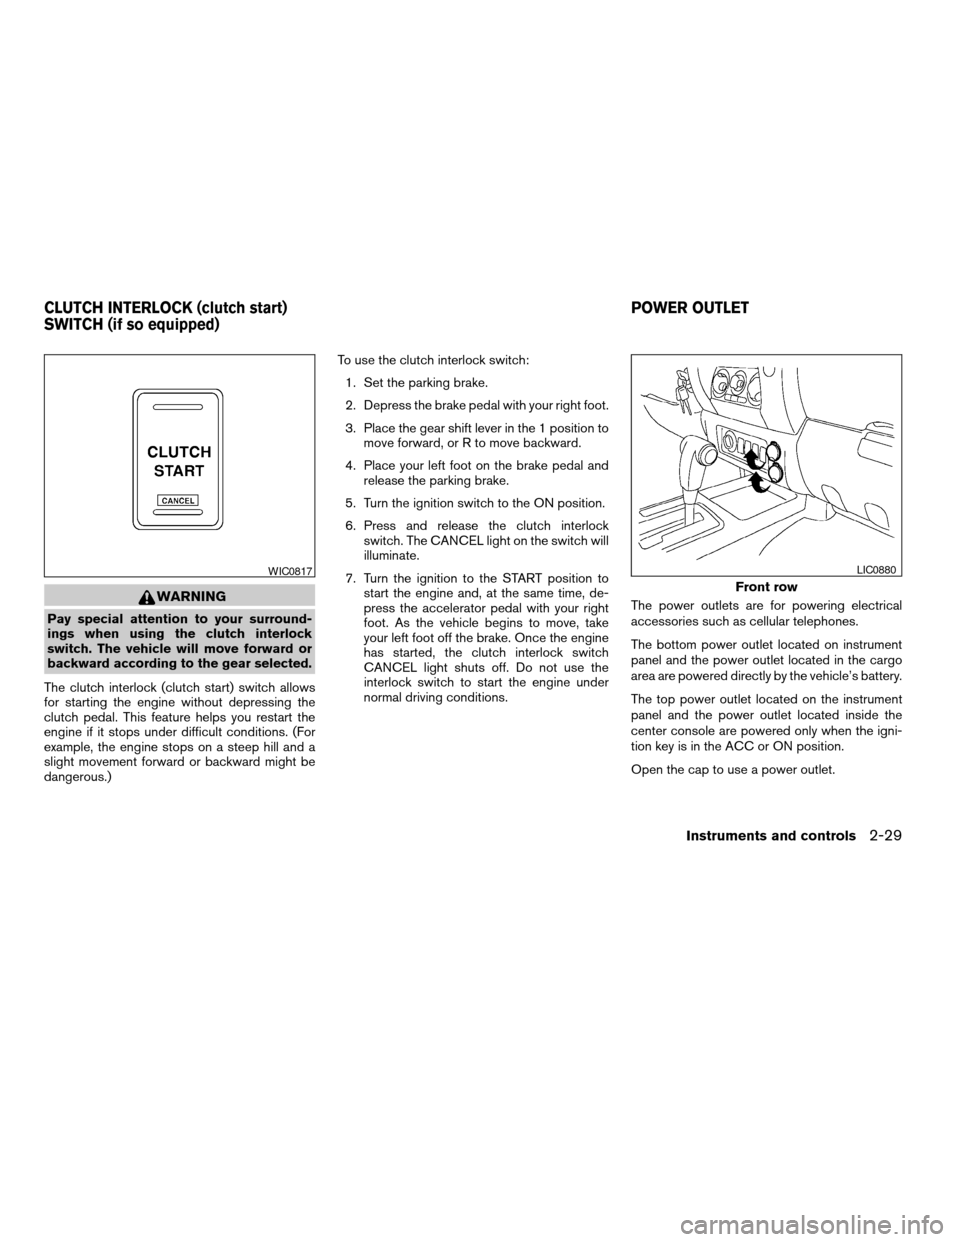
The clutch interlock (clutch start) switch allows
for starting the engine without depressing the
clutch pedal. This feature helps you restart the
engine if it stops under difficult conditions. (For
example, the engine stops on a steep hill and a
slight movement forward or backward might be
dangerous.)To use the clutch interlock switch:
1. Set the parking brake.
2. Depress the brake pedal with your right foot.
3. Place the gear shift lever in the 1 position to
move forward, or R to move backward.
4. Place your left foot on the brake pedal and
release the parking brake.
5. Turn the ignition switch to the ON position.
6. Press and release the clutch interlock
switch. The CANCEL light on the switch will
illuminate.
7. Turn the ignition to the START position to
start the engine and, at the same time, de-
press the accelerator pedal with your right
foot. As the vehicle begins to move, take
your left foot off the brake. Once the engine
has started, the clutch interlock switch
CANCEL light shuts off. Do not use the
interlock switch to start the engine under
normal driving conditions.The power outlets are for powering electrical
accessories such as cellular telephones.
The bottom power outlet located on instrument
panel and the power outlet located in the cargo
area are powered directly by the vehicle’s battery.
The top power outlet located on the instrument
panel and the power outlet located inside the
center console are powered only when the igni-
tion key is in the ACC or ON position.
Open the cap to use a power outlet.
WIC0817
Front row
LIC0880
CLUTCH INTERLOCK (clutch start)
SWITCH (if so equipped)POWER OUTLET
Instruments and controls2-29
ZREVIEW COPYÐ2006 Xterra(xtr)
Owners ManualÐUSA_English(nna)
08/01/05Ðdebbie
X
Page 162 of 304

5 Starting and driving
Precautions when starting and driving................5-2
Exhaust gas (carbon monoxide)..................5-2
Three-way catalyst..............................5-2
Tire pressure monitoring system (TPMS)..........5-3
On-pavement and off-road driving
precautions....................................5-5
Avoiding collision and rollover....................5-5
Drinking alcohol/drugs and driving................5-5
Driving safety precautions.......................5-6
Ignition switch.....................................5-7
Automatic transmission..........................5-7
Manual transmission............................5-8
Key positions..................................5-9
Nissan Vehicle Immobilizer System
(if so equipped)................................5-9
Before starting the engine..........................5-9
Starting the engine...............................5-10
Driving the vehicle................................5-11
Automatic transmission.........................5-11
Manual transmission...........................5-14
Parking brake....................................5-16
Cruise control (if so equipped).....................5-17
Precautions on cruise control...................5-17Cruise control operations.......................5-18
Break-in schedule................................5-19
Increasing fuel economy...........................5-19
Using four wheel drive (4WD).............5-20
Transfer case shifting procedures...............5-20
Electronic locking rear differential (E-Lock) system
(if so equipped)..................................5-25
Parking/parking on hills............................5-27
Power steering...................................5-28
Brake system....................................5-28
Brake precautions.............................5-28
Anti-lock brake system (ABS)...................5-29
Active brake limited slip (ABLS) system
(if so equipped)..................................5-30
Vehicle dynamic control (VDC) system
(if so equipped)..................................5-30
Hill descent control (HDC) system (if so equipped) . . . 5-32
Hill start assist (HSA) system (if so equipped).......5-32
Cold weather driving..............................5-33
Freeing a frozen door lock......................5-33
Anti-freeze....................................5-33
Battery.......................................5-33
Draining of coolant water.......................5-33
ZREVIEW COPYÐ2006 Xterra(xtr)
Owners ManualÐUSA_English(nna)
08/01/05Ðdebbie
X
Page 168 of 304
DRIVING SAFETY PRECAUTIONS
Your NISSAN is designed for both normal and
off-road use. However, avoid driving in deep wa-
ter or mud as your NISSAN is mainly designed for
leisure use, unlike a conventional off-road ve-
hicle.
Remember that two-wheel drive models are less
capable than four-wheel drive models for rough
road driving and extrication when stuck in deep
snow or mud, or the like.
Please observe the following precautions:
WARNING
cDrive carefully when off the road and
avoid dangerous areas. Every person
who drives or rides in this vehicle
should be seated with their seat belt
fastened. This will keep you and your
passengers in position when driving
over rough terrain.
cDo not drive across steep slopes. In-
stead drive either straight up or straight
down the slopes. Off-road vehicles can
tip over sideways much more easily
than they can forward or backward.cMany hills are too steep for any vehicle.
If you drive up them, you may stall. If
you drive down them, you may not be
able to control your speed. If you drive
across them, you may roll over.
cDo not shift gears while driving on
downhill grades as this could cause
loss of control of the vehicle.
cStay alert when driving to the top of a
hill. At the top there could be a drop-off
or other hazard that could cause an
accident.
cIf your engine stalls or you cannot make
it to the top of a steep hill, never at-
tempt to turn around. Your vehicle
could tip or roll over. Always back
straight down in R (Reverse) gear. Never
back down in N (Neutral) or with the
clutch depressed (manual transmission
vehicles) , using only the brake, as this
could cause loss of control.
cHeavy braking going down a hill could
cause your brakes to overheat and fade,
resulting in loss of control and an acci-
dent. Apply brakes lightly and use a low
gear to control your speed. Use the Hill
Descent Control feature (if so
equipped) .cUnsecured cargo can be thrown around
when driving over rough terrain. Prop-
erly secure all cargo so it will not be
thrown forward and cause injury to you
or your passengers.
cTo avoid raising the center of gravity
excessively, do not exceed the rated
capactiy of the roof rack/gear bin (if so
equipped) and evenly distribute the
load. Secure heavy loads in the cargo
area as far forward and as low as pos-
sible. Do not equip the vehicle with tires
larger than specified in this manual.
This could cause your vehicle to roll
over.
cDo not grip the inside or spokes of the
steering wheel when driving off-road.
The steering wheel could move sud-
denly and injure your hands. Instead
drive with your fingers and thumbs on
the outside of the rim.
cBefore operating the vehicle, ensure
that the driver and all passengers have
their seat belts fastened.
cAlways drive with the floor mats in
place as the floor may become hot.
5-6Starting and driving
ZREVIEW COPYÐ2006 Xterra(xtr)
Owners ManualÐUSA_English(nna)
08/01/05Ðdebbie
X
Page 169 of 304
cLower your speed when encountering
strong crosswinds. With a higher center
of gravity, your NISSAN is more af-
fected by strong side winds. Slower
speeds ensure better vehicle control.
cDo not drive beyond the performance
capablity of the tires, even with 4WD
engaged.
cAccelerating quickly, sharp steering
maneuvers or sudden braking may
cause loss of control.
cIf at all possible, avoid sharp turning
maneuvers, particularly at high speeds.
Your NISSAN four-wheel drive vehicle
has a higher center of gravity than a
two-wheel drive vehicle. The vehicle is
not designed for cornering at the same
speeds as conventional two-wheel
drive vehicles. Failure to operate this
vehicle correctly could result in loss of
control and/or a rollover accident.
cAlways use tires of the same type, size,
brand, construction (bias, bias-belted,
or radial) , and tread pattern on all four
wheels. Install tire chains on the rear
wheels when driving on slippery roads
and drive carefully.cBe sure to check the brakes immedi-
ately after driving in mud or water. See
“Brake system” later in this section for
“Wet brakes”.
cAvoid parking your vehicle on steep
hills. If you get out of the vehicle and it
rolls forward, backward or sideways,
you could be injured.
cWhenever you drive off-road through
sand, mud or water as deep as the
wheel hub, more frequent maintenance
may be required. See “Periodic mainte-
nance” in the “NISSAN Service and
Maintenance Guide.”
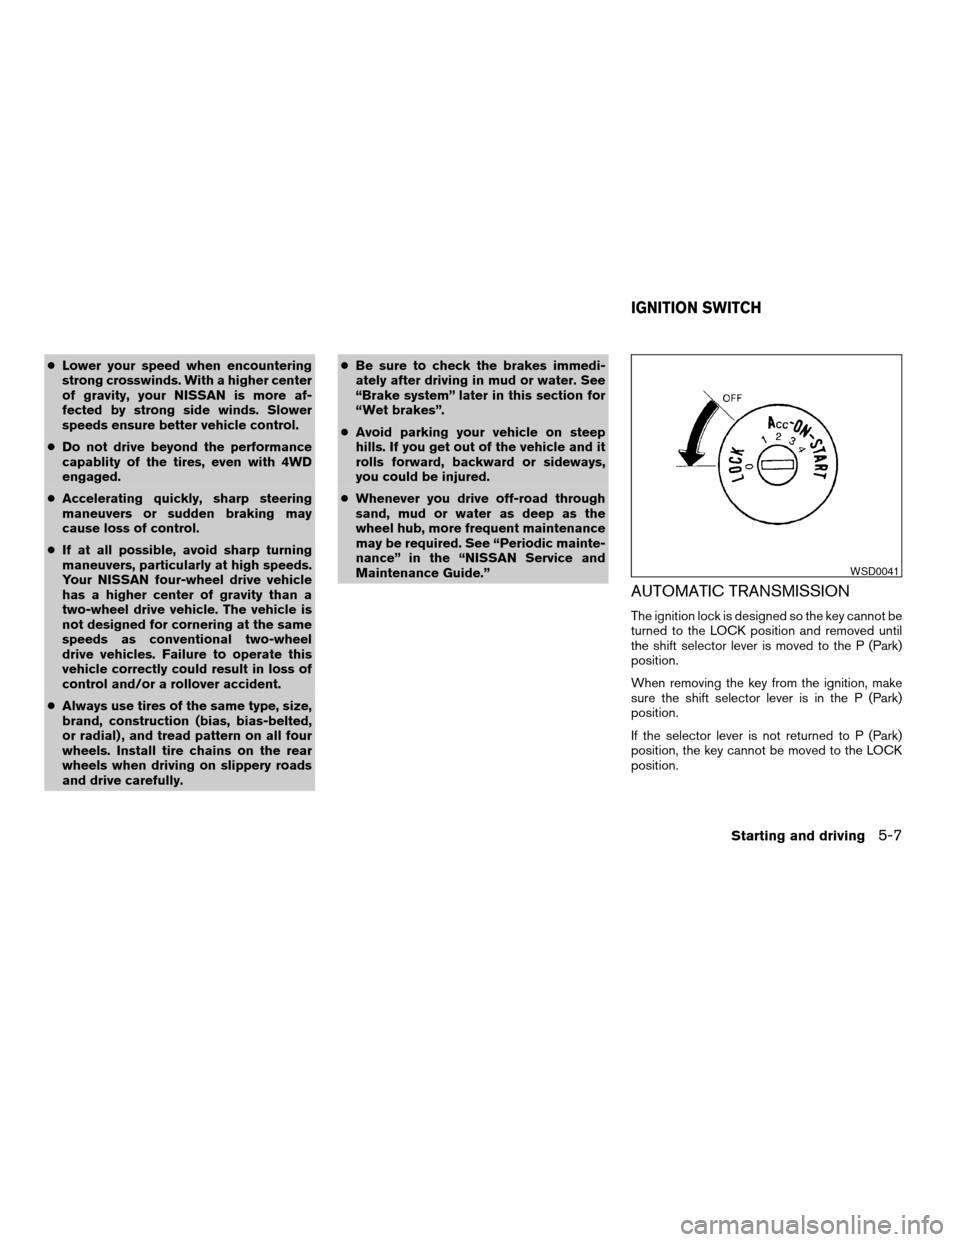
AUTOMATIC TRANSMISSION
The ignition lock is designed so the key cannot be
turned to the LOCK position and removed until
the shift selector lever is moved to the P (Park)
position.
When removing the key from the ignition, make
sure the shift selector lever is in the P (Park)
position.
If the selector lever is not returned to P (Park)
position, the key cannot be moved to the LOCK
position.
WSD0041
IGNITION SWITCH
Starting and driving5-7
ZREVIEW COPYÐ2006 Xterra(xtr)
Owners ManualÐUSA_English(nna)
08/01/05Ðdebbie
X