2006 NISSAN MAXIMA check engine
[x] Cancel search: check enginePage 238 of 312
CHANGING ENGINE COOLANT
A NISSAN dealer can change the engine coolant.
The service procedure can be found in the
NISSAN Service Manual.
Improper servicing can result in reduced
heater performance and engine overheat-
ing.
WARNING
cTo avoid the danger of being scalded,
never change the coolant when the en-
gine is hot.
cNever remove the radiator cap when the
engine is hot. Serious burns could be
caused by high pressure fluid escaping
from the radiator.
cAvoid direct skin contact with used
coolant. If skin contact is made, wash
thoroughly with soap or hand cleaner
as soon as possible.
cKeep coolant out of the reach of chil-
dren and pets.
Engine coolant must be disposed of properly.
Check your local regulations.
CHECKING ENGINE OIL LEVEL
1. Park the vehicle on a level surface and apply
the parking brake.
2. Start the engine and let it idle until it reaches
operating temperature.
3. Turn off the engine.Wait more than 10
minutes for the oil to drain back into
the oil pan.
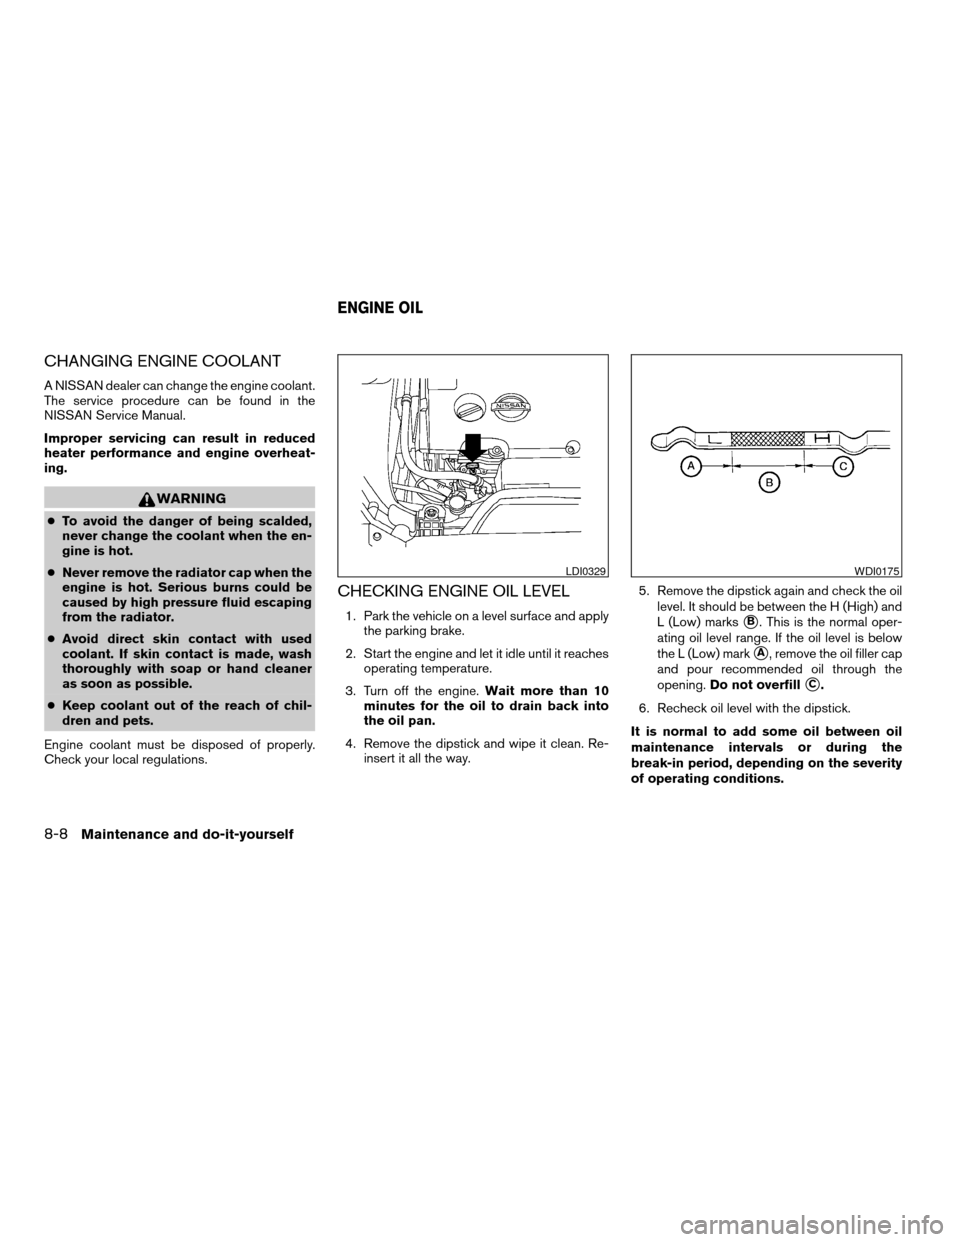
4. Remove the dipstick and wipe it clean. Re-
insert it all the way.5. Remove the dipstick again and check the oil
level. It should be between the H (High) and
L (Low) markssB. This is the normal oper-
ating oil level range. If the oil level is below
the L (Low) mark
sA, remove the oil filler cap
and pour recommended oil through the
opening.Do not overfill
sC.
6. Recheck oil level with the dipstick.
It is normal to add some oil between oil
maintenance intervals or during the
break-in period, depending on the severity
of operating conditions.
LDI0329WDI0175
ENGINE OIL
8-8Maintenance and do-it-yourself
ZREVIEW COPYÐ2006 Maxima(max)
Owners ManualÐUSA_English(nna)
06/23/05Ðtbrooks
X
Page 239 of 312
CAUTION
Oil level should be checked regularly. Op-
erating the engine with an insufficient
amount of oil can damage the engine, and
such damage is not covered by warranty.
CHANGING ENGINE OIL
1. Park the vehicle on a level surface and apply
the parking brake.
2. Start the engine and let it idle until it reaches
operating temperature, then turn it off.
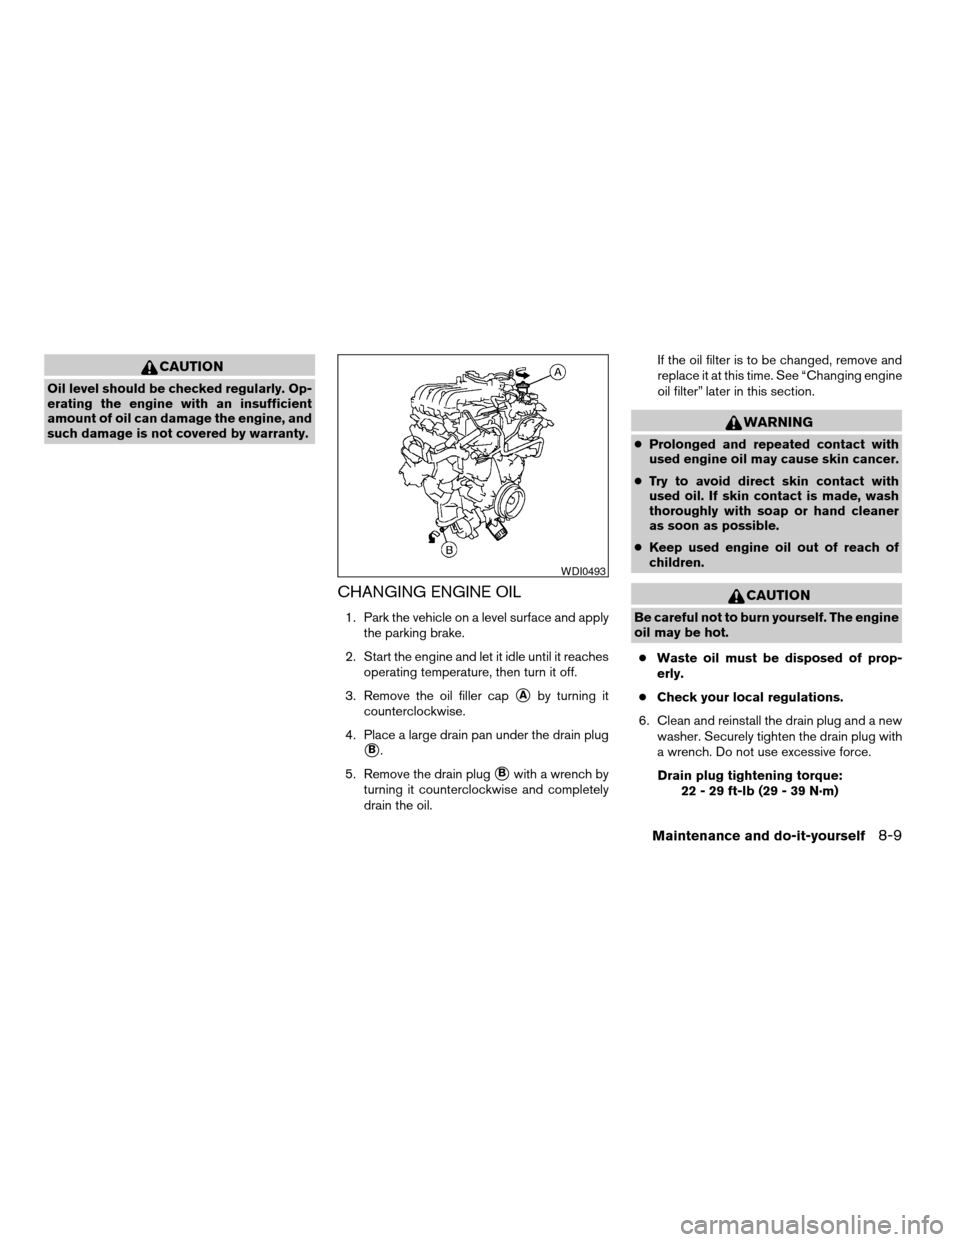
3. Remove the oil filler cap
sAby turning it
counterclockwise.
4. Place a large drain pan under the drain plug
sB.
5. Remove the drain plug
sBwith a wrench by
turning it counterclockwise and completely
drain the oil.If the oil filter is to be changed, remove and
replace it at this time. See “Changing engine
oil filter” later in this section.
WARNING
cProlonged and repeated contact with
used engine oil may cause skin cancer.
cTry to avoid direct skin contact with
used oil. If skin contact is made, wash
thoroughly with soap or hand cleaner
as soon as possible.
cKeep used engine oil out of reach of
children.
CAUTION
Be careful not to burn yourself. The engine
oil may be hot.
cWaste oil must be disposed of prop-
erly.
cCheck your local regulations.
6. Clean and reinstall the drain plug and a new
washer. Securely tighten the drain plug with
a wrench. Do not use excessive force.
Drain plug tightening torque:
22 - 29 ft-lb (29 - 39 N·m)
WDI0493
Maintenance and do-it-yourself8-9
ZREVIEW COPYÐ2006 Maxima(max)
Owners ManualÐUSA_English(nna)
07/06/05Ðbetty
X
Page 240 of 312
7. Refill engine with recommended oil through
the oil filler opening, then install the oil filler
cap securely.
See “Capacities and recommended
fuel/lubricants” in the “Technical and con-
sumer information” section of this manual for
drain and refill capacity.
The drain and refill capacity depends on the
oil temperature and drain time. Use these
specifications for reference only. Always use
the dipstick to determine when the proper
amount of oil is in the engine.
8. Start the engine. Check for leakage around
the drain plug and oil filter. Correct as re-
quired.
9. Turn the engine off and wait more than 10
minutes. Check the oil level with the dipstick.
Add engine oil if necessary.
CHANGING ENGINE OIL FILTER
1. Park the vehicle on a level surface and apply
the parking brake.
2. Turn the engine off.
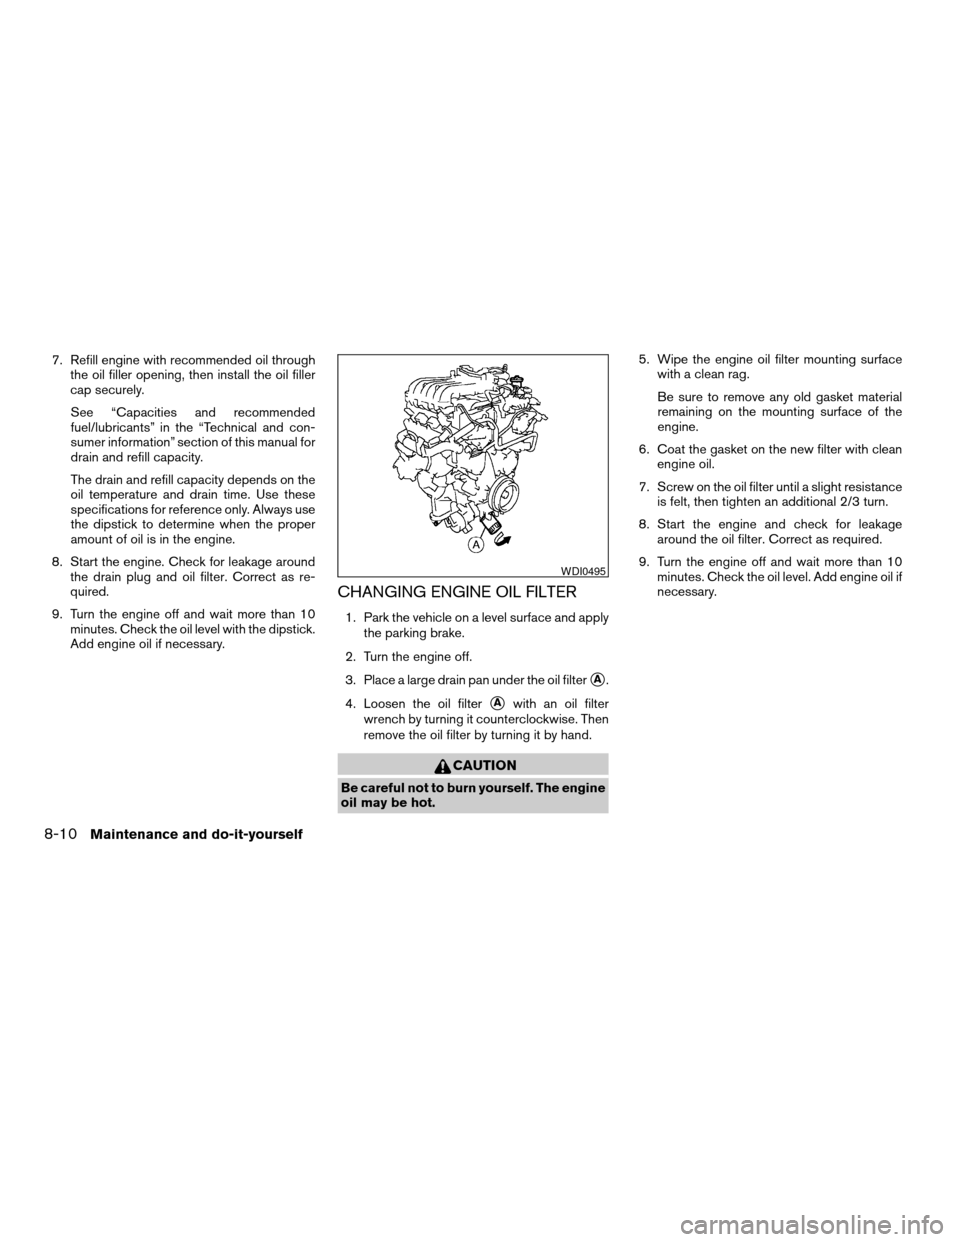
3. Place a large drain pan under the oil filter
sA.
4. Loosen the oil filter
sAwith an oil filter
wrench by turning it counterclockwise. Then
remove the oil filter by turning it by hand.
CAUTION
Be careful not to burn yourself. The engine
oil may be hot.5. Wipe the engine oil filter mounting surface
with a clean rag.
Be sure to remove any old gasket material
remaining on the mounting surface of the
engine.
6. Coat the gasket on the new filter with clean
engine oil.
7. Screw on the oil filter until a slight resistance
is felt, then tighten an additional 2/3 turn.
8. Start the engine and check for leakage
around the oil filter. Correct as required.
9. Turn the engine off and wait more than 10
minutes. Check the oil level. Add engine oil if
necessary.
WDI0495
8-10Maintenance and do-it-yourself
ZREVIEW COPYÐ2006 Maxima(max)
Owners ManualÐUSA_English(nna)
07/06/05Ðbetty
X
Page 241 of 312
When checking or replacement is required, we
recommend your NISSAN dealer for servicing.
WARNING
cUse only Genuine NISSAN Matic K ATF.
Do not mix with other fluids.
cUsing automatic transmission fluid
other than Genuine NISSAN Matic K
ATF will cause deterioration in drive-
ability and automatic transmission du-
rability, and may damage the automatic
transmission, which is not covered by
the NISSAN new vehicle limited
warranty.
The specified automatic transmission fluid is also
described on caution labels located in the engine
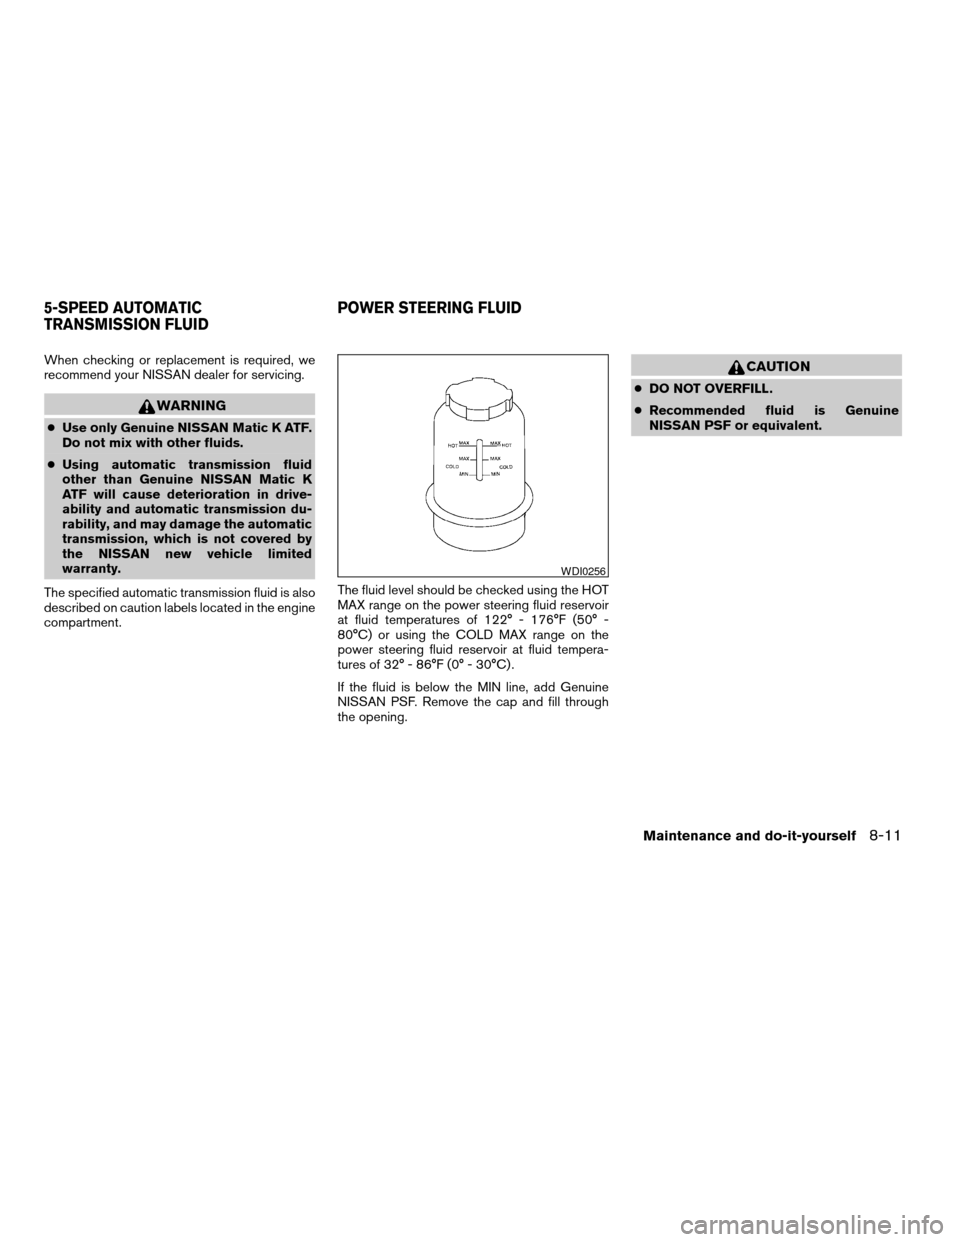
compartment.The fluid level should be checked using the HOT
MAX range on the power steering fluid reservoir
at fluid temperatures of 122° - 176°F (50° -
80°C) or using the COLD MAX range on the
power steering fluid reservoir at fluid tempera-
tures of 32° - 86°F (0° - 30°C) .
If the fluid is below the MIN line, add Genuine
NISSAN PSF. Remove the cap and fill through
the opening.
CAUTION
cDO NOT OVERFILL.
cRecommended fluid is Genuine
NISSAN PSF or equivalent.
WDI0256
5-SPEED AUTOMATIC
TRANSMISSION FLUIDPOWER STEERING FLUID
Maintenance and do-it-yourself8-11
ZREVIEW COPYÐ2006 Maxima(max)
Owners ManualÐUSA_English(nna)
06/23/05Ðtbrooks
X
Page 245 of 312
Vehicles operated in high temperatures or under
severe conditions require frequent checks of the
battery fluid level.
JUMP STARTING
If jump starting is necessary, see “Jump starting”
in the “In case of emergency” section of this
manual. If the engine does not start by jump
starting, the battery may have to be replaced.
Contact a NISSAN dealer.
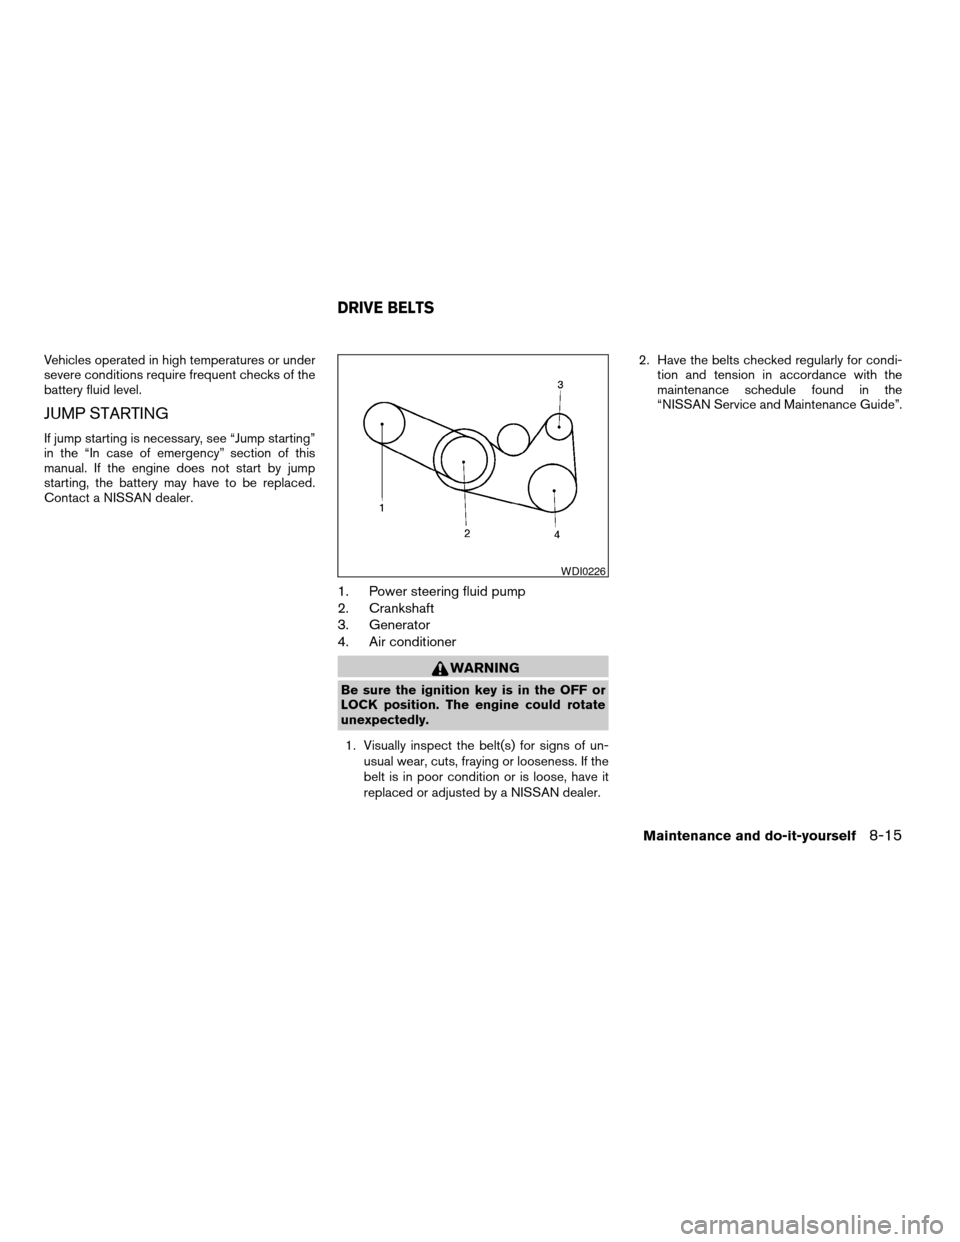
1. Power steering fluid pump
2. Crankshaft
3. Generator
4. Air conditioner
WARNING
Be sure the ignition key is in the OFF or
LOCK position. The engine could rotate
unexpectedly.
1. Visually inspect the belt(s) for signs of un-
usual wear, cuts, fraying or looseness. If the
belt is in poor condition or is loose, have it
replaced or adjusted by a NISSAN dealer.2. Have the belts checked regularly for condi-
tion and tension in accordance with the
maintenance schedule found in the
“NISSAN Service and Maintenance Guide”.
WDI0226
DRIVE BELTS
Maintenance and do-it-yourself8-15
ZREVIEW COPYÐ2006 Maxima(max)
Owners ManualÐUSA_English(nna)
06/23/05Ðtbrooks
X
Page 251 of 312

Be careful not to let anything get into the washer
nozzle
sA. This may cause clogging or improper
windshield washer operation. If something gets
into the nozzle, remove it with a needle or small
pin
sB.
CHECKING PARKING BRAKE
From the released position, pull the parking brake
lever up slowly and firmly. If the number of clicks is
out of the range listed, see a NISSAN dealer.
c7 - 8 clicks under pulling force of
44 lb (196 N) .
CHECKING BRAKE PEDAL
With the engine running, check the distanceA
between the upper surface of the pedal and the
metal floor. If it is out of the range shown, see a
NISSAN dealer.
Distance A: Under depression force of
110 lb (490 N)
Automatic
TransmissionManual
Transmission
3.55 in (90.3 mm)
or more3.31 in (84 mm)
or more
WDI0337
LDI0326WDI0229
PARKING BRAKE AND BRAKE PEDAL
Maintenance and do-it-yourself8-21
ZREVIEW COPYÐ2006 Maxima(max)
Owners ManualÐUSA_English(nna)
06/23/05Ðtbrooks
X
Page 252 of 312
Self-adjusting brakes
Your vehicle is equipped with self-adjusting
brakes.
The front and rear disc-type brakes self-adjust
every time the brake pedal is applied.
WARNING
See a NISSAN dealer for a brake system
check if the brake pedal height does not
return to normal.
Brake pad wear indicators
The disc brake pads on your vehicle have audible
wear indicators. When a brake pad requires re-
placement, a high pitched scraping or screech-
ing sound will be heard when the vehicle is in
motion. The noise will be heard whether or not the
brake pedal is depressed. Have the brakes
checked as soon as possible if the wear indicator
sound is heard.
Under some driving or climate conditions, occa-
sional brake squeak, squeal or other noise may
be heard. Occasional brake noise during light to
moderate stops is normal and does not affect the
function or performance of the brake system.Proper brake inspection intervals should
be followed.For more information regarding
brake inspections, see the appropriate mainte-
nance schedule information in the “NISSAN Ser-
vice and Maintenance Guide”.
BRAKE BOOSTER
Check the brake booster function as follows:
1. With the engine off, press and release the
brake pedal several times. When brake
pedal movement (distance of travel) remains
the same from one pedal application to the
next, continue on to the next step.
2. While depressing the brake pedal, start the
engine. The pedal height should drop a little.
3. With the brake pedal depressed, stop the
engine. Keep the pedal depressed for about
30 seconds. The pedal height should not
change.
4. Run the engine for one minute without de-
pressing the brake pedal, then turn it off.
Depress the brake pedal several times. The
pedal travel distance will decrease gradually
with each depression as the vacuum is re-
leased from the booster.
If the brakes do not operate properly, have the
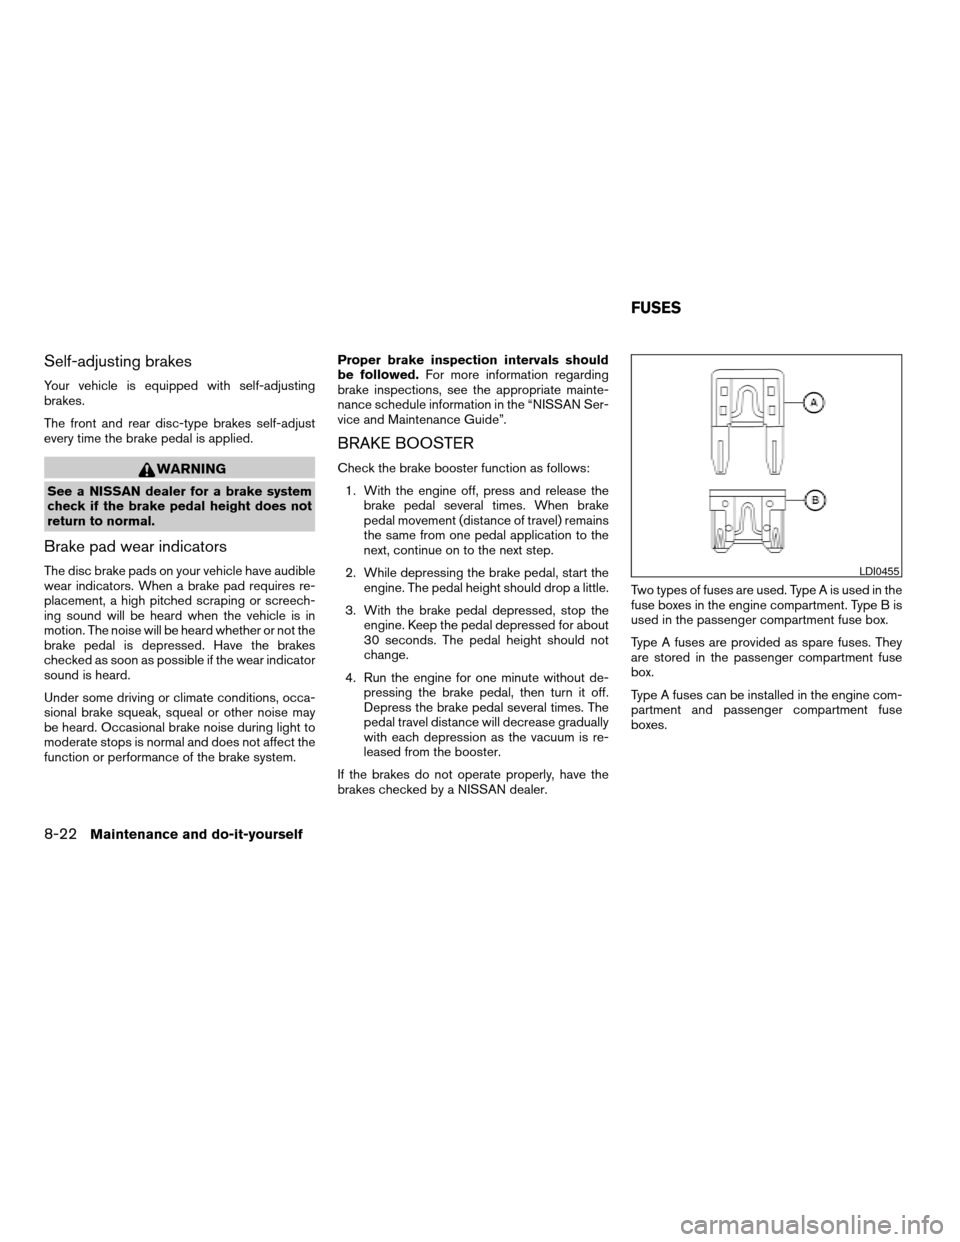
brakes checked by a NISSAN dealer.Two types of fuses are used. Type A is used in the
fuse boxes in the engine compartment. Type B is
used in the passenger compartment fuse box.
Type A fuses are provided as spare fuses. They
are stored in the passenger compartment fuse
box.
Type A fuses can be installed in the engine com-
partment and passenger compartment fuse
boxes.
LDI0455
FUSES
8-22Maintenance and do-it-yourself
ZREVIEW COPYÐ2006 Maxima(max)
Owners ManualÐUSA_English(nna)
06/23/05Ðtbrooks
X
Page 253 of 312
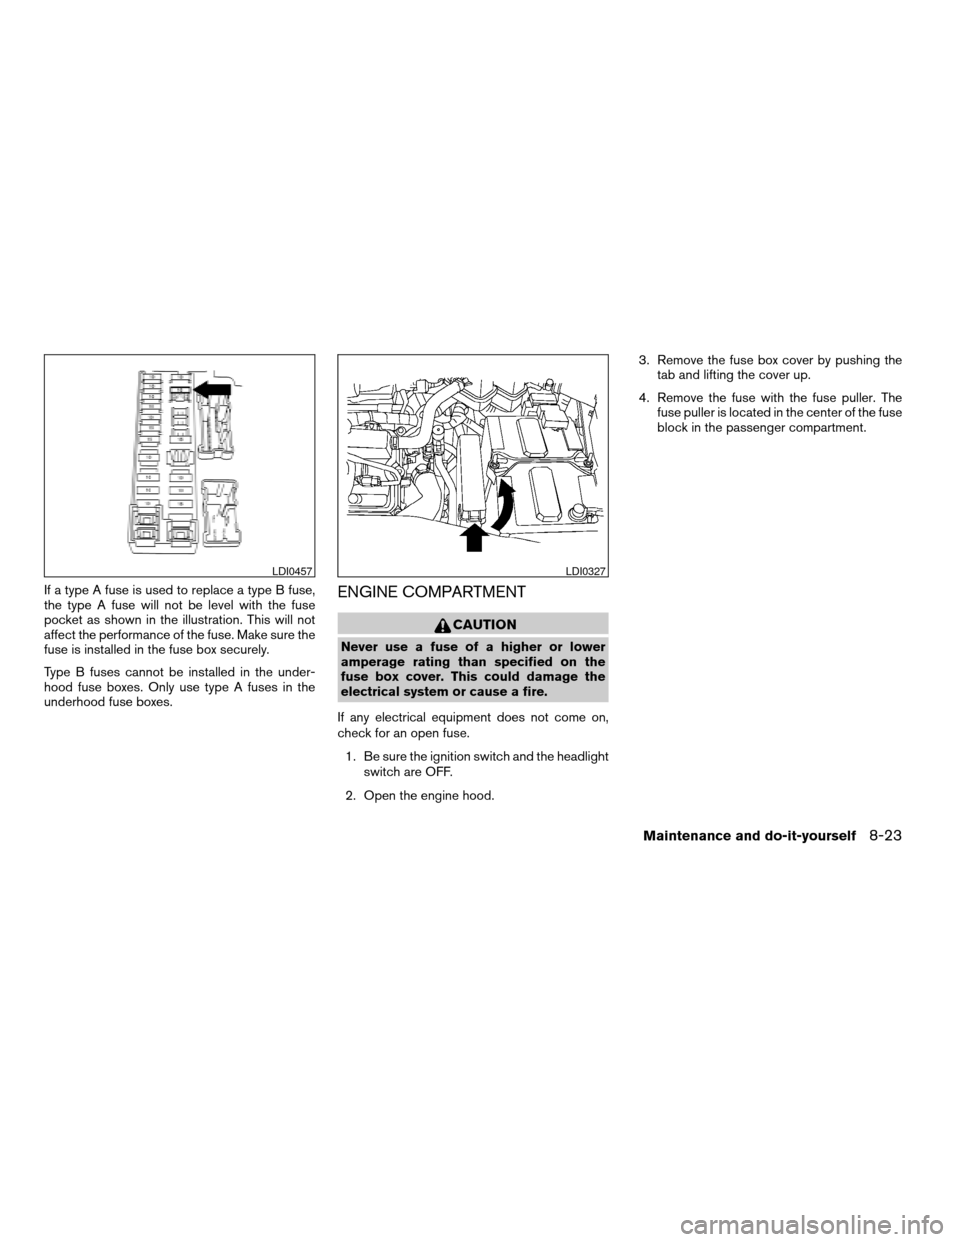
If a type A fuse is used to replace a type B fuse,
the type A fuse will not be level with the fuse
pocket as shown in the illustration. This will not
affect the performance of the fuse. Make sure the
fuse is installed in the fuse box securely.
Type B fuses cannot be installed in the under-
hood fuse boxes. Only use type A fuses in the
underhood fuse boxes.ENGINE COMPARTMENT
CAUTION
Never use a fuse of a higher or lower
amperage rating than specified on the
fuse box cover. This could damage the
electrical system or cause a fire.
If any electrical equipment does not come on,
check for an open fuse.
1. Be sure the ignition switch and the headlight
switch are OFF.
2. Open the engine hood.3. Remove the fuse box cover by pushing the
tab and lifting the cover up.
4. Remove the fuse with the fuse puller. The
fuse puller is located in the center of the fuse
block in the passenger compartment.
LDI0457LDI0327
Maintenance and do-it-yourself8-23
ZREVIEW COPYÐ2006 Maxima(max)
Owners ManualÐUSA_English(nna)
06/23/05Ðtbrooks
X