2006 NISSAN ARMADA radio
[x] Cancel search: radioPage 212 of 352

DVD player operation precautions
Do not use the following DVD’s as they may
cause the DVD player to malfunction:
c3.1 in (8 cm) discs with an adaptercDVD’s with a region code other than
“1”. The region code
sAis displayed in
a small symbol printed on the top of
the DVD
sB
cDVD’s that are not round
cDVD’s with a paper label
cDVD’s that are warped, scratched, or
have unequal edges
cRecordable digital video discs (DVD-R)
c
Rewritable digital video discs (DVD-RW)
If a DVD with a paper label is used and
becomes jammed you may be able to reset
the unit and eject the jammed disc with the
following procedure:
1.Record the radio presets
2.Disconnect the negative terminal from
the battery for five minutes
3.
Reconnect the negative battery terminal
4.Check to see if the jammed DVD has
been ejected. If it has not, try to eject
the DVD by pushing the eject button.
5.If the disc cannot be ejected see your
Nissan dealer for further assistance
6.Re-program the radio presets
Remote control and headphones
battery replacement
Replace the battery as follows:
1. Open the lid.
2. Replace batteries with new ones.
cSize AA (remote control)
cSize AAA (headphones)
Make sure that the
andends on
the batteries match the markings inside the
compartment.
3. Close the lid securely.
LHA0484
LHA0318
4-42Display screen, heater, air conditioner and audio systems
ZREVIEW COPYÐ2006 Armada(wzw)
Owners ManualÐUSA_English(nna)
06/16/05Ðdebbie
X
Page 213 of 352

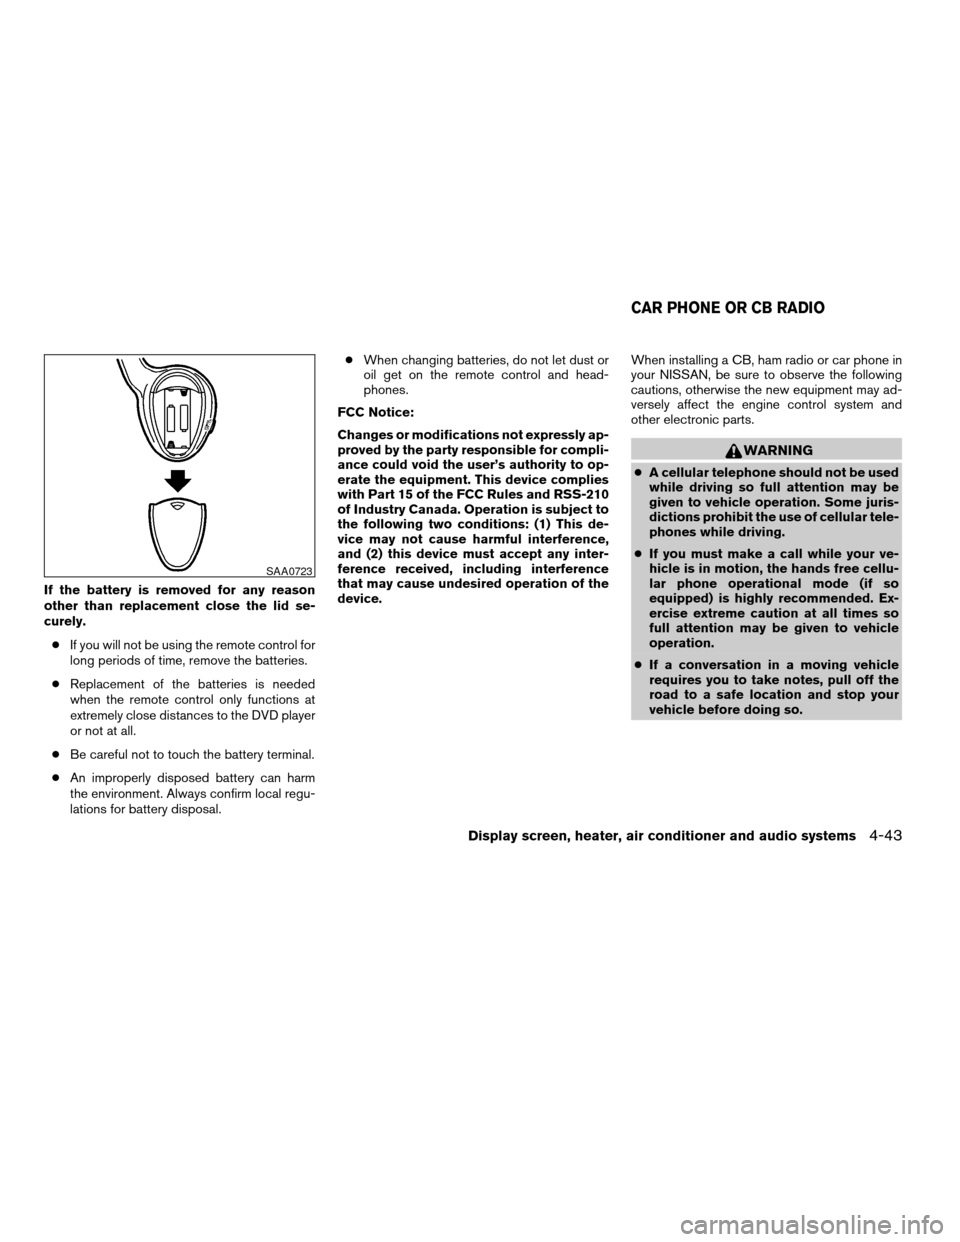
If the battery is removed for any reason
other than replacement close the lid se-
curely.
cIf you will not be using the remote control for
long periods of time, remove the batteries.
cReplacement of the batteries is needed
when the remote control only functions at
extremely close distances to the DVD player
or not at all.
cBe careful not to touch the battery terminal.
cAn improperly disposed battery can harm
the environment. Always confirm local regu-
lations for battery disposal.cWhen changing batteries, do not let dust or
oil get on the remote control and head-
phones.
FCC Notice:
Changes or modifications not expressly ap-
proved by the party responsible for compli-
ance could void the user’s authority to op-
erate the equipment. This device complies
with Part 15 of the FCC Rules and RSS-210
of Industry Canada. Operation is subject to
the following two conditions: (1) This de-
vice may not cause harmful interference,
and (2) this device must accept any inter-
ference received, including interference
that may cause undesired operation of the
device.When installing a CB, ham radio or car phone in
your NISSAN, be sure to observe the following
cautions, otherwise the new equipment may ad-
versely affect the engine control system and
other electronic parts.
WARNING
cA cellular telephone should not be used
while driving so full attention may be
given to vehicle operation. Some juris-
dictions prohibit the use of cellular tele-
phones while driving.
cIf you must make a call while your ve-
hicle is in motion, the hands free cellu-
lar phone operational mode (if so
equipped) is highly recommended. Ex-
ercise extreme caution at all times so
full attention may be given to vehicle
operation.
cIf a conversation in a moving vehicle
requires you to take notes, pull off the
road to a safe location and stop your
vehicle before doing so.
SAA0723
CAR PHONE OR CB RADIO
Display screen, heater, air conditioner and audio systems4-43
ZREVIEW COPYÐ2006 Armada(wzw)
Owners ManualÐUSA_English(nna)
06/16/05Ðdebbie
X
Page 214 of 352

CAUTION
cKeep the antenna as far away as pos-
sible from the electronic control
modules.
cKeep the antenna wire more than 8 in
(20 cm) away from the electronic con-
trol system harnesses. Do not route the
antenna wire next to any harness.
cAdjust the antenna standing-wave ratio
as recommended by the manufacturer.
cConnect the ground wire from the CB
radio chassis to the body.
cFor details, consult a NISSAN dealer.
4-44Display screen, heater, air conditioner and audio systems
ZREVIEW COPYÐ2006 Armada(wzw)
Owners ManualÐUSA_English(nna)
06/16/05Ðdebbie
X
Page 222 of 352

To remove the key from the ignition switch:
1. Shift the selector lever to the P (Park) posi-
tion with the key in the ON position.
2. Turn the key to the LOCK position.
3. Remove the key from the ignition.
If the selector lever is shifted to the P (Park)
position after the key is turned to the OFF posi-
tion or when the key cannot be turned to the
LOCK position, proceed as follows to remove the
key.
1. Move the shift selector lever into the P (Park)
position.
2. Turn the ignition key slightly toward the ON
position.
3. Turn the key to the LOCK position.
4. Remove the key.
The shift selector lever is designed so it cannot
moved out of P (Park) and into any of the other
gear positions if the ignition key is turned to OFF
position or if the key is removed from the switch.
The shift selector lever can be moved if the
ignition switch is in the ON position and the
foot brake pedal is depressed.There is an OFF position between the
LOCK and ACC positions. The OFF position
is indicated by a “1” on the key cylinder.
When the ignition is in the OFF position,
the steering wheel is not locked.
In order for the steering wheel to be locked, it
must be turned about 1/8 of a turn clockwise
from the straight up position.
To lock the steering wheel, turn the key to
the LOCK position. Remove the key. To
unlock the steering wheel, insert the key
and turn it gently while rotating the steer-
ing wheel slightly right and left.
If the key will not turn from the LOCK posi-
tion, turn the steering wheel to the left or
right while turning the key to unlock the
key cylinder.
WARNING
Never remove or turn the key to the LOCK
position while driving. The steering wheel
will lock. This may cause the driver to lose
control of the vehicle and could result in
serious vehicle damage or personal injury.
KEY POSITIONS
LOCK: Normal parking position (0)
OFF: (Not used) (1)
ACC: (Accessories) (2)
This position activates electrical accessories
such as the radio when the engine is not running.
ON: Normal operating position (3)
This position turns on the ignition system and the
electrical accessories.
START: (4)
This position starts the engine. As soon as the
engine has started, release the key. It automati-
cally returns to the ON position.
NISSAN VEHICLE IMMOBILIZER
SYSTEM
The NISSAN Vehicle Immobilizer System will not
allow the engine to start without the use of the
registered key.
5-8Starting and driving
ZREVIEW COPYÐ2006 Armada(wzw)
Owners ManualÐUSA_English(nna)
06/16/05Ðdebbie
X
Page 263 of 352

UNDERBODY
In areas where road salt is used in winter, it is
necessary to clean the underbody regularly in
order to prevent dirt and salt from building up and
causing the acceleration of corrosion on the un-
derbody and suspension. Before the winter pe-
riod and again in the spring, the underseal must
be checked and, if necessary, retreated.
GLASS
Use glass cleaner to remove smoke and dust film
from the glass surfaces. It is normal for glass to
become coated with a film after the vehicle is
parked in the hot sun. Glass cleaner and a soft
cloth will easily remove this film.
CAUTION
When cleaning the inside of the windows,
do not use sharp-edged tools, abrasive
cleaners or chlorine-based disinfectant
cleaners. They could damage the electri-
cal conductors, radio antenna elements or
rear window defroster elements.
ALUMINUM ALLOY WHEELS
Wash the wheels regularly, especially during win-
ter months in areas where road salt is used. If not
removed, road salt can discolor the wheels.
CHROME PARTS
Clean all chrome parts regularly with a non-
abrasive chrome polish to maintain the finish.
TIRE DRESSINGS
NISSAN does not recommend the use of tire
dressings. Tire manufacturers apply a coating to
the tires to help reduce discoloration of the rub-
ber. If a tire dressing is applied to the tires, it may
react with the coating and form a compound. This
compound may come off the tire while driving and
stain the vehicle paint.
If you choose to use a tire dressing, take the
following precautions:
cUse a water-based tire dressing. The coat-
ing on the tire dissolves more easily with an
oil-based tire dressing.
cApply a light coat of tire dressing to help
prevent it from entering the tire
tread/grooves (where it would be difficult to
remove) .cWipe off excess tire dressing using a dry
towel. Make sure the tire dressing is com-
pletely removed from the tire tread/grooves.
cAllow the tire dressing to dry as recom-
mended by tire dressing manufacturer.
Appearance and care7-3
ZREVIEW COPYÐ2006 Armada(wzw)
Owners ManualÐUSA_English(nna)
06/16/05Ðdebbie
X
Page 339 of 352

10 Index
4WD warning light...............2-15
A
Active head restraint...............1-9
Adjusting pedal position............3-16
Air bag (See supplemental restraint
system).....................1-57
Air bag system
Front (See supplemental front impact air
bag system).................1-64
Air bag warning labels.............1-71
Air bag warning light...........1-72, 2-16
Air cleaner housing filter............8-16
Air conditioner
Air conditioner service...........4-18
Air conditioner specification label.....9-11
Air conditioner system refrigerant and oil
recommendations..............9-6
Heater and air conditioner
controls................4-15, 4-15
Rear seat air conditioner..........4-17
Servicing air conditioner..........4-18
Alarm system
(See vehicle security system).........2-20
Anchor point locations.............1-46
Antenna.....................4-34
Anti-lock brake system (ABS).........5-26
Anti-lock brake warning light..........2-13
Audible reminders................2-19
Audio system..................4-18AM-FM-SAT radio with compact disc (CD)
changer...................4-26
Compact Disc (CD) changer.......4-28
Radio....................4-18
Rear audio controls.............4-33
Steering wheel audio control switch. . . .4-31
Autolight switch.................2-25
Automatic
Automatic drive positioner.........3-20
Automatic power window switch.....2-45
Automatic transmission position indicator
light.....................2-17
Driving with automatic transmission. . . .5-10
Transmission selector lever lock
release....................5-13
Automatic anti-glare inside mirror.......3-18
Automatic transmission fluid temperature
gauge.......................2-7
AUX jack.....................4-30
B
Battery......................8-13
Charge warning light............2-14
Before starting the engine............5-9
Belts (See drive belts).............8-14
Booster seats..................1-51
Brake
Anti-lock brake system (ABS).......5-26
Brake booster................8-22
Brake fluid..................8-11Brake light (See stop light).........8-27
Brake pedal.................8-21
Brake system................5-25
Brake warning light.............2-13
Brake wear indicators........2-19, 8-21
Parking brake check............8-21
Parking brake operation..........5-14
Self-adjusting brakes............8-21
Break-in schedule................5-17
Brightness control
Instrument panel..............2-27
Brightness/Contrast button..........4-11
Control panel buttons...........4-11
Bulb check/instrument panel..........2-12
Bulb replacement................8-27
C
Capacities and recommended
fuel/lubricants...................9-2
Captain’s chair adjustment (2nd row)......1-5
Car phone or CB radio.............4-43
Cargo light...................2-51
Cargo (See vehicle loading information) . . .9-12
CD care and cleaning.............4-31
CD changer (See audio system)........4-28
Child restraint with top tether strap......1-45
Child restraints.......1-17, 1-18, 1-25, 1-43
Precautions on child restraints . . .1-25, 1-51
Top tether strap anchor point locations . .1-46
Child safety rear door lock............3-5
ZREVIEW COPYÐ2006 Armada(wzw)
Owners ManualÐUSA_English(nna)
06/16/05Ðdebbie
X
Page 343 of 352

Rear power windows............2-45
Precautions
Maintenance precautions..........8-5
On-pavement and off-road driving
precautions..................5-3
Precautions on child restraints . . .1-25, 1-51
Precautions on seat belt usage......1-15
Precautions on supplemental restraint
system....................1-57
Precautions when starting and driving . . .5-2
Pre-tensioner seat belt system.........1-70
PREV button...................4-3
Prev button
Control panel buttons............4-3
Programmable features...........4-3, 4-6
Push starting..................6-10
R
Radio
Car phone or CB radio...........4-43
Compact Disc (CD) changer.......4-28
Rear audio controls.............4-33
Steering wheel audio control switch. . . .4-31
Readiness for inspection maintenance (I/M)
test........................9-27
Rear audio controls...............4-33
Rear center seat belt..............1-21
Rear power windows..............2-45
Rear seat air conditioner............4-17
Rear sonar system off switch.........2-30
Rear view monitor................4-12
Rear window and outside mirror defroster
switch......................2-24
Rear window wiper and washer switches . . .2-23Recorders
Event data..................9-28
Refrigerant recommendation..........9-6
Registering your vehicle in another country. . .9-9
Remote controller (See NISSAN mobile
entertainment system).............4-36
Remote keyless entry system..........3-5
Reporting safety defects (US only)......9-27
Roof rack....................2-43
S
Safety
Child safety rear door lock..........3-5
Child seat belts...........1-25, 1-51
Reporting safety defects (US only). . . .9-27
Screen (See NISSAN mobile entertainment
system).....................4-36
Seat adjustment
Front manual seat adjustment........1-2
Front power seat adjustment........1-4
Second row bench seats..........1-7
Second row captain’s chair.........1-5
Seat belt
Child safety.................1-17
Infants and small children.........1-18
Injured Person................1-19
Larger children...............1-18
Precautions on seat belt usage......1-15
Pregnant women..............1-19
Pre-tensioner seat belt system.......1-70
Rear center seat belt............1-21
Seat belt extenders.............1-25
Seat belt maintenance...........1-25
Seat belts..................1-15Shoulder belt height adjustment......1-24
Three-point type with retractor.......1-19
Seat belt warning light.............2-16
Seatback pockets................2-36
Seats
Adjustment..................1-2
Automatic drive positioner.........3-20
Front seats..................1-2
Heated seats................2-29
Manual front seat adjustment........1-2
Second row captain’s chair adjustment.....1-5
Security indicator light.............2-18
Security system (NISSAN vehicle immobilizer
system) , engine start.........2-21, 3-2, 5-8
Self-adjusting brakes..............8-21
Service manual order form...........9-28
Servicing air conditioner............4-18
Setting button
SETTING button...............4-6
Shift lock release................5-13
Shifting
Automatic transmission...........5-12
Shoulder belt height adjustment........1-24
Side air bag system (See supplemental side air
bag, curtain and rollover air bag systems). . .1-69
Spark plug replacement............8-15
Speedometer...................2-4
SRS warning label...............1-71
Starting
Before starting the engine..........5-9
Jump starting.................6-8
Precautions when starting and driving . . .5-2
Push starting................6-10
Starting the engine..............5-9
Startup Screen
Control panel buttons............4-3
10-5
ZREVIEW COPYÐ2006 Armada(wzw)
Owners ManualÐUSA_English(nna)
06/16/05Ðdebbie
X